The efforts on the shop continue… to borrow a term my Long-EZ building buddy Dave Berenholtz used recently, this pre-plane-building project of getting the shop in shape with the requisite myriad of tasks feels like a form of death by a thousand paper cuts.
But I have turned a corner –literally– and am on the front wall of the shop. Yes, there have been some delays, some self-induced with household/life chores that really needed tending to, but mostly due to spring rainstorms.
Yesterday I insulated nearly the last of the shop ceiling along the finished right hand wall, leaving about a 1 ft x 14 ft strip left to do at the top of the front far left wall.
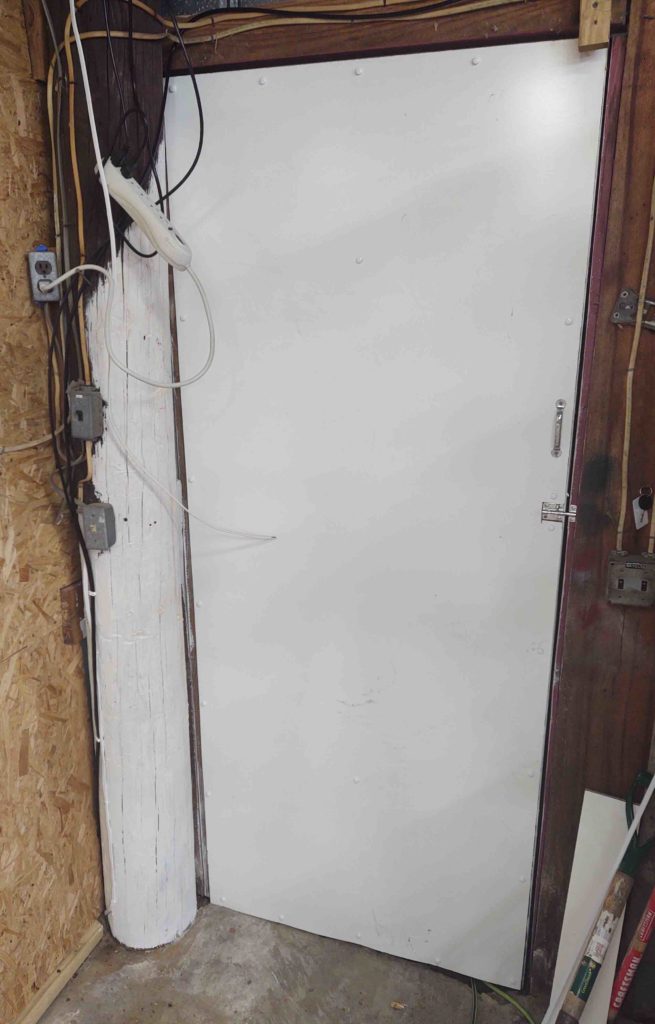
I wanted to get the shop entry door insulated along with the rest of the walls but couldn’t find the required 1.5″ thick foam. What I did find was 3/4″ thick foam so I ended up doing a double cut for the 3 panels that existed on the door. This added a bit to the time, but I got ‘er done.
I then covered the door insulation with 1/4″ white paneling since I had an extra panel on hand that didn’t get used in the “machining corner.” I also added a handle to aid in closing the door from the inside.
I then moved on to the next section of wall that surrounds the entry door. From the outside this is the front right third of the shop. The only section on the front of the shop that does not have big barn doors.
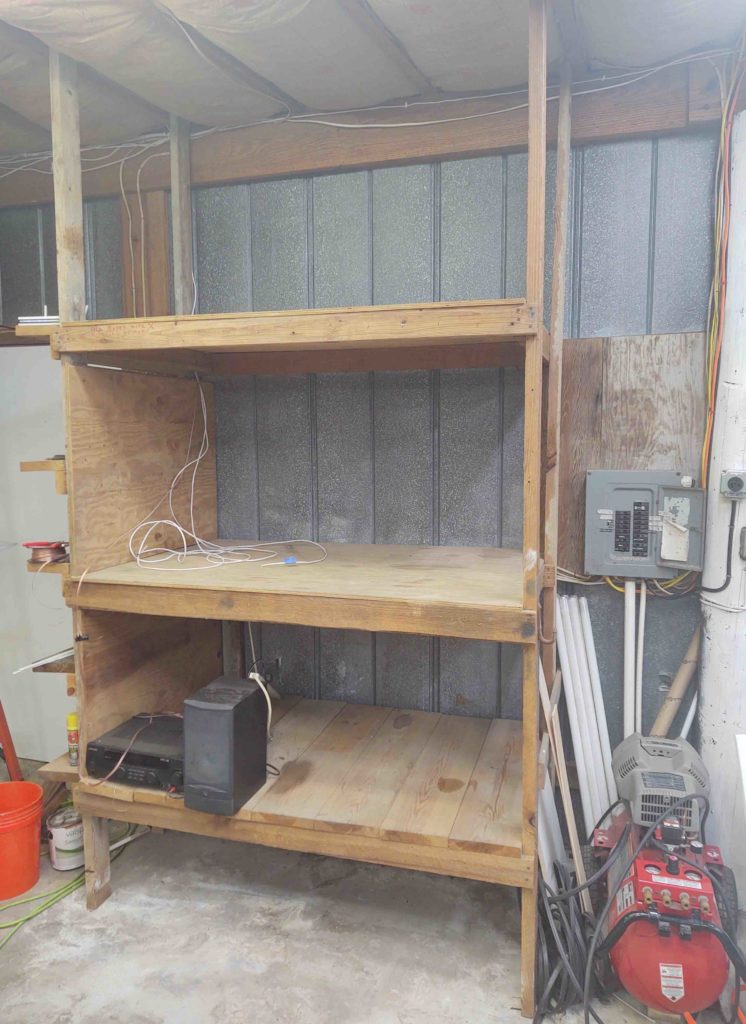
When I bought the house there was a myriad of junk that was left on these ginormous shelves that inhabit this area of the shop. While I do love storage, 3-1/2′ deep shelves x over 5′ wide was just a bit too much space being scarfed up with non-optimized storage.
I had long ago decided that I was going to convert this to a small office nook, or kiosk, which would have a taller built-in computer table, space for a small microwave, Kurig coffee maker and mini-fridge. It will also be where I house my binders, books, papers, etc.
Here’s a shot of the shelves after a major clean up of all the stuff that was populating them.
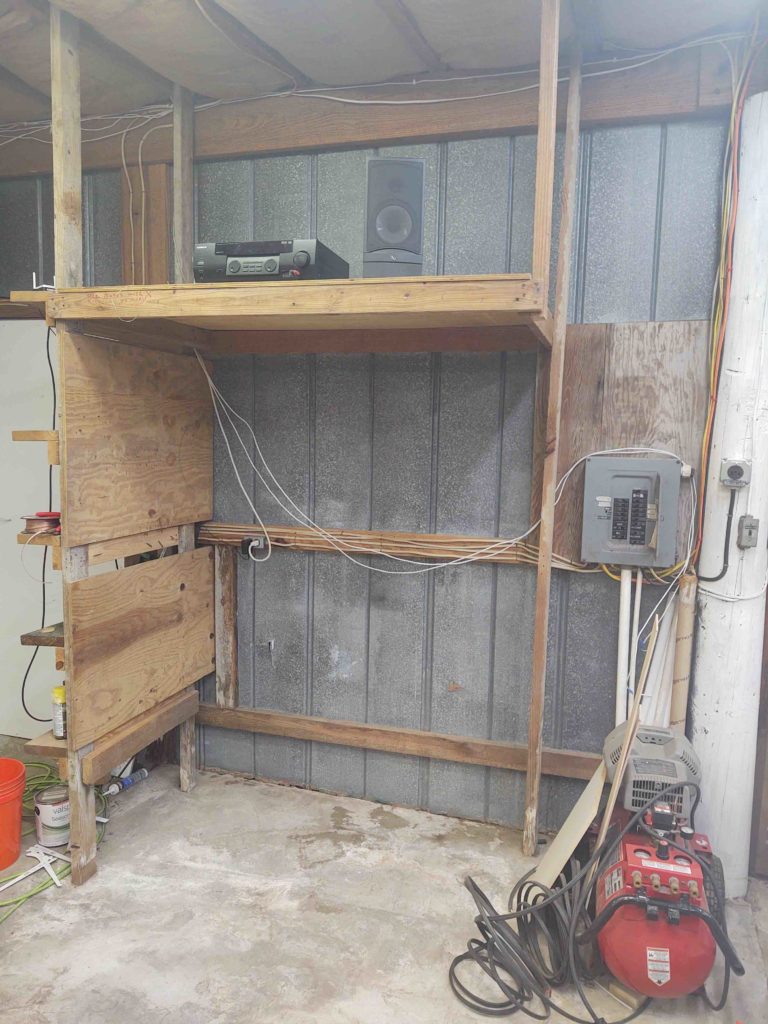
A few hours later it looked like this… not only does this give me access to insulate the walls, but it gives me a spot to build a desktop and put every I listed above in place (Uh, yeah, I forgot the stereo!).
The current top shelf will remain and serve as both a very large storage shelf and also the “ceiling” of the office nook. I’m currently undecided but may end up splitting the large top shelf by adding another shelf midway up to the ceiling.
It was getting a bit late so I called it a night in the shop and went back to a Long-EZ related project I had started messing about with last night and a bit this morning:
“J” hinges.
I have a set of these hinges that I picked up from the Cozy Girrrls and they are very nicely made. The pair I have will work fine for securing the front of the aft nose cover, allowing me to open up the back half of the nose like an MG sports car.
However, I need a pair of these “J” hinges (what I call them for my lack of knowing their true nomenclature!) for the front nose hatch, just a heck of a lot smaller than the ones I currently have on hand.
Having recently re-covered some instructional info on how to import a diagram into Fusion 360 CAD, I decided since it was fresh in my mind to finally get to using the Cozy Girrrl J hinges as a template in creating smaller versions for the front nose hatch.
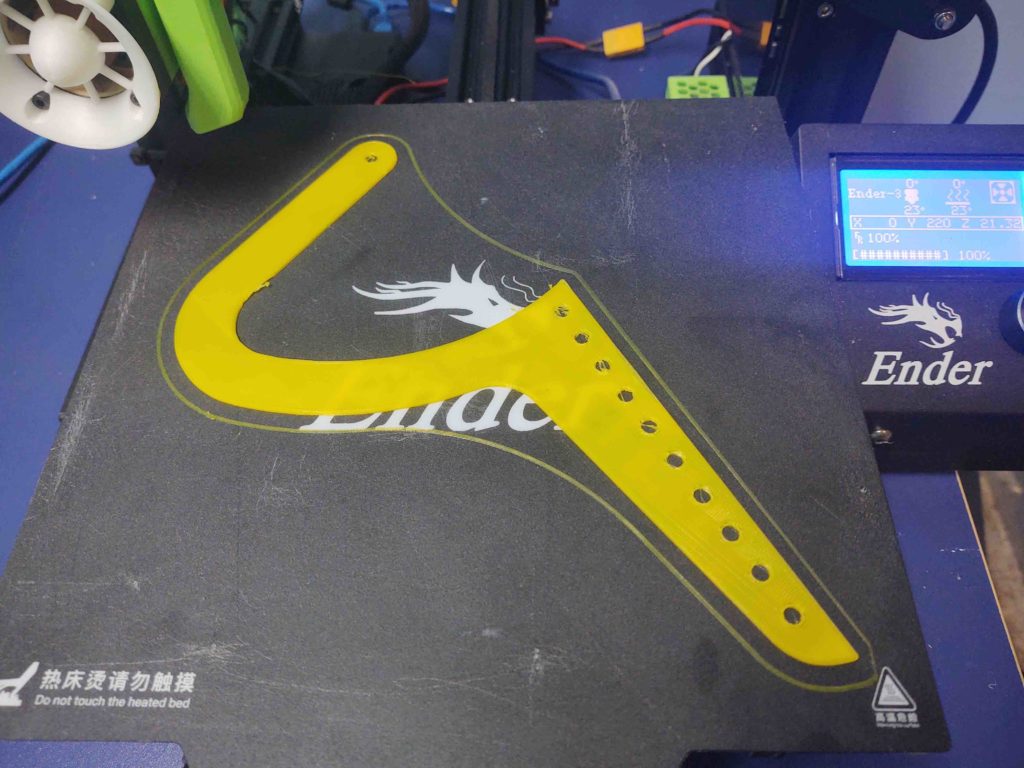
As you can see below, after I modeled up the J hinge I decided to simply print one out on my 3D printer.
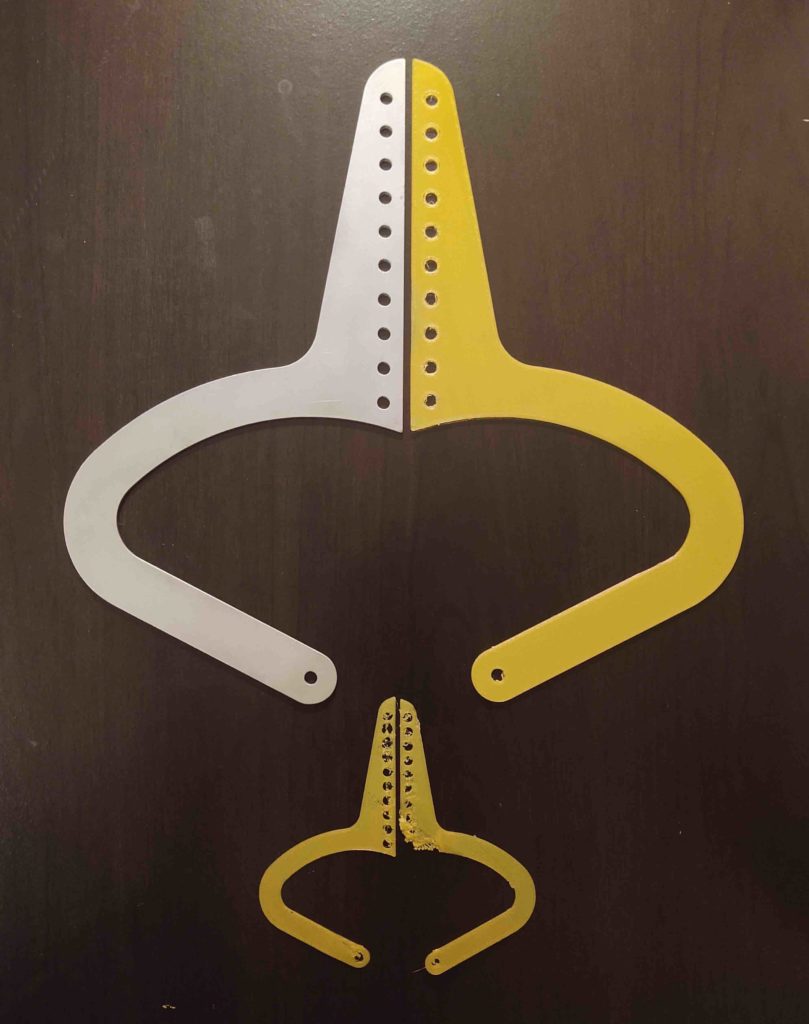
Here’s the new full size 3D printed hinge next to the real aluminum one. Below that are 40% versions of the larger standard sized hinges. I’ll use the small ones as a starting point to find the best size hinges to use on the front nose hatch (the small hinge on the right had some clear issues during the 3D printing process, but it will work fine as a size template).
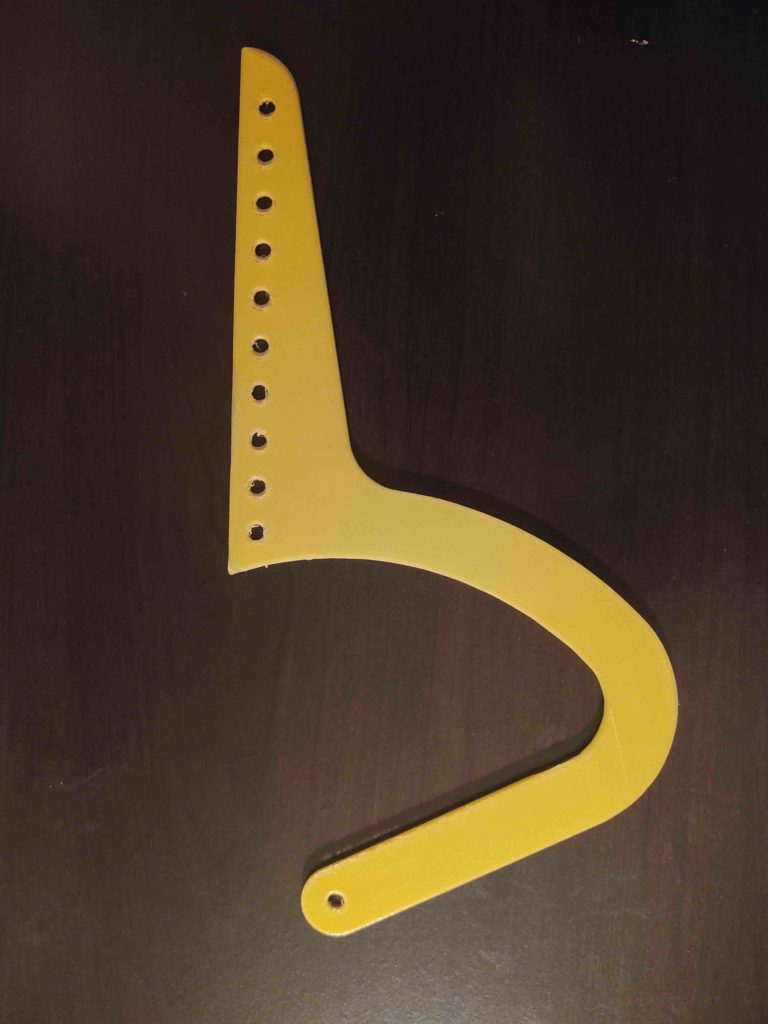
I took this pic below to show my size comparison between the CAD model hinge and the real one, which is underneath this 3D printed hinge.
Tomorrow I’ll be back to work on the shop.
Cleary I’ve busted my “mid-April” estimated completion timeline, but I will trudge on nonetheless!

