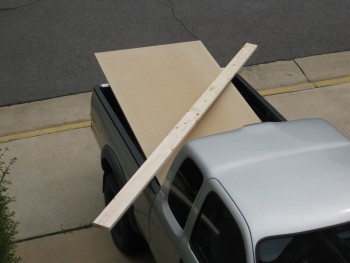
Since it wasn’t raining today, I started out today by picking up some particle board. I decided to use only regular wood, so I also bought another 12 ft long 2×6.
I checked both 2×6’s with my aluminum long board straight edge to confirm that they were straight. I have to say, they were both spot on. I was actually prepared to break out the table saw to trim the edges to ensure they were even, but luckily didn’t have to.
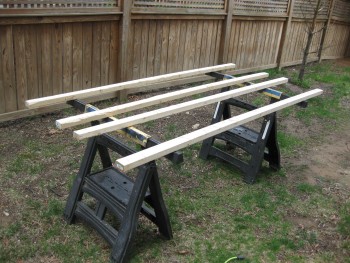
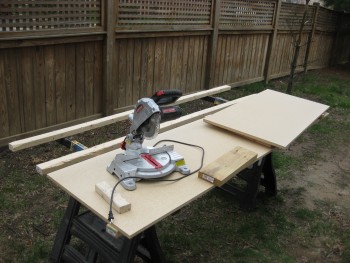
I set up my adjustable saw horses in the side yard in preparation for cutting the particle board.
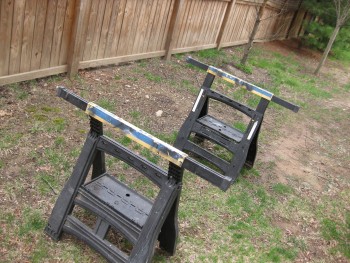
I then placed 2×3 stringers on top to allow clearance for the saw blade & to support the cut halves of cut particle board sheet.
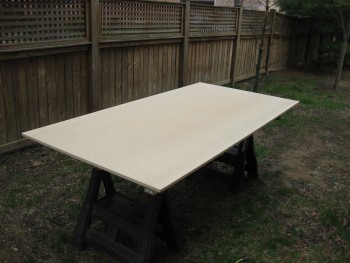
I hauled the sheet of particle board from the truck to the sawhorses.
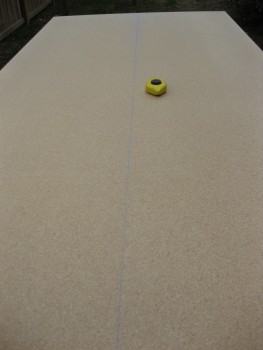
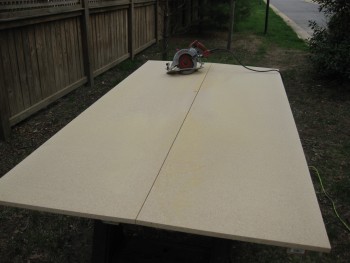
And measured & marked the cut line with a chalk line.
I then grabbed the caged “Beast” . . .

And unleashed it!
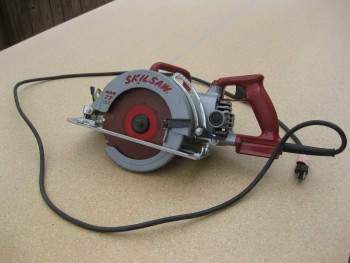
And cut the particle board sheet right down the middle.
I then started cutting the cross support struts for the work bench.
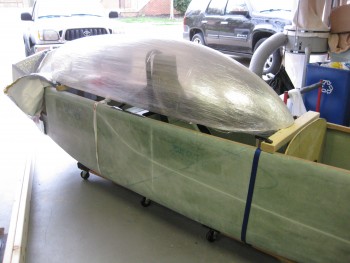
I pulled the canard down from its storage location on high.
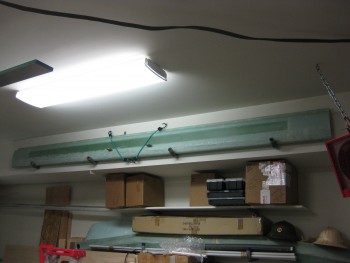
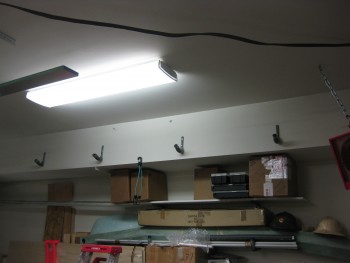
One idea I had to get the fuselage tucked out of the way while I work on the canard is to simply build a tall-enough work bench to stow the fuselage underneath.
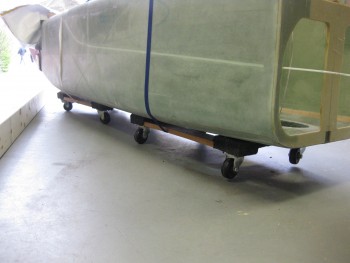
I put the fuselage on furniture dollies & strapped them with tie-downs to keep the fuselage in place. This simple task made moving the fuselage amazingly EZ & was really helpful in getting the shop squared away.
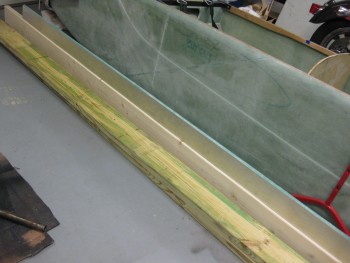
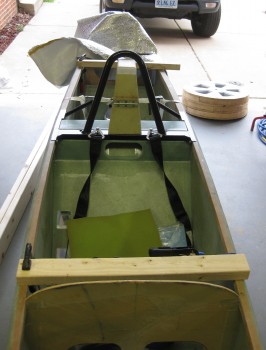
Before taking off the roll bar assembly & headrest, I wanted to mock up the canopy to see what it looked like (as best possible with the canopy wrapped in plastic). I mounted some wood cross support pieces for the canopy & locked them in place with clamps.
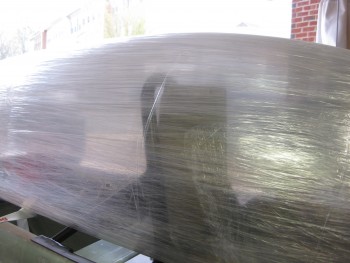
Here are a few pics of the headrest & roll bar under glass . . .
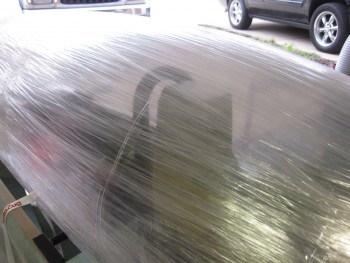
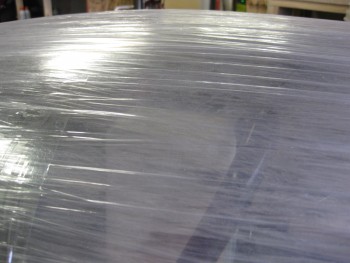
And a longer shot of the same.
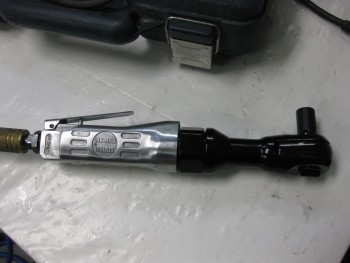
I used a coupon yesterday for a 3/8″ air ratchet from Harbor Freight. I wanted it specifically for using on the roll bar bolts, among a ton of other stuff.
When I hooked up the air ratchet up to the compressor, I discovered something about my air compressor that I think had a significant impact on my sand blasting session the other day. The air coming out of the hose reel is not nearly as powerful as if I hook up a hose directly to one of the other 3 ports on the compressor manifold (I have a 4 ports available to hook up tools, one of them obviously being connected to the hose reel). I’ll need to keep that in mind when I set up the sand blaster again.
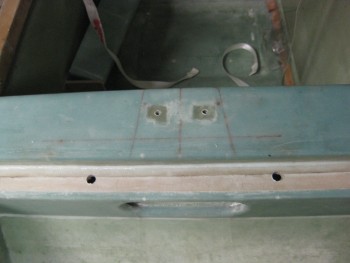
After removing the roll bar assembly, I drilled out the seat belt attach bolts access holes.
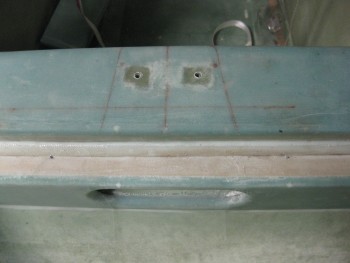
I started with a small 1/16″ drill bit and worked my way up to a 1/2″ bit for the final hole sizes.
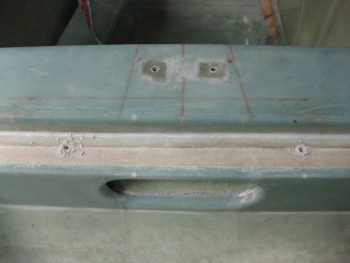
To reiterate, these holes will allow me access to the underside of the rollbar cross bar to get a socket onto the nut holding each seatbelt bolt in place.
I then started building the canard work bench . . .
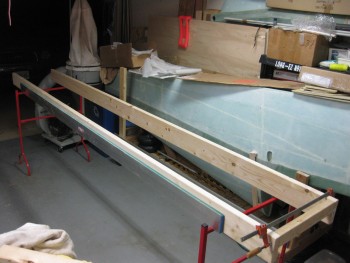
I screwed the cross support pieces into place.
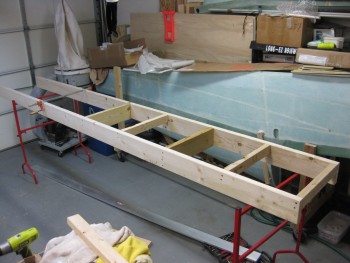
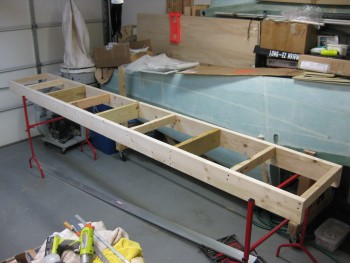
And then screwed the top pieces onto the work bench frame. You can see below that the fuselage fits fine underneath the canard work bench.
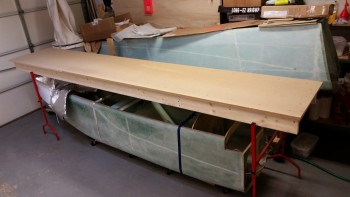
I then set the canard on the bench to see how much room I have to work with. It’s still amazing to me how long the canard is. Even with a 12 ft long table, there’s just enough room to work on the canard.

I did take a break before actually building the canard table to clean up the bike & take it out for a short scoot. Yep, this warm weather is awesome!