
I started off today doing a couple hours of research on a variety of topics, with the gear doors and nose gear strut fairing were at the top of my list.
My research highlighted some material & hardware that I would need, so I added a few of them to my ACS order before I pulled the trigger on it. Plus, the orders I submitted last week are starting to roll in.
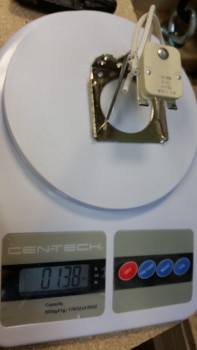
One item I received this morning is the mounting bracket for my Taxi Light. It felt a bit hefty so I weighed it. As you can see it weighs in at 0.138 lbs, but I see a number of lightening opportunities so I’ll be thinning it down a bit in a few areas.
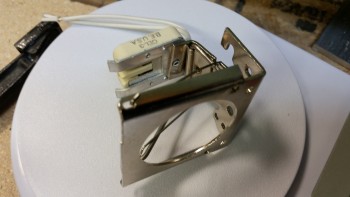
Here’s another shot.
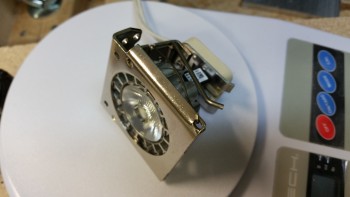
And here’s a shot with the actual LED taxi light mounted into the mounting bracket.
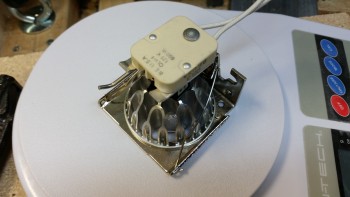
And the aft view of the taxi light in its mounting bracket.
After messing around with the taxi light bracket for a bit (shiny new object!) I noticed a text from fellow Long-EZ builder and good friend Marco. (It’s been a while, but yesterday we talked shop for well over an hour & caught up). In the text Marco noted that for safety reasons the extended length of the heated pitot tube should be longer to expose the entire section that contains the heating element. Although we spent countless hours in early 2013 collaborating on this pitot tube design, he’s clearly more intimately familiar with the internals of the tube since he machined it. I took the tube apart, checked the internal measurements and concluded that it needed to protrude out of the G10 another 1.2″. We came up with a fix action plan & will implement as time allows. Basically, we’ll need to replace the long outer tube and the internally threaded tube with parts 1.2″ longer to resolve this issue. And that, my friends, is exactly why I like to get this stuff installed as early as possible to work out any kinks & resolve issues that may include some decently long lead/repair times. Good catch Marco!
I then started working on the forward NG30 mounting nutplate assemblies to prep them for a 1-ply BID layup that will help secure them in place on the top side. And as I mentioned before, when I flip the bird to glass the nose, I’ll glass the bottom side of these nutplate assemblies.
I started by inserting saran wrap into all the screw holes.
I then used the Dremel tool to remove the edge foam on the NG30s.
Here’s a shot of the peel plied forward NG30 cover nutplate side 1-ply BID layup.
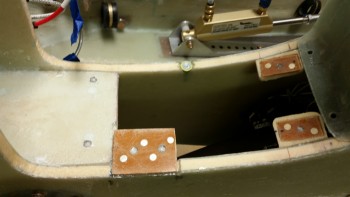
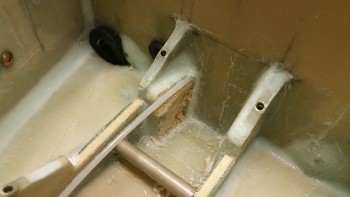
I cut & shaped the left side piece of foam for the nose gear backup battery mounting pocket in the battery compartment. As you can see below, I’ll mount it to the inboard aft side of the left BC1.
And here’s the same piece micro’d in and prepped for glass.
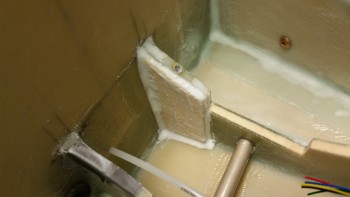
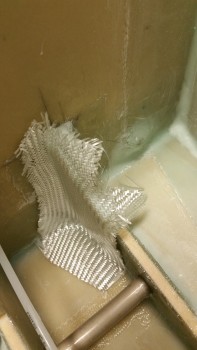
Here’s a scrap piece of BID that I used to cover the foam piece.
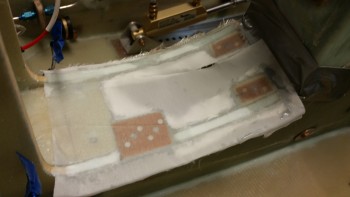
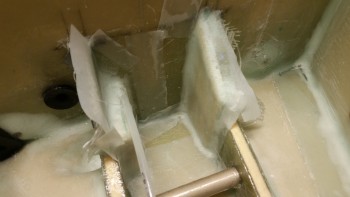
After the left side was laid up, I then cut & shaped an insert for the right side of the nose gear backup battery mounting pocket and then glassed it as well. After both sides were glassed, I peel plied the layups.
BTW, one thing that can’t be seen here is that I cut a Rivnut down to about 3/8″ of inch in length and inserted it from the inboard side to the outboard side on the right BC1 at the hole I drilled to mount the 30 Amp inline fuse for the SD-8 backup alternator lead. I floxed the shortened Rivnut in place, then micro’d & glassed over it, with the same 1-ply BID that I was laying up on the right side.
I let the gear battery pocket layup cure and then started cleaning up the layup on the forward NG30 cover nutplate assemblies layup.
I drilled the screw holes and pulled the saran wrap plastic.
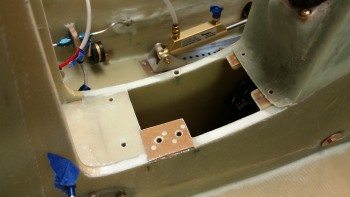
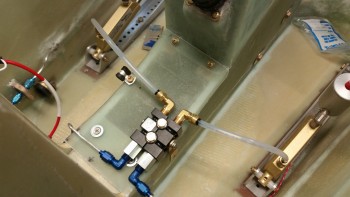
I then remounted & reassembled the forward NG30 cover and the parking brake valve.
I had a couple issues with the nose gear backup battery mounting pocket layups, both which were totally my fault.
First, I had originally planned to have the Nylaflow conduit hole drilled a little lower and forgot to take that into account before installing the foam piece on the right side. I had sanded a groove at the inboard top corner in this piece of foam for the Nylaflow conduit. After the layup had cured, it hit me that I had mounted the Nylaflow too high compared to how it needed to travel to get past the battery (below it) and to the front side of the battery compartment.
Now, combine the above issue with the fact that the right side piece ended up being too thick for the battery to fit. I sanded it a number of times before deciding that since I needed to cut the foam/glass to set the Nylaflow lower that I would simply cut the glass below the conduit as well, reshape it and then re-glass it with a ply of BID.
I would have actually completed these fix actions, except it’s late at night and the back corner was set with leftover flox so, I essentially needed something akin to TNT, or at least some loud power tools to get get that last edge out as it was in & set really well. I’ll knock that out first thing tomorrow after some work meetings that I have.
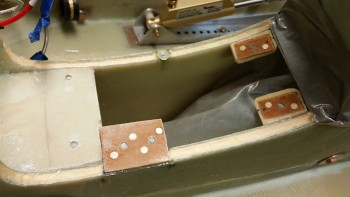
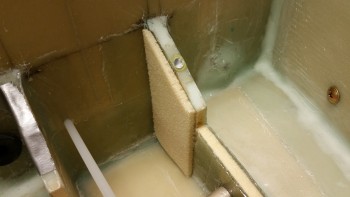
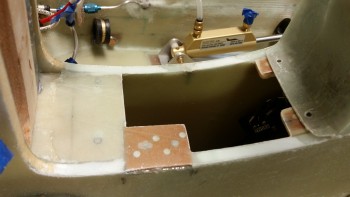
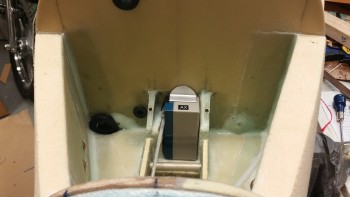
I did however mock up the nose gear backup battery in its mounting position with the 1/16″ thick 6061 angled aluminum (delivered today from McMaster-Carr) mounting tab that I cut & shaped earlier. Here’s pretty much how it will look, only with about a 1″ high lip that I’ll glass in which will cross in front of the bottom section of the battery to keep in nice & secure in the pocket.
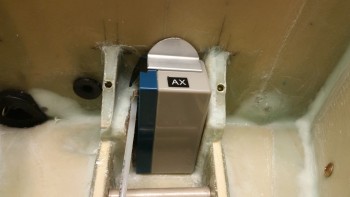
Here’s a wide angle shot of the battery compartment and nose gear back up battery.
Tomorrow I’ll clean up & glass the nose gear backup battery I do also plan on getting some major sanding done on the outside of the nose.