
Today was all about shaping the canopy frame.
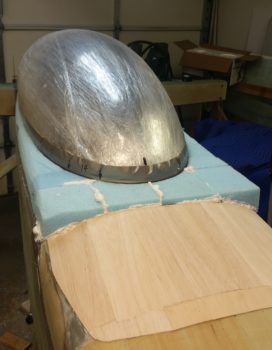
I started off by shaping 4 separate foam blocks for the canopy’s front skirt. I then used micro and “pour-in-place” foam to keep them all in place. I most likely would not have used the “pour-in-place” foam except that my underside contours of the canopy front skirt and glare shield/aft nose cover interfaces were a bit sloppy and had some significant gaps present. Yep, the side-to-side, front-to-back, and up-and-down contours and shapes of the glare shield definitely presented some challenges.
So, I punted and just used pour foam both as a shaping mechanism for the underside of the front canopy skirt (fingers crossed!) and also the bonding agent for two front corner pieces and the very front CL seam of the 2 inboard foam pieces.
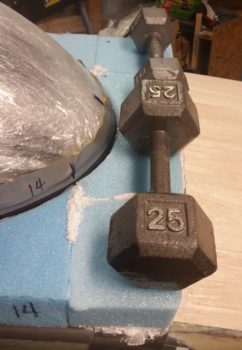
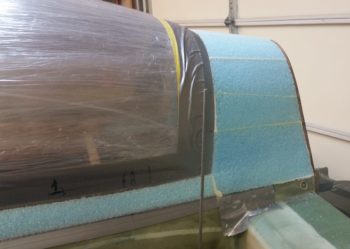
As you can see, I then had to weigh down the foam to keep it in place since the expanding “pour-in-place” foam required a bit of tamping down.
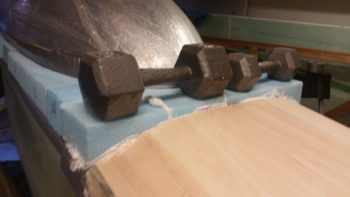
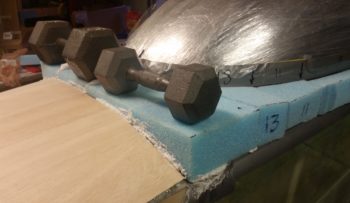
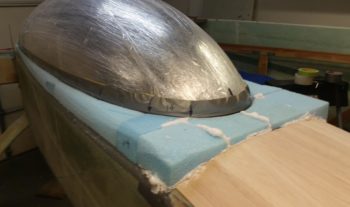
Here we have a side view of the canopy skirt front foam pieces weighed down in place. To be clear, there is micro securing the center pieces to the canopy, each other and to the foam pieces aft of this very front row of foam blocks.
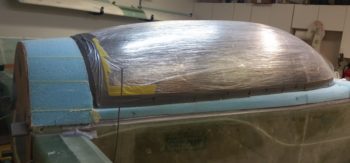
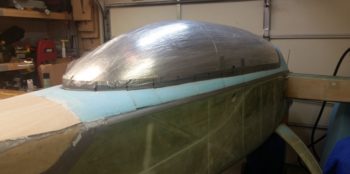
While the canopy front skirt foam pieces cured I then got to work on cleaning up and shaping the foam that makes up the turtleback. I took my time as to not jack anything up, and got the aft canopy frame and turtleback to about 70-80% of its final state.
With the “pour-in-place” foam and micro that secures the foam pieces at the front side of the canopy cured, I then removed the weights and got to work.
I started by shaping the right side first, starting at the front and working my way aft along the right side canopy rail.
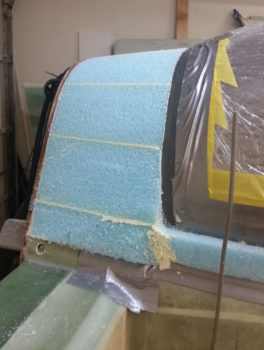
Here is the right front canopy skirt and right side canopy rail nearly sanded to its final shape.
After a fair amount more sanding and tweaking the shape, I finally got both the right and left foam canopy frame shaped.
Here’s a shot of the shaped aft right side canopy frame.
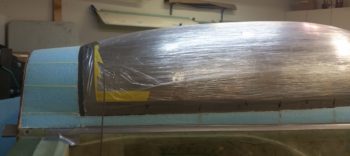
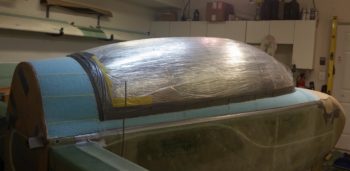
And a shot of the shaped left side canopy frame.
And let’s not forget the turtleback on the left side!
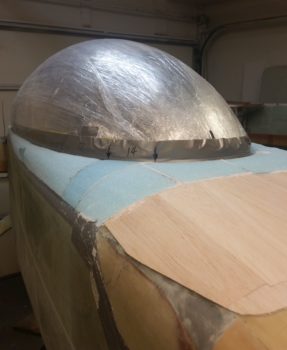
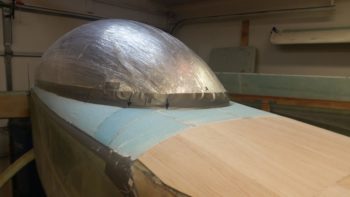
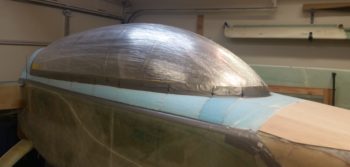
Here we have a head on view of the freshly shaped canopy frame.
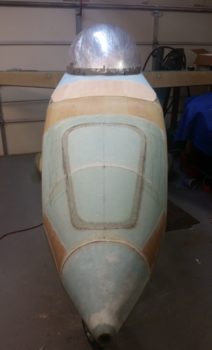
And a bit closer view.

Shaping and adding the final canopy skirt foam blocks into place and shaping the canopy frame took a bit longer than I expected. I would have pressed on to glass the canopy if I didn’t have to take my truck into the shop early tomorrow AM. So, I’m going to stop my canopy build here for the evening and press on tomorrow to get this baby glassed!