
I started out today by checking the fuel sump drain valve hard points that I had embedded into the floor with flox of what will be the respective left & right sump tanks. All looked good.
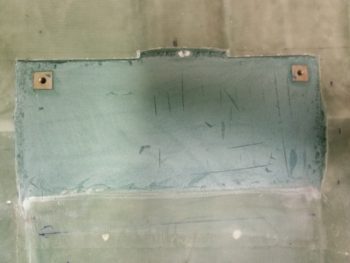
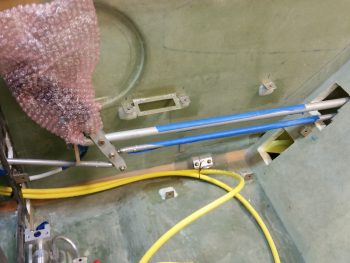
I then double checked the newly floxed-in mounting brackets for the right front armrest. These too looked good.
I then spent a couple hours doing some research and figuring out configurations on both the fuel system and oil heat system. I pulled the trigger on an order with Wick’s for some fuel system hardware and Adel clamps.
In the late afternoon I finally made it down to the shop. I cut 2 pieces of BID off the roll in my cutting table, both 10.5″ x 20″. I also cut one piece of Kevlar 9.5″ x 18″, since I wanted the Kevlar edges covered with BID.
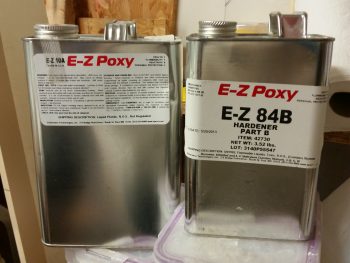
I then pulled out the E-Z Poxy epoxy system that I will use for my fuel system structures, as per Gary Hunter’s suggestion. Now, if you’re wondering –again, as per Gary Hunter– why I’m using the 84B hardener vs the 87, well, that would be a good question. I guess simply because it came in a kit? I’m not sure. I double checked an email conversation I had with Gary, and in it he states that he refers to using 87 hardener because it was around long before the 83 or 84 hardeners, but any of the E-Z Poxy configurations will work. Whew! Ok, again, not sure why I went the 84 route, but glad that it gets Gary’s seal of approval.
Moving on, uh, er, perhaps not!
When I opened up my hardener it was literally a solid block of … stuff!
Since my buddy Marco uses this stuff I know that the hardener often crystalizes, making it unusable until you prepare it by first boiling some water, and then . . . Ugh, I’m just tired writing about it! Here, check out Marco’s blog for the inside scoop on preparing crystalized E-Z Poxy!
Thankfully, after 2 sessions of boiling and soaking my BRICK of E-Z Poxy hardener, it decided to join us again in a usable liquid form. Yay! Kind of a cool trick to do at childrens’ birthday parties and all, but seriously, when “I gotsta glass, I gotsta glass!” . . . ya know what I mean???
Alright. With my Using E-Z Poxy in the Kitchen adventures over with, I then whipped up some epoxy (ensuring to use the 100:44 weight ratio) and then some micro. I remember Marco having some gelling going on his epoxy cups, so I figured (and verified) that this 84 stuff is a lot less viscous than the other E-Z Poxy hardeners. [Hmmm? I also checked Marco’s blog and he’s using 84 hardener as well… what gives? Maybe it’s because mine was really warm from having just got out of its hot tub. Always good to have de-stressed hardener before going in on a big layup!] Anyway, not bad so far.
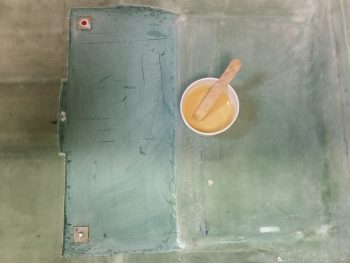
I then poured some micro slurry on the foam and got to work (sorry, bad pic!).
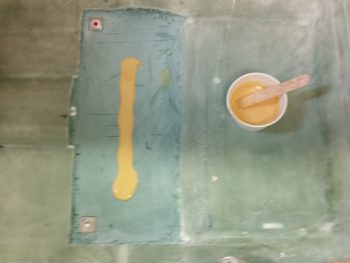
I then whipped up some thicker micro paste and hit the sides & corners.
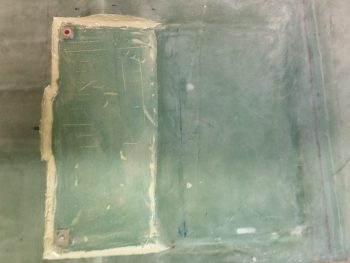
I then laid up my first ply of BID using E-Z Poxy . . . look Ma! No hair dryer! haha!
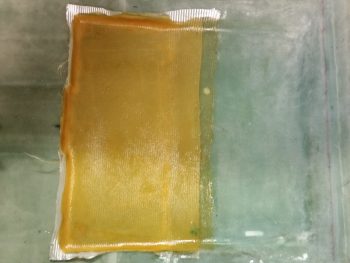
And another couple shots of BID ply #1:

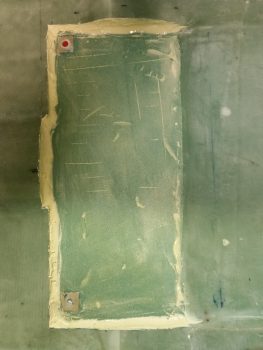
Ply #2 was the Kevlar, and I laid it up without any issues.
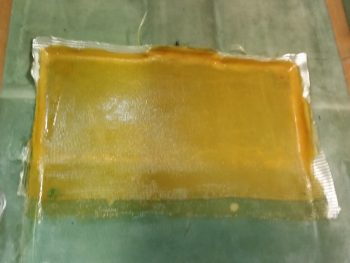
On all the plies, I would lay them up with a good amount of squeegeeing to get a good, air free bond between the top ply and lower foam/plies, then wet it out more to keep it nice and wet.
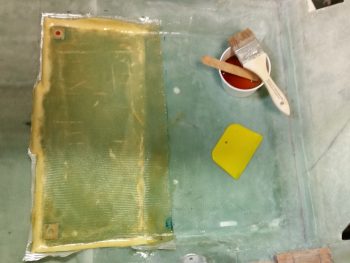
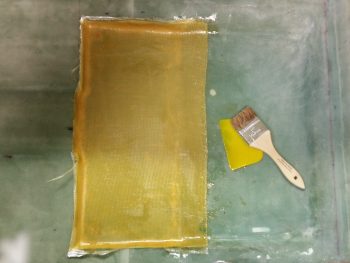
Here’s the final ply of BID to round out the glassing of the sump tank(s) floor.
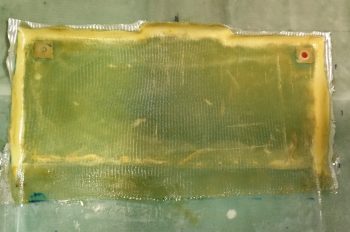
I then peel plied the fuel sump tank 3-ply layup and added a bit more epoxy that I had whipped up to keep it nice and wet. I put the external thermometer transmitter next to the layup so I could track the curing temps.
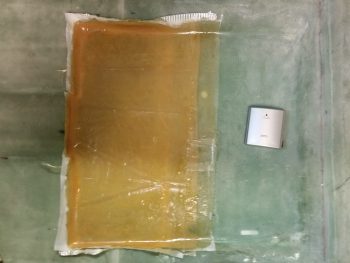
Here’s one last –slightly in focus– shot of the peel plied fuel sump floor layup.

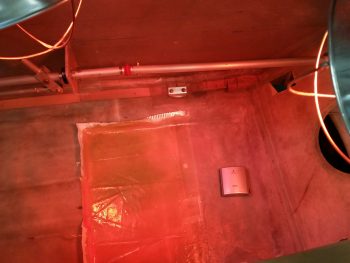
After cleaning up and grabbing a quick bite to eat upstairs, about 45 minutes later I then created MY own version of the Hell Hole! ha!

I set up my 2 heat lamps to keep my new addition nice ‘n toasty.
And covered it with a couple heat shields.
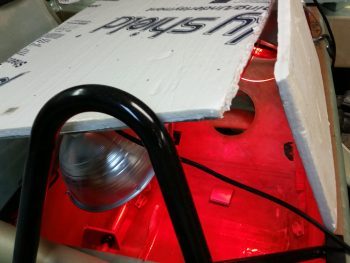
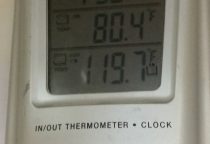
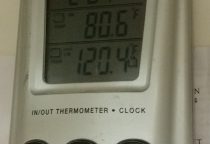
About an hour later I checked the layup to ensure all was going well, and that a heat lamp hadn’t decided to fall smack dab in the middle of it (or something!). Well, it looked good and the heat was at a decent level: about 19.8 when first back into the shop. Then it fluctuated up and down a bit over the 10 minutes I was in the shop: 120, then 119.7, then 120.4, as you can see below.
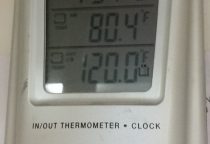
I figure 120°±1-2° is good. So instead of post-curing for 4 hours @ 140°, I’ll just let this thing bake for a minimum of 12 hours @ 120°. It will get post cured again, so no worries on that now.
Tomorrow I’ll start in on cutting & glassing the front, left & right walls & middle rib. My goal is to have all but the top done on the GIB thigh support sump tank in the next few days, which will require the lion’s share of the fuel system plumbing to be completed concurrently… leaving only the firewall and aft remaining to plumb for the fuel lines.