
Well, today is the big day… one of those huge milestone events in the life of a build. Obviously I’ve flipped this bird over before, but that was still quite a task and was also pre-nose (IIRC), pre-gear install (essentially permanent), certainly pre-CS spar install, and most definitely pre-strakes. All these additions clearly make flipping the bird much more of a challenge.
And at the risk of repeating myself, I don’t know enough able-bodied people to help me flip this fuselage via the man-handling grunt method, and thus I looked for a technical solution that would allow me to flip it on my own.
I started out today by getting the nose as elevated as possible so that it would not only have a good starting position and less airframe stress (not that I’m overly concerned about that), but a better angle of pull for the winch cable.
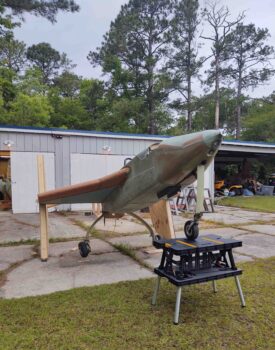
I simply lifted the nose up by hand and placed this portable work table underneath the nose gear. Then added a couple of tires and 2x10s to get it up a bit higher.

Looking good here to start the winch ops . . .

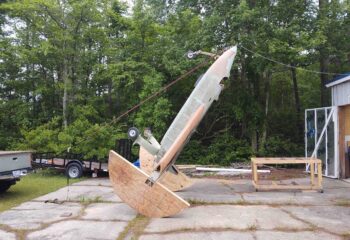
The concept here is simple. Winch cable pulls the nose up and over while the tie-down strap –connected to the trailer hitch on my truck– provides a failsafe to secure the fuselage from free falling onto its topside.
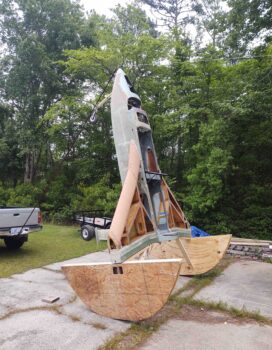
A few key things happened once the fuselage was vertical.
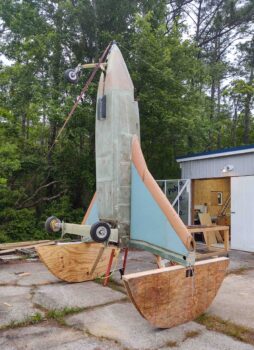
⇒ First, I quickly mixed up (is there any other way?) a batch of pour foam and from atop the ladder poured it into the dam and onto the face of the F28 bulkhead.
⇒ Next, confident in the ensuing flip process, I decided it would be easier to remove the roll bar at this point then when the fuselage was just about to be positioned onto the fuselage dolly. This also gave the pour foam more than enough time to set.
⇒ Finally, the control source for flipping the bird transitioned from the winch cable (pulling up) to the truck-mounted tie-down strap (lowering).
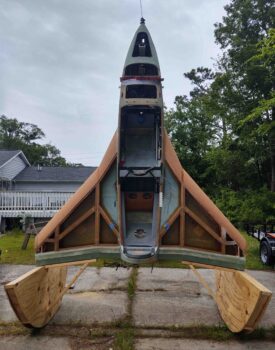
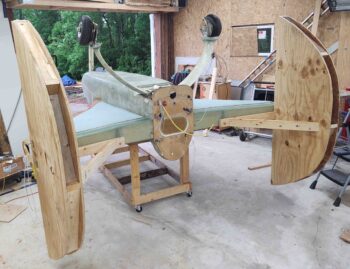
Just another shot of the fuselage in the vertical position… not something you see every day.
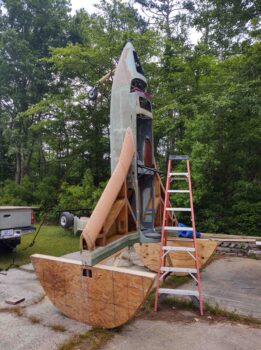
And the money shot. This is definitely my favorite shot, as the fuselage in this vertical position looks like some type of space shuttle, ready for launch!
I should note that the weather forecast just prior to me going to bed called for rain around 1100. I got up at 0700, figuring that would give me a good few hours to get this thing flipped before the rain started. Well, upon checking the weather forecast first thing in morning the rain had moved up to start at 0800. And was forecasted to last all day and well into the night.
Needless to say, I was scrambling. And it did start raining while I was flipping the fuselage. In my mad dash I failed to get the last half of the flip on video…. the lowering via truck-mounted tie-down strap.
I think the pic below is me hitting what I thought was the record button, but it only taking a single still framed pic…. oops!
Here’s the video footage I do have of the flip:
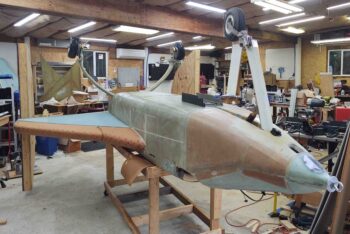
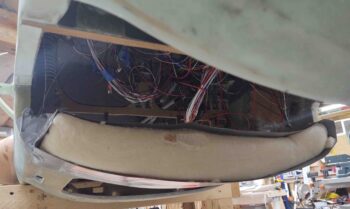
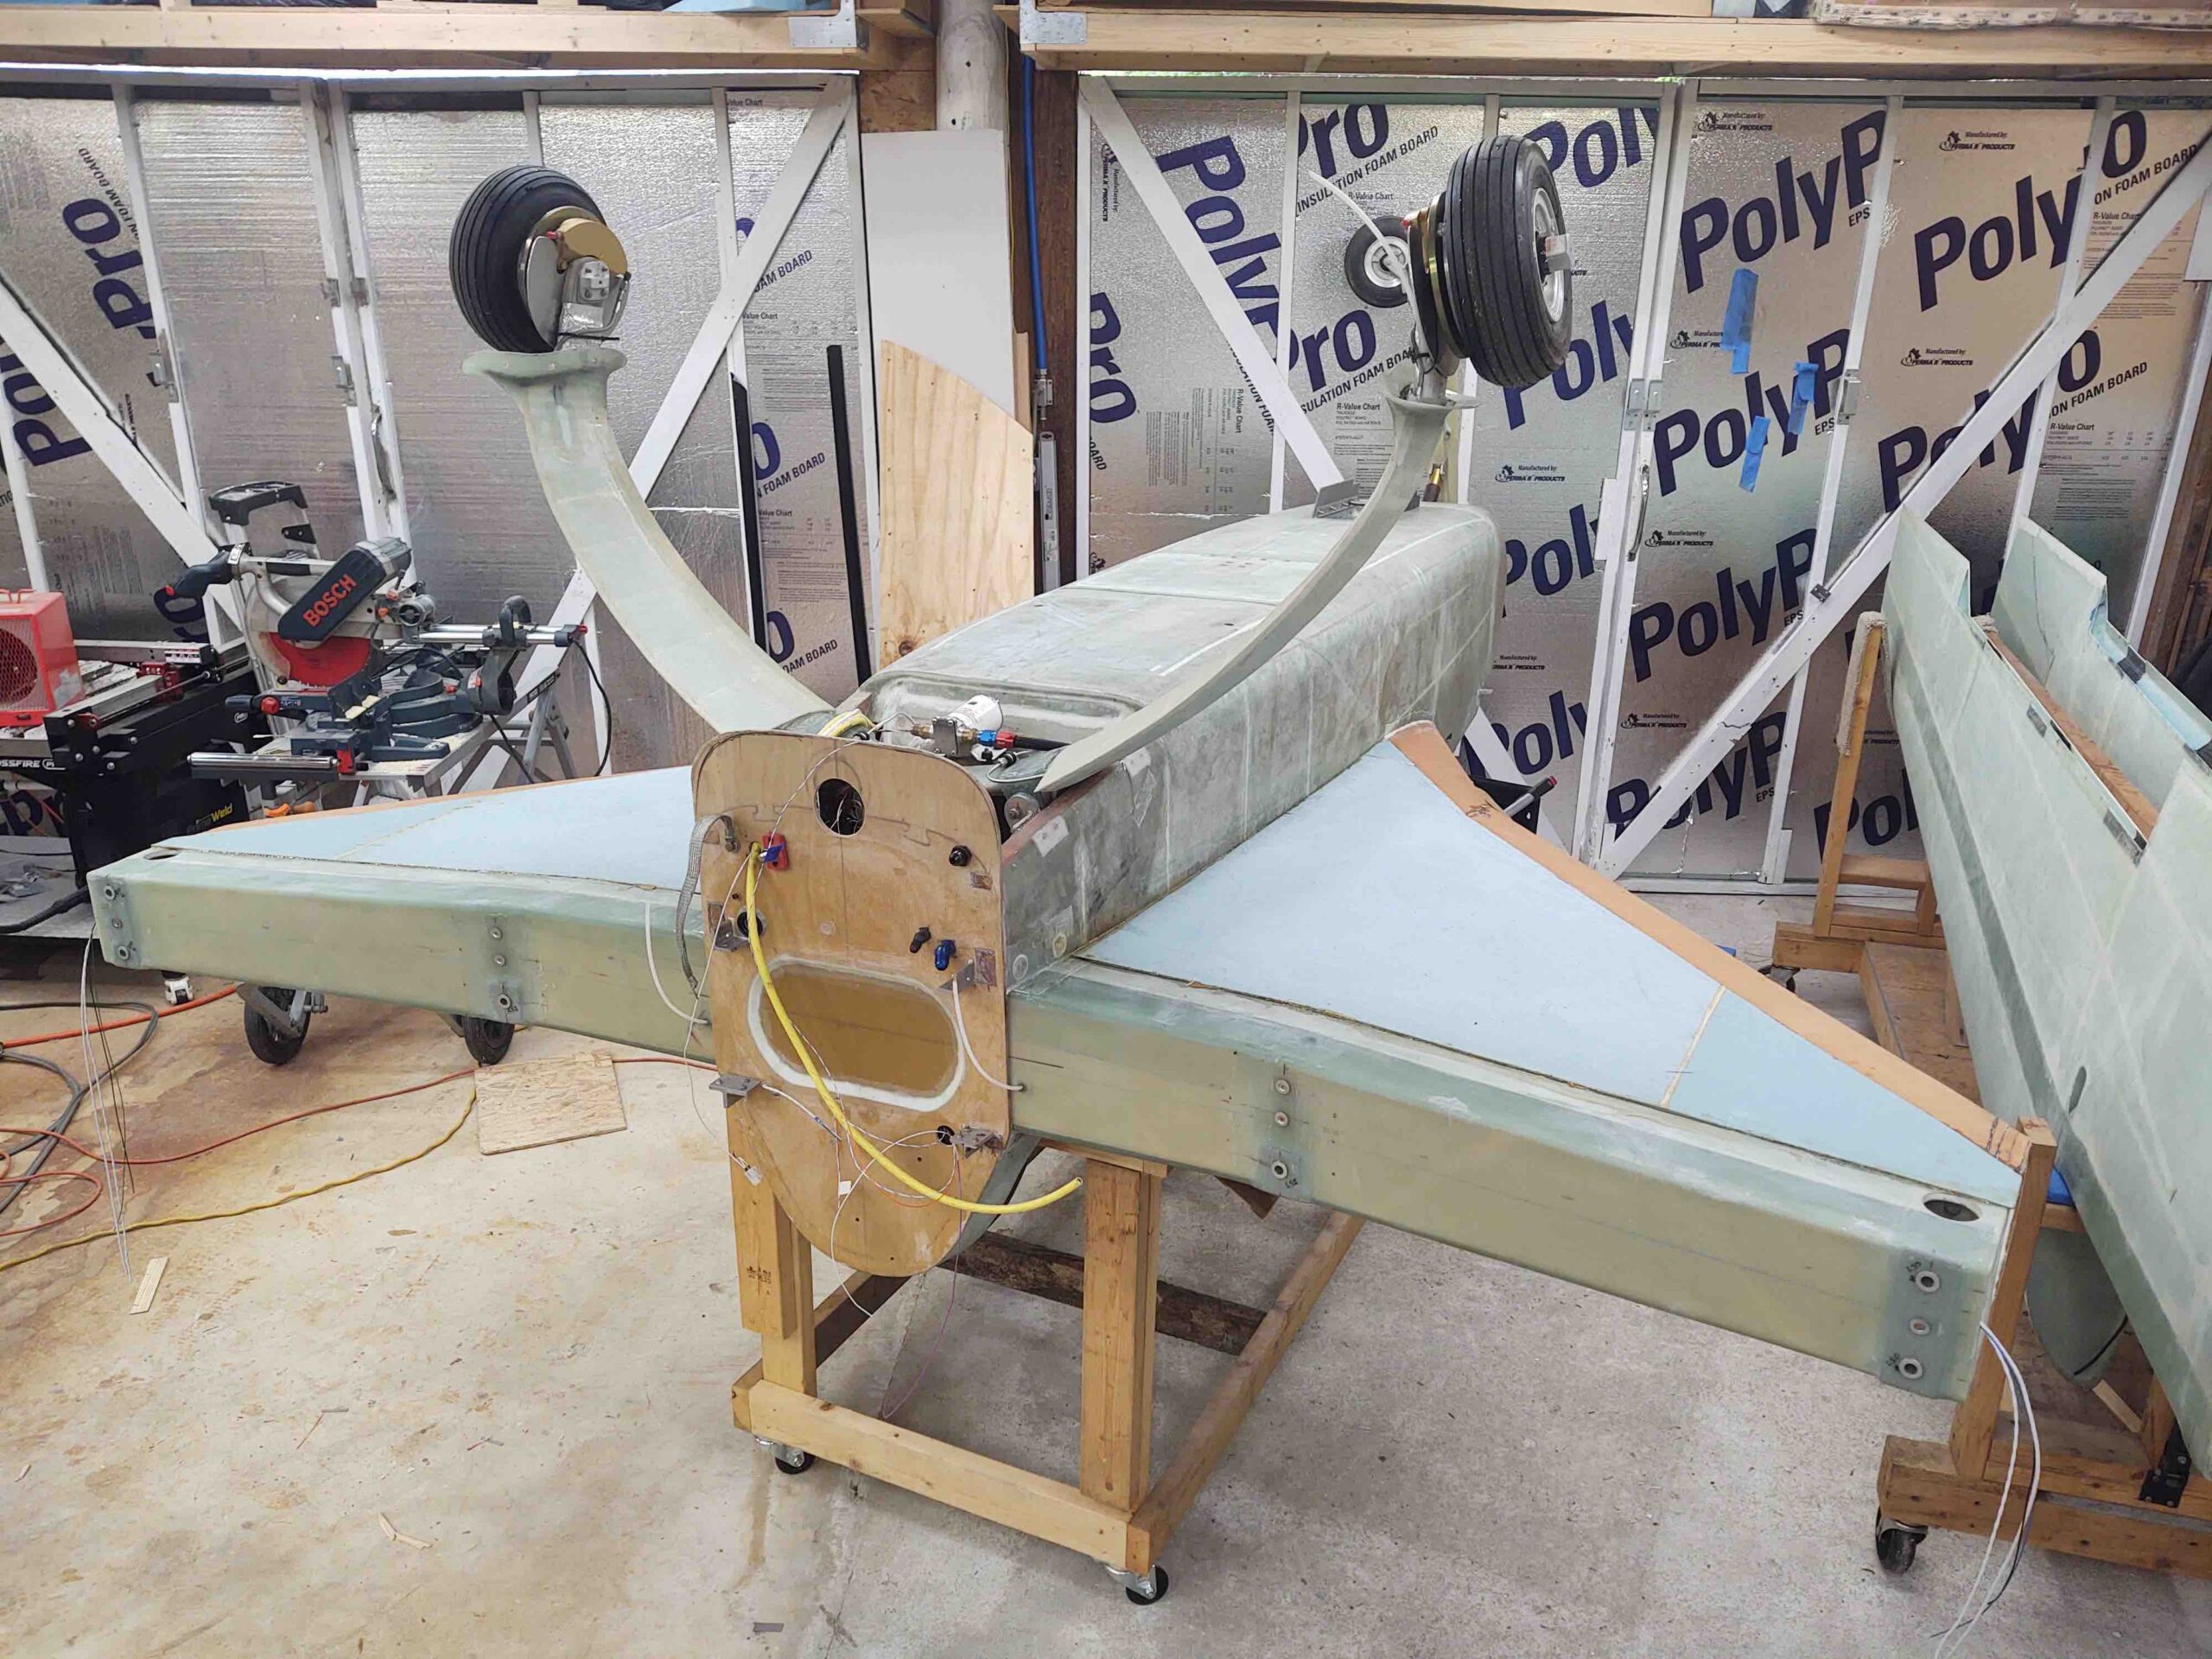
Here we are post flip, with the fuselage inside the shop and out of the rain.
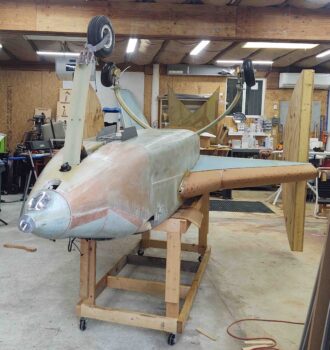
Clearly the half moon structures are still attached and need to be removed.
I wiped down the fuselage and the strake bottom skins to get it all drying as soon as possible.
Here’s a shot of the pour foam I used while the fuselage was in the vertical “launch” position. I’m impressed with how it looks like the exact right amount for the dam I poured it into, although it is certainly way more than I need for my application here of simply smoothing out and cleaning up the front face of the F28 bulkhead.
I will say that the removal of the right half moon structure was not drama-free, but the serious serendipitous lesson I learned during this process was absolutely necessary and critical in my book.
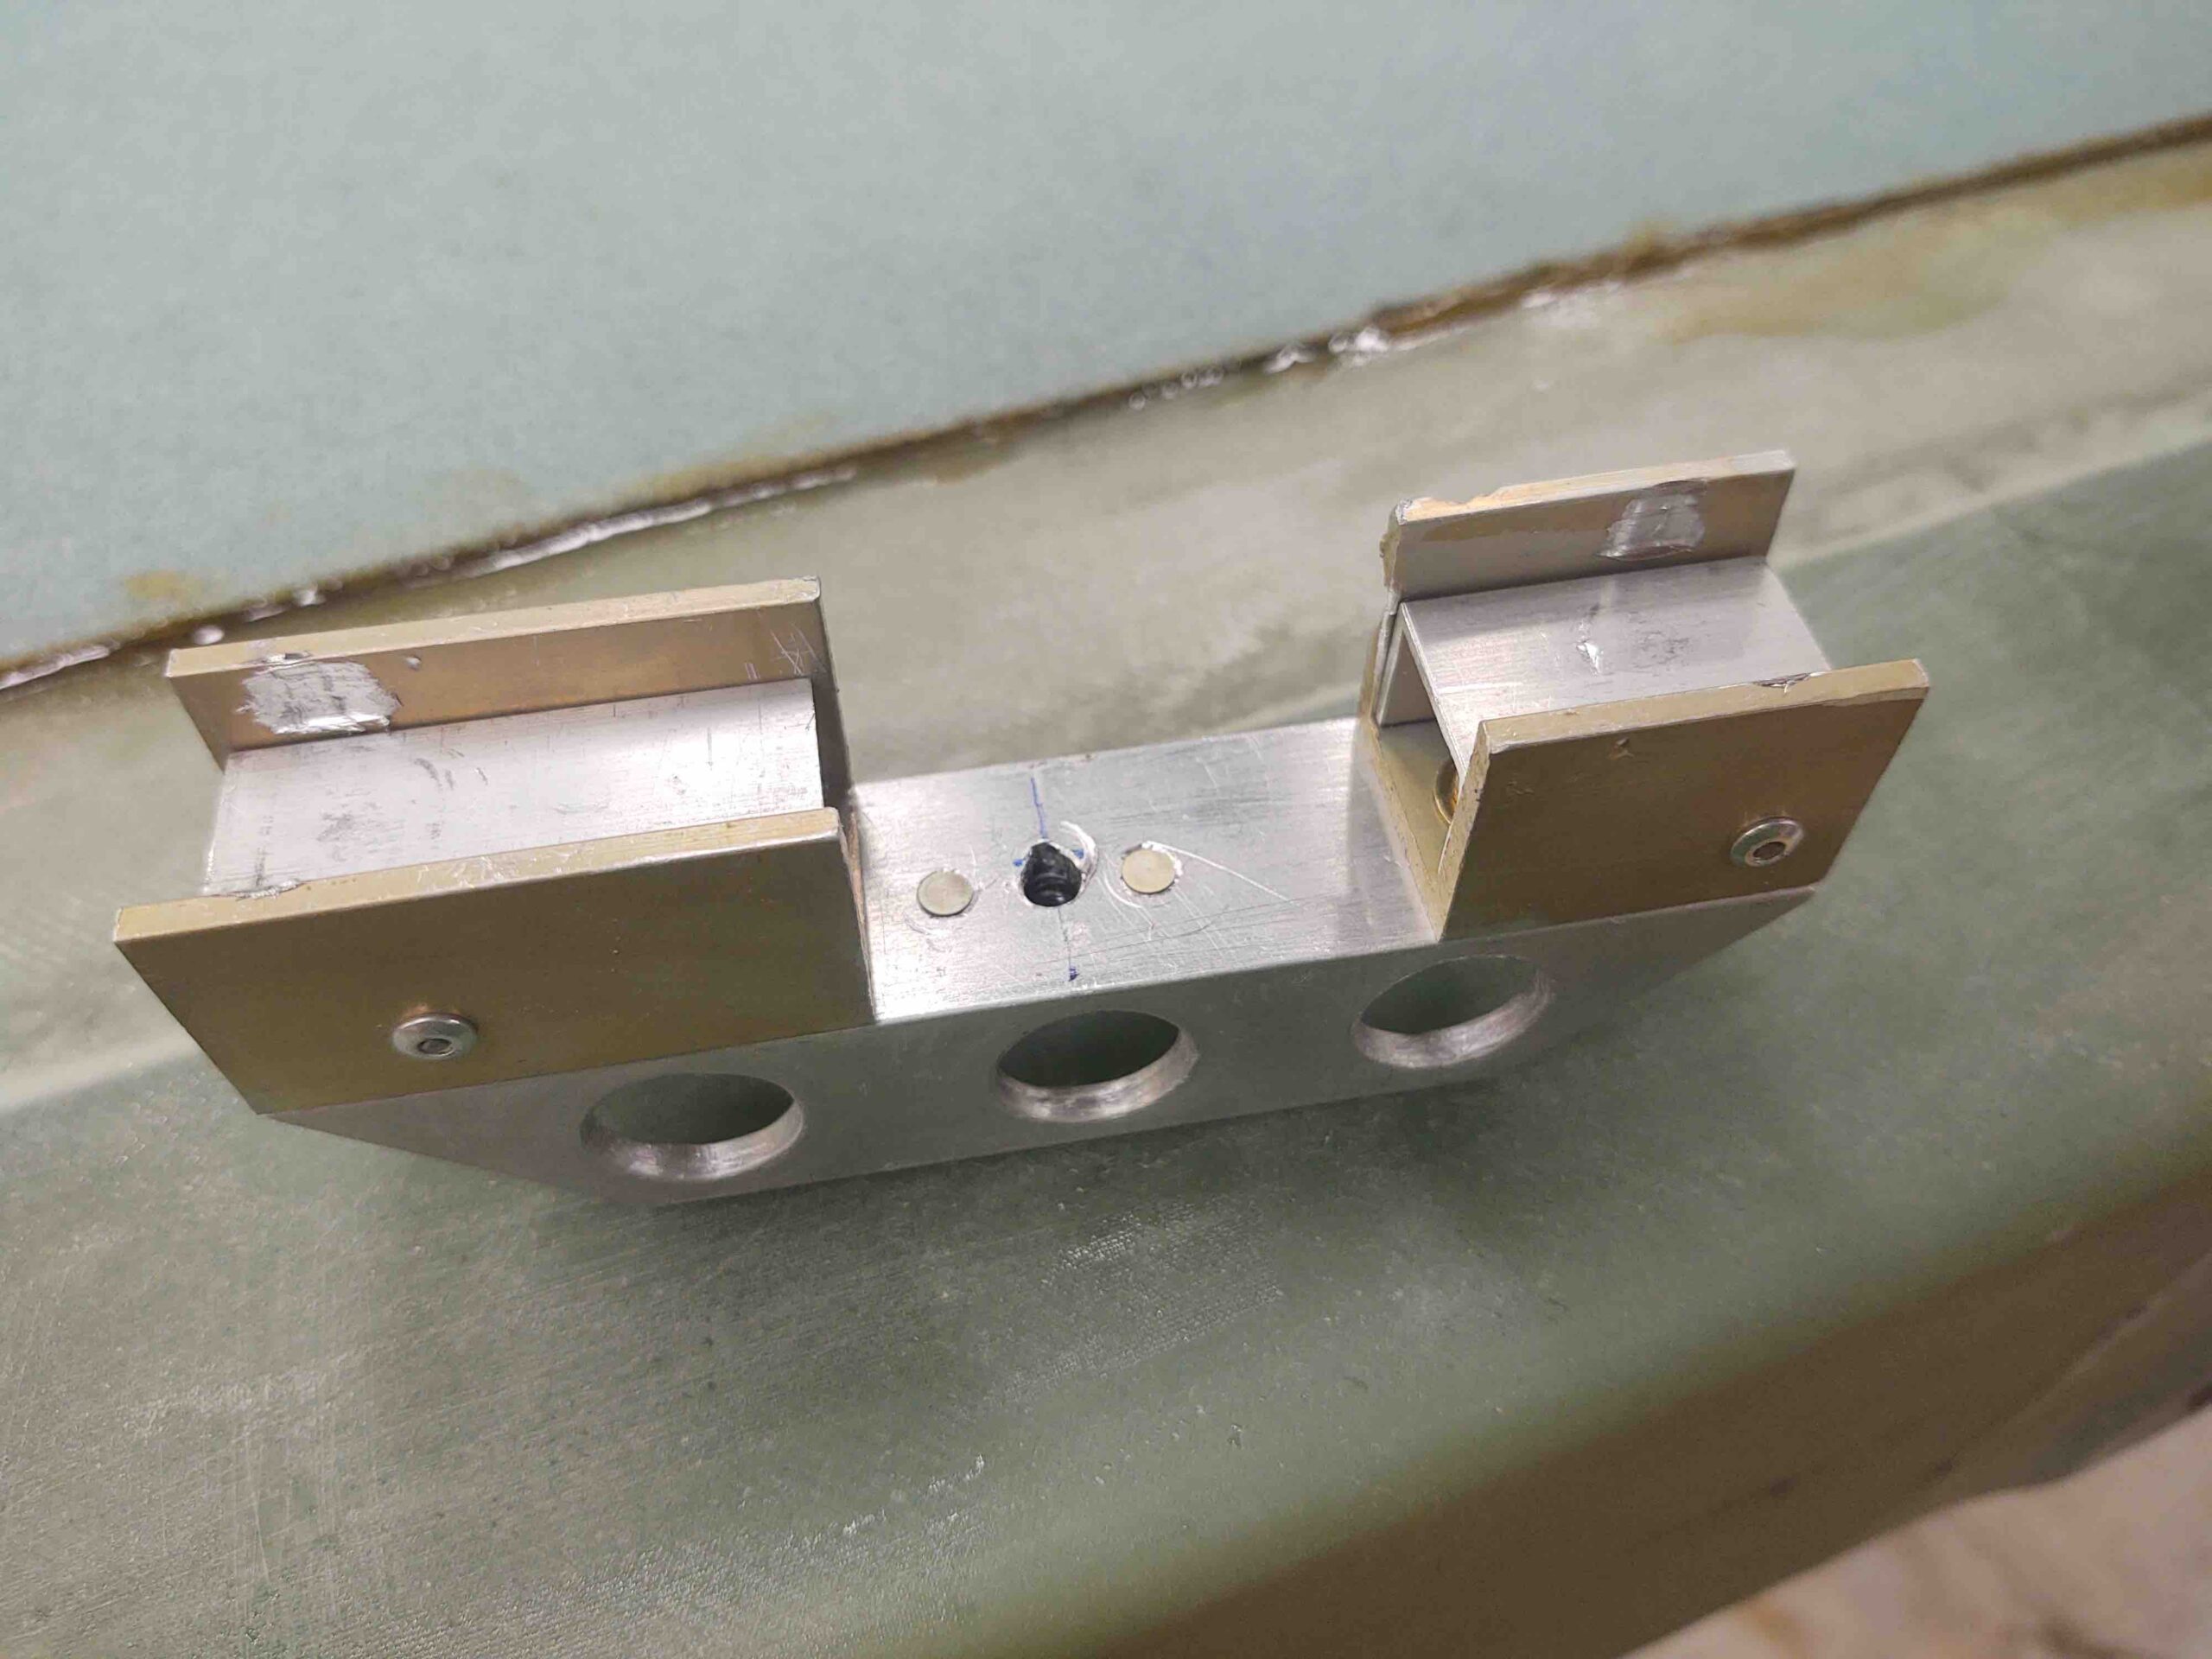
You see, in the low light situation during the install of the half moon structures last night, I was a washer shy on each of the right wing bolts. Thus, when the nut got to the shoulder of the bolt, where there are no threads, it locked against the bolt. And when I applied just enough torque, it caused the mounted wing bolt bracket inside the CS spar to spread apart just enough that the steel bolt head slipped… and gouged the softer aluminum internal sidewalls of the U-bracket.
Now, in this scenario I had access to the end of the wing bolts, so I simple Dremelled a slot in each one and used a large flat tip screwdriver to secure the now “loose”, free spinning but inaccessible (due to the damaged yet secured-in-place wing bolt bracket) wing bolts. I had the bolts free in a fairly short amount of time…. but what if this had been a mounted wing?? With my setup, over-torqueing a wing bolt could be very serious if the head were to slip in the bracket again.
This was, again, very serendipitous that it occurred at this point –when fairly easily recoverable– so that I can tweak the bracket design to ensure that this doesn’t happen during an actual wing install!

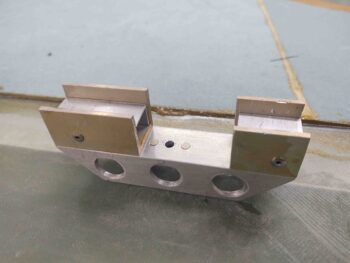
The first pic is of the damaged right wing bolt bracket… the other pic of the undamaged left wing bolt bracket.
With wing bolt bracket lesson learned in my pocket, I pressed forward removing the half moon structures.
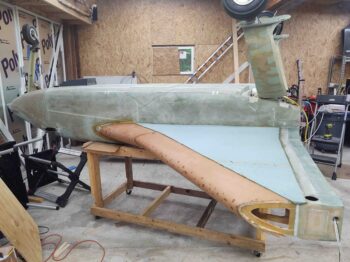
Here are a couple shots of my officially flipped fuselage.
Ok, now let’s get to work!