
Ok. Here’s the deal. I have a lot of wood in my house! Most of it I bought, but a fair amount came out of the shed from the house I just sold. A familiar story lately, yes, but I had to get it out of that house post haste, so it ended up in my garage.
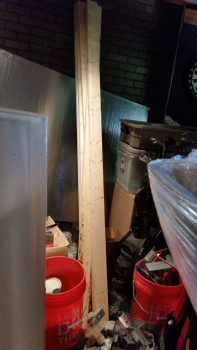
The pic below is the lumber I picked up to build my version of Marco’s “Straight Tower of Pisa” to mount my gear legs, wheels, etc. But I didn’t use hardly any of it, so it sits in my pool room, unused.
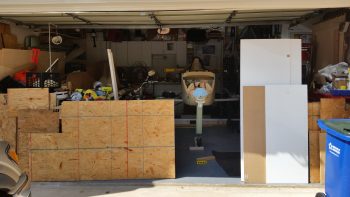
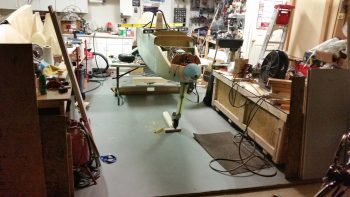
Then there’s the sheets of wood below. These are plain just getting in the way, I tell ya! As you can see, I have to move sheets of wood just to pull my motorcycle out to enable me to work on the plane.
I decided enough is enough. I needed more elbow space and there are two Long-EZ building-related wood projects I have in the hopper, so on Friday I decided that I would start work to get the wood cut for those, and then at a minimum build one them: the 3′ x 6′ electrical wiring harness plan table. The other wood project is a to-scale mockup of the front seat and instrument panel up to and including F22. I can then install whatever avionics and instruments I have on hand, configure wiring, confirm switchology and ergonomics, program the instruments needing it, and try out the fit and finish mocked up in a “simulator” to ensure all is good. The wiring piece is huge too, since I’ll be able to determine wire lengths, routing and bundling.
The end goal was to kill two birds with one stone by getting these wood projects built, but more importantly at this point is to get that lumber out of the shop!
Back to the electrical wiring harness plan table… I hadn’t really been overly concerned about building one since I didn’t really have a place to put it. But Friday morning I had an epiphany and realized that it would fit perfectly on the back wall of my master bedroom. And since I was also using a lot of ‘trash’ lumber, I decided to use some forest green paint I had bought a quart of to touch up the trim on the other house. Since I had 98% of it left, why not? It really did make all the disparate pieces of wood look much better, especially considering it was going into my bedroom (Yes, sacrifices must be made!). I finished cutting the wood pieces for both the wiring harness table and my fuselage/panel simulator mockup Friday evening, and then quickly threw on one coat of that forest green paint. I then hung out with my buddies Greg and LG for the rest of the evening.
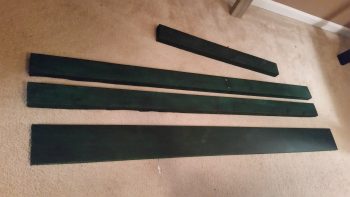
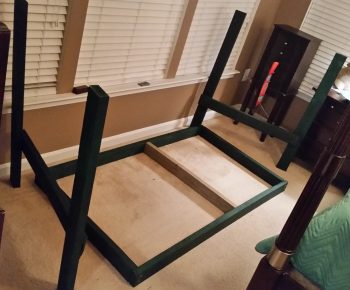
On Saturday, I went down to Hampton to visit my buddy Greg and didn’t return until late Monday afternoon (today). I had made a miscalculation on the length of the table previously, so I had to recut the 3 long pieces of wood seen in the pic below. While I cut these pieces, I also got out my table saw and cut the base table top and then the white melamine table top.
Here’s a pic of the table frame being constructed.
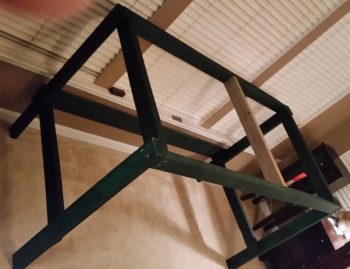
And then assembled.
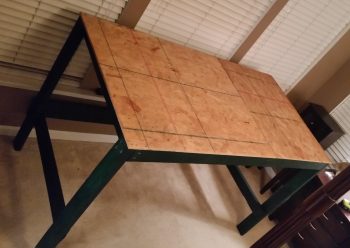
I then added the table top base material to add strength for the some what thin melamine.
I then added the melamine and secured it by screwing it the table base sheeting from below. I’m happy with how the table came out, especially considering that this was all scrap wood that was literally doing nothing but getting in the way. The table isn’t a beauty queen, but it appears to be definitely strong and functional enough to do the job.
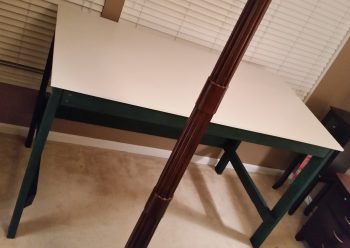
Most importantly, with all that wood gone and out of the way, I don’t have to haul lumber out of the garage just to work on the plane. (The sheets of wood on the left side of the pic are the sides of the fuselage/panel simulator).
With this task out of the way –and much more room to work in the garage– tomorrow I’ll start back on prepping the wheel pants for install. In addition I’ll be researching EVERYTHING I can on best practices for drilling/installing the wings to the CS Spar, and then the CS spar & wings to the fuselage.