With the the left side foam prepped for glassing last night, I did a quick crosscheck and cleaned up a few minor rough spots. I made a 2-ply UNI layup employing the “Poor Man’s Pre-preg” technique. With plastic sandwiching my 2-plies of UNI glass I would be able to drive out more excess epoxy and easily cut the layup into the shape I needed, which was a somewhat inverted “T” shape… a “T” due to the repaired crack going up the outside of the left side fuselage wall and the subsequent slight “creasing” of the inside fuselage wall glass (running nearly entirely from the top of the fuselage down to the bottom edge).
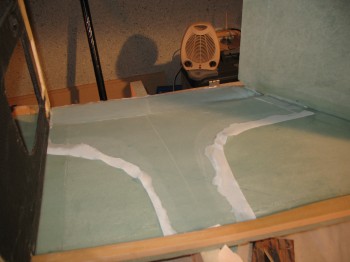
Before actually laying my 2-ply UNI pre-preg setup, I refloxed any seams and edges on the front seat & instrument panel to fuselage junctions. I laid up the 2-plies of UNI (crosshatched at opposite 30° angles just like the original layup) and then peel-plied the entire layup.
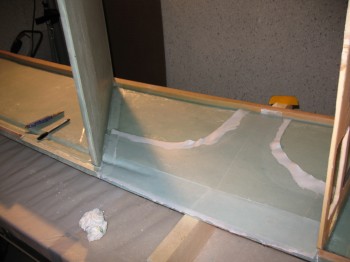
Having prepped last night, including cutting the UNI cloth (I used scrap pieces left over from previous layups), I was able to lay up this glass over lunch so that it would cure enough by evening to be ready to remount the lower triangular longerons.
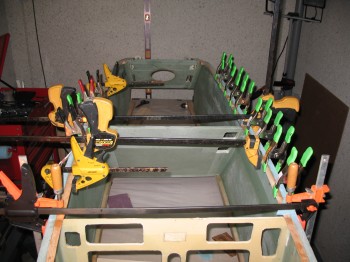
Once the left side 2-ply UNI layup was cured, I cleaned up the edges of the layup and ensured it was good to go for mounting the lower triangular longerons (or stringers). I measured, trimmed, sanded and fitted the triangular stringers for each side of the fuselage. I made sure the new stringers were aligned with and followed the contour of the bottom edge of the fuselage and clamped them in place. Then, just like for the original mounting, I drilled 4 nail holes through the stringers and fuselage below to ensure the stringers would stay in their respective positions & be correctly aligned.
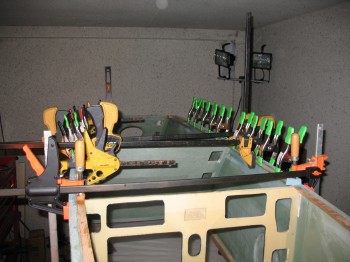
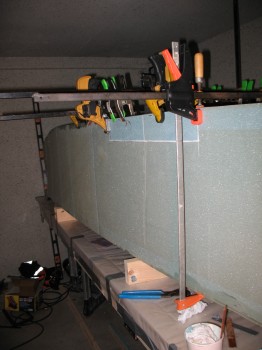
After I test fitted the triangular stringers I mixed up a batch of flox and then floxed, nailed (aligned) and clamped the stringers to the fuselage side walls. The floxing included the area between the front seat corner and the stringer, and the areas where the stringers abutted the instrument panel as well. Note in some of these pics you can see that I used a center clamp as an expander to push the fuselage walls out in order to help maintain the original curvature and shape of the fuselage.