
FUSELAGE IS REPAIRED!!! YEAH!!
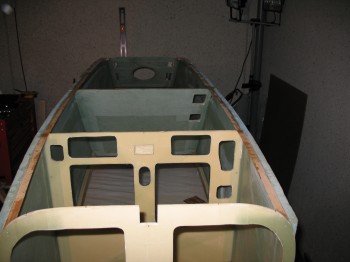
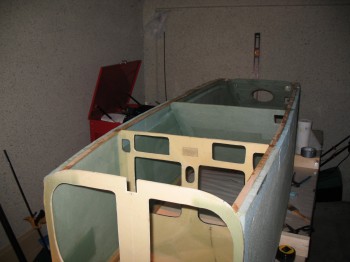
Whew! I removed the clamps and nails from the triangular stringers and ALL LOOKS GOOD! Again, the fuselage is repaired and I can move on!

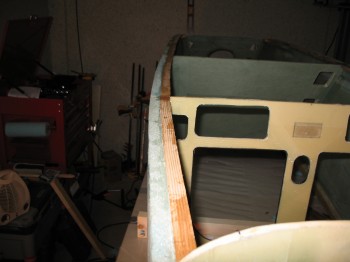
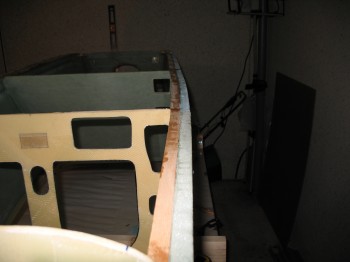
The side panels looked good & everything appears nice and strong! The curvature of fuselage sides looks good. There’s just a faint bit of a flat spot on the right side fuselage, but nothing to warrant concern.
 But . . .
There ain’t no rest for the wicked!!
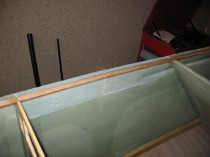
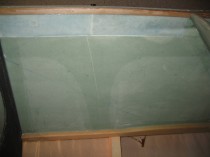
So I cleaned up the work shop and prepped for knocking out (aka “fixing”) the fuselage bottom.
Chapter 6 Step 2 of 2 – Building & Installing Fuselage Bottom
If you remember back to my issues prior to leaving Virginia during the glass layup of the fuselage bottom, you’ll remember that I had to rip the back half of the glass off. What remained was a lot of epoxy and micro. That epoxy and micro is now in a state that I call “dead micro” and “dead epoxy”. It’s there & present, but it ain’t doing anything for ya (or me actually). So in order to make a fresh layup of glass I need to remove all that epoxy and micro down to fresh foam. This actually equates to a thickness around maybe .05″ on average, a maybe just a couple places just under 1/10th of an inch. But for the most part, not very thick. My tool of choice here? I choose Dremel. It might take a while, but it’s got to be done!
So tonight, fresh of the victory of getting the fuselage back on line, I’m going to try to get a chunk of this back half of the fuselage bottom knocked out.