
Well, another repair in the making. Which leads me to somewhat of a philosophical observation that I made to my buddy Marco one day:
Building an experimental airplane is really nothing more than having the wherewithal to continuously fix all the mistakes you make as you build it.
With that point in mind, I spent the entire evening hunched over the back half of the fuselage bottom, sanding off all the dead micro & epoxy. I’ve got to get to that fresh foam before I can reglass the back half of the fuselage. [Uh, so I got a little carried away last night after the fuselage repair was finished and I failed to take any “before” pics of the back end of the fuselage bottom.]
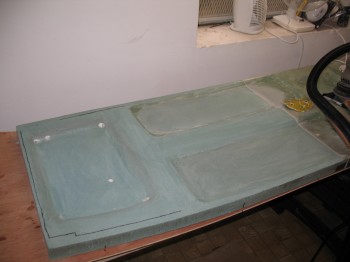
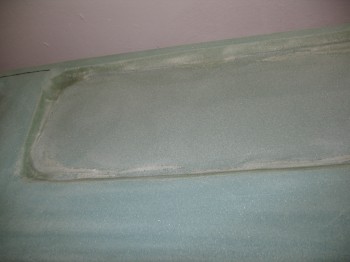
After I got the back half of the fuselage bottom down to foam, I evaluated the front half of the fuselage bottom surface. Not nearly as good as I had hoped . . . that botched vacuum bagging effort really took its toll on this layup. There were a few distinct areas on the front half of the fuselage bottom that were grossly delaminated. In the areas of smaller air pockets I simply drilled holes and injected the delams with epoxy via syringe. The larger delaminated areas I ground out the dead glass and will add an extra ply of glass overlapping about 1″ onto the good skin of the fuselage bottom layup. It will add a little extra weight, but there is definitely enough good fiberglass on the surface to negate grinding off all that glass down to foam to reskin. I’ll live with the little bit of added weight.
I guess it’s all part of paying the piper in the game of homebuilt airplanes.