
Now that the fuselage side crack is repaired and the micro has cured, it’s time to move onto inserting the foam pieces to repair the fuselage side walls.
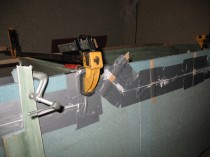
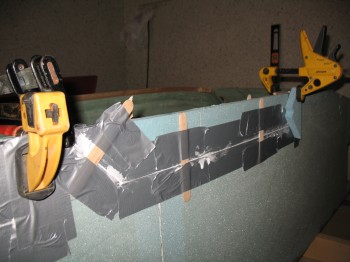
The first step in all this is to PROTECT the foam! From what? You may ask. Well, both micro and flox are wonderful stuff, as is their base component: epoxy. But all of this stuff should be minimized on any bare foam pieces that will later be glassed. Layups are finicky endeavors and fiberglass likes sticking to fresh, clean stuff… not old nasty crusty dried up micro, flox or epoxy. So, to protect the surfaces we tape right along the edge of the foam on each side of the micro seam. From there on, we just need to ensure we try to not ding or crush the foam, although dings are easily remedied with? Yes, Micro!

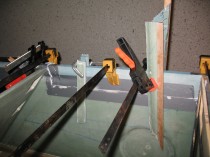
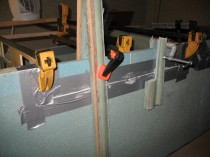
To ensure that the inserted foam lines up evenly with the existing fuselage sidewall, popsicle sticks are placed every few inches to keep the surfaces on each side of the micro junction even.
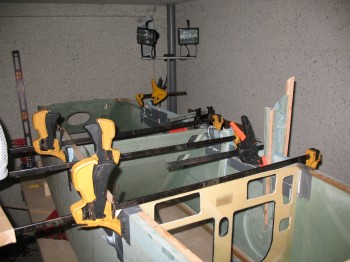
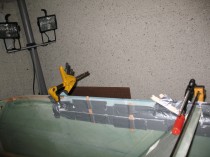
Once the micro is lathered onto each side of the foam pieces being joined (in a manner very close to using wood glue to join two pieces of wood), the pieces are simply placed together and then firmly held in place (clamps, weights, hand pressure). Any excess micro is quickly removed so as to minimize contamination on the yet-to-be-glassed foam surfaces.

I like to clean up the seam of the two foam pieces being joined by using the rounded part of a small popsicle stick so that there’s a slight depression, or trough, along the entire joint. That way when it gets glassed later on, there’s no rough lines of micro protruding above the level of the foam.
Note: Micro dries very hard. It can be sanded, but sanding can be a little dicy if it’s that close to the foam surface, since the foam surface would most likely get damaged, and needs filled with . . .? Yes! Fresh micro immediately before the next layup. As you can see, much of the game in composites is trying to always think ahead and prep for that next layup that will take place on the piece you’re currently working on.

Notice in this pic above that I keep pressure on both ends to ensure the micro will cure that foam joint nice and even (there’s tape under the clamp feet so they don’t get micro’d to the joints). Also, notice the clamp on the inside of the fuselage—midway between the two outer clamps—providing outward pressure so that the foam insert here will cure in as close to it’s final curved position as possible.