
Today I took all the Frankenstein accoutrements off the fuselage (for you lesser-refined non-French speaking folk, that would mean clamps, tape, popsicle sticks, etc. Ha!).
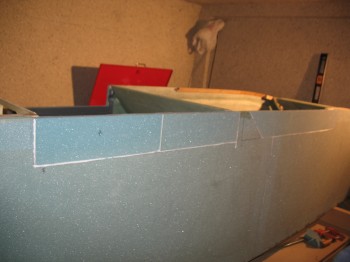
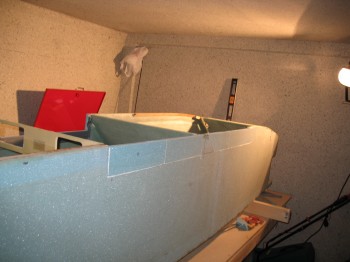
Cleaning up the seams and the micro doesn’t seam like it should take that long, but this took a few hours to get it back into decent shape for eventual glassing on the surface. Also, remember that although the pics show the outside of the fuselage, the same amount of work (or more!) has to be completed on the inside. Still, the right side lower foam is looking pretty good now and I’m please with the outcome.

 The micro looks nice, not too much contamination or ridges along the seams.
 What’s not shown in these pics is the reshaping of the channel-style depression I had running pretty much the length of the lower fuselage to mount the cables and/or fuel lines into. I didn’t cut the whole channel again, I just shaped a little entrance ramp/divot so that it can flow around the front seat bulkhead. It should make more sense when I take pictures of it tomorrow.
After these pics were taken, I prepped two separate “pre-preg” setups with 2-plies UNI at opposing 30° angles, just like the original skin. I laid those up then peel-plied them so they’ll cure overnight.