
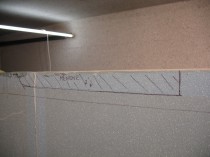
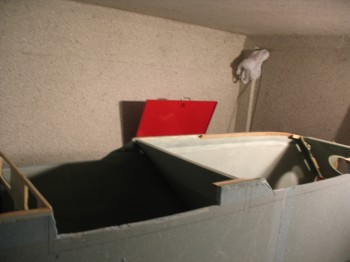
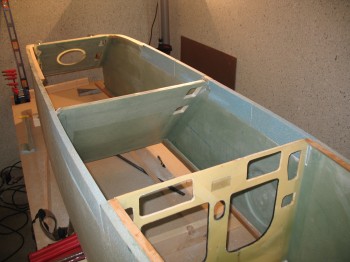
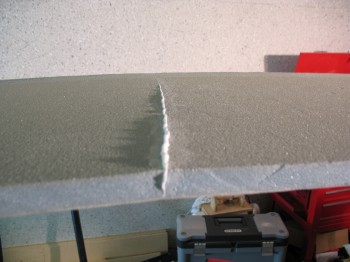
So, here we go! Lock & load. Tonight I’m starting on the repairs to the fuselage damaged in transit from Virginia to Germany. The first thing I did was to mark off the cracked and damaged areas on the lower fuselage sides (the fuselage is shown inverted in these pics).
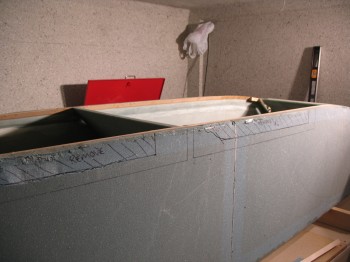 I marked off the minimum area possible to be removed to a) keep as much of the original foam and fiberglass intact as possible to maximize structural integrity, and b) use the least amount of foam as possible for the repair inserts.

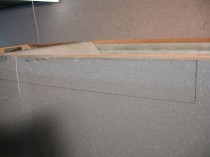
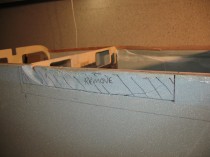
I used a battery powered thin-kerfed circular saw and a “Fein” tool to cut out the damaged areas.

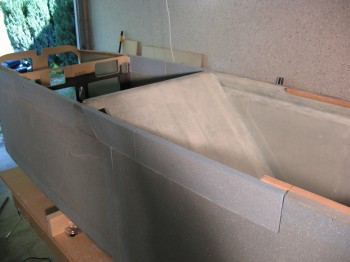
I took my time to ensure I got as nice of a clean cut as possible on all edges of the foam pieces that I was removing. While micro would fill in any rough areas, I wanted as little micro as possible in these joints to minimize weight. Besides just being a royal PITA and adding time to the build, the very real downside to this repair is that weight will be added. Of course, any added and unnecessary weight is just not good.
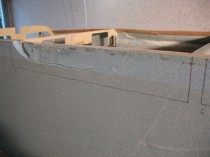
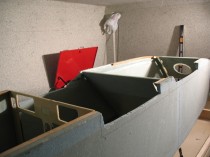
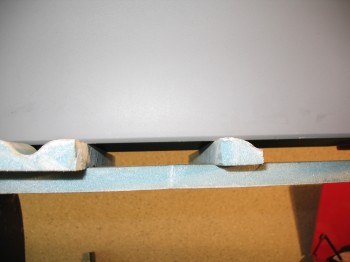
After I cut the damaged foam areas out, the next thing on the to-do list was to remove the damaged triangular longerons. As I said before, I had to take a good look at this and really evaluate the best spots to tie in the new longeron pieces so that I would maintain the original curve of the fuselage as best possible.

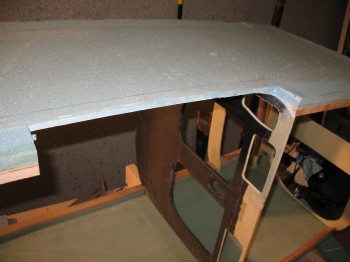
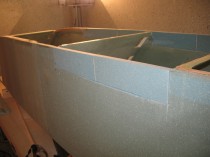
After I figured out the dimensions and locations of both the foam repair insert pieces and the triangular longeron repair pieces, I needed to clean up the fuselage side of all the surfaces and edges that would get the new repair inserts attached to them.

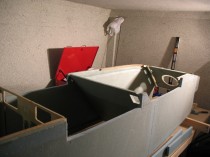
For the wood remnants leftover on the fuselage side walls, I started with a chisel and then sanded the remainder away. The foam wasn’t difficult to work at all, just a few swipes with the sanding block and a quick look to make sure the inside corners were square.
Once the surface was cleaned up, I started measuring the foam insert pieces to get a snug fit. If the piece is just a hair ‘too long,’ it might assist just a bit to keep the curve of the fuselage.
Once the foam inserts were cut to size, it was time to start microing them in place.
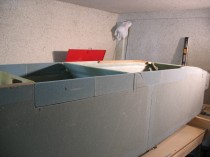
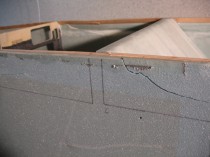
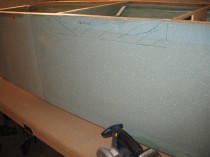
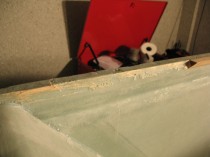
Before I could actually start microing the foam pieces into place, however, I needed to take care of one more key piece of business. Not only did the movers damage the lower fuselage sidewalls and triangular stringers, but they cracked the foam and slightly creased the fiberglass going up almost to the top longeron situated about halfway between the front seat and the instrument panel on the left fuselage wall. I would have to repair this first before I could micro in the foam repair pieces.

I let the micro repair to the crack in fuselage side wall cure for the night and would start on the foam inserts the following day.