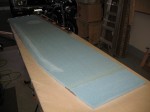
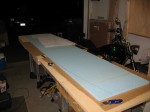
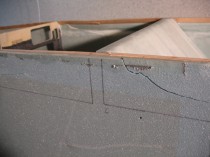
So, here we go! Lock & load. Tonight I’m starting on the repairs to the fuselage damaged in transit from Virginia to Germany. The first thing I did was to mark off the cracked and damaged areas on the lower fuselage sides (the fuselage is shown inverted in these pics).
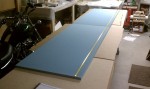
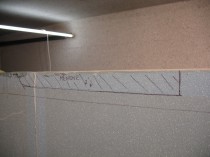
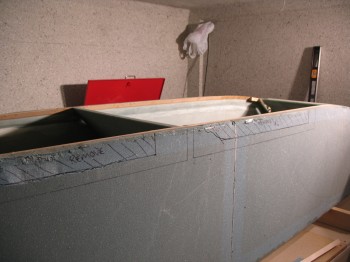 I marked off the minimum area possible to be removed to a) keep as much of the original foam and fiberglass intact as possible to maximize structural integrity, and b) use the least amount of foam as possible for the repair inserts.

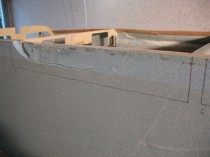
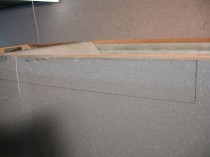
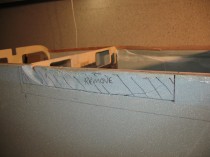
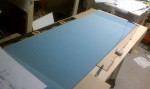
I used a battery powered thin-kerfed circular saw and a “Fein” tool to cut out the damaged areas. Continue reading