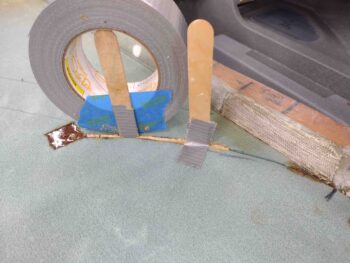
After returning back later this afternoon from my quick overnight trip to Raleigh, NC, I got to work sanding the left bottom winglet to allow for attachment and micro finishing. I had missed a couple of spots on the right bottom winglet that I touched up as well.
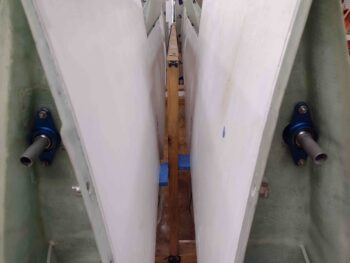
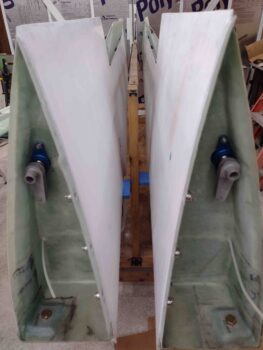
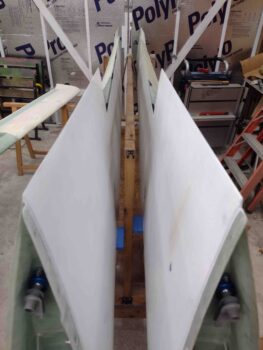
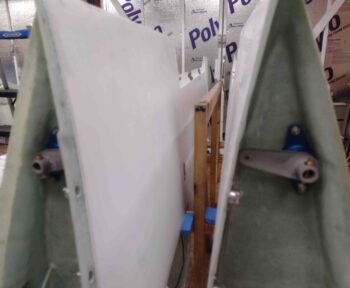
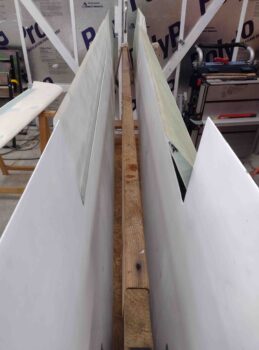
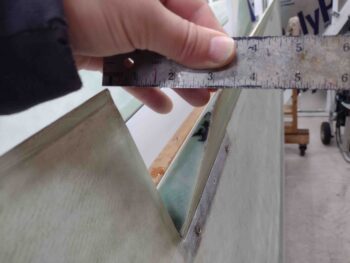
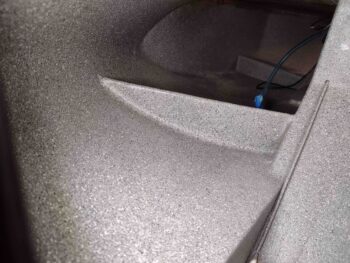
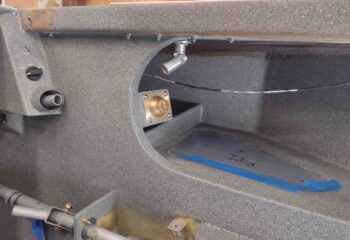
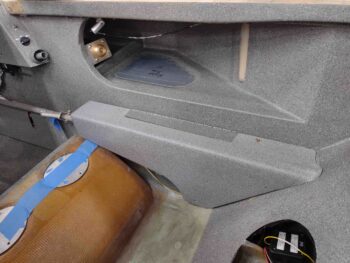
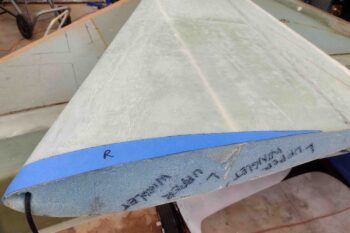
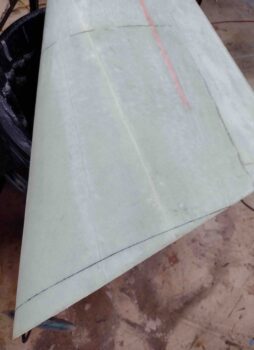
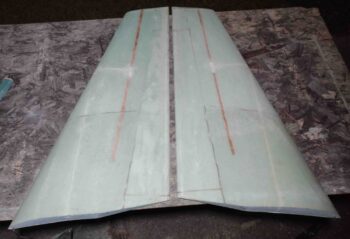
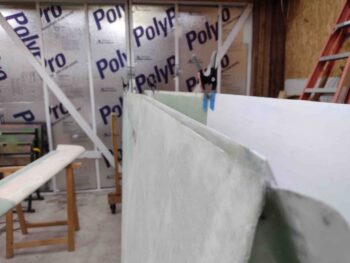
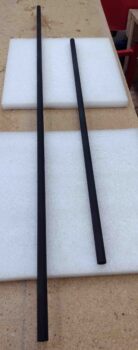
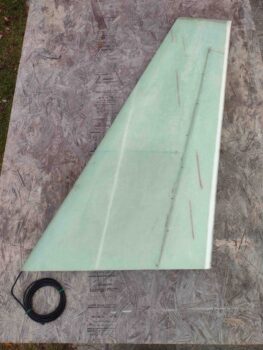
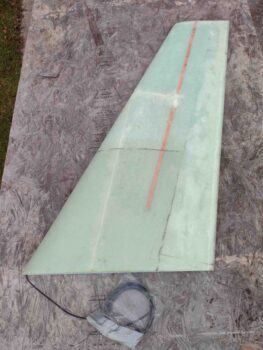
Here’s a front head-on view of the bottom winglets.

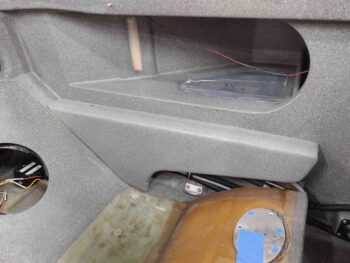
My next sanding task I intend to knock out this week are the wheel paints.
I need two things before I mount the wings back onto the bird: 1) Rework the internal CS spar wing bolt brackets for the outboard pair of bolts. This is the wing bolt mod that a lot of EZ owners/builders do that have the wing bolts captured internally sticking out of the spar facing aft to make it EZ to put the wings on… especially with just one person. Most bubbas use a low-profile piece of aluminum U-channel, but since I have to have a “bridge” to get over the internal cable conduit, I’m going to need a couple of 1″ square coupons of steel U-channel. That will requite some TIG welding. More to follow on that, which I plan to focus on tomorrow.
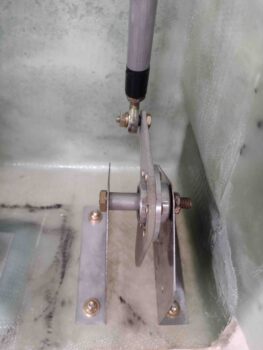
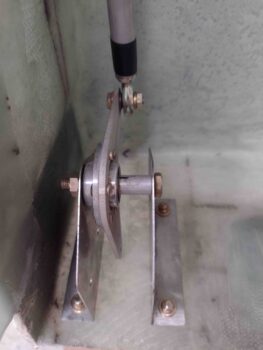
Item #2 is the MM-4/HM-4 rod ends that I need for the CS128 aileron control tube bell crank that came with 1/4″ bolt holes (I’ll note all the other components had 3/16″ bolt holes). When I mount the wings I want to test out the aileron travel on each side and be ready to knock out linking up the entire firewall-aft aileron control system.
With delivery from ACS set for Tuesday, that gives me the next day and a half to get the welding knocked out before the MM-4s go in. I plan on having the wings on Tuesday night, and start shaping the top strake skins Wednesday. Then planning on having top strake skin layups complete by this coming weekend.
My next task after the strake top skins are glassed is mounting the winglets to the wings. Not wanting to jump into the welding fray tonight, I finally decided to figure out the winglet lower template and get the bottom edge of the winglets trimmed in prep for mounting to the wings.
My first task was to find and mark the centerline of the upper winglets leading edge (no pics).
The next step per plans is to use the paper template from the plans and glue it to the inboard side, as explicitly stated in Chapter 20 of the plans. I had grabbed a copy from a build buddy that has a real set of plans, since mine are the PDF version. In my ignorance and naivety back in Germany early on in this build, I thought it was a template like all the others (canard, elevators, etc) so I put it on a piece of 1/4″ thick plywood. Probably a good thing in the end since it survived all these years!
Now, in assessing this entire template fitting deal, my buddy Dave Berenholtz discovered that the template fit a lot better on the flatter outboard side of the winglet… obviously counter to what the plans say. And we all know there are errors in these plans… they are not infallible. Since I was using my wood template to make up blue tape template “appliqués” I decided to test Dave’s method as well as follow the plans.
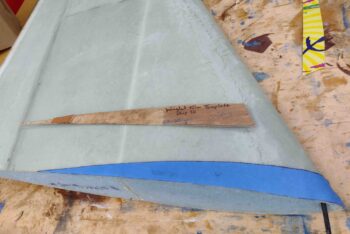
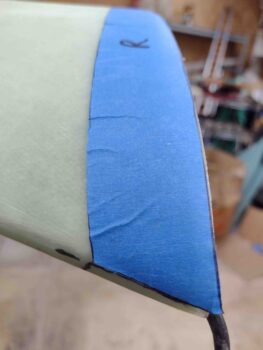
OVERVIEW: If you set the pair of winglets upright in front of you looking at the leading edges, you would have 2 left sides and 2 right sides. If you broke down, say the left sides (in relationship to sitting in the plane), one would be the inboard of the right winglet and the outboard of the left winglet. Since I do everything exactly as Burt says to (haha!) my primary focus is on the inboard edge (plans method). Thus as per my example I labeled my blue tape template “R” for the inboard right winglet (“primary”), but also used it on the outboard LEFT winglet (“secondary”). Clear as mud?
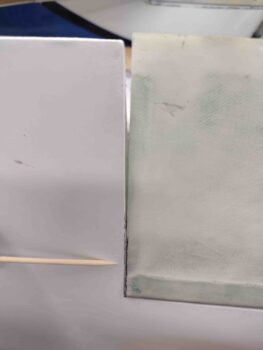
Using my example above for the other side, the LEFT blue tape template above is applied to the right winglet’s outboard side (secondary). I then marked the edge of the tape template and carefully removed it.
I then used the same LEFT template for its primary purpose, marking the left winglet’s inboard lower edge (primary). After the tape template was in place I then marked the cut line and removed the tape.
Here we have pretty much my initial example in action. The RIGHT blue tape template is applied to the outboard edge (secondary) of the left winglet… I then marked it and removed the tape (no pic).
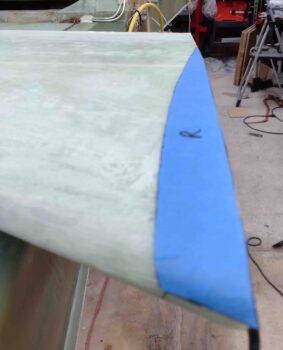
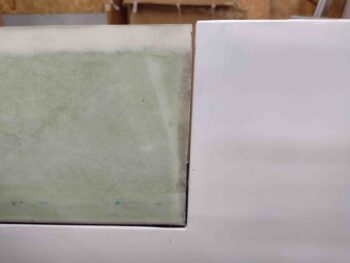
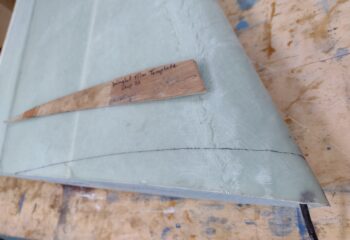
I then used the same RIGHT blue tape template and applied it to the inboard edge (primary) of the right winglet (note the leading edge centerline marks)….
And marked the edge of the blue tape template onto the winglet with a narrow point Sharpie before removing the template.
Well . . . I could stair at these lines and wonder if they were right or not, or in my bull in a china shop fashion I could just cut the damn things. As Tony Stark so aptly states in the Iron Man movie, “sometimes you gotta run before you can crawl!” … ha!
It was early evening and since it’s Fall here we lose daylight much faster now. If I was going to cut these things today it had to be sooner vs later (unless I wanted a messy shop!).
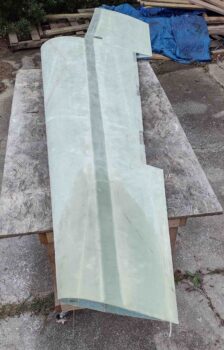
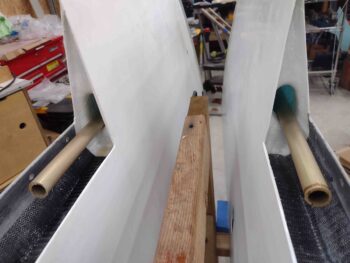
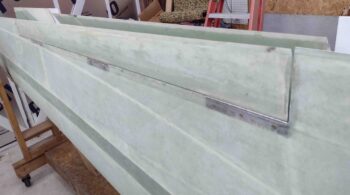
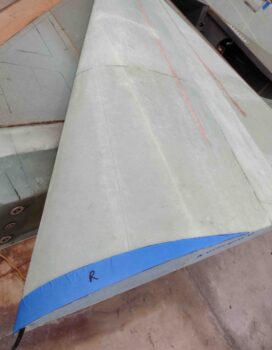
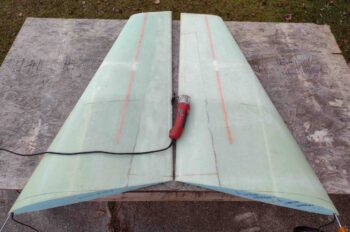
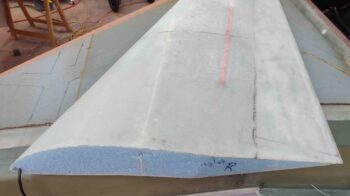
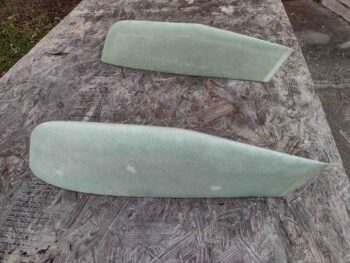
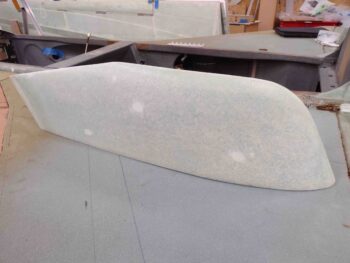
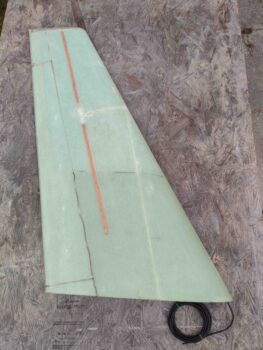
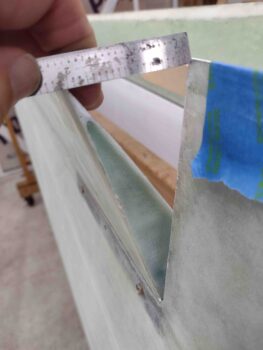
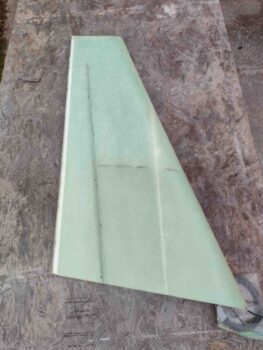
Here we have the marked pair of winglets, ready to trim the bottom edges to allow them to fit the wing tips.
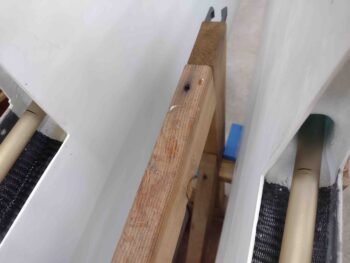
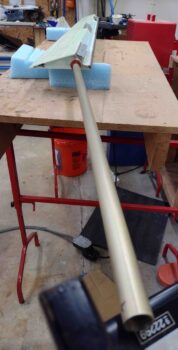
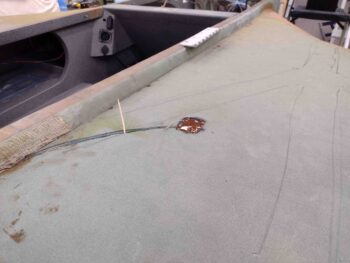
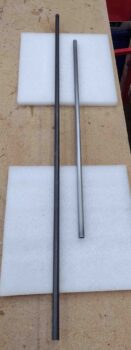
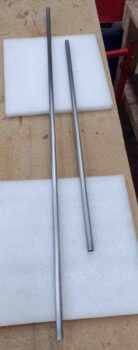
I put flat tip screwdrivers over the RG-58 radio antenna cables (shows you how long ago I started this project… I would have used RG-400 had I built these 6 months later than I did) to protect them.
I then used my ever-trusty Fein saw to trim the inboard cut line just below and inside the line on the right winglet. With a little coaxing (pardon the pun) I removed the glass skin piece.
And then did the same thing on the left winglet.
I then slowly —in 3 phases— used my Fein saw to cut down into the foam, perpendicular to the cut line. The real focus here is that inside line since the outboard side doesn’t have to be exact since it hangs out into air and doesn’t mate with anything other than the Block ‘A’ piece of foam and eventually the lower winglet… both trimmed to fit the outside edge, not vice versa. Which is why I’ll note that the plans state, “Mark the trim line then saw the piece out (coping saw) sawing roughly perpendicular to the mark.”
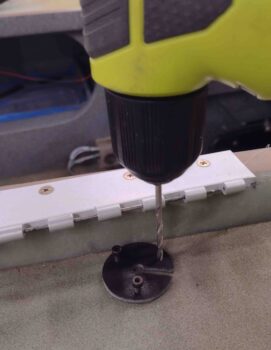
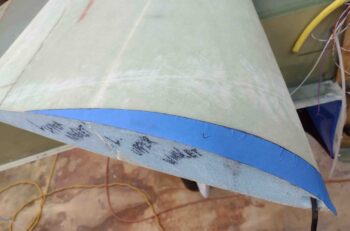
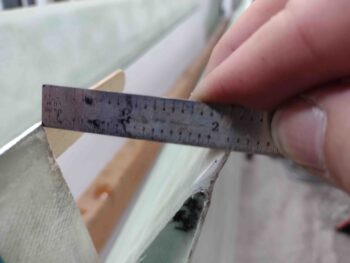
Once all the foam was removed to the other/inboard side, I used a long 1/8″ drill bit to drill just slightly below (aka towards the original bottom winglet edge) the foam’s new rough contoured shape. I then flipped the winglets over and drew the line along the top edge of drilled holes also using the marked template line as a general guide for the shape. I then cut the outboard sides of the winglet bottom edges, before using a narrow sanding block to clean up the new bottom winglet surface.
I’ll note that my resulting outboard cut line was about 3/16″ below the cut line of the outboard template, on both sides. This tells me that using Dave’s method works fine (it obviously did for him!) with just around a negligible 3/16″ less height on the winglets… in my armchair engineering assessment!
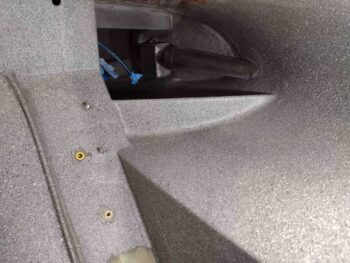
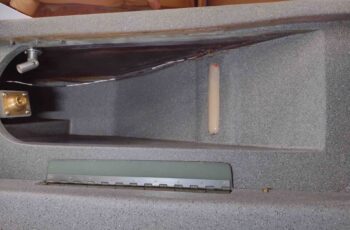
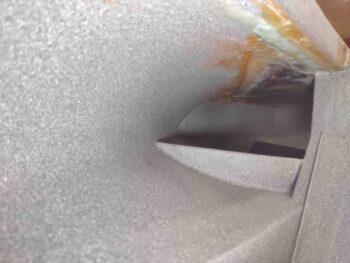
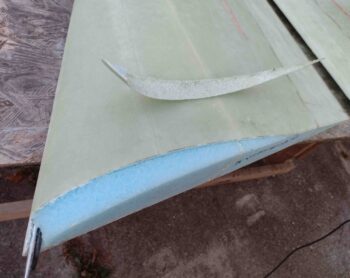
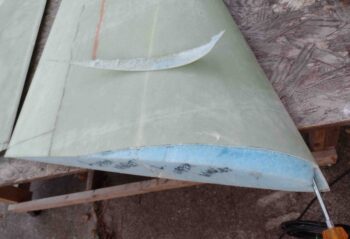
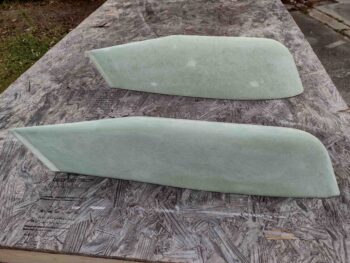
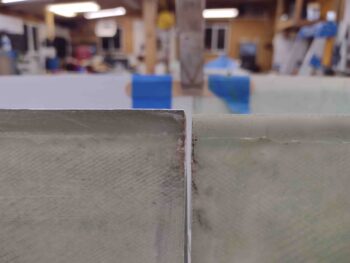
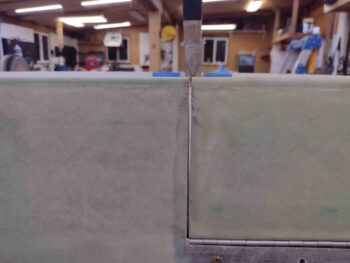
Here are some shots in the lit shop of the freshly trimmed right and left winglet bottom surfaces.
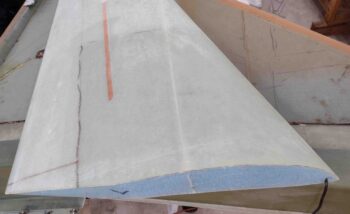
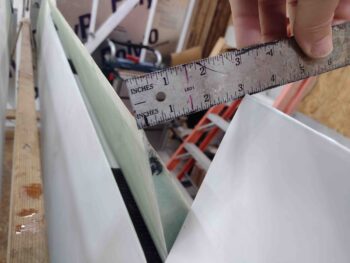
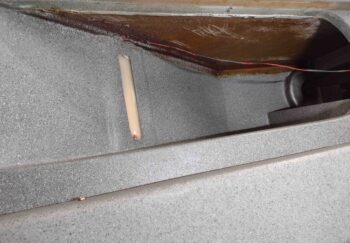
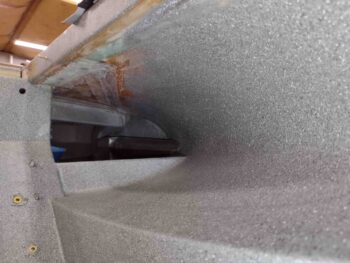
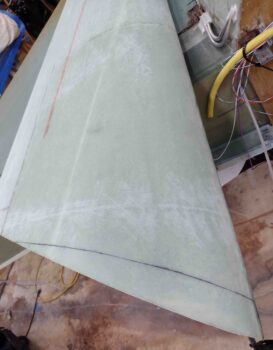
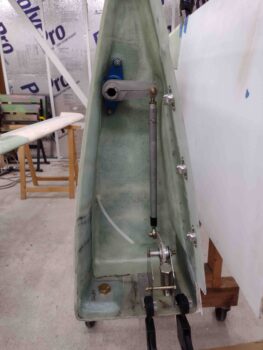
I did a quick check of the right winglet on the end of the right wing to see how my cut line came out.
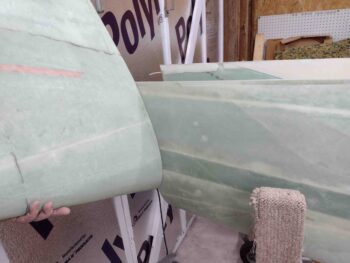
Pretty spot on considering I haven’t even really cleaned it up or sanded it smooth yet!
Now that my curiosity was abated on the lower winglet template fitment, I then propelled myself into another issue that I find somewhat perplexing with the build process on these birds.
BACKGROUND: LPC #131 in CP 49 is a mandatory ground plans change that mandates using 4130 steel control tubes for the ailerons aft of the firewall. As an aside, I know some Long-EZs that are still running aluminum and that is a risk assessment we all must make. To be clear, I say that with zero judgement. Since I will have a titanium wing root cover plate I personally decided to go with aluminum CS129s inside the wing root, but where my control tubes are exposed I went with 4130 steel in line with this CP change.
But wait, there’s more.
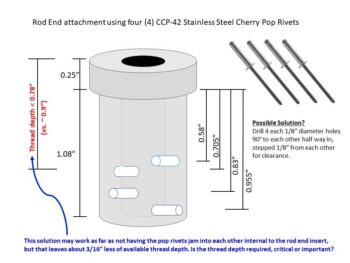
LPC #131 specifically addresses replacing aluminum components that are less than 0.1″ thick. That’s why the aluminum CS128 bell crank and CS131 spacer are still used since they meet this requirement. CP 50 provided further clarification on this plans change and gave more specifics for its implementation, including using “four (4) stainless steel pop rivets, such as Cherry #CCP-42.”
I will note that this last statement is easier said than accomplished in the real world. I’ll also note —let me be clear that I AM NOT FRAGGING ANYONE!— that I still see a lot of folks with steel control rods and solid aluminum rivets… which I’ll point out are 1/8″ diameter so should technically meet the 0.1″ LPC #131 requirement, if it weren’t for the CP 50 SS pop rivet comment.
I will again state that I have no dog in this fight. I am not a deputized member of the Canard Police Force that tells everyone how their stuff is not per plans and to proclaim 50 “hail Burt’s” for redemption…. I ask because I’m curious or will say something if it looks really dangerous. My notations and questions are ones of interest and curiosity.
Now, as any good military officer will do during Operational Planning, I’ve framed the problem as I see it. If any of you have any other info or methods, please feel free to give me a shout.
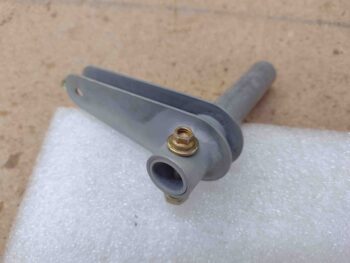
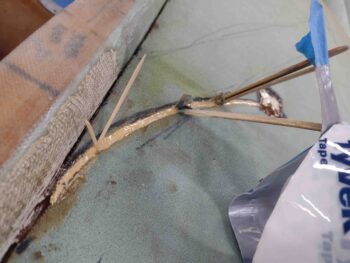
Here is my take on how we use solid aluminum rivets to mount a Rod End insert into the end of a control tube… EZ/PZ:
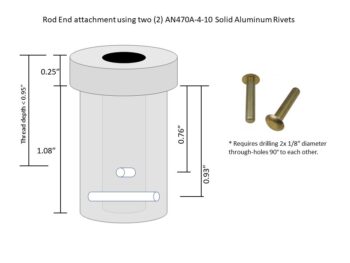
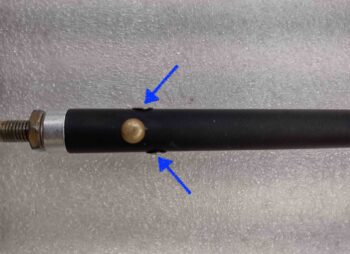
CP 50 states to use four (4) cherry pop rivets, #CCP-42s. Ok, but hold the phone Bucko! There is an inherent clearance issue here (remember, this is even before we went to 1/4″ rod end inserts!) in that one drilled through-hole with pop rivets going in at 180° out from each other has the first one going in fine, but the second one —although it will go in— does not seat 100% against the surface of the control tube. Is this acceptable? I guess that’s a personal choice. In my book not as a standard practice for every rod end getting installed.

So how about if we offset every hole for all 4 pop rivets getting installed? Well, we need 1/8″ between the holes (and with the way pop rivets flair internally that’s even a minimal clearance spacing… it’s tight). Ok, so check this out. Note how we eat up our available depth to thread the rod end into the insert.
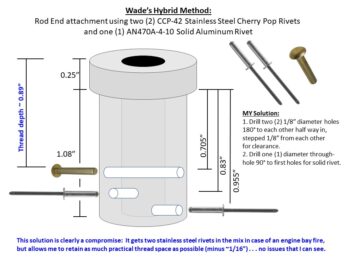
I’ve learned that in negotiations that compromise is actually the least beneficial to both parties… but here in the technical world I think it worked out ok. This is my method of dealing with this internal clearance/crash issue with the pop rivets… I simply did a personal risk assessment and pressed forward.
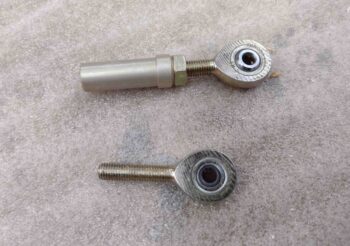
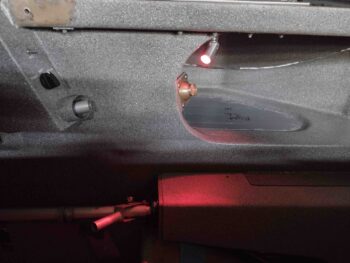
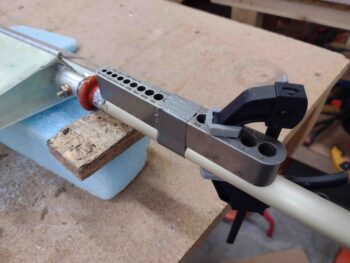
I’m using two stainless steel cherry pop rivets (CCP-42) and one solid aluminum rivet. As I note in the graphic below, that gives me 2x non-melting securing points in case of an engine fire… and let’s be honest, those are not an overly common event. I place this in the realm of remote possibilities, but let’s still be prudent and as safe as possible. Right?
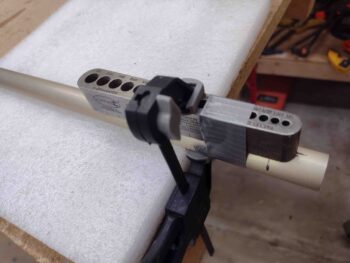
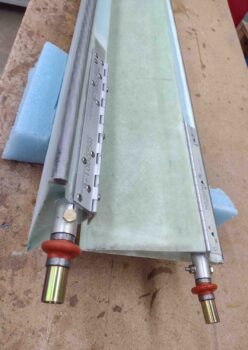
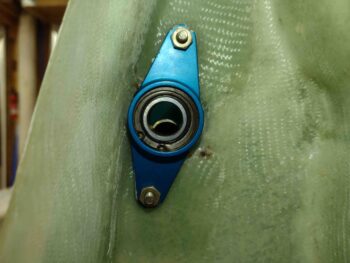
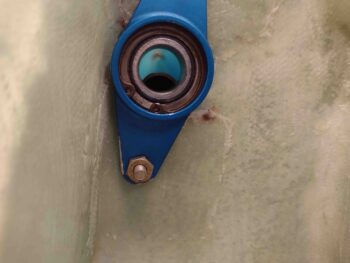
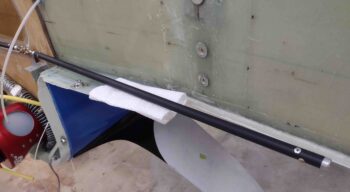
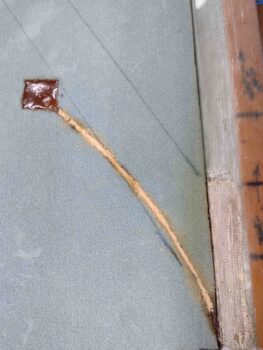
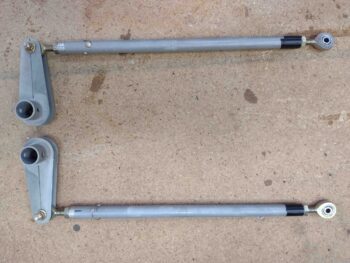
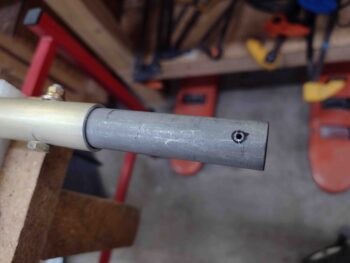
Here are my aileron control tubes —CS 125 & CS126— painted black with the rod end inserts riveted into place as per my hybrid method. I’ll note that these are way longer than required and will be trimmed to length at final install, and the quick disconnect components installed to allow for EZ wing removal.
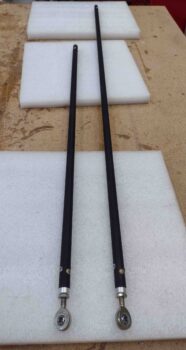
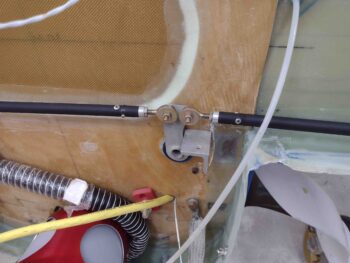
The firewall side ends have XM-3s installed since the CS124 pivot tab has holes drilled for AN3 bolts.
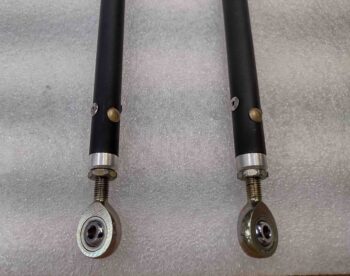
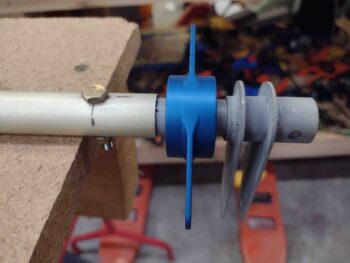
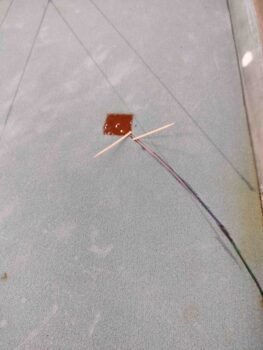
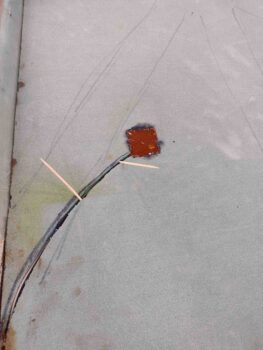
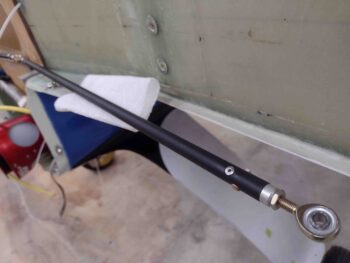
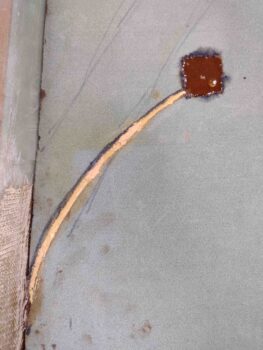
Here we have a side shot of the rivets securing the rod end insert. Note the solid aluminum rivet facing the camera, perpendicular/90° to the stainless steel pop rivets that, while 180° apart from each other, are also stepped 1/8″ away from each other . . . as is the aluminum rivet from the SS ones.
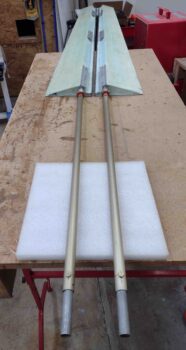
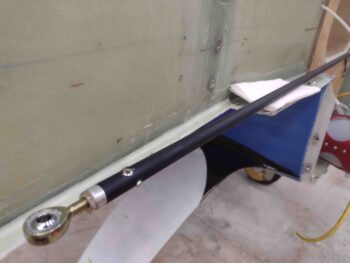
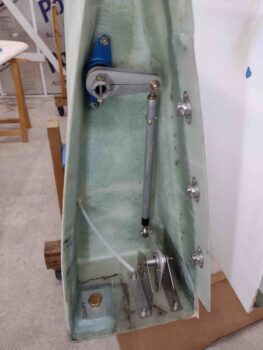
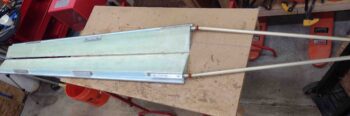
Here’s the longer left SC125 control tube test-fitted in place.
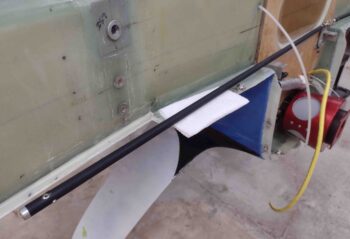
As well as the shorter right CS126 control tube test-fitted in place.
And both control tube rod ends secured to the CS124 pivot tab with AN3 hardware and wide area washers.
Knowing I had a fairly lengthy task of getting all these explanations and examples in this blog, I called it a night!

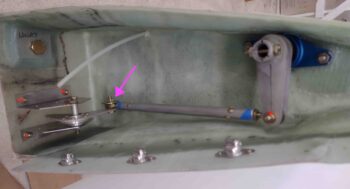
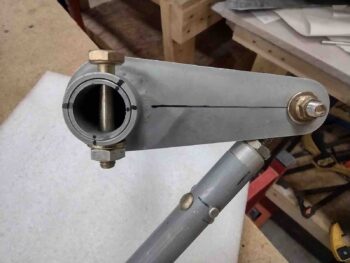
 In the wing roots, I installed the MM-4 rod ends, tested the aileron geometry good before then drilling and riveting the rod end inserts into place on the end of the left and right CS129s.
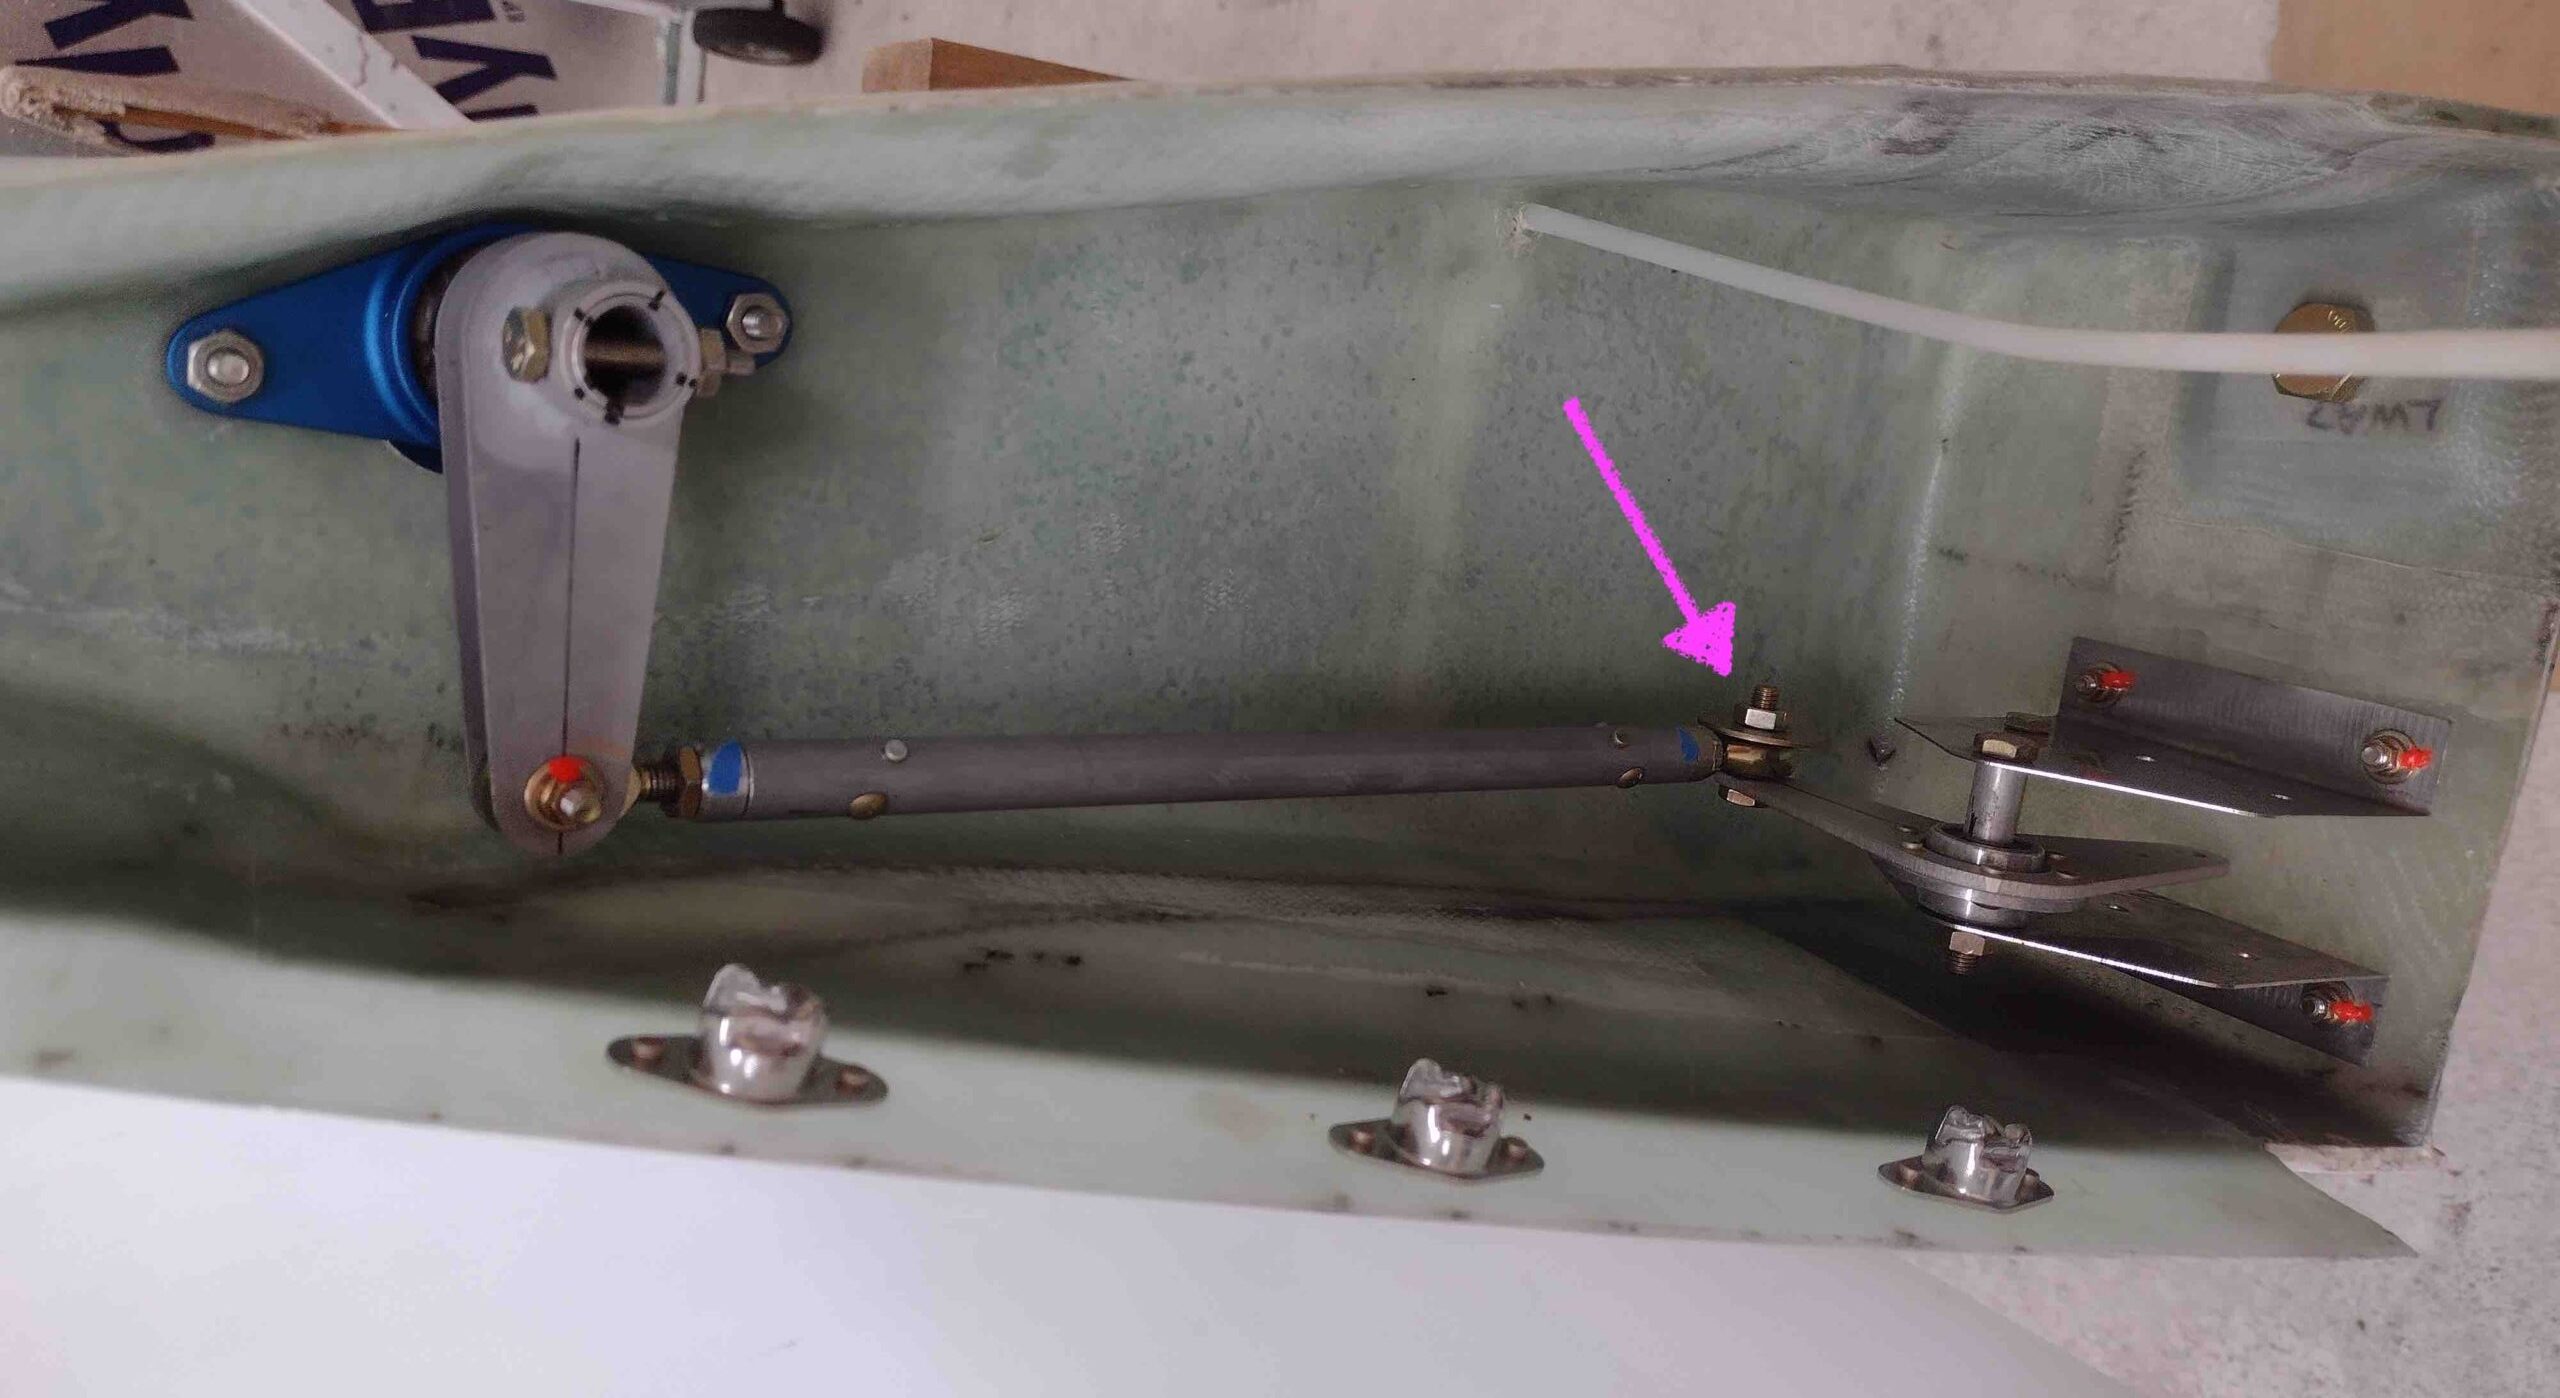


 I
I