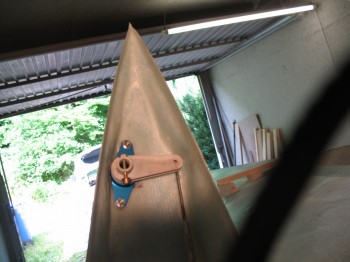
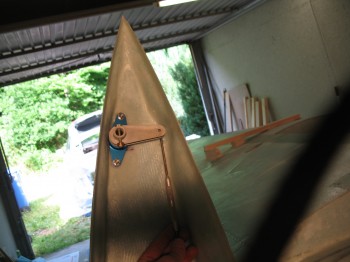
The Whole Tamale!!!

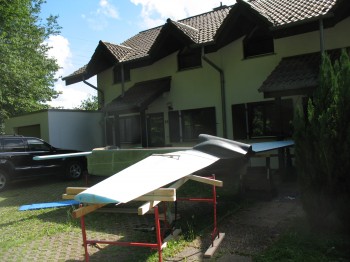
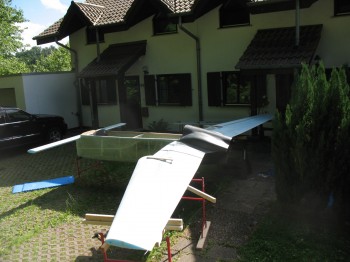
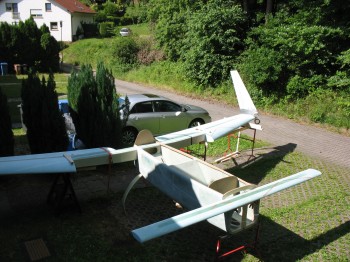
Today I pulled out all the stops . . . or should I say I pulled out all the pieces of the build so far.  Before I am separated from my project while I spend a year in the Middle East for Uncle Sam, I wanted to get an idea of what this thing looks like put all together.

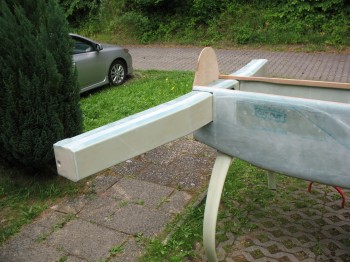
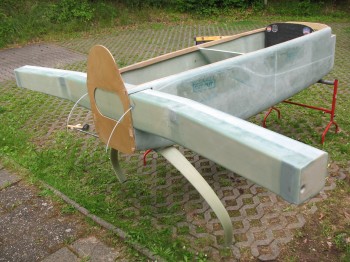
So I pulled the fuselage out into the front yard, and kept it covered while I collected the other components.  Next up was the Centersection Spar which I placed into the fuselage for the first time since I completed it about 8 months ago.

Chap 14/15 - CS spar & firewall mockupChap 14/15 - CS spar & firewall mockup

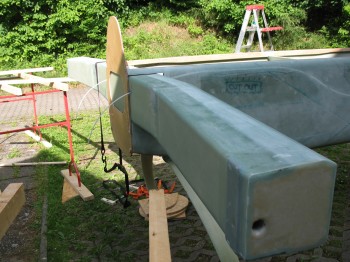
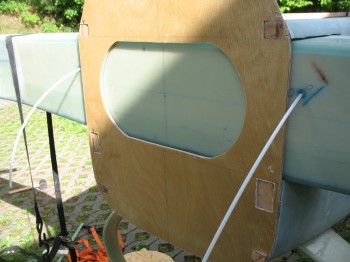
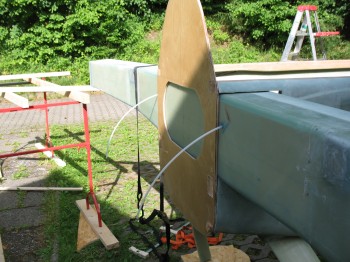
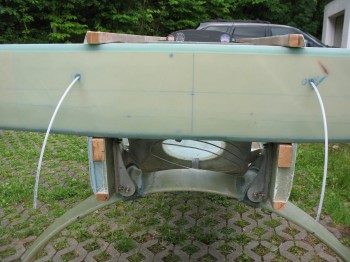
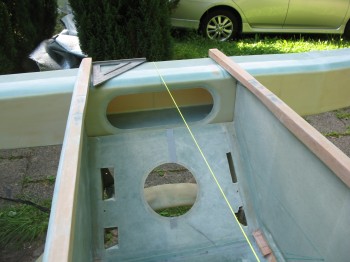
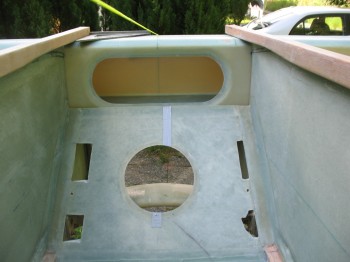
You can see in the pic below that I got the measurements correct for running the rudder cable conduit through the fuselage sidewall, then through the CS Spar and positioned just off the edge of firewall (the curved metal conduit bracket that the Nylaflo will run through will get mounted to the firewall).

Chap 14/15 - CS spar & firewall mockup

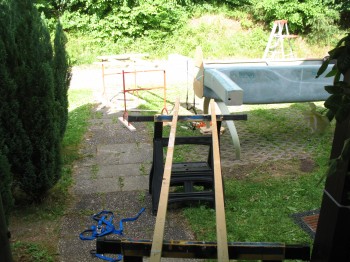
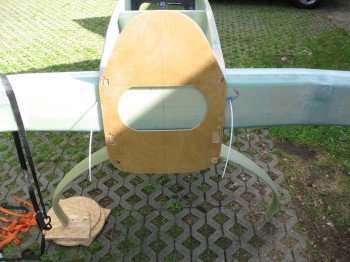
I’m jumping ahead with the following pics below since they were at the tail end of the this grand mock-up as I was tearing it all apart, but I wanted to keep like pics together.

Chap 14/15 - CS spar & FirewallChap 14/15 - CS spar & FirewallChap 14/15 - CS spar & FirewallChap 14/15 - CS spar & FirewallChap 14/15 - CS spar & FirewallChap 9/14 - Main Gear & CS spar

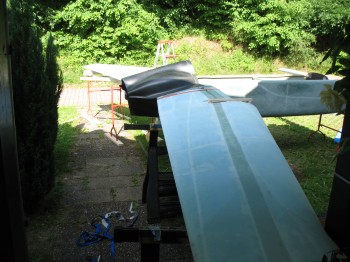
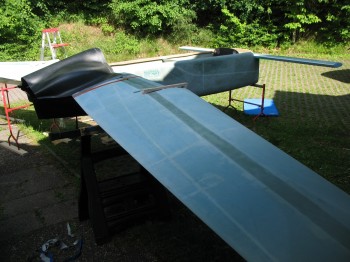
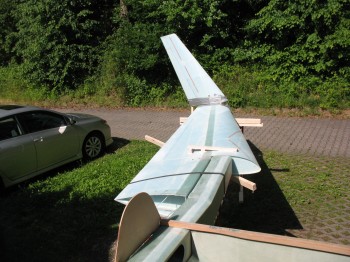
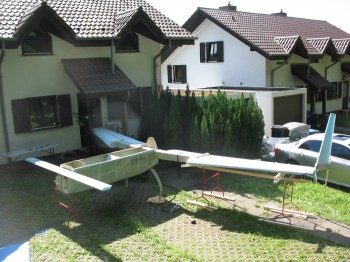
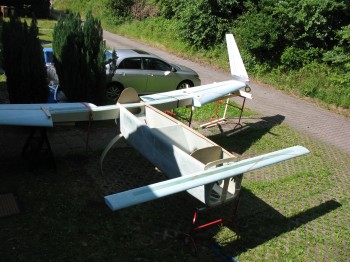
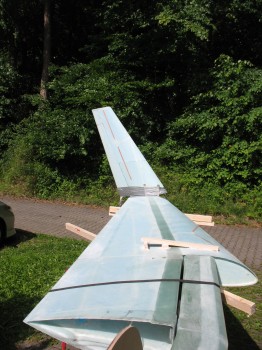
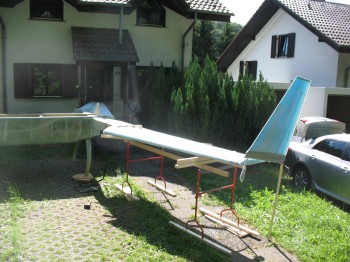
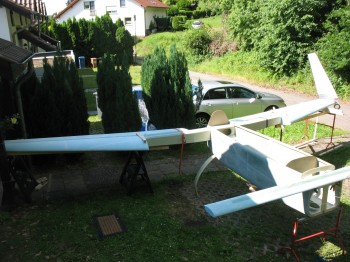
After I got the CS spar & firewall in place, I added both of the wings next.  Again, besides the measurements provided to me in the plans, and of course a couple dozen confirmation measurements, I had not lined up either wing with the CS Spar to confirm that the hard points (aluminum extrusions) lined up with each other.  Obviously, I was very relieved to confirm I hadn’t jacked any of my measurements up!  Also, as you can see I had to throw on at least one winglet just to get an idea of how it would look.  Although it was a little awkward to get it on the end of the wing so it looked half-way normal, I think I got in the ballpark.  Well, and of course we can’t forget the canard… yes, it’s on there too!

Long-EZ Project Mock-upChap 14/15/19/20 - CS spar-firewall-wings-wingletLong-EZ Project Mock-upLong-EZ Project Mock-upChap 14/19/20 - CS spar-wings-wingletChap 19/20 - Wings & Winglet mockupLong-EZ Project Mock-up

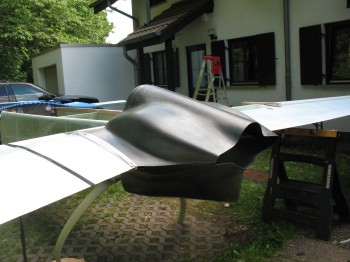
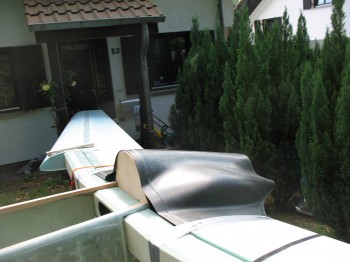
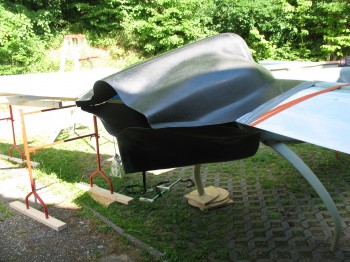
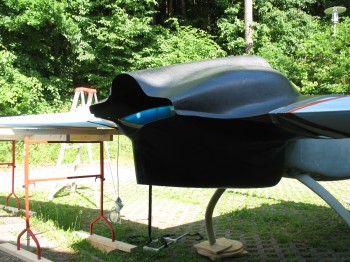
Once I got the pics above taken, now it was time to fill in what gaps I could to make it look at least a little like it had some mass to it.  Next came the engine cowlings.

Chap 19/23 - Wings & Cowling trial fittingChap 19/23 - Wing/spar & Cowling fit

The wind had picked up a little bit and I didn’t want to damage anything just to get some pictures, so I removed the Left winglet & put it inside the garage.  “What about the Canard?!”  You may ask.  Well, no worries of the wind playing havoc with the canard dear readers, for I clamped the mounting tabs to the front fuselage bulkhead, F22.
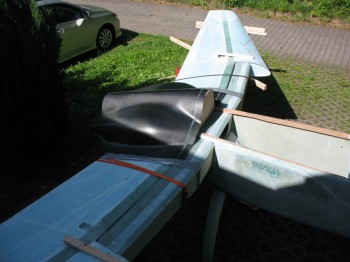
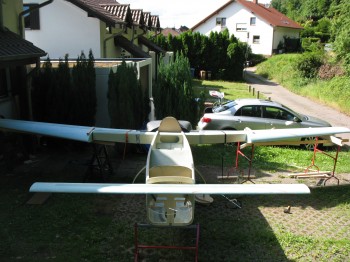
Chap 19/23 - Wing/spar & Cowling fitLong-EZ Project Mock-upChap 10/19/23 - Canard-Wing/spar-CowlingChap 10/19/23 - Canard-Wing/spar-CowlingChap 19/23 - Wing/spar & Cowling fitChap 10/19/23 - Canard-Wing/spar-CowlingIn the next couple of shots you can see how the lower cowling hangs down 4 inches below the stock/plans firewall.  Again, since Mike Melvill had built a NACA inlet for his engine air intake the back end of his fuselage–and subsequently the firewall–was 4 inches lower than plans [in essence making the bottom line of the fuselage continue straight until aft of the firewall].

Chap 23 - Cowling Trial FittingChap 23 - Cowling Trial Fitting

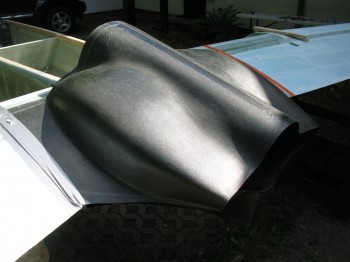
And then the following pics are more close-up shots of the upper cowling.

Chap 23 - Cowling Trial FittingChap 23 - Cowling Trial FittingChap 19/23 - Wing/spar & Cowling fit

Finally, after I broke everything down and got the wings, canard, cowling & firewall back inside out of the sun, I spent some time looking at the CS spar, taking some measurements and looking at how square it was to the fuselage (this was a quick mock up to keep all the parts in the sun as little as possible–about an hour total time . . . and if you actually look at the shadow of the house on the mock-up from start to finish, there’s not that much movement).  At this point the CS spar and the fuselage were in the shade provided by the sun going down on the other side of the house.

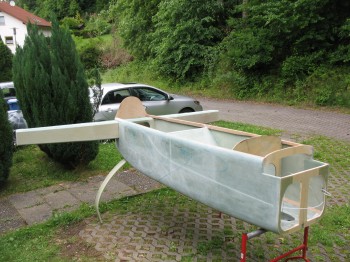
Chap 14 - CS spar trial fitChap 14 - CS spar trial fit


Chapter 19 – Aileron Bearing “Test Run”

I started out today by testing the clearance inside my Right wing root for the Aileron Tube Bellcrank (CS-132) that I purchased from the Cozy Girrrls.  There is a possible clearance issue if not enough foam is removed from the bottom edge of the wing root.  I mounted the the CS-132 to the aileron bellcrank bearing tube (CS-152) and then slid that into the aileron tube bearing assembly that I had just mounted to the wing root via Clickbonds (click here for info from the Cozy Girrrls on Clickbonds).

Chap 19 - Aileron bearing test

Fortunately for me I had measured correctly so I had no clearance issues with my Aileron Tube Bellcrank, and it rotated freely in both directions.

Chap 19 - Aileron bearing test


Chapter 19 – More wing stuff

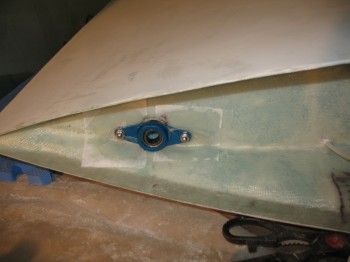
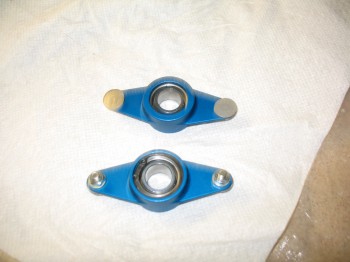
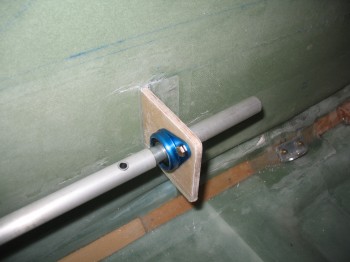
Today I started by finishing up the installations of the Aileron control system bearing that is mounted at the end of the aileron control tube channel that begins (or ends, depending on which way you look at it) in the wing root area.  The original plans calls for simply glassing in a phenolic plate with a hole drilled into it to be used as the aileron control system bearing.  This is also what is called out in the plans on the fore & aft ends of the Chapter 16 control system tube that I mounted the brackets for inside the fuselage a week or so back.  Most newer EZ’s that I’ve researched have upgraded to the type of bearings that I’m using here, sold by JD at Infinity Aerospace.  The problem with phenolic is that it eventually wears out a little bit, widening the hole and thus allowing just a bit of slop in the control system.  Of course this slop, even a little bit, isn’t good but can be prevented by installing actual metal control system bearings.

Chap 19 - Aileron wing root bearing

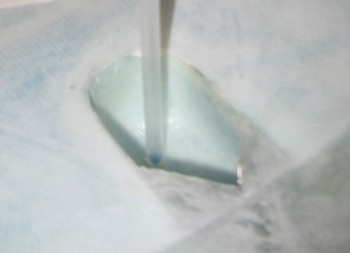
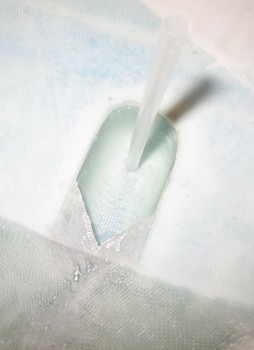
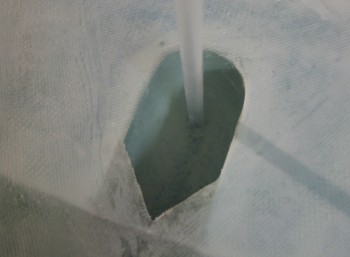
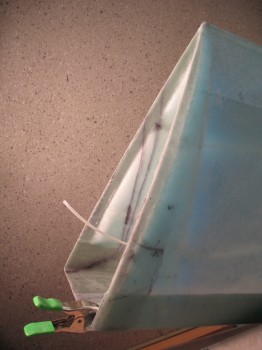
Chap 19 - Aileron wing root bearingI also took a bit of time to drill a hole from the top side of the Right wing’s attachment bolt channel to the bottom bolt access channel, as spelled out in Canard Pusher Newsletter #38 page 5.  This allows pooling condensation in the upper side bolt access channel to drain down to the lower bolt access panel, and then out a small hole that is drilled in the bolt access channel cover plate.  Unfortunately, since I got busy with my move stuff, I was only able to get the hole drilled and the drinking straw micro’d in on the Right wing, so I’ll have to get to the Left wing’s drain next year.

CP 38 pg 5 - Wing Fitting Vent (Soda straw)CP 38 pg 5 - Wing Fitting Vent (Soda straw)CP 38 pg 5 - Wing Fitting Vent (Soda straw)


Chapter 19 – Aileron wing root bearings

I started today by pulling the peel ply from the Right wing root LWA7 layup & the aileron control tube channel.

I then razor trimmed the LWA7 BID layup.

I drilled a 1-1/8″ hole to expose the aileron control tube channel in the Left & Right wing roots.  I then used a 1″ sanding drum on a drill & a mini-drum on the Dremel tool to widen the hole diameter to around 1-3/8 inches. . . enough to slide in the aileron control bearings that I picked up from JD Newman at Infinity Aerospace (the same place I got the fighter style stick grips).

Chap 19 - Aileron Wing Root BearingChap 19 - Aileron Wing Root BearingI followed the directions JD sent.  First, I covered the main bearing assembly with cling wrap, then cleaned off the Clickbonds with Acetone, and finally roughed up the bottom attach surfaces of the Clickbonds with sandpaper in prep for floxing them on.

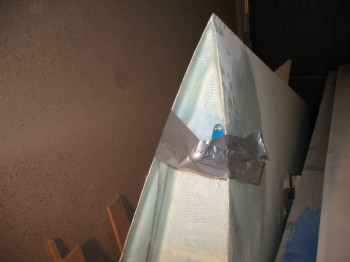
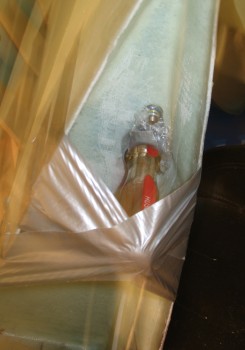
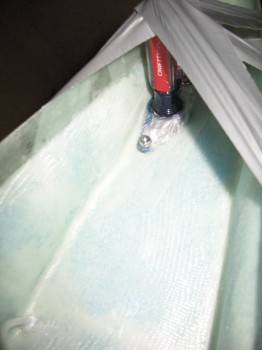
I then mixed a whole wopping 6 g’s total of wet flox slurry & mounted the Clickbond/ Bearing assemblies to Left & Right wing roots.  As you can see below I used a large screwdriver through the center hole on each assembly–duct taped in place to each wing–to keep pressure on the aileron bearing assembly, and thus the Clickbonds getting floxed onto the wing root surface.  I then let the flox cure.

Chap 19 - Mounting Aileron BearingChap 19 - Mounting Aileron BearingChap 19 - Mounting Aileron Bearing


Chapter 19 – Wing root Wrap-up

Sorry, no pics today.

I razor trimmed the glass on the Right wing root.  I let it alone for a few more hours to lock in a “final” cure & then sanded the glass edges & pulled all the peel ply.

As on the Left wing, I sanded down the area immediately around LWA7.  I also had to lightly sand the surface of LWA7 and vacuum it to get some gunk off of it.

I filleted/ramped the edges of LWA7 with thick flox & glassed the 1-ply BID layup over it, overlapping about 1 inch onto the surrounding glass.

I peel plied the top and bottom edges of the BID layup, and then let it cure.

Chapter 19 – Wing root rib Round 2

Today I started on the Left wing root rib by sanding down the area around the aluminum extrusion LWA6.  I floxed the edges around the newly attached LWA7 with fillets/ramps so the glass would contour nicely over & around it.

I then glassed a 1-ply BID layup on top & covering LWA7, overlapping onto the immediate glass around LWA7 by about 1 inch.  I had some leftover epoxy so I went ahead & peel plied this layup.  I then let it cure.

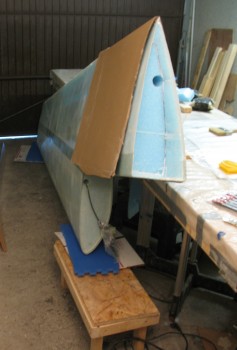
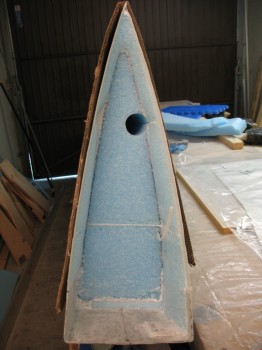
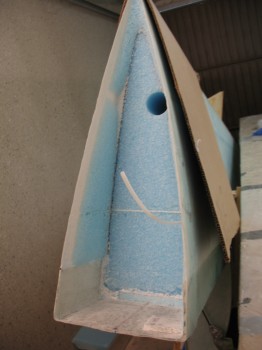
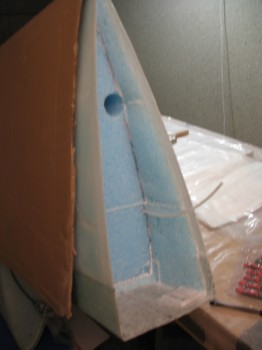
Chap 19 - Wing root ribChap 19 - Wing root ribA little while later, after buying some more Dremel cutoff wheels, I finished removing the dead micro & foam from the Right wing root area.

Chap 19 - Wing root rib

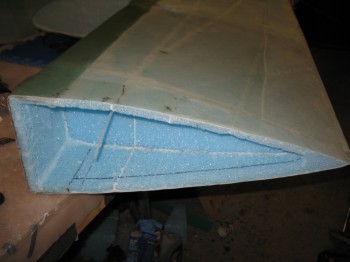
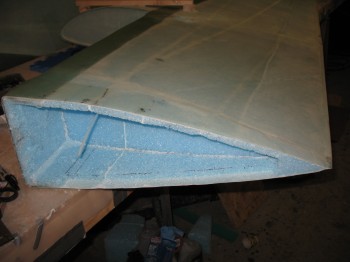
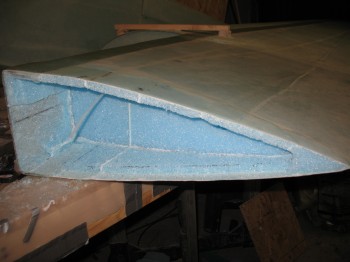
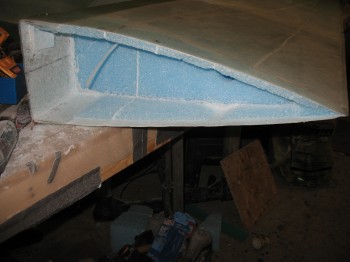
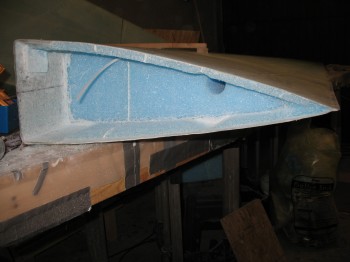
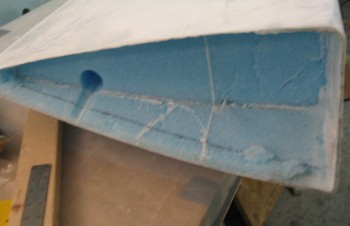
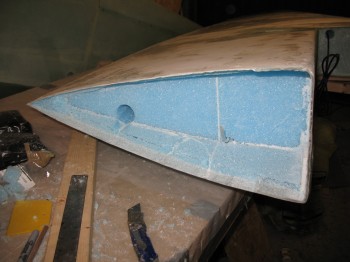
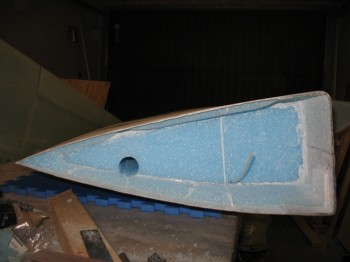
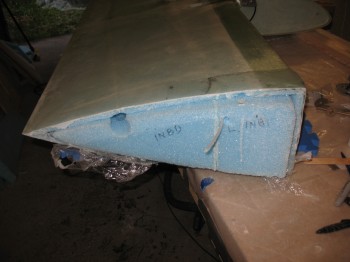
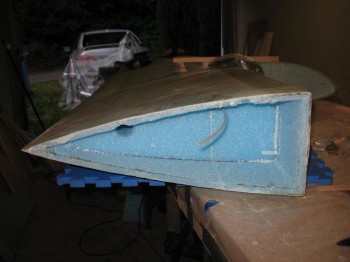
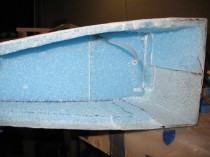
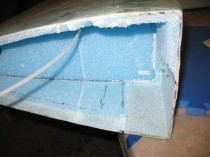
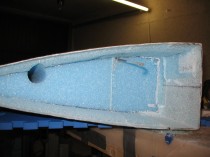
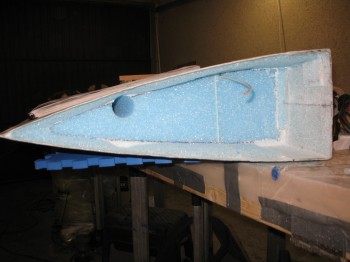
I then positioned the Right wing along side the work bench, propped up on the wood step, and then prepped the wing root for glass (layup #7).

Chap 19 - Wing root ribI used thick flox for the fillets/ramps around the LWA6 extrusion, micro paste for the corners, divots & dings, and microslurry for the remaining foam fields.

And just like I did for the Left wing root, I wet out 2 of the 3 plies of BID in a pre-preg setup.

Chap 19 - Wing root rib

I then glassed the 2-ply BID pre-pregged layup into the wing root.

Chap 19 - Wing root ribChap 19 - Wing root rib

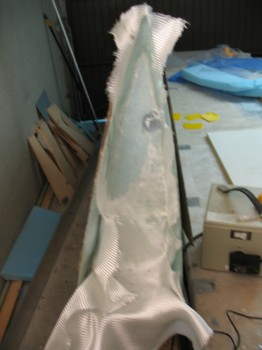
This layup was a royal PITA!  Much worse than the first.  The glass just did not want to cooperate & was not laying into the wing root easily.  I finally got the first 2 plies laid up, then I glassed the last single BID ply into the wing root.  I finally got it, but it wasn’t a layup I’m overly proud of as far the weave orientation.  It ain’t a pretty layup, but I think this dog will hunt!  I have no doubts it meets specs, it was just a very frustrating time of it.

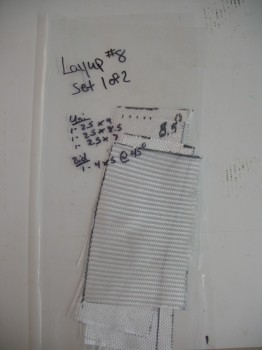
With the main 3-ply BID layup complete, I then glassed layup #8, the 3-plies of 2-1/2″ wide UNI strips that are stepped at the end furthest away from the extrusion.  These UNI strips all extend 1 inch below LWA6, and are laid up in step fashion above LWA6 (on the interior side of the wing top).  I then epoxied in & clamped the ACTUAL VERY LAST aluminum extrusion (LWA7) of all the ones I cut & prepped last year (I misspoke when I claimed that the Left wing’s LWA7 was the very last of the extrusions).  I then peel plied the UNI layup around LWA7 & around the aileron control tube hole.

Chap 19 - Wing root ribChap 19 - Wing root rib

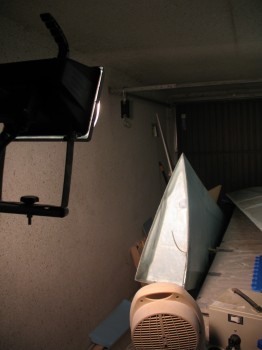
I then set the light & heater up on it and let it cure.


Chapter 19 – Wing root glassing

Today I finished Dremeling the dead micro & foam off of the Left wing root surfaces that will get glass-to-glass layups when I glass the wing root rib.

Chap 19 - Wing root ribChap 19 - Wing root ribI set the Left wing nose down propped up on a wood step situated so that the wing was leaning along the work bench.

Chap 19 - Wing root ribI double checked & made some minor finishing touches to all the wing root surfaces that were going to get glassed, then I vacuumed the entire wing root area.

Chap 19 - Wing root ribChap 19 - Wing root ribChap 19 - Wing root ribI located the glass that Gina had cut for me last year for this wing root layup & inventoried it all.

Chap 19 - Wing root ribChap 19 - Wing root rib

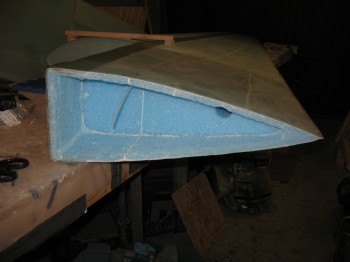
With all the glass on hand I started the Left wing root rib layup.  My first order of business was putting a flox fillet around the 3 exposed sides of the 1/4″ aluminum extrusion (LWA6) in order for the glass to have a smooth transition around this hunk of metal protruding into the wing root.  I then used micro paste for the foam corners, any divots and missing chunks, and for the edge of the foam transition to the glass where some of it chipped away here & there.

Chap 19 - Wing root ribI then microslurried the rest of the blue foam field & pre-pregged a 2-ply BID layup.  The entire wing root layup calls for 3 plies of BID, but since it was a fairly complicated layup with so many angles involved that I just wanted to get a good glass base in there, and then follow it up with a 1-ply layup to “feel” if there were any issues with the layup.

Chap 19 - Wing root ribThis layup (#7) was fairly tough simply because of the complex curves & angles involved. Plus, there was a lot of extra glass because of the multiple boxlike 90° sides & the narrowing of the wing profile, and it all had to go somewhere!  But I eventually got all the glass in there, including the 3rd ply of BID, working out the wrinkles and removing any minor overlaps.

I used the Dritz scissors to trim the glass down to within a 1/4″ of the existing glass edges.

I then glassed the stepped 2-1/2″ 3-ply UNI strips layup that started 1″ below LWA6 and was stepped above LWA6 (layup #8).  Once the UNI strips were glassed in place, I installed the very last of all my aluminum extrusions that I had made last year, LWA7, and clamped it in place with a spring clamp.

I peel plied around LWA7 & around the aileron control tube hole (towards the top of the wing root rib in the pics below).  Both of these areas will get more flox & glass later on.  I then let this layup cure after a number of “final” checks.

Chap 19 - Wing root ribChap 19 - Wing root rib

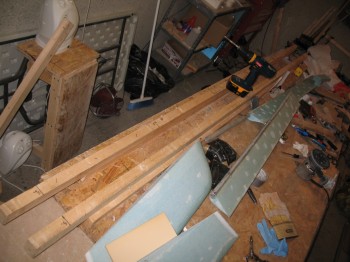
As the Left wing root rib layup was curing, I pulled the Right wing out of the my Environmentally controlled storage facility (via the window again) & placed it on the work bench (shown in the above pics too).

Chap 19 - Wing root ribChap 19 - Wing root rib

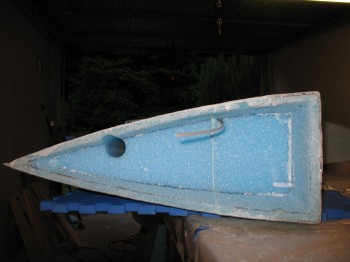
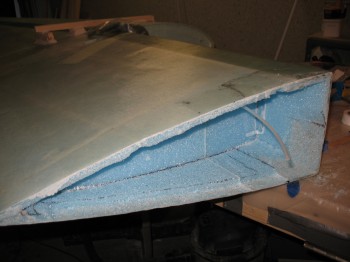
I started knife cutting the foam on the Right wing root to shape the foam.

Chap 19 - Wing root ribChap 19 - Wing root ribChap 19 - Wing root ribChap 19 - Wing root rib

I had started to use the Dremel tool for a bit when my cutoff disk decided it was done with this endeavor and went flying across the garage.  Yet another time when I was happy that I always where eye protection, even though it didn’t even touch me.  I had gotten a fair amount done, but with that being my last cutoff wheel, I had to switch bits and the going was significantly slower.

Chap 19 - Wing root ribChap 19 - Wing root rib

I kept at it for about 45 minutes & then flipped the wing over and began working on that upper inside of the Right wing root.

Chap 19 - Wing root rib

If you remember back when I was prepping the Right wing just prior to glassing the skin, I cracked the top of the wing root shell and repaired it just prior to skinning the wing.  You can see the micro repair lines in the pic above, and remnants of that repair (a toothpick to hold the foam pieces in place) in the pic below.

Chap 19 - Wing root ribI finished prepping the top wing root border edge by hand using a razor knife, PermaGrit tools & sandpaper.

Chap 19 - Wing root ribChap 19 - Wing root rib

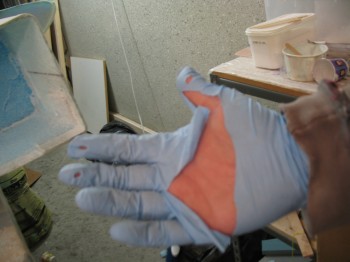
Of course there are always ‘casualties of build,’ and not surprisingly it’s quite often the hands! (or gloves in this case)

Chap 19 - Wing root rib

I went back to the Left side wing root rib layup and knife trimmed the edges of the glass. The layup wasn’t fully cured so I reclamped the LWA7 extrusion & put a light & a heater on it to help “motivate” it to final cure overnight.

Chap 19 - Wing root ribChap 19 - Wing root ribChap 19 - Wing root ribChap 19 - Wing root ribChap 19 - Wing root rib


Chapter 19 – A return to wings

First, I started off today by cleaning up the garage & began the initial tear down of the shop for my upcoming move.  I dismantled the canard jig and did some maintenance on some of my shop tools, including putting a new velcro pad on my orbital sander (for the second time since I’ve been in Germany).

Shop & canard jig tear down

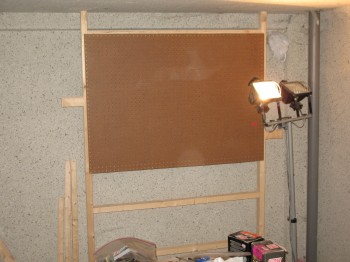
I also took down all the tools from the wall organizer rack on the back wall and then I dismantled the wall rack.

Shop tear downShop tear down

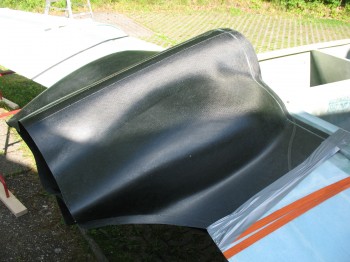
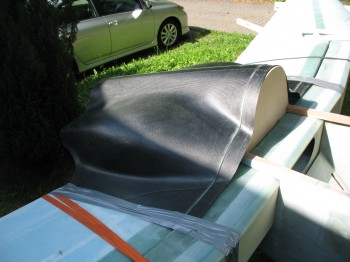
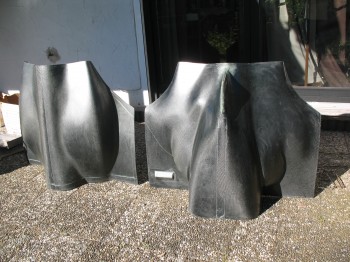
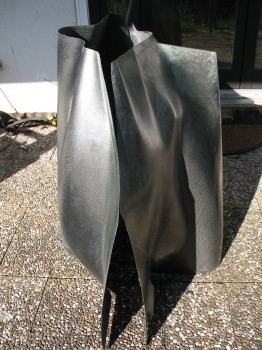
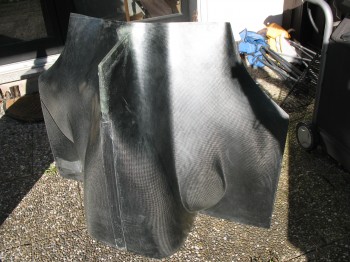
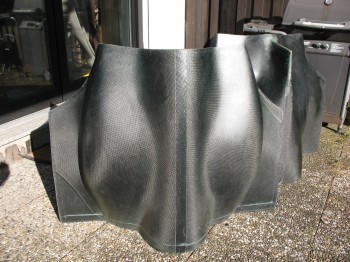
I took a moment while I was cleaning & organizing everything to pull my top & bottom engine cowlings out to take a look at them.  These Carbon Fiber cowlings came off the same molds that were from Mike Melvill’s cowling halves, used as the original plugs.

This story is all detailed in the Canard Pusher newsletters (#’s 86 & 93), but in short before Mike set out on his around-the-world trip in 1997 with Dick Rutan, he wanted to solve the ever-present high engine & oil temps that had plagued his Long-EZ from day one.  After talking with Berkut designer, Dave Ronneberg, Mike decided to try the Berkut-style armpit coolers.  He was so impressed with the cooling that he designed a new cowling incorporating the new armpit inlets.  Since he was manufacturing a whole new cowling, he decided to make it out of Carbon Fiber, which drastically reduced the weight, halving it from 26 lbs. down to just 13 lbs.  He handed the forms over to Larry & Mike at Feather Light who now make & sell the carbon fiber cowling.

One thing to note (which I did not until I played around with the cowling) is that Mike Melvill had a NACA scoop inlet for his engine which he simply filled in and glassed over when creating the new cowling.  So the new bottom cowling hangs down 4 inches lower than a stock firewall.

Chap 23 - Melvill's carbon fiber cowlingsChap 23 - CF cowlings (Melvill design)Chap 23 - CF cowlings (Melvill design)Chap 23 - CF cowlings (Melvill design)

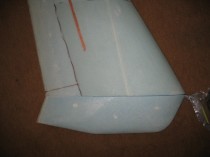
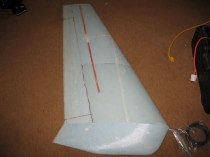
After snapping some pics of the cowling, I then sanded the Left & Right elevators and the Left & Right lower winglets, then cleaned them up, vacuumed up the dust and took them down to the basement in preparation for getting packed up, shipped off and stored for a year.

Chap 11 - ElevatorsChap 20 - Lower wingletChap 20 - Lower winglet

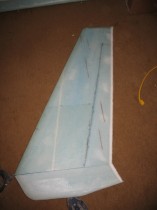
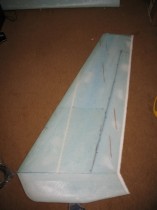
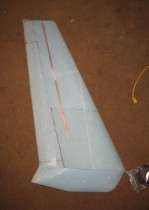
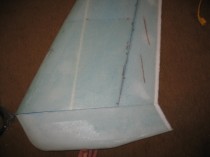
Once down in the basement, I took another opportunity to check the fit, finish & look of the lower winglets “mounted” to the upper winglets:

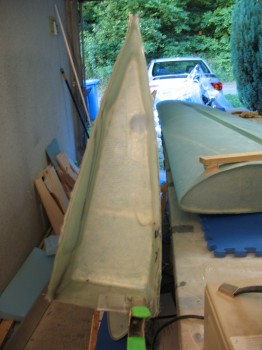
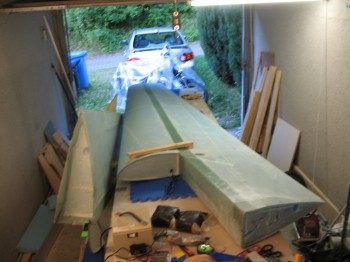
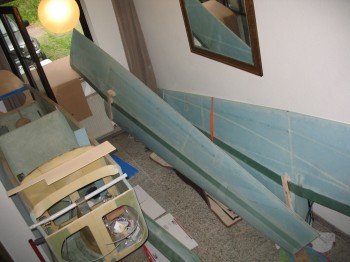
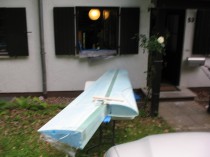
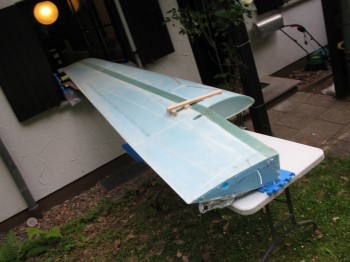
I then started preparing to knock out the wing root rib layups for both the Left & Right wings.  To do this, I obviously needed to get the wings out of my environmentally controlled storage facility and into the garage.  Going out the front door required not only a doctorate’s degree in trigonometry, but even more than that, I could have used another person.  So I was forced to do some out-of-the-boxing thinking:  Hmmm, let’s review our adages . . . one saying is that “when God closes a door, he opens a window.”  Works for me.

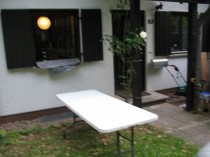
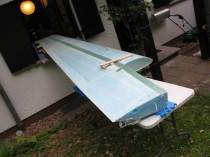
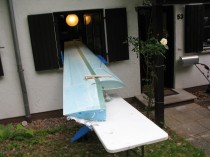
I prepped the “receiving end” of my thru-the-window transfer outside of the house by placing my trusty fold out table in position, with some cut foam floor mats to cushion the “landing.” Of course I prepped the window sill area to protect the wing from getting tore up. Then through the window the wing went (say that fast 5 times).

Chap 19 - Wing root rib glass prepChap 19 - Wing root rib glass prep

Chap 19 - Wing root rib glass prep

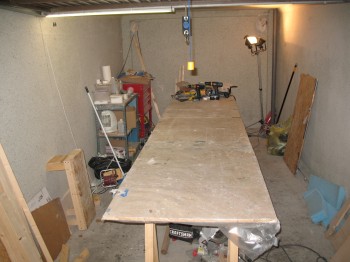
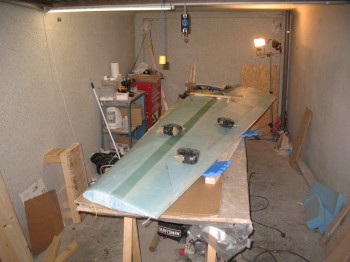
I moved the Left wing into the garage & placed it on the newly cleaned & cleared work bench.

Chap 19 - Wing root rib glass prepChap 19 - Left wing root rib

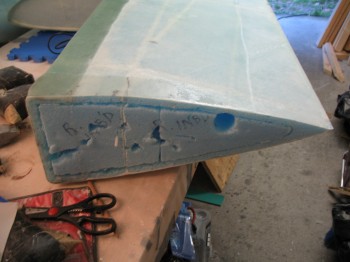
I pulled the protective foam plug from the wing root to expose the entire wing root area that I’d be shaping & glassing.  I then reviewed the plans again one final time before starting work.

Chap 19 - Left wing root ribChap 19 - Left wing root ribChap 19 - Left wing root rib

I marked up the areas where the foam required shaping & cutting, then went to work with my razor knife, Dremel Tool & PermaGrit tools.

Chap 19 - Left wing root rib

Chap 19 - Left wing root rib

I worked a couple of hours at cleaning the left over foam residue and dead epoxy off of the exposed glass for the upcoming glass-to-glass layup.  However, it was late on a Sunday night & I didn’t want to rouse the neighbors with my Dremel tool, so I finished up what I could of the wing root work by hand.

Chap 19 - Left wing root rib

I finished up the evening by taking the long aluminum “board” with sandpaper on the edge & giving the Left wing TE a good sanding.  I also re-checked the measurements & shape of the TE.

I then measured, marked & drew out the aileron outline for planning.


Chapter 13 – Installing NG8s on NG30s

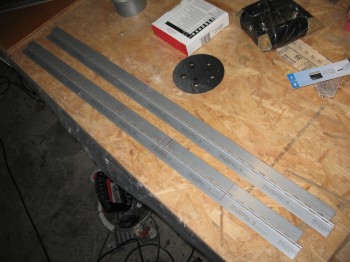
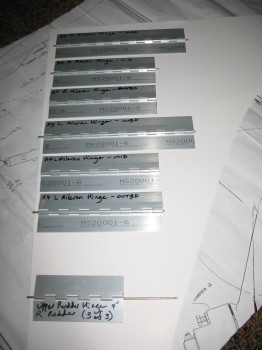
Before I started on the NG30 stuff I marked up a P6 hinge to cut 2 each 8″ lengths & 4 each 6″ lengths out for the ailerons (enough for both wings).  The aileron hinges look offset in the pic below because they are: one side must be reversed because this is how the hinges are mounted to the ailerons & wings.

I also cut out a 4″ length for the rudder (which typically takes the smaller P5 size, so I’ll just trim it down to size).  For now I’ll wait on cutting the rest of the rudder hinges since I don’t have any P5 size hinges on hand, however, since I do have another P6 hinge set on hand I will probably rip it to width, and then cut the lengths out later on.

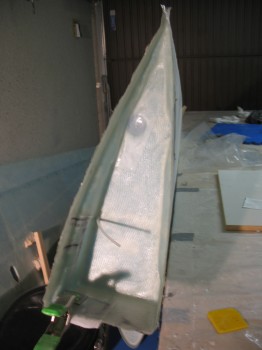
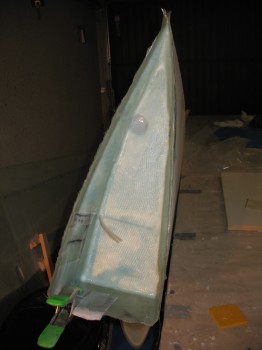
Chap's 19/20 - Aileron & Rudder HingesChap's 19/20 - Aileron & Rudder HingesI then needed to get the canard out of the way.  Before I put the canard in storage, I thoroughly checked it for any issues.  The bubble I originally found just following the top skin layup right near the spar cap–which I had “popped” & re-squeegeed–had a couple of small air pockets.  I drilled a few small holes and injected them with a very wet flox solution.  Once I had these small bubbles filled, I let wet flox solution cure for about an hour (I used fast hardener again) before taking the canard down the basement where it awaited getting crated up for shipment back to the States.

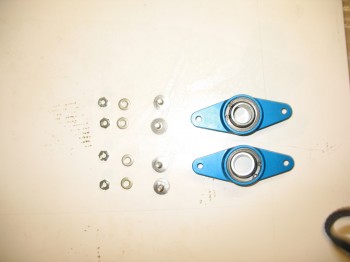
I then started working on the NG30 plates.

Chap 13 - NG30 nose gear housing

I shaped the 4 small screw holes on the Outboard sides of the NG30 plates with the Dremel tool so that each nut & washer would be on a flat base.
Chap 13 - NG30 nose gear housing

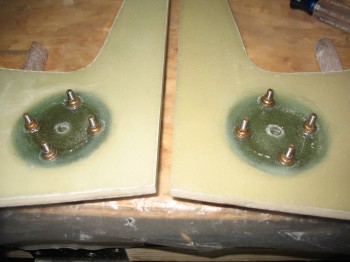
Under the watchful eyes of my Quality Inspector (aka “Big Brother”) I used a thin film of flox on the NG8s to attach them to the Inboard sides of NG30 plates & used thick flox paste under the Outboard washer/nut assemblies to ensure that there was a flat base for the nut/washer assemblies when the flox cured.

Quality Inspector (aka "Big Brother")

Chap 13 - NG30s: Attaching NG8s

Chap 13 - NG30s: Attaching NG8sChap 13 - NG30s: Attaching NG8s

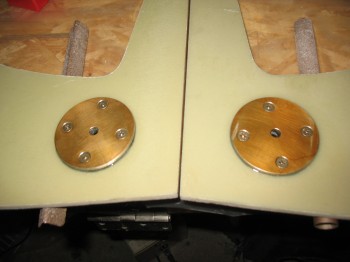
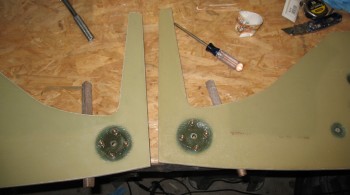
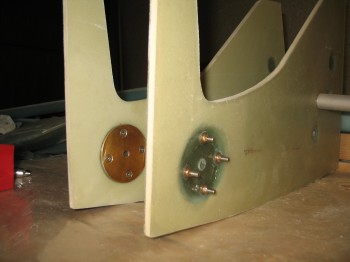
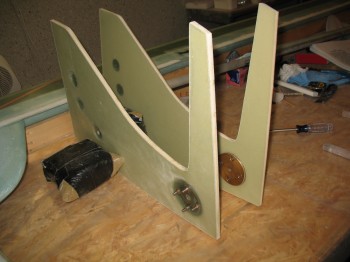
Below are the NG30 plates complete with the NG8 plates screwed on in place.
Chap 13 - NG30s: Attaching NG8sChap 13 - NG30s: Attaching NG8sOnce I had mocked the NG30 plates up & performed a sanity check on the Chapter 13 nose components, I cleaned all the nose & nose gear related parts & took them down to the basement to await packing, shipping & storage.
 

Chapter 16 – CS118 Bracket Install

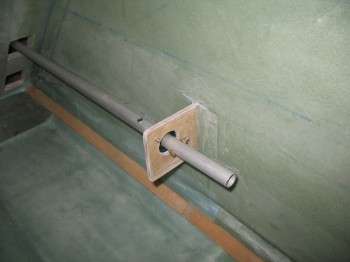
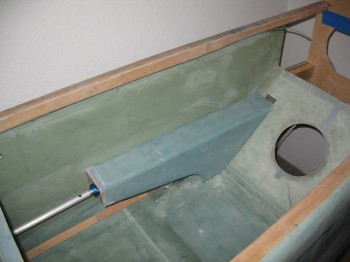
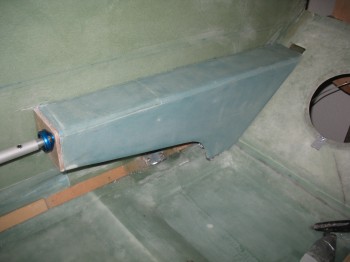
Today I started out by knife trimming the CS118 control system mounting bracket.  I then pulled the peel ply, sanded the edges, and cleaned up the peel ply goobers & glass.  I then redrilled the #12 holes through the glass so I could reinsert the control system tube & bearing assembly.  The control tube fit between the aft CS118 bracket & the front CS109 bracket seemed pert near perfect.
Chap 16 - CS118 bracket installChap 16 - CS118 bracket install

I then reinstalled the Right rear armrest to test fit & finish.  It too seemed to fit just right.

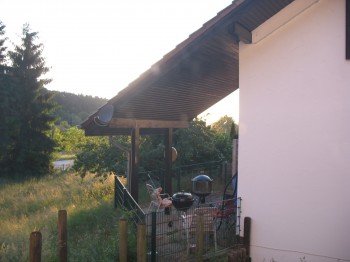
Chap 16 - CS118 bracket installChap 16 - CS118 bracket installAs it’s finally acting like Summer here in Germany, it brings with it something we’re normally not unaccustomed to in the States: very late sunsets.  Here’s the sun setting last night at around 1030 pm while I was out on my back patio updating my builder’s log.

Germany at ~1030 pm at "night"