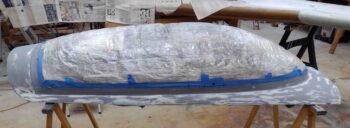
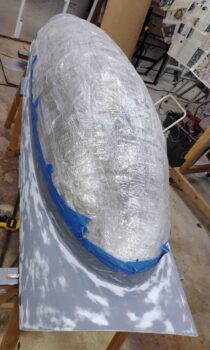
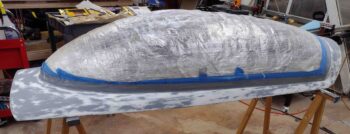
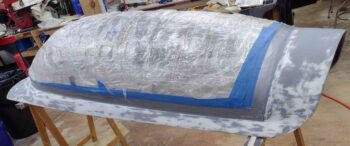
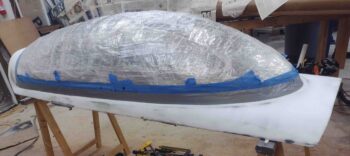
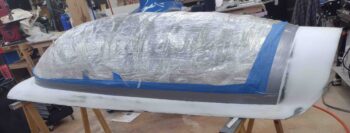
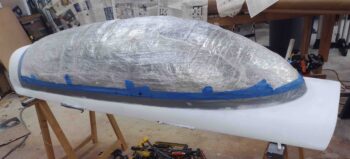
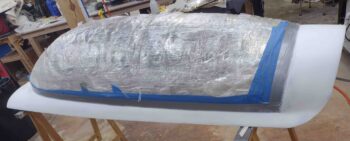
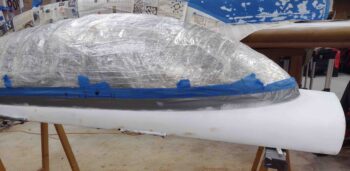
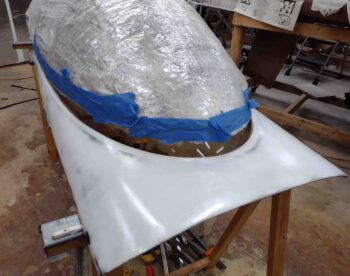
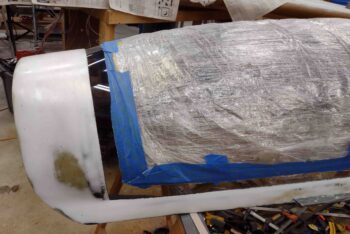
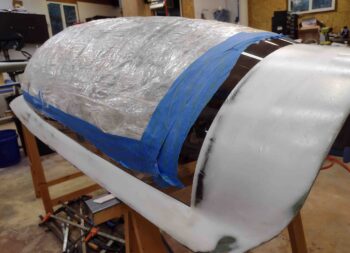
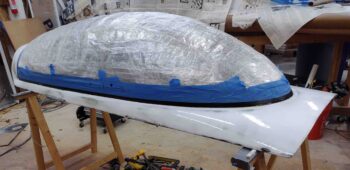
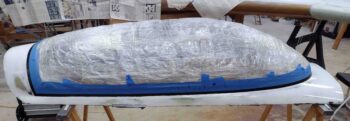
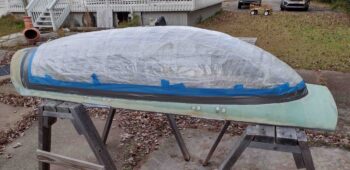
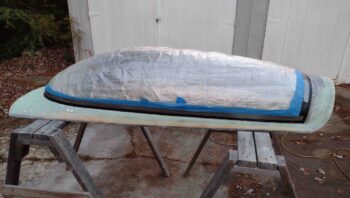
With the white primer curing on both the canopy frame and the minor Metal Glaze spot fills on the fuselage, it gave me time to tackle some other tasks starting off this morning.
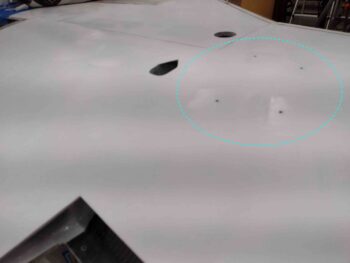
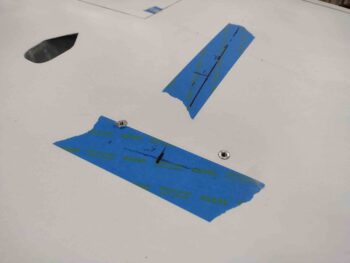
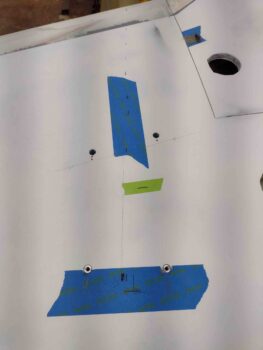
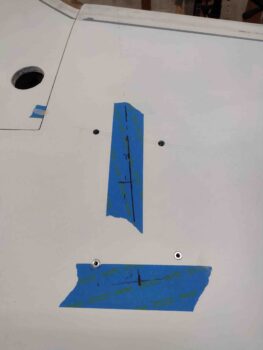
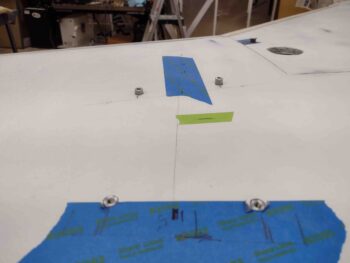
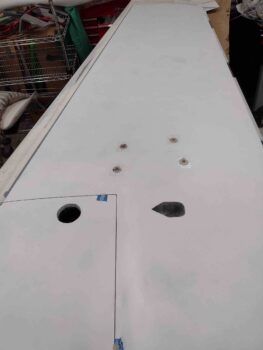
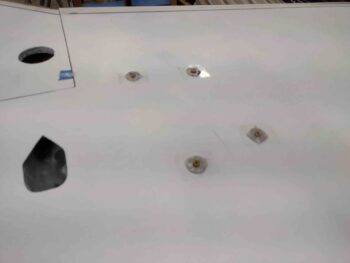
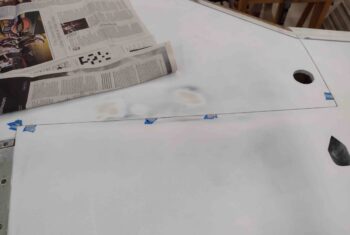
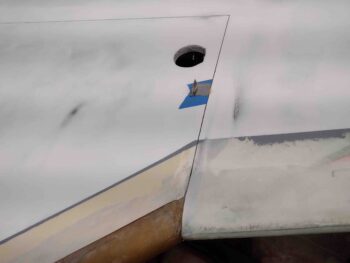
First off was a bit of glasswork. A to-do item on my task list for some time was to mend some oops’s I made when I cut out the extra layer of wood & glass with the Fein saw on the inside of the aft nose/avionics cover. I broke through in about 6 spots total, all slices averaging from about a 1/4″ to 1″ in length. I also had one spot to repair where I cracked it just a bit too when I was scraping out the excess wood and glass on the inside.
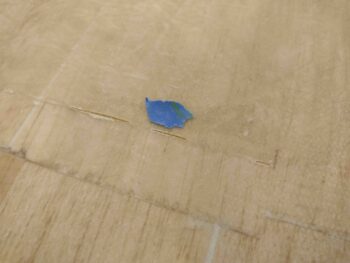
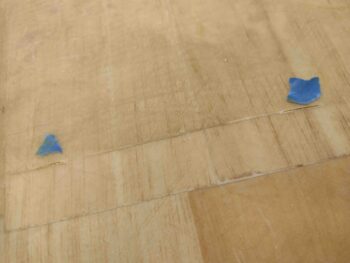
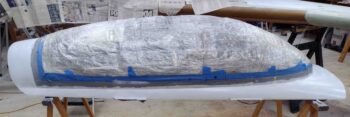
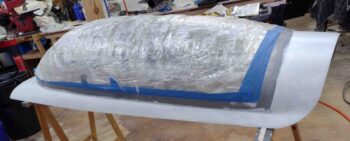
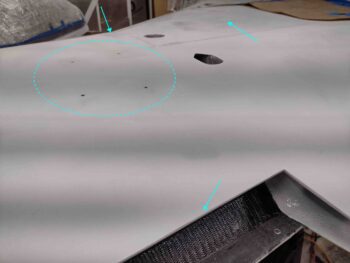
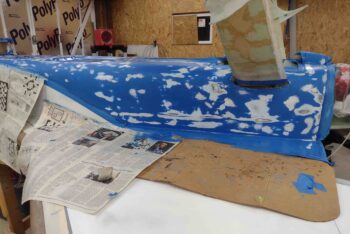
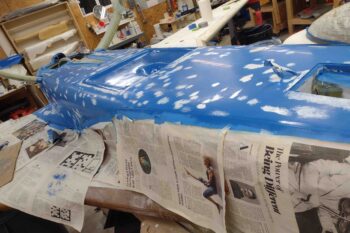
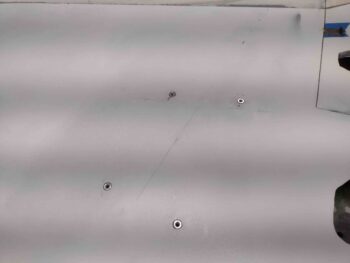
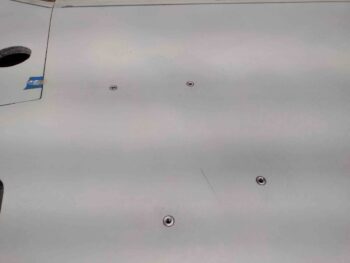
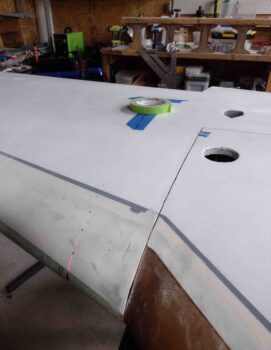
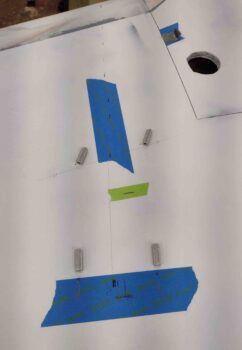
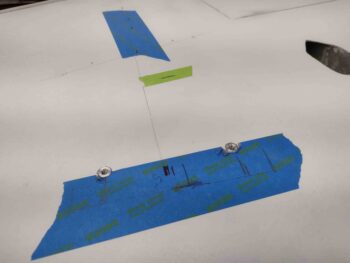
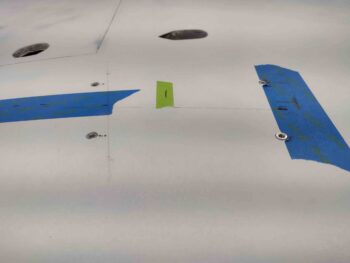
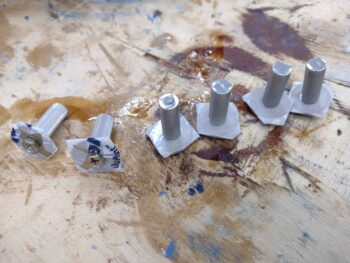
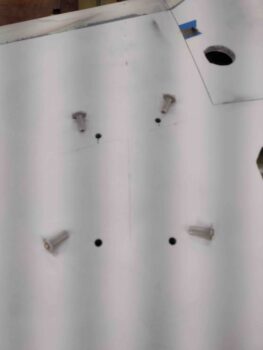
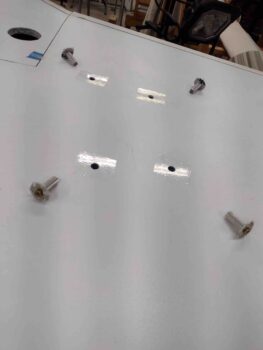
Here are a couple shots of the accidental breakthrough cuts showing on the top of the aft nose/avionics cover. I’ll note that these are only on the exterior of the cover since the inside has long been filled with pour foam and re-glassed.
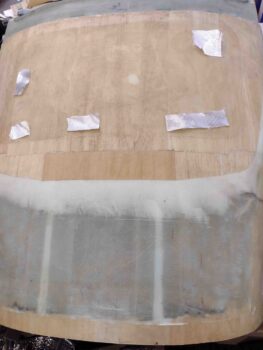
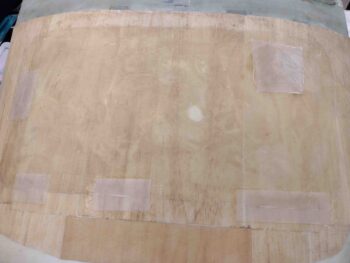
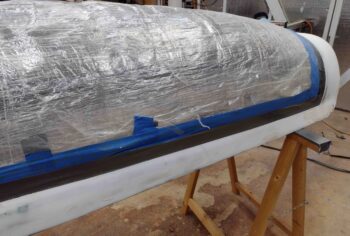
I then dug around in my spare glass box and found a perfect long thin piece of UNI to use as repair patches. I want some glass to bridge these cuts but the thinner the better for finishing purposes.
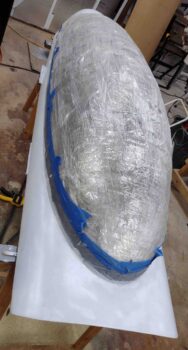
I then laid up the UNI patches and peel plied them. Task complete!
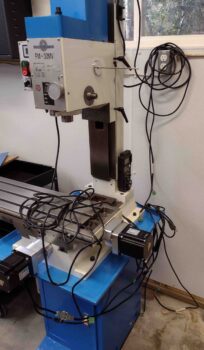
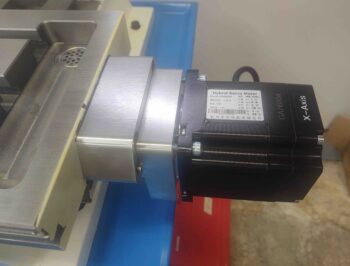
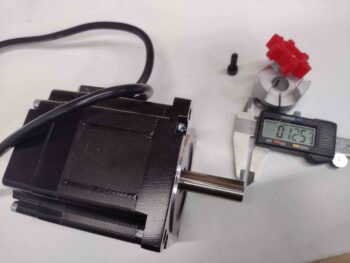
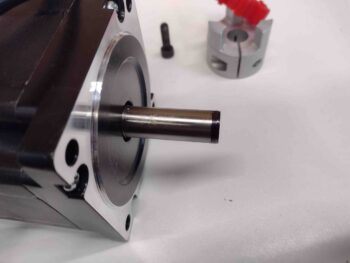
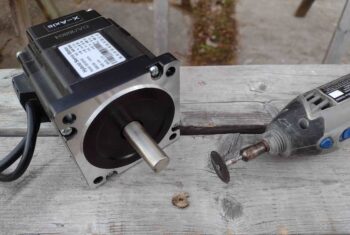
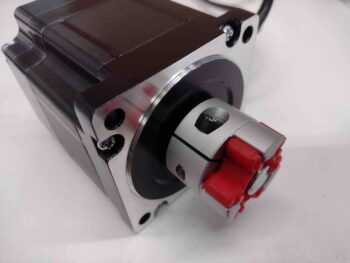
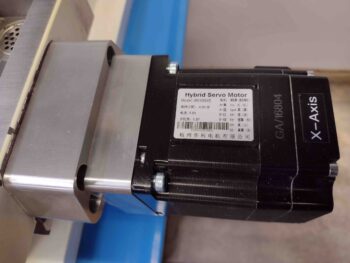
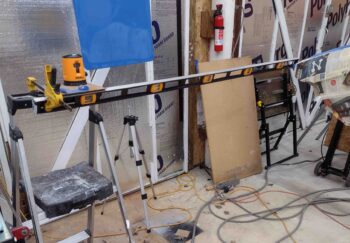
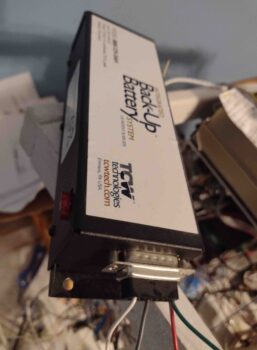
I then got to work on my milling machine CNC capability for a bit. I started off by finding the stepper motor cables (2 per) and hooking those up to get an idea of how I would run and secure them.
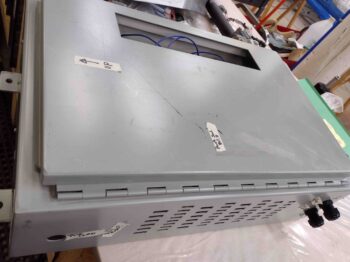
Next up was the control box. I needed to make a decision on how it would get mounted to the wall, and I actually reversed my previous decision and flipped ends for what would be the top.
I then inventoried all my ports, cable passthroughs, switches, etc. that would need to get mounted to the control box.
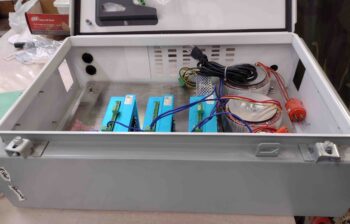
I also assessed & planned out the layout of the components inside the control box as well.
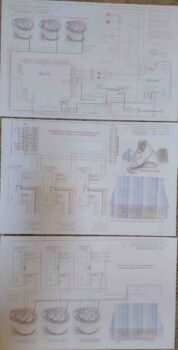
Finally, after not being able to locate my wiring diagrams for the milling machine CNC control box, I decided to simply print them out. I haven’t used my printer for 11×17 sheets in quite a while so the printouts look a little raspy… but usable.
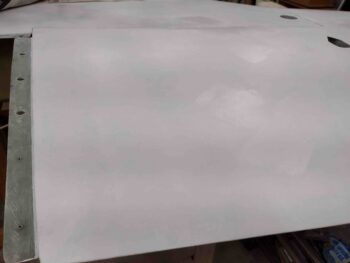
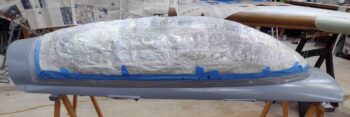
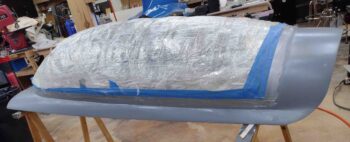
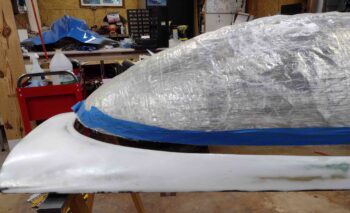
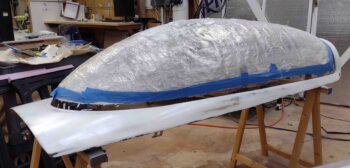
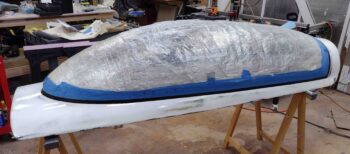
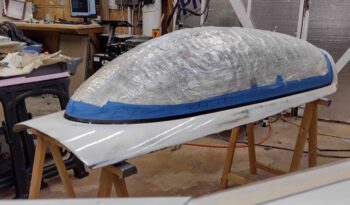
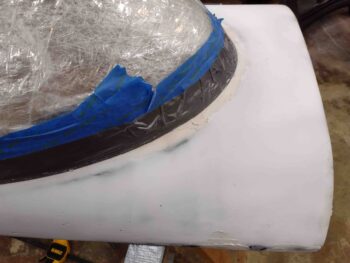
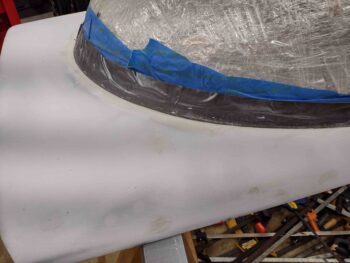
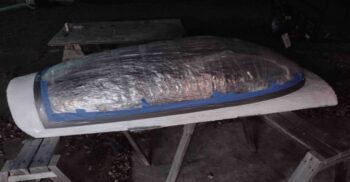
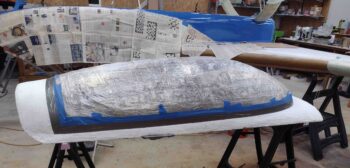
A bit later the canopy frame white primer was ready for sanding, so I spent another good hour + final contouring it in prep for paint.
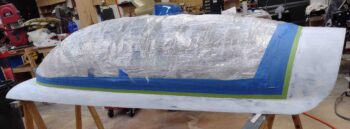
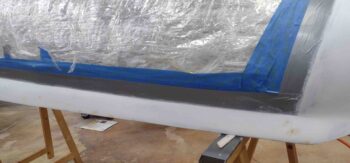
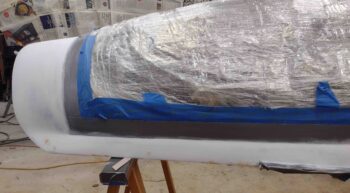
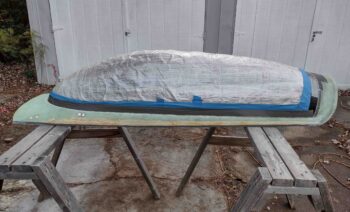
I then removed the protective duct tape and underlying painters tape around the edge of the canopy where it abuts the frame. Once again I spent a good 45 minutes very carefully cleaning up the edge and removing minute bits of excess tape.
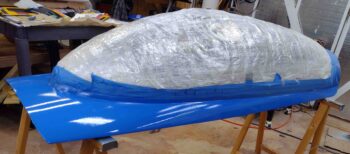
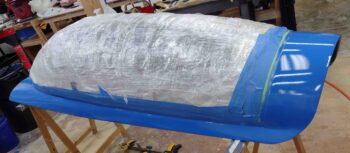
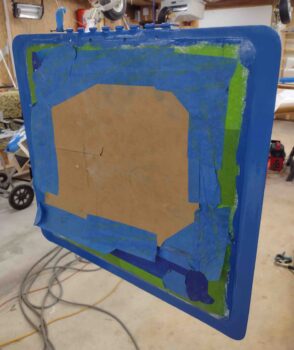
With no show-stopping blemishes on the surface of the canopy frame or around the edge, I then re-taped the edge of the canopy at the frame with painters tape in prep for paint.
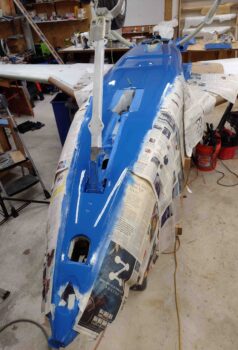
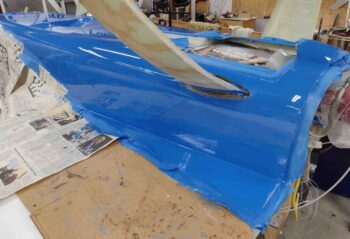
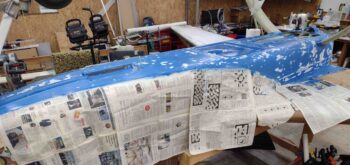
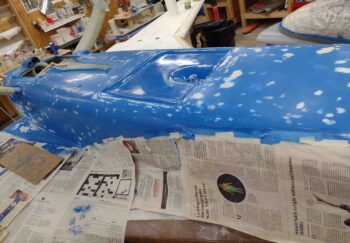
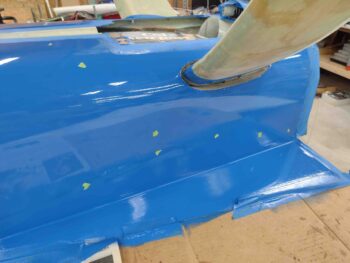
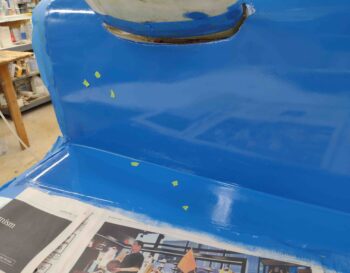
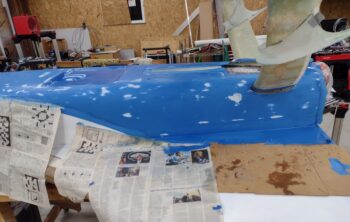
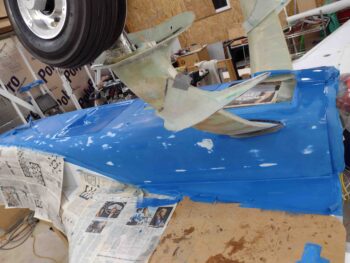
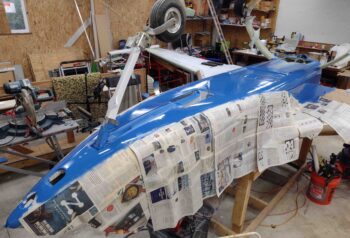
After sanding down the small dollops of white primer on the fuselage and prepping it for paint, I mixed up some blue paint and started painting… using the roll and tip method on all surfaces.
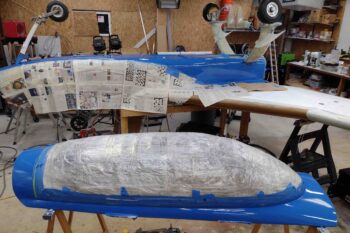
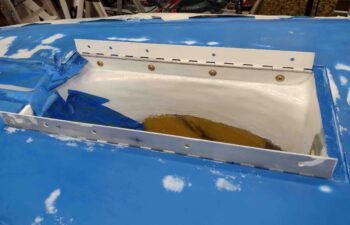
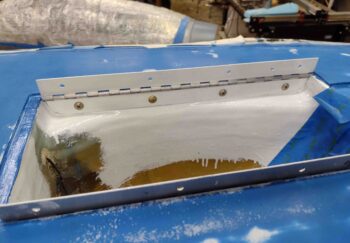
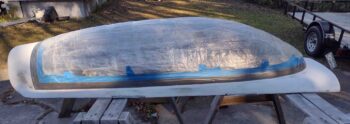
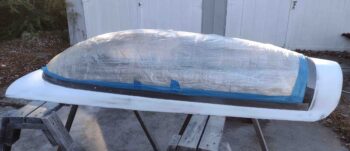
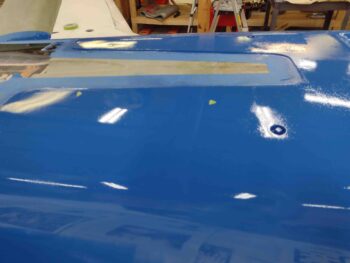
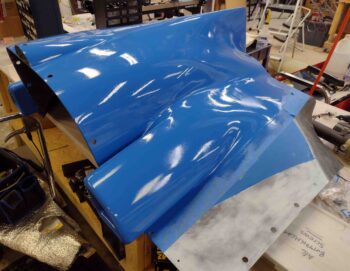
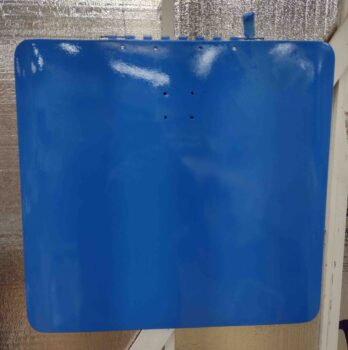
Since I’m discussing the canopy I’ll show it in blue paint although I painted it second after the fuselage.
I didn’t mix up enough paint for all the parts, so after painting the fuselage I decided I had just enough to finish the canopy frame next… although it was just a tad thin/dry. Although that still didn’t stop the runs in some spots. Crazy!
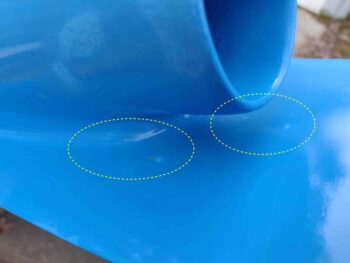
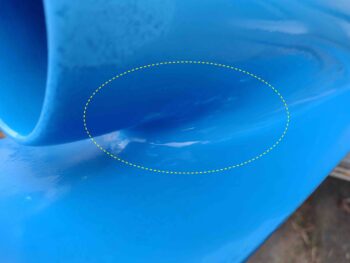
I have to say for the record that tipping the paint generates far better results than without. However, that doesn’t mean the results were perfect…
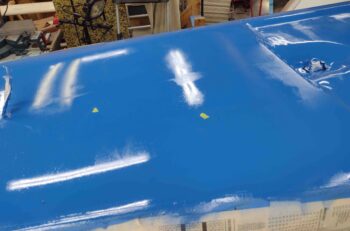
especially on the sides of the fuselage where I still had a few issues with runs even though I was diligent —or so I thought <sigh>— in keeping the paint thick enough to cover evenly, but not too thick to run after I tipped it.
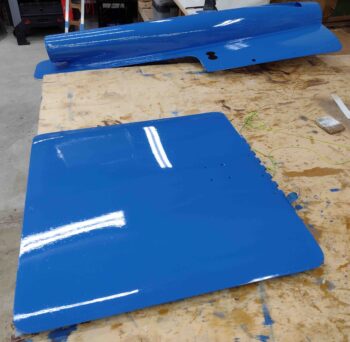
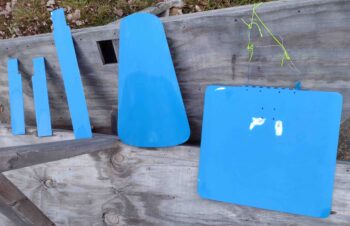
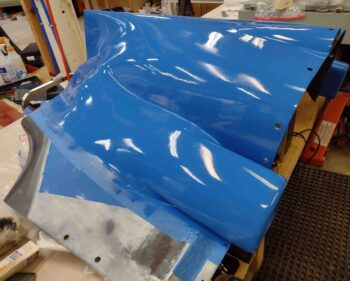
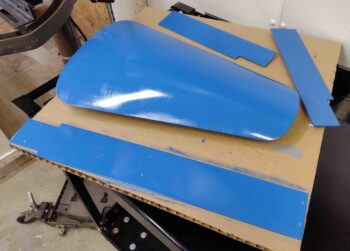
Here we have new coats of rolled & tipped blue paint on the landing brake and the RAM air scoop/hell hole hatch cover… after I mixed up another batch of blue paint.
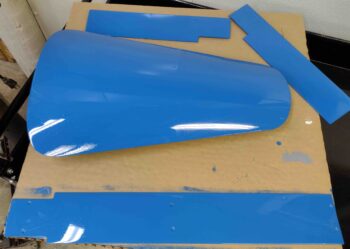
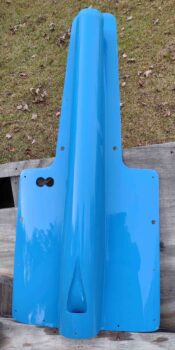
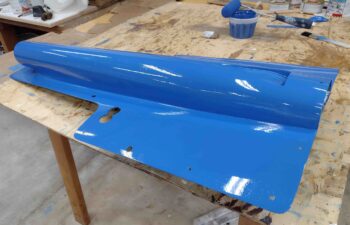
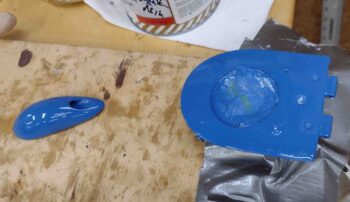
I then rolled and tipped the blue paint on the nose hatch door, nose gear fairing and nose gear doors.
I love the blue color of this paint and how it looks… from 10′ away. I have to say I’m not thrilled with how this paint levels out while curing… or technically doesn’t level out.
Although the surface is exponentially better by adding the tipping method to the rolling, in some parts it’s not a huge improvement. Some of that is my inexperience with rolling and tipping to be sure, but I think some tweaks will need to be made to my process to enhance how this paint goes on. In addition, I still feel that a final sand, polish and buff-out ala traditional auto paint will be required to get nice smooth surface along with the gloss shine.
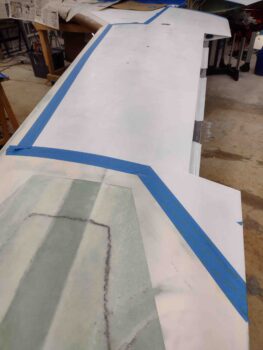
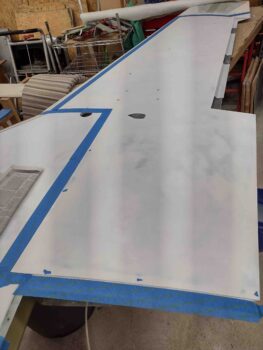
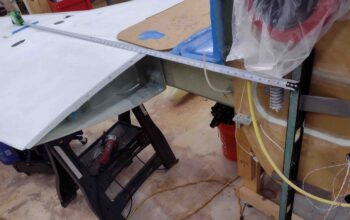
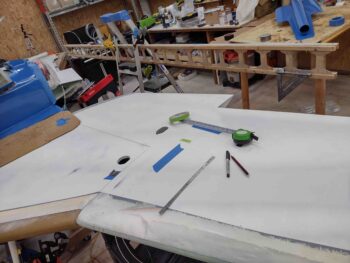
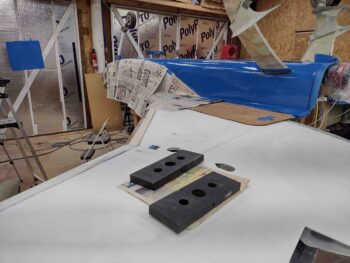
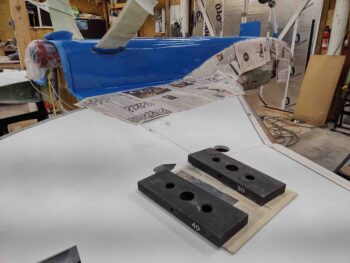
I then wet sanded the white primer on the underside of the wings with 500 grit sandpaper. I have to say that I learned yet another hard lesson in that I should have sanded the primer on the underside wing surfaces to its final texture before it cured to a much tougher surface.
By the time I got this tough sanding knocked out (although I do have a number of spots to do final re-sands), then taped off the surface edges for paint, it was just too late to start painting. I plan on knocking out this paint job first thing out the gate tomorrow.
With that, I left the blue paint to cure and called it a night.

