Need MORE build space . . .

Ok, while it’s nice to have all my tools back on hand and available to use, my garage work shop is much more crowded than it was in my other house in Virginia.  The simple cause for my work space woes is that at my old house I had a nice 10×10 ft shed that I kept all my woodworking saws and tools in.  At this house I have no shed, yet.  The issue here is that the HOA folks won’t allow me to put in a normal sized shed.  Soooo, after a bit of research I decided to install a plastic slide top storage unit and build a smaller shed out of leftover materials that I ironically pulled out of my shed located at my other house (which is currently rented out).

Thus, my shed projects begin… all to allow build space for the Long-EZ!

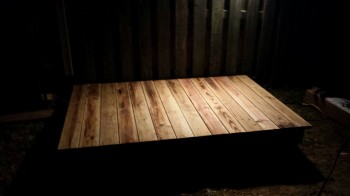
The first order of business for the plastic shed was to build a stable base on uneven ground.  Luckily I had plenty of 5/4 board for the top, but I had to buy a few pressure treated 2×6’s for the base.  After those were on hand I set to work building the base:
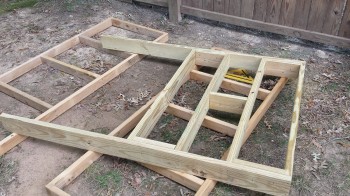
Tool Storage Shed Base I finished right about 8 pm, the bewitching hour that I prefer not to arouse the neighbors’ ire with saws buzzing and nail guns blasting.  Here’s the finished base:

Plastic storage shed base

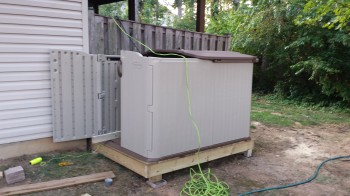
Once that was completed, I was now at the EZ part which actually putting the shed together… this took all of about 30 minutes.

Tool Storage Shed

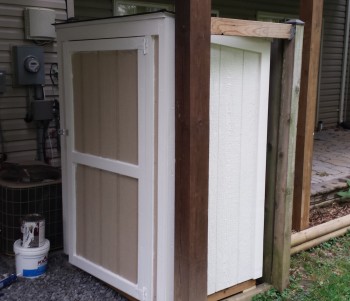
Finally, I spent another good 5 days off and on building the smaller, yet taller, shed underneath the deck.  Here’s a shot of it before the final paint went on:

Shed

Huzzah!  Now I finally have places for my woodworking tools and space in my garage to build the Long-EZ.


More toys!

Well, after numerous initial discussions with my good OZ-based EZ-building buddy Dave Berenholtz (check out his build log here), the Sky Dynamics engine gurus, and my engine guy Tom, I decided to forego the pain that would ensue if I decided to go with a traditional Slick mag along with my Electroair electronic ignition, and then swap the initially cheaper Slick for a PMag many hours later.  Yes, after Dave so graciously shared his tale of woe as to the difficulty of doing exactly what I had in mind, and after researching the electrical connections required, and the switches, and the  . . . you get the idea.  Much easier to just bite the bullet, design it right the first time, and then get ‘er done with one shot/one kill. [See my 12 May 2014 post]

Thus, being able to fully & justly blame my mate Dave for a much lighter wallet, I called (from Qatar) up Brad at E-Mag back in late May and had a wonderfully enlightening conversation on the myriad of capabilities of the P-Mag system.  Convinced that I was VERY CLOSE to making the right decision, I told Brad I would call him back to pull trigger once I was 100% sure I was going in the right direction and had researched every option. In addition, I knew with Oshkosh looming on the horizon that I would want to put an order in not too far out to ensure that Brad wouldn’t be sold out when I wanted to have a P-Mag on hand.

Well, after some more intense research and another half-dozen discussions with home-builders around the world, I called Brad back a few weeks later and told him that I was completely sold on the P-Mag and would need a unit come late August/early September.

But why did I need a P-Mag then?  Well, I had discussed with my engine builder Tom at Aero Engines in Winchester, VA, that after arriving back in the States I wanted to get the engine built within a month or so.  Although it will be delayed just a bit, within the next month or two I should be building my new ECi IOX-340S under his watchful eye. The PMag was the last major component for the engine build that I needed, and I wanted to make sure that I had it on hand so that an experienced engine builder–knowledgeable on P-Mags–would ensure that I installed it 100% correctly.

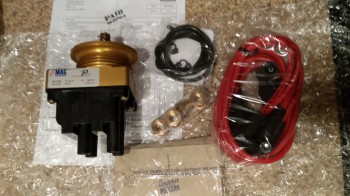
P-MagWell, sure enough Brad gave me a call in late August and my P-Mag unit arrived just a few days later, with a bag of microwave popcorn included no less!  Now that’s customer service!