Workshop – Rain is back

I wasn’t going to post anything about my mundane shop actions over this last week, but since the rain has started back up I thought I would submit a report.

When I moved down here to NC from northern Virginia, I brought with me the base I built for a rather decent sized “Rubbermaid” storage shed. Incidentally, at my previous house this was about the largest sized shed I was “authorized” from the Home Owner’s Association –who have more authority up there than any entity on this planet. Thankfully, common sense and self-determination are more of the rule down here and keep BS Big Brother watchdogs out of one’s hair . . . but I digress.

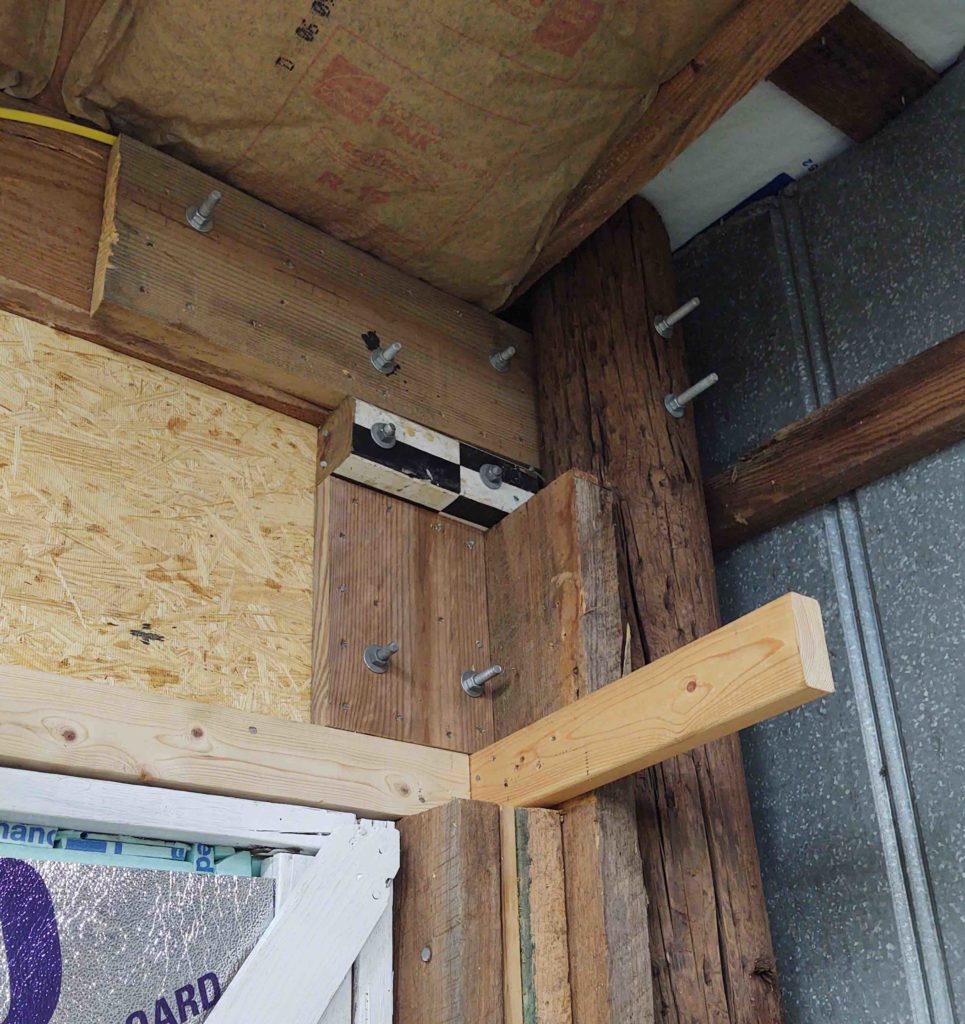
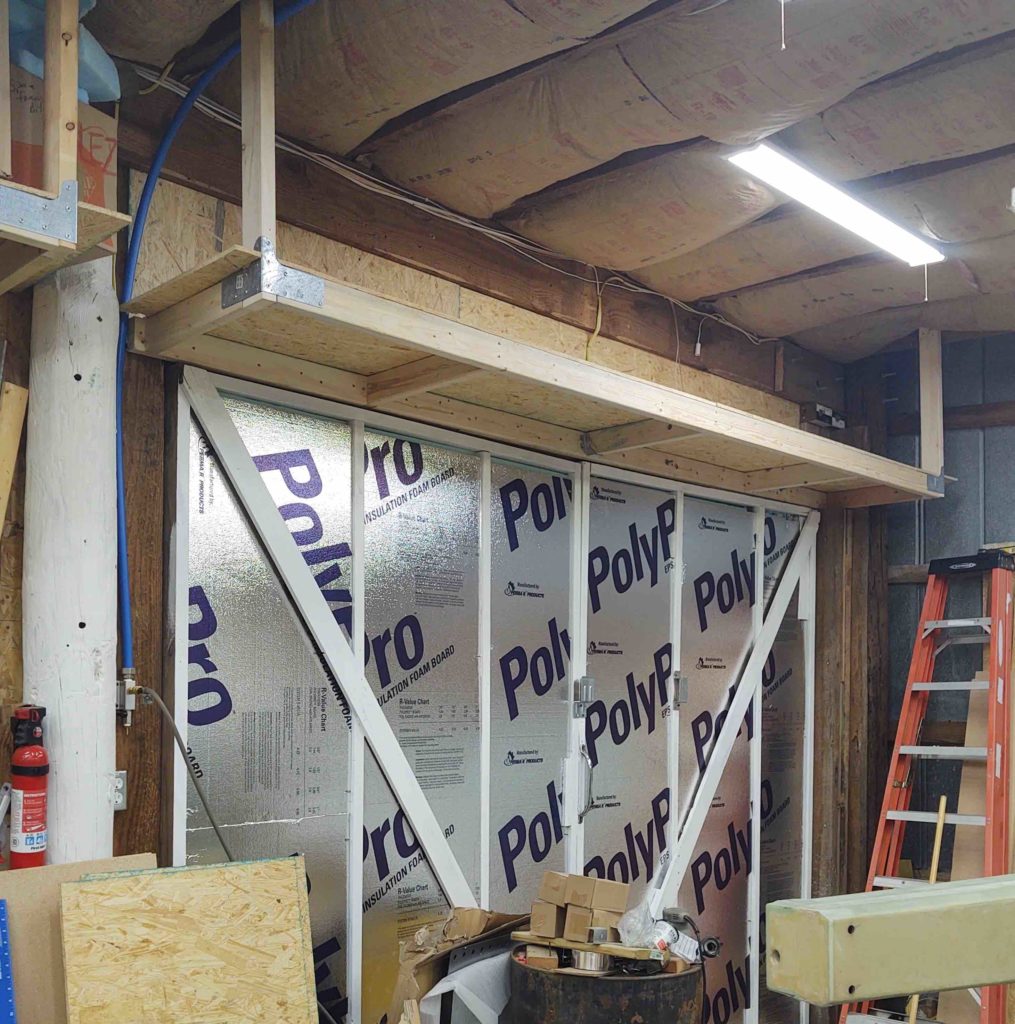
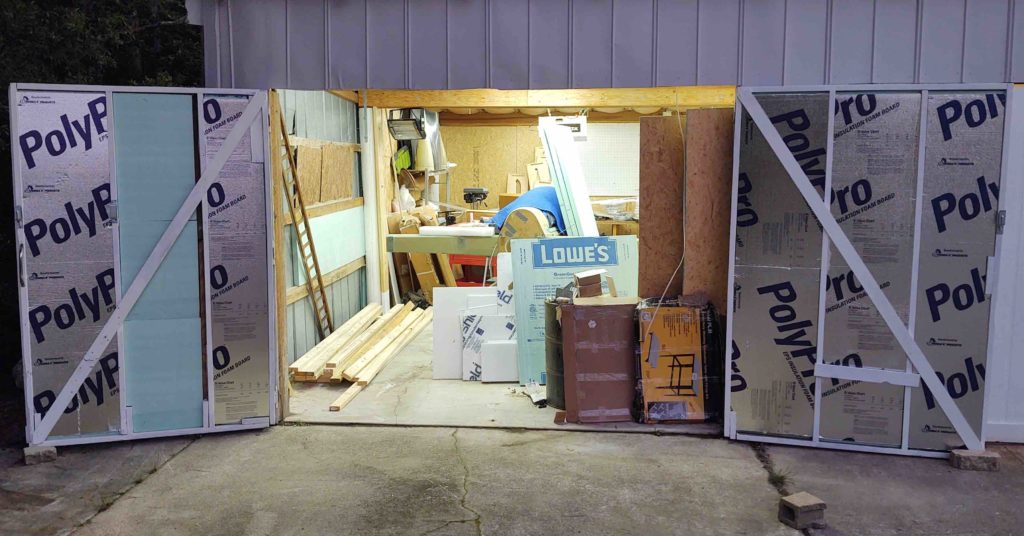
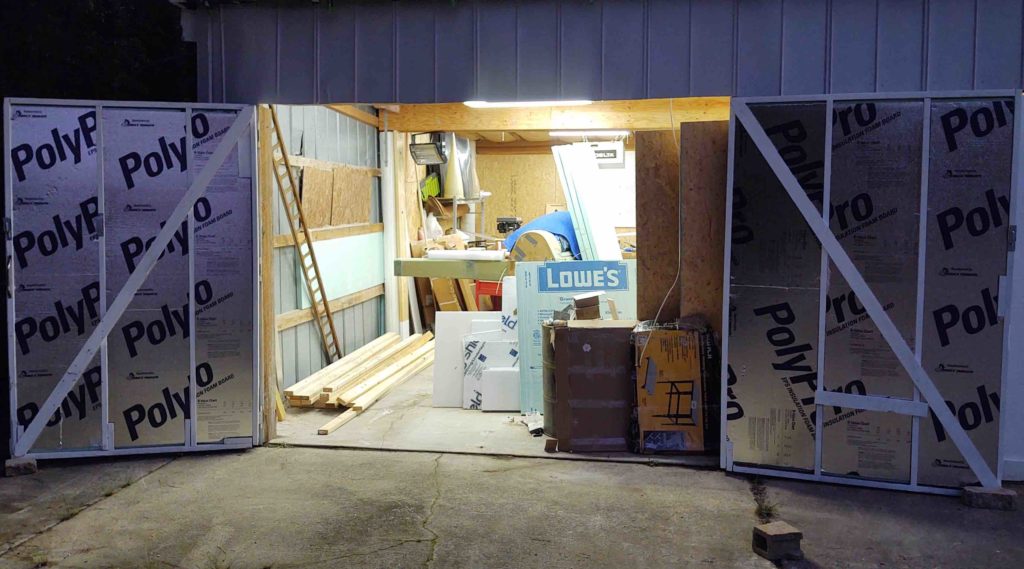
In a string of prerequisite tasks to get the excess pile of 2x4s out of the front corner of my shop, and thus allow me room to get to work on the last segment of wall, I decided to do a bit of work on the area in and around the carport overhang (situated at the right end of the workshop).

Moreover, to get the area cleaned up and organized for yet even more stuff to be jammed underneath, I decided to re-assemble my shed in a location on the back side of the shop, which was essentially free, unused space previously.

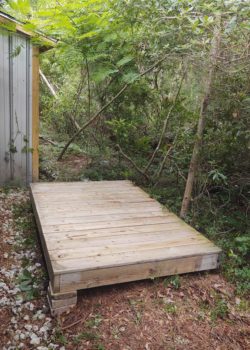
Thus, I cleared out some brush and then set up the (quite heavy) platform. I then leveled it.

Besides merely assembling the shed, I also cleaned off the months’ worth of spiders, webs, leaves and dirt from the respective panels.

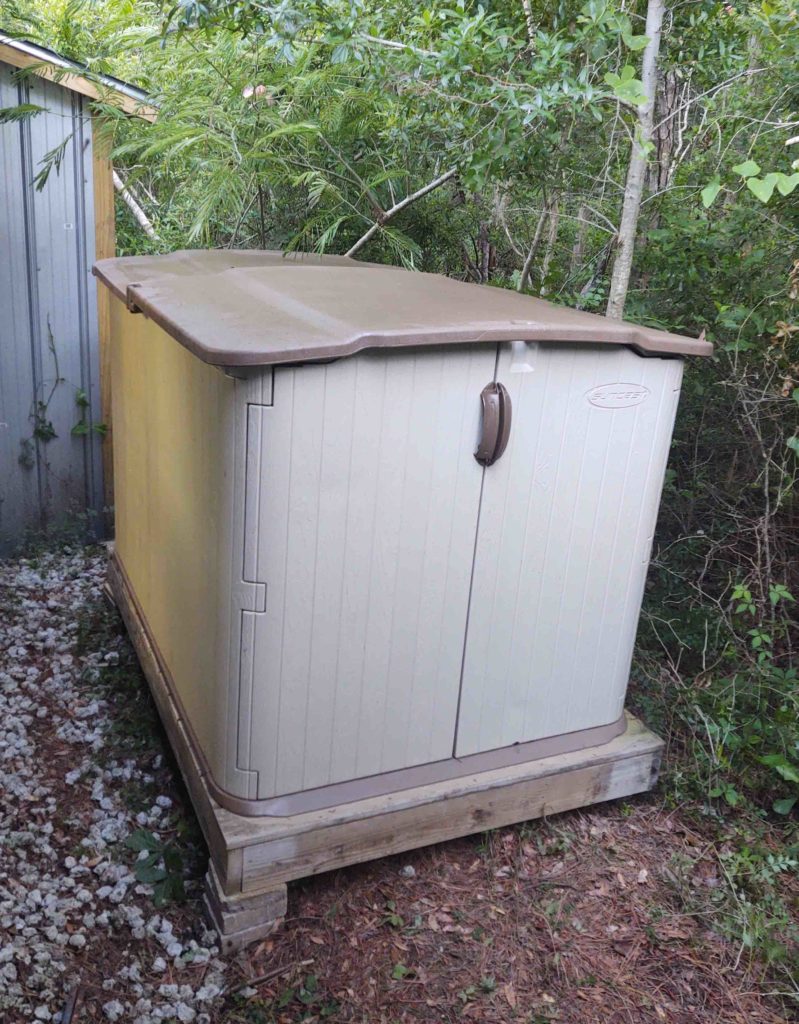
Here I’ve set the shed floor panels into place and secured them together.

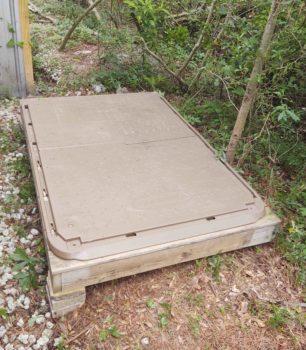
The walls and slide-opening top came next.

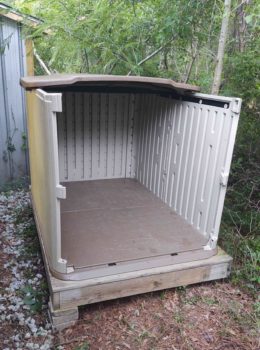
And finally the doors . . . and Voila! More storage to help un-encumber the carport area.

After the shed above was assembled (I still have to mount the front ramp back into place on the frame of the wood foundational base) I then uncrated and put the wheels on a decent-sized roll-around shop tool chest that I bought for the hangar. It has been sitting under my carport since early October taking up space and unused. After assembling (ie getting it out the way) I put it in my now somewhat organized garage.

I had big plans for finalizing the organization of the carport to allow all the unrequired stuff to come out of the workshop when the rain started back up. It’s been a bit sporadic, but definitely enough episodes and volume to have really gummed up any more serious work on the shop over the last number of days.

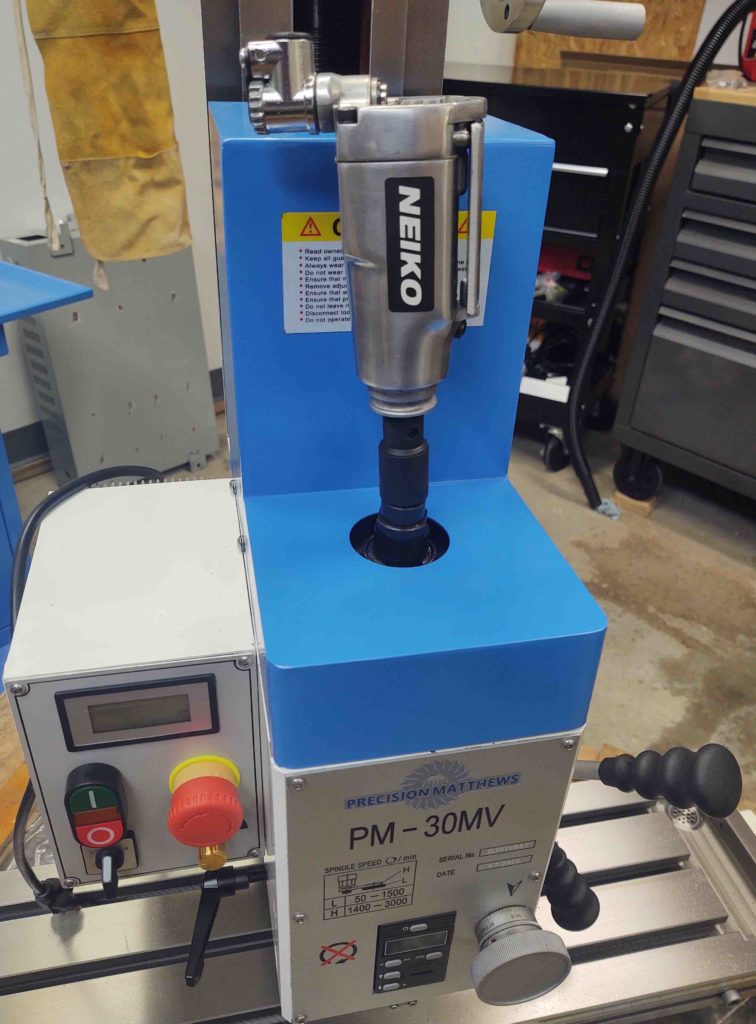
That being said, in the next day or so I plan on throwing myself wholeheartedly into getting the milling machine installed and online. If there are periods of no rain, I will also focus on getting the stack of 2x4s stored under the carport and start back in on completing the final segment of the workshop wall.

Workshop – External Lights

Part of the process of finishing up the insulation and paneling over the last set of big doors was wiring up some over-door lights, one over each set of big doors.

I do a LOT of work outside in front of the shop, whether cutting wood, grinding metal, welding, etc. and often I simply do not have enough light –or run out of light– without having external lights at the middle and far end of the shop (basically the big door areas).

I actually ran the electrical wiring months ago, but finally finished this up tonight.

As for the lights themselves, I wanted a way to cover up the junction boxes that the light bases are secured to. So I decided to cut some ovals from a scrap 2×10, with cutouts in the middle to hide the junction boxes embedded in each oval’s center.

Over the last couple of days, I painted a couple of coats of white paint on the decorative oval discs before mounting them around the J-boxes.

After getting the oval bases mounted and caulked with a final coat of paint, I then mounted the lights.

As an aside, the simple truth is that the original builder of my workshop didn’t build enough pitch into it, so with the rain being so intense as it’s been over the last few weeks it has overwhelmed the grommeted screw fasteners to the point that my ceiling insulation was, over time, soaking up water. I decided that I would have to treat literally each screw with added water-proofing, but in the mean time I simply covered a big section of the roof with a 9 mil thick tarp to keep this onslaught of rain at bay. Since the tarp went up it has eliminated any damp/wet shop ceiling insulation.

With the “tarp story” explained, here is some more pics of the new exterior over-door workshop lights.

Finally, here is a shot showing the lights in action. I can tell you that these lights will be a huge benefit in providing added visibility –and thus added capability– during a myriad of work tasks.

Again, I’m pressing forward to finish up the shop to get back on the plane, and I’m getting pretty darn close . . .

Workshop – 9th Wall Section Completed

Over the last couple of days, with good weather in hand, I was able to reframe the upper front corner of the shop from damage it had apparently incurred during Hurricane Florence.

The end portion of the main beam along the top front of the shop had been cracked and needed some TLC. I cut out the cracked portion, spliced in a new custom fit 2×10 piece, then covered that with even another segment of 2×10 to give the beam repair some surface area to bolt to both the existing beam and the corner support pole.

As you can see, there is quite a hodgepodge of 1/2″ galvanized bolts protruding into the upper corner to secure and buttress everything together.

The result of all the lag bolts on the outside corner made it look as if I had taken a shotgun to the workshop. It may not look fancy, but it definitely worked in making the corner secure.

As I worked to secure the end of the front roof support crossbeam, I also filled in the upper portion of the front wall above the big doors (that I reported finished in my last post) with insulation and then covered with OSB.

The last major step completed tonight was that of finishing the hanging shelf over the last set of big doors, pretty much as I had done for the middle set of big doors. This completes the front wall of the workshop, leaving only the front side wall (a bit of it shown on the right side below) to be insulated and covered.

Again, the last two (2) major tasks to be completed before I call the shop open for business regarding airplane construction is 1) the remaining wall segment insulated and covered, and 2) the milling machine installed and operational.

Workshop – A big step closer

Today I worked the entire day on insulating the last set of big doors.

I took this shot below to show that the first layer of insulation to go in is the 2″ thick blue-green foam, then a final top 1″ layer of white foam with a shiny aluminum foil-like surface.

Below is the final shot of the last set of big doors insulated.

I took this pic at more of an angle than above so you can see a bit more of the final wall segment –to the left– that needs to be completed. The foam panels for that wall are leaning up against the fuselage.

There is a another strip that needs to insulated, that I’ve already started, and that’s about 2/3rds of the cross strip immediately above these big doors from opening to ceiling.

Pressing forward.

Tooling Up – Lathed Mill Socket

Today I started out by flipping the engine back upright, reinstalling the desiccant plugs and tying in the desiccant dry air lines to be pumped into the engine. I had flipped the engine upside down last week to let the camshaft soak in oil for a few days.

I then set about to finish creating a unique socket for my Mill’s power draw bar, to allow for quick change outs of the milling machine tools. As I mentioned previously, the mill’s power draw bar uses a 12mm square nut that I mistakenly thought I could use a 12mm 12-point socket on to drive with a 3/8″-drive impact wrench.

I was wrong. The 12-point 12mm socket simply did NOT fit on the 12mm square draw bar nut. Since I had the 12-point 12mm 3/8″ drive on hand, I simply spent a few bucks more to buy a 1/2″ drive socket, cut the business end of the sockets off which left me with the 3/8″ square drive side on one, and the 1/2″ square drive on the other.

I then just needed to join them together to make one tool. That’s where this pic below comes into play . . .

I determined the diameter of the small socket and subtracted it from the bigger socket, I then used the remaining value (halved, not as in my quick first swag below which was not correct) to scribe an alignment mark on the face of the larger socket.

After spending a good little chunk of time aligning the two sockets, I then ensured they were securely clamped together.

And then –with surprisingly even more Argon/CO2 mix left in my MIG welder gas tank– I welded the 2 socket pieces together.

After the new welded oddball socket cooled, I chucked it up in the lathe to clean it up. Being a newb on the lathe, I was curious how much nicer I could actually make this thing look.

Not too shabby IMO. Not a superior part, but definitely good enough to get the job done and also not look hideous while doing it. I have to say I’m loving this lathe, and can’t believe I’ve gone so long without using it!

The pics show the different sides of the new mill power draw bar socket.

I then painted it black. Here it is a few hours later after the paint was dry.

Here’s the new mill power draw bar socket attached to the 3/8″ drive impact wrench that will drive the quick tool change process for my mill. Lying next to the impact wrench is the mill’s draw bar, as you can the square 12mm nut on top.

Here we have a quick mock-up of how this new socket will interface on both sides… to allow loosening and tightening the draw bar to release one tool and then tighten up the next tool during the milling process.

I’m very happy with this new lathe capability in the shop, and how this socket came out. With mini-projects like this it will help get me in the saddle quicker to tackle parts for the actual airplane.

As a point of note, as the new power draw bar socket was drying after having been painted, I worked on insulating the last big set of shop doors for a couple of hours. So just another couple of hours more and the insulation on those big doors should be complete.