Chapter 23 – Engine/Starter

Besides starting to pick up the main parts of the engine, in July I also started down that long road of picking up all the engine accessories as well.  There were a few components that I still wanted to do a fair amount more research on, to be sure I was getting what I felt was the best fit for my engine and airplane.  Of course I read a ton & made quite a few phone calls to some really smart folks.

One thing that I new for certain was that I was going with a B&C starter.  While B&C starters ARE NOT the lightest starter you can get out there (by a few pounds), from every bit of feedback I could garner these guys are bulletproof.  Thus, a B&C starter was the first engine accessory that I pulled the trigger on (example pic here).

Chap 23 - B&C Starter


Moving time!

Well, moving day is finally here.  A couple of weeks ago, just before my 2-week jaunt back to the States, I had a rep from the shipping company come out and measure all my stuff, including all the airplane components, to figure out what kind of crates would need to be constructed.

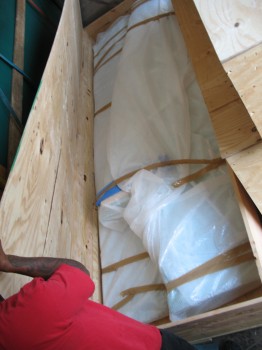
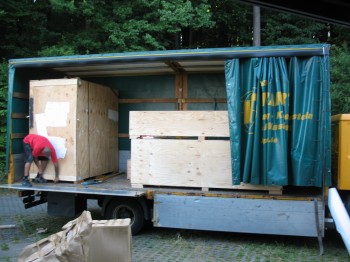
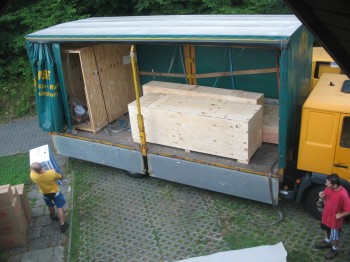
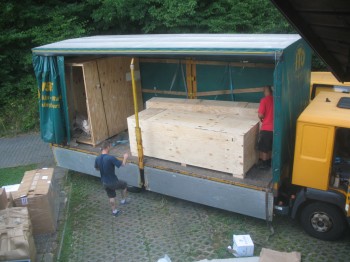
I was fairly impressed when the moving truck showed up today with 3 large crates specifically for the major Long-EZ components.  I have to tell you I was a bit concerned that the military was going have a conniption over my aircraft project.  Of course that’s one reason why I built all my components to the minimum length I could, and didn’t mount the winglets to the wings, etc.  The first large crate was for the fuselage, which much to my pleasure was large enough so that I could keep the firewall mounted onto the longerons (ensuring that the back end of the fuselage didn’t endure any undue stress).

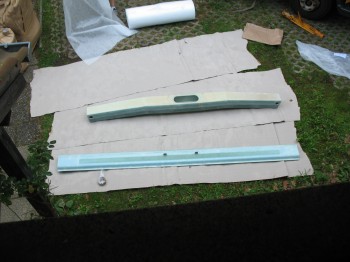
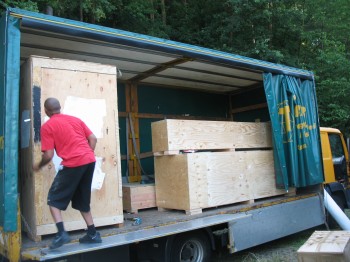
The second crate was a smaller, longer crate for both the Canard & CS spar.  This too had plenty of room to allow for lots of overpacking to keep these guys from rubbing holes in each on the boat ride back to the US.

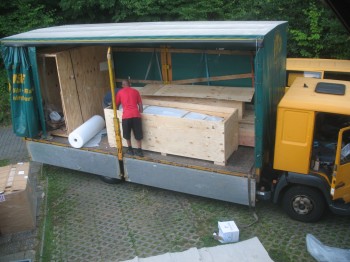
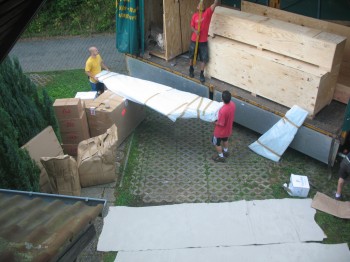
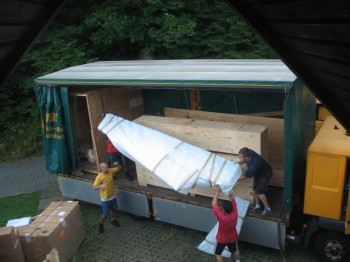
The last crate was the mo-jamma!  Although I had specifically requested that this guy be constructed so the wings would be crated vertically & leading edge (LE) down, it was constructed so the wings would be horizontal, but plenty big enough to allow for a lot of extra padding between the wings.  Also, although the wings would be shipped and stored horizontally, I figured since they were built last summer that they’ve had nearly an entire year to cure in the correct position/LE down to lock in their shape, so I’m not too concerned about them warping. In fact, I was thinking about this in regards of flying Long-EZs: I don’t hear stories about EZ drivers removing their wings and storing them LE down when not using the airplane!  Nope, the wings pretty much stay attached to the CS spar and seam to do just fine without any major warpage!

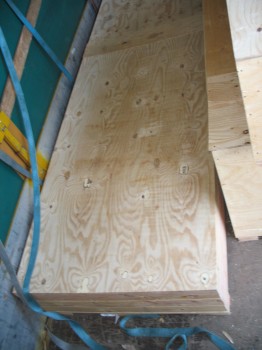
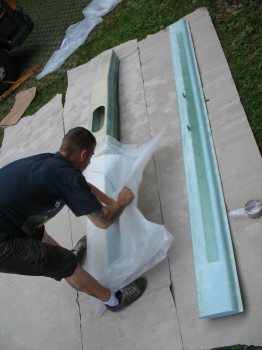
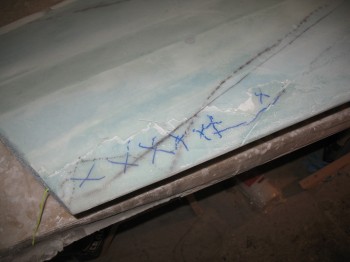
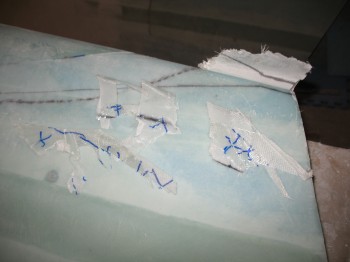
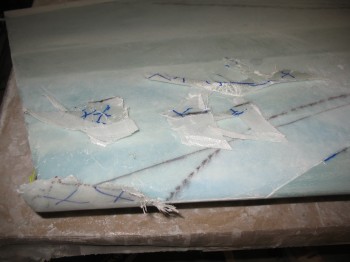
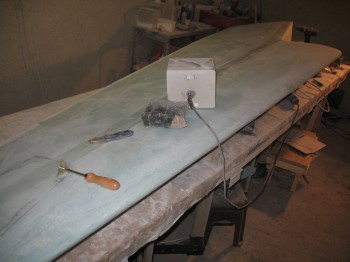
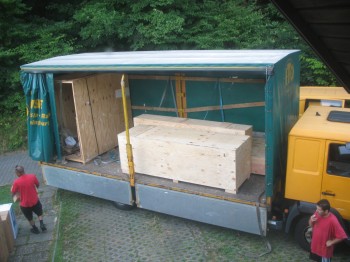
So, here are the pics of the wrapping, packing, crating & shipping of Long-EZ 916WP:

Fuselage, canard/cs spar & wing cratesFuselage, canard/cs spar & wing cratesFuselage, canard/cs spar & wing cratesCrating fuselageFuselage & canard/cs spar cratesCrating wingsCrating wingsCrating wings
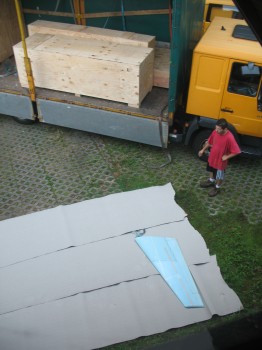
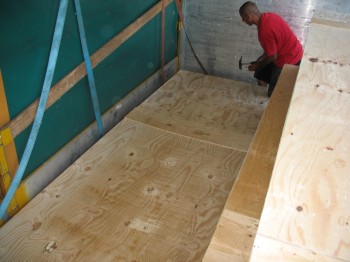
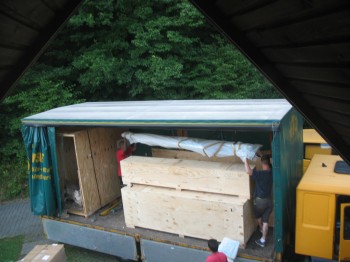
One thing I want to point out is that I was with these these guys the whole time that they were packing up my LEZ components, then when we finished prepping each part for crating I would sprint up 3 flights of stairs to take a picture or two, then run back down to work the next piece, sprinting back up the stairs in an attempt to get good shots of all these parts getting packed up & crated as part of documenting my build.

Crating wingsFuselage, canard/cs spar & wing cratesFuselage, canard/cs spar & wing cratesCrating Canard & CS SparCrating Canard & CS SparFuselage & canard/cs spar cratesFuselage, canard/cs spar & wing crates


A fond, bittersweet farewell!

I’m back in Germany for the final push before I head off to the land of heat, sun & sand.

Well, unfortunately my moving mimics the plane build in many ways in that the name of the game for shipping my stuff back to the US to spend a year in storage is: lightweight. At least, as lightweight as possible (thus, how the move parallels my build).

I came over to Germany with a lot of wood & building materials that I wasn’t sure would be available here. Some of it was, but a lot of it wasn’t.  The bottom line for my return trip however is–just like in building my Long-EZ–if I don’t absolutely need it, then it’s getting sold or chucked.  Of course this was in my plan all along since I new as I built the various components of the Long-EZ over here that my aircraft project would be significantly heavier on the return trip.  Thus, a good majority of my shop either ended up getting sold, dumped or burned in my chimenea.

Which leads me to my Long-EZ glassing & building shoes.  These faithful troopers have been in the game since day one.  But since they’re at the end of their life cycle, and they add weight, they have to go!

Farewell faithful build shoes!  I hope your replacements do as fine a job of catching errant epoxy drops as you did!

A Bittersweet Farewell!


Chapter 23 – Engine

I’m back in the States for a couple of weeks before I head over to the Sandbox.

Today I pulled the trigger on my Lycoming O-320 engine case along with an ECi IOX-340S strokered crankshaft, balanced connecting rods, and camshaft from Tom Schwietz at Aero Engines in Winchester, VA at Winchester Regional Airport (OKV).  I met Tom at his shop and talked with him at length on various engine options, the build, etc. and toured his shop.  Tom was incredibly knowledgeable and the facility was quite impressive.

However, since I apparently had a huge brain fart and failed to get a picture of my new engine components, I tried to find a good representative picture online but couldn’t find anything fitting.

Yesterday, I got to spend all afternoon/evening with my buddy Marco down in Virginia Beach and tour his build facilities as well (impressive garage my friend! ha!).  He showed me his Long-EZ project and of course we talked Ad nauseam.  I also dropped off my TIG Welder for him to try out, evaluate & use while I’m gone this next year.  If he likes it he’ll most likely use it build his rollover assembly.  It was great to visit with him and get some good Long-EZ shop talk in with my fellow Canardian.  Build on my friend!


Chapter 19 – Left Wing Repair

Today I finally got around to marking something off my long-standing “To-do” list that includes all the nit-noy ancillary tasks that I need to accomplish.  So what was this mysterious task?

Well, in my haste to glass the top side of the Left wing, I forgot to pull the big piece of triangular peel ply off the bottom of the wing.  This peel ply covers the large triangular 1-ply BID layup that is glassed at the end of the wing as a foundation for multiple plies of glass that will attach to it to structurally hold on the winglet.

Chap 19 - Left Wing Tip Repair

On the Right wing I had simply pulled the peel ply back off the leading edge a few inches. Since I forgot on the Left wing, the top skin glass overlapping onto the bottom skin is now actually overlapping onto the bottom skin peel ply.  Not exactly structural.  Luckily, since the peel ply is a triangular piece, only about 6-8 inches of the very end of the wing’s leading edge is affected.  Nothing that can’t be fixed.  I just had to mark it and then carefully Dremel away the ineffective overlapping top skin glass & underlying peel ply.

Chap 19 - Left Wing Tip RepairChap 19 - Left Wing Tip Repair

Once I removed the offending glass & peel ply, I continued on in my quest to give the wings a good once over with the sander.  The leading edge overlaps with the snarly, prickly glass especially needed sanding down so when we handled the wings nobody would get inadvertently punctured with wayward glass barbs.

Chap 19 - Left Wing SandingOf course sanding fiberglass is never a joy.  It’s itchy, messy & not particularly good for the lungs.  Of course I was covered head to toe on what proved to be a fairly warm day in Germany.  So below is just a couple of pics of the ensuing personal carnage that sanding glass does to one’s own person!  Build on!

Darth Vader's 1st Experimental TIE FighterSanding carnageAfter I finished sanding the wings & winglets, I vacuumed up the insidiously ubiquitous glass dust that completely covered everything in the garage and got into absolutely everything.  Not surprisingly, sanding and vacuuming was my last official build effort for the next upcoming year!

But fear not, I will continue to post my progress on the build!