Chapter 13/25 – Gear doors installed

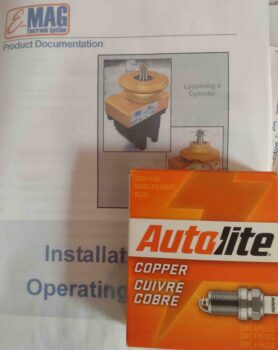
I started off this morning answering an age old question —literally, for this build— What spark plugs do I need to use with my P-Mag ignition system?  Well, I deferred to my good friends over on the VANs Aircraft Forum site and found the answer lickity-split:

Autolite 386

Why these guys?  Well, considering that I’ll be swapping these out every year during the condition inspection, and that the feedback from the RV drivers are virtually flawless… combined with the fact that they are dirt cheap, I didn’t see ANY reason not to go with them. In this current world of crazy prices, I picked up the box of 4 below for less than $10.

Oh, and one more huge benefit is that they are literally tractor spark plugs, so they have 18mm threads which clearly eliminates the need for plug adapters.

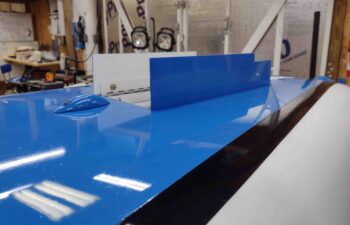
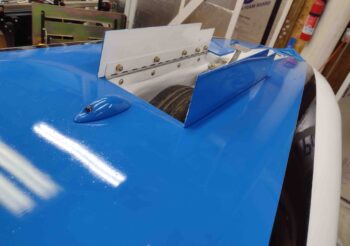
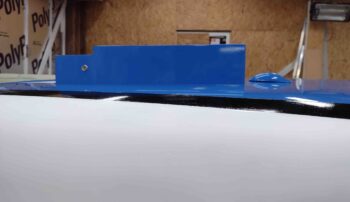
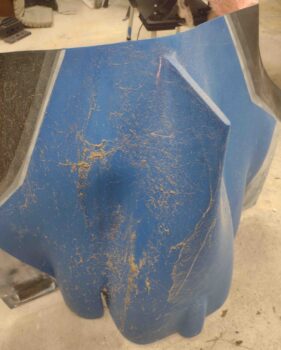
Out in the shop, I got busy installing the nose gear doors.  There is one countersunk screw on each door that secures the door opening/closing spring to each door.  These needed some attention to get the screw depth just right, and after that, the install was pretty much just finding the right washers and nuts to secure these things in place.  Well, and a minor bit of razor blade work to clear out some excess paint around the door perimeter edges on the nose side.

I’ll add that the edges of the nose gear doors need some touching up on the blue paint, but again, I’ll use gravity as my friend and hit those when the fuselage is upright.

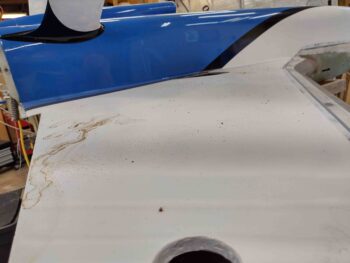
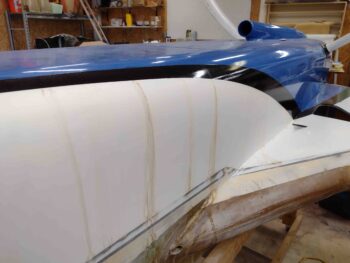
You may note that I also mocked up the aft-facing wide angle video camera mounting nub just aft of the nose gear wheel well.  I worked on the interfacing/mating surface of the video camera mounting nub to remove some excess paint and smooth it down flat a bit.

I won’t actually silicone RTV attach the video camera mounting nub until after the plane is upright since I’ll need to make sure the camera is oriented correctly as its all mounted in place.

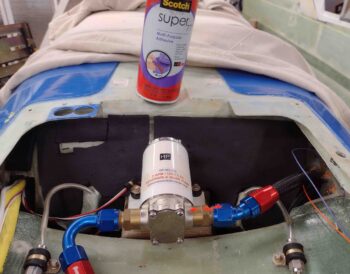
My last task of the evening was to re-attach the lower sound insulating foam in the Hell Hole that had pulled up a bit from the glass surface.  I took the accessible sound foam pieces outside and hit them with a coat of 3M Super 77 spray glue before then spritzing the aft side of the GIB seat in the Hell Hole with the same (ensuring all the nearby painted areas were protected).

After allowing 5-10 minutes for the glue to tack up, I then reattached the foam pieces and they stuck like a charm.  Thus, I am happy to report that all is good with the majority of the sound deadening foam in the Hell Hole.

Again, pressing forward!

Chapter 13/25 – Final RAM scoop install

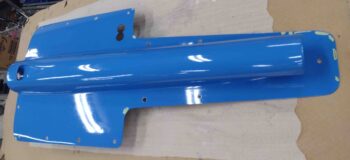
Over the last few days I’ve very carefully sanded down the edges of the RAM air scoop/hell hole hatch cover to allow for it to fit nicely in the outline on the bottom of the fuselage.  Here’s a shot just prior to the first of three sanding sessions.

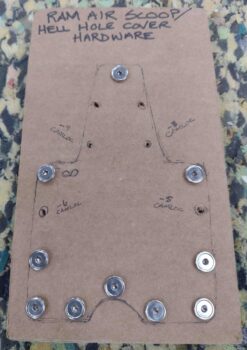
Removing all the screws and CAMLOCs each round to sand the RAS/H3 cover I decided to take 15 minutes to make me up a hardware holder card out of cardboard.  These make life infinitely easier for any component that has a lot of screws and/or CAMLOCs, as I also did the same for my wheel pants.

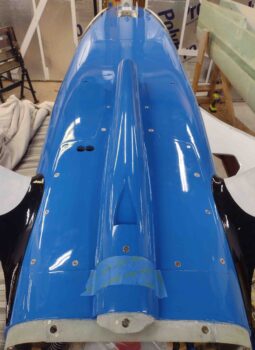
With some other stuff going on, it took me a couple of days of finalizing the perimeter edges as well as the countersink holes on the RAS/H3 cover, but here it is in its final mounted state.  I’m very pleased with how the hardware is sitting near-flush with the skin surfaces.

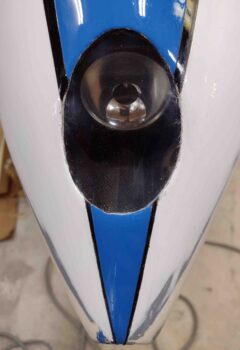
I also spent some time very carefully removing the tape from the nose landing light lens and then carefully trimmed the perimeter of the lens to clear out any stuck tape and invasive micro bits.  I’ll clean up the edge a bit and carefully re-apply paint to spiffy it up… In doing so, to make gravity my friend, I’ll do the front (lower) edge while the fuselage is inverted, and the aft edge once the bird is back upright to avoid having the paint attempting to run down onto the lens.

I’ll note that a lot of these tasks I’m doing right now are finicky, nitnoy finishing tasks that take a good bit of time in the iterations to get it right to call it as close to final completion on these components as possible.

Moving forward!

Chapters 22-25 – Big decisions… a long time coming

I’ve made a significant number of big decisions on the build over the last number of months, with the last few culminating specifically last week when I helped Marco out with his first flight after he installed his Silver Hawk fuel injection system (same that I have) to replace a failed Ellison throttle body.  His flight went well and I picked up a few key tips.

Seeing Marco’s finished firewall, I took note of his goal to easily be able to remove the engine from the aircraft with minimal hassle. I find this especially valuable towards the end of this build when I may need to remove and mount it a few times for cowl fitting, finishing, painting, etc. This included Marco’s mounting the various engine sensors on small manifold blocks attached to the engine mount tubes, as well as very cleanly managing all the electrical connections through a connector on the firewall.  This helped answer some design questions I had in my own mind, especially since I got to observe how these features worked operationally.

Now, both Marco’s bird and Chris Cleaver’s bird are beautiful Long-EZs, but my dilemma with trying to decide what to do with my boat-painted bottom fuselage was answered when I scrutinized the finish on both their EZs… I realized that neither paint finish was perfect, and that I needed to focus on the main goal: get this bird in the air.  Again, that’s not to slam their finishes at all, but I had to be realistic and just realize that the bottom of my plane is not going to win any beauty contests.  That’s the price we (or I at least) pay for experimenting!  And I certainly don’t want to redo it all and add months to the build (yes, I realize that’s an ironic statement given I’ve been away from the build for a good bit).

After returning home, I took about a week to update a good half dozen electrical & connector diagrams, especially given that all my smaller gage engine wires will run through 2 connectors on the firewall.  I determined and verified all the firewall-transiting wire runs, what wires would go to which connector, and then ordered the connectors and associated pins and sockets.

Since my 11×17 printer had sat dormant for 6 months, I also needed to spend a good few hours cleaning and getting that beast online.

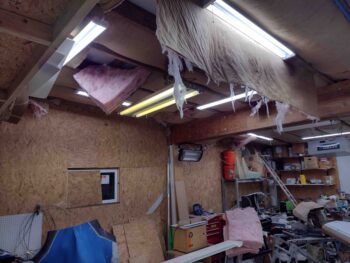
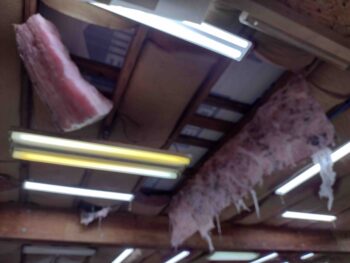
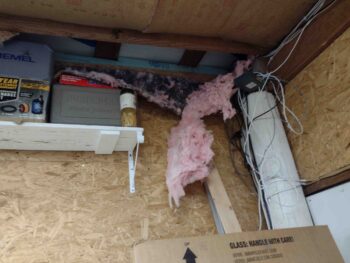
Speaking of cleaning, I also spent a good 4 days cleaning the shop, where the squirrels had apparently moved in and decided to have a few parties… a real mess.  Here’s a few pics of the calamitous scene I found:

Dust pert near everywhere!

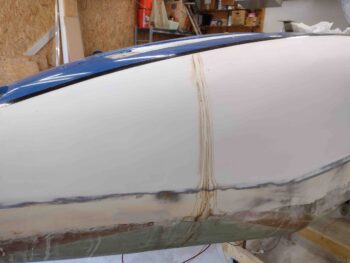
We get a lot of rain here, and with my both my air conditioner and lights off, the insulation can get over saturated with condensation and drip down on whatever is below… here being the fuselage and strakes.  Looks bad, like rust almost, but it is just water collecting with lots of dust.

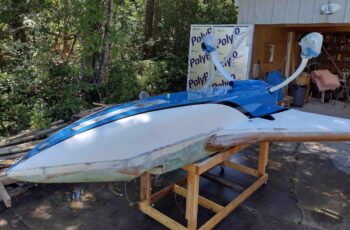
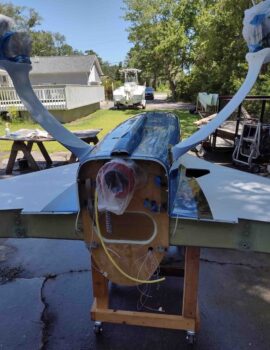
Thus, I rolled the fuselage outside and washed ‘er down good.

Another shot (note my new toy, a boat, in the background… yes, I strayed a bit while off the build!)

As the fuselage, wings, canard, cowling, etc. dried, and while the bays were clear, I tacked the insulation back up in place that the partying squirrels had knocked down…. it’s a constant battle trying to patch holes to keep them out!

I also gave the bays a good sweeping and a bunch of dusting of course.

Ok, ready to start building again!