
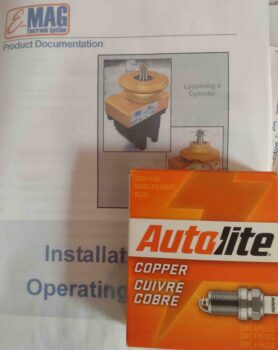
I started off this morning answering an age old question —literally, for this build— What spark plugs do I need to use with my P-Mag ignition system? Well, I deferred to my good friends over on the VANs Aircraft Forum site and found the answer lickity-split:
Autolite 386
Why these guys? Well, considering that I’ll be swapping these out every year during the condition inspection, and that the feedback from the RV drivers are virtually flawless… combined with the fact that they are dirt cheap, I didn’t see ANY reason not to go with them. In this current world of crazy prices, I picked up the box of 4 below for less than $10.
Oh, and one more huge benefit is that they are literally tractor spark plugs, so they have 18mm threads which clearly eliminates the need for plug adapters.
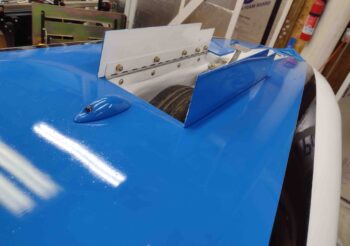
Out in the shop, I got busy installing the nose gear doors. There is one countersunk screw on each door that secures the door opening/closing spring to each door. These needed some attention to get the screw depth just right, and after that, the install was pretty much just finding the right washers and nuts to secure these things in place. Well, and a minor bit of razor blade work to clear out some excess paint around the door perimeter edges on the nose side.
I’ll add that the edges of the nose gear doors need some touching up on the blue paint, but again, I’ll use gravity as my friend and hit those when the fuselage is upright.
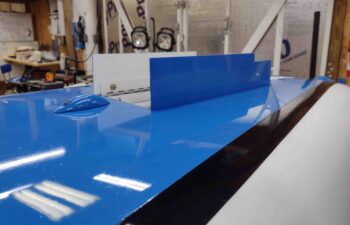
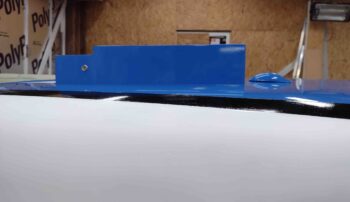
You may note that I also mocked up the aft-facing wide angle video camera mounting nub just aft of the nose gear wheel well. I worked on the interfacing/mating surface of the video camera mounting nub to remove some excess paint and smooth it down flat a bit.
I won’t actually silicone RTV attach the video camera mounting nub until after the plane is upright since I’ll need to make sure the camera is oriented correctly as its all mounted in place.
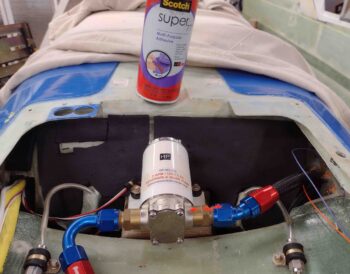
My last task of the evening was to re-attach the lower sound insulating foam in the Hell Hole that had pulled up a bit from the glass surface. I took the accessible sound foam pieces outside and hit them with a coat of 3M Super 77 spray glue before then spritzing the aft side of the GIB seat in the Hell Hole with the same (ensuring all the nearby painted areas were protected).
After allowing 5-10 minutes for the glue to tack up, I then reattached the foam pieces and they stuck like a charm. Thus, I am happy to report that all is good with the majority of the sound deadening foam in the Hell Hole.
Again, pressing forward!