
I started off this morning with my cup of coffee and some research/inventory of required hardware to connect up my external vernatherm and hopefully attach it to the engine mount. This effort is copying Nick Ugolini’s method of eliminating the need to block off the oil cooler in the winter by adding another, external vernatherm at a point in-between the engine and oil cooler. In a bit of irony, I had an external vernatherm on hand when I bought it to use for Nick’s original oil heat system design, that he then upgraded to a much better version later on… so I had a spare laying around.
I then finalized and pulled the trigger on an Aircraft Spruce order, that included a manifold block and Adel clamps for the motor mount to attach the various respective/individual engine sensors… in my quest to make the engine easier to install/remove as needed.
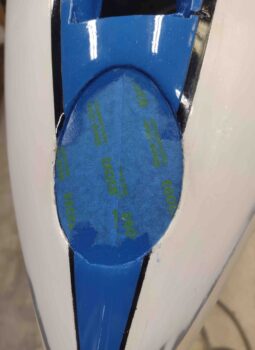
Out in the shop I finished taping up the landing light lens and various edges along the bottom of the nose and fuselage to allow me to do some touchups/additions with the blue paint.
Here we have the taped up landing light lens with the blue touchup paint applied… I went a bit rogue and touched up the upper (aft) side of the lens with a fairly dry application of paint.
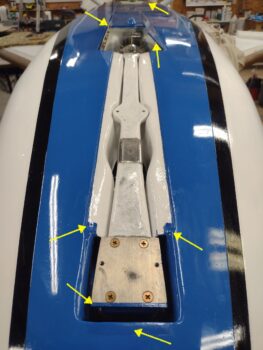
I also touched up/added a bit of blue paint in and around the nose gear, including the front of the NG5 plate, extending the blue back a bit on each side of NG5 to cover up the bits of white showing when the nose gear is closed, and —going roque again!— I got risky and touched up the edges of the nose gear doors now since I had plenty of paint (even though I mixed up like 2 grams worth). Lastly, I also did a bit of touch up on the fuselage side of the RAM air scoop, and the RAM air scoop/hell hole cover itself.
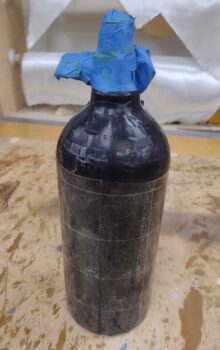
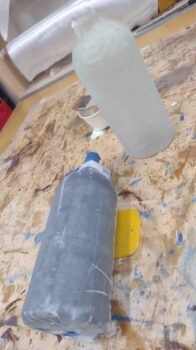
With the blue paint applied and drying, I then got busy re-taping up the Mountain High O2 bottle in prep for laying up the second half of the composite cradle mount.
As before, I laid up 2 plies of UNI and 2 plies of BID for the second half of the O2 bottle composite cradle mount. I then peel plied the layup.
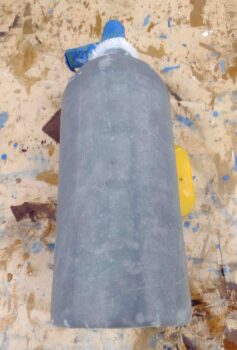
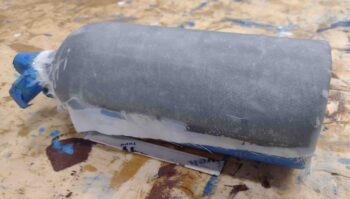
To be clear, once I combine the two halves of the cradle mount, I will then use a hole saw to make some rather large lightening holes… this is the reason why I used 4 plies in creating the mount.
I used slow hardener and it was getting late, so I left the layup to cure overnight.