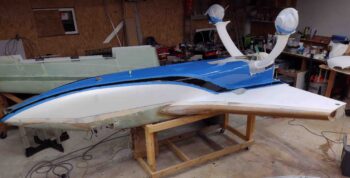
Chapter 3/25 – Tooling up & sanding

I haven’t gotten a lot done on the build between Christmas and a 3-day trip down to Charleston, SC . . .  all while feeling a bit under the weather with a persistent, nagging cold.

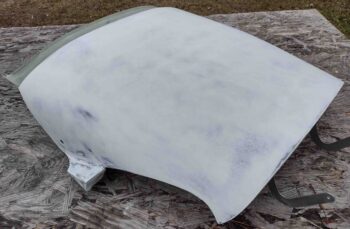
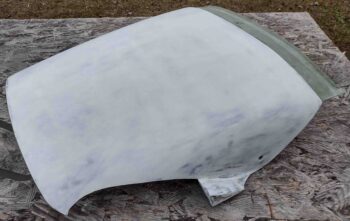
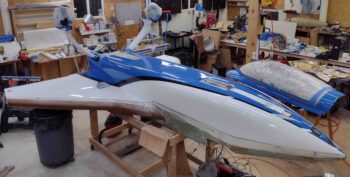
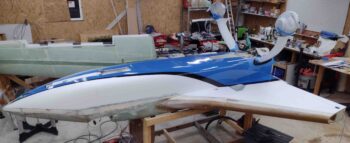
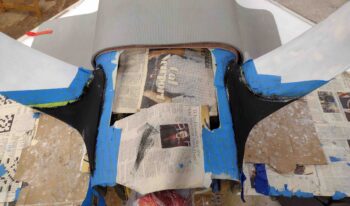
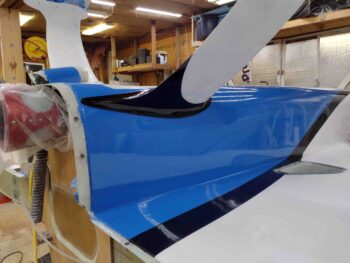
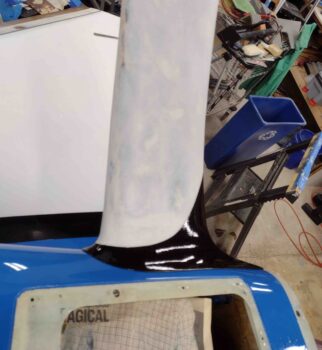
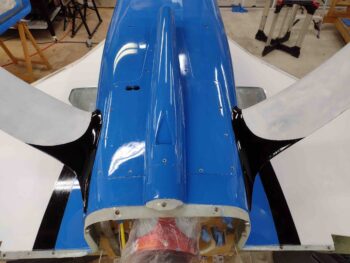
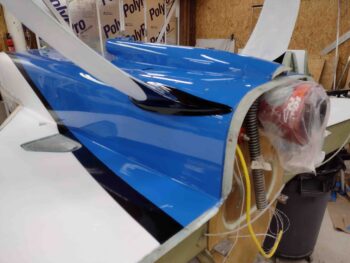
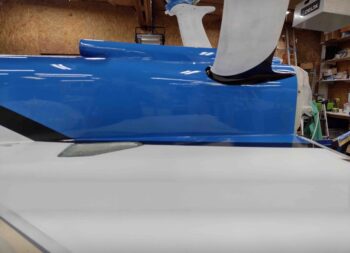
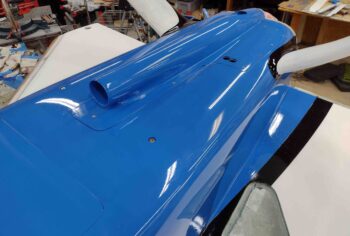
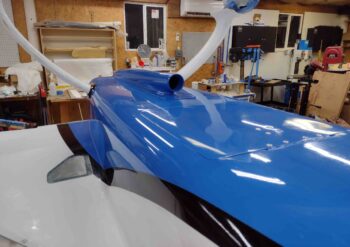
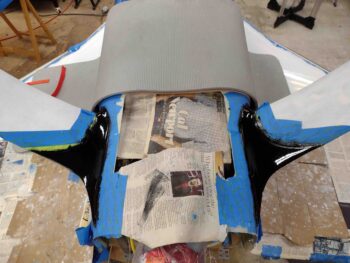
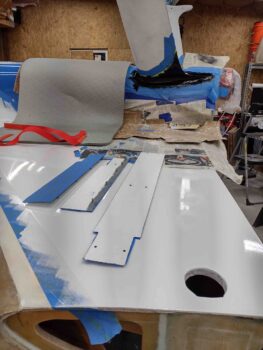
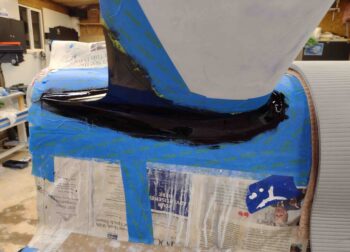
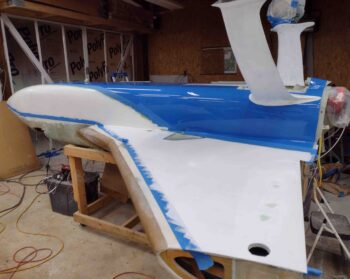
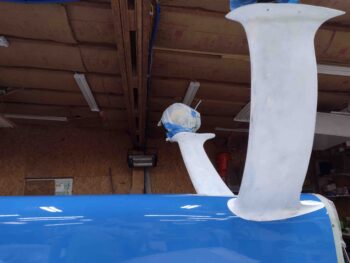
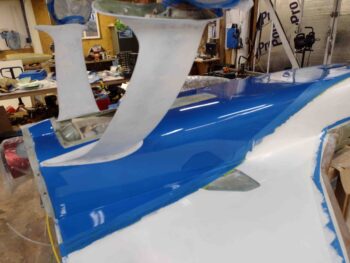
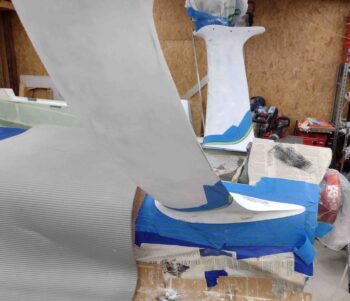
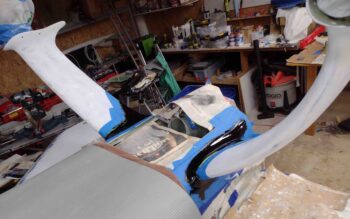
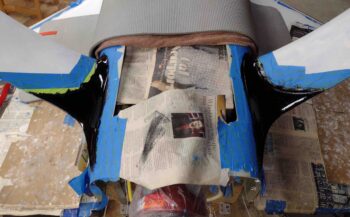
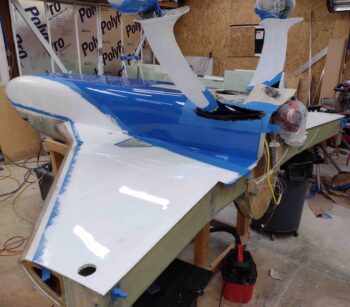
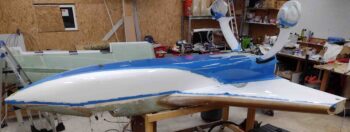
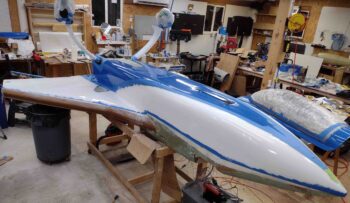
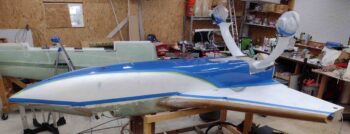
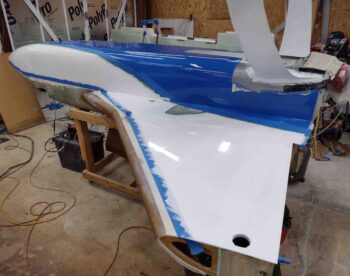
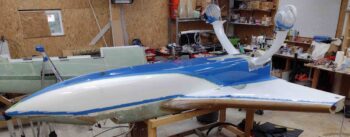
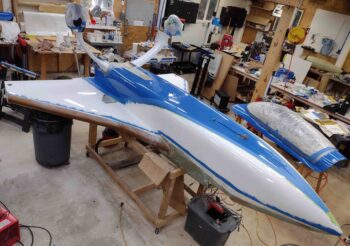
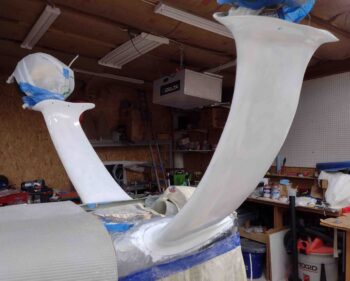
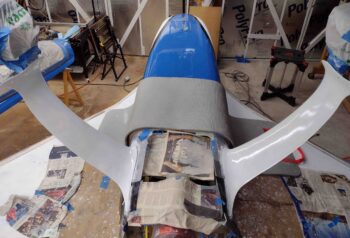
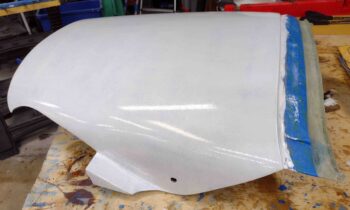
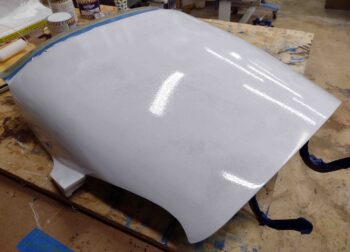
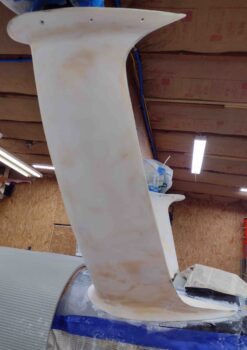
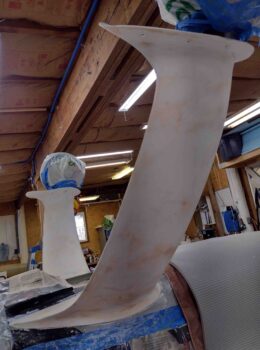
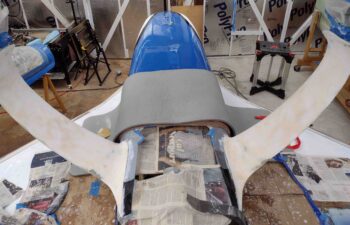
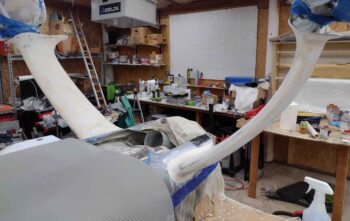
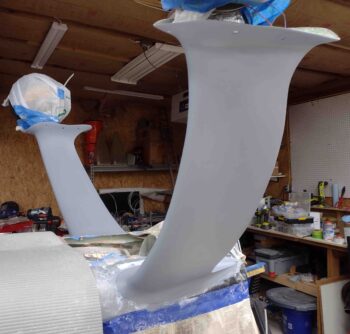
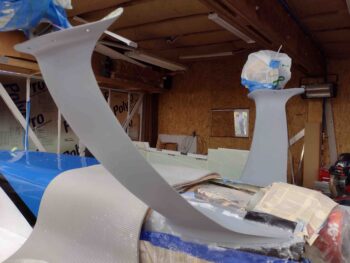
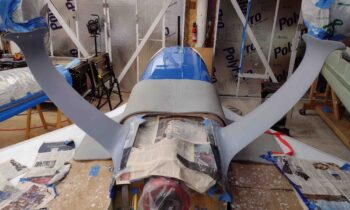
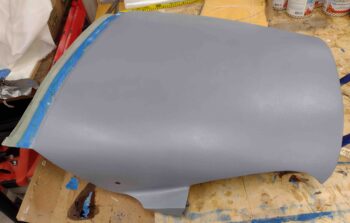
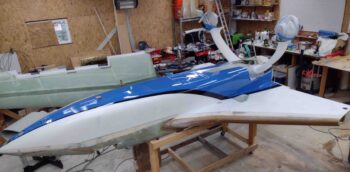
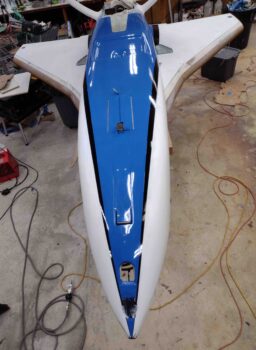
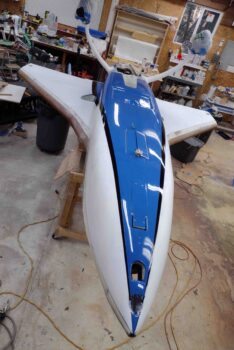
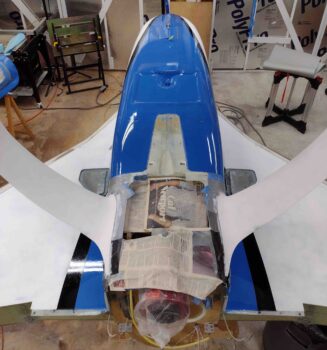
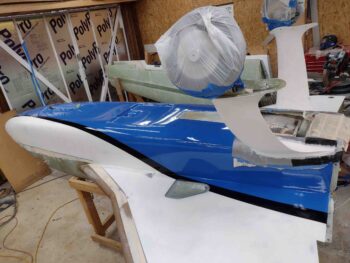
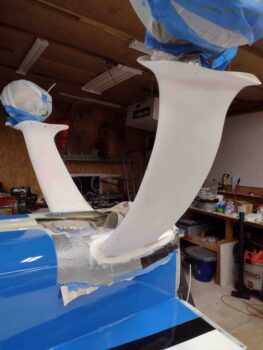
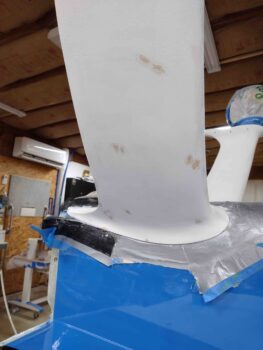
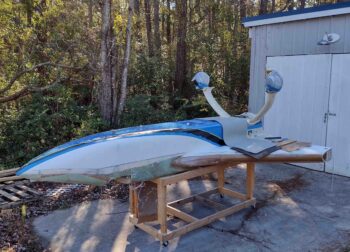
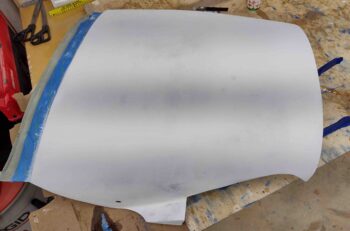
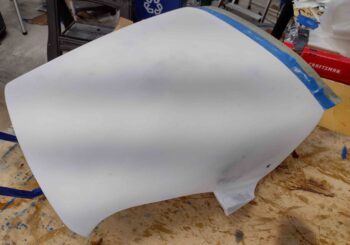
Today was yet another nice weather day so I decided to start off by wet sanding the cured white primer on the aft nose/avionics cover with 500 grit sandpaper.

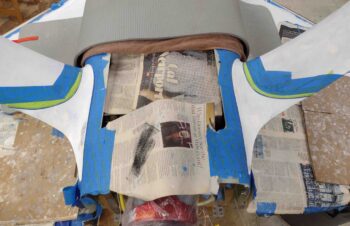
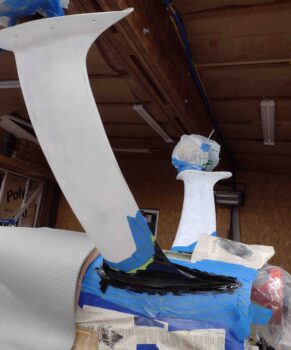
As you can see, the areas around the inboard elevator fairings definitely needed the most work and probably another round of primer will be required.

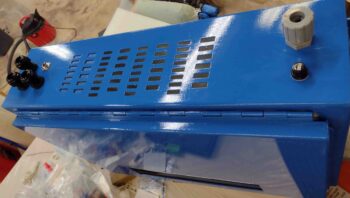
I then got to work on the milling machine CNC control box, primarily the left side. I drilled out ports for the stepper motor control cables, the KP-3 touch probe cable, the power cord, and 10 amp fuse holder.

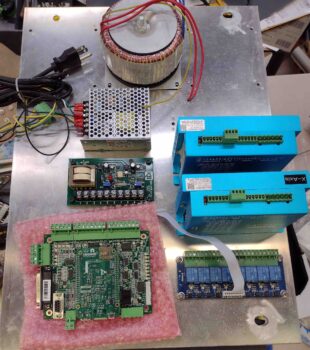
In addition, I mounted 18 K1000-3 nutplates to the CNC control box pack plate to mount the stepper motor power supplies and drivers.  I also hard mounted the Acorn power supply, the KBSI-240D spindle controller board, and the 8-relay breakout board onto the CNC control box back plate.  Finally, I mounted a #6 nutplate and drilled/tapped #6 screw hardpoints to mount the Acorn CNC control board in the lower left corner.

I’ll continue to work concurrently on the both the plane and the milling machine CNC control box over the next few days in my quest to get both the plane flipped and my milling machine on line. Quite a few parts will need to be machined soon for this bird!

Chapter 25 – Bottom tape pulled

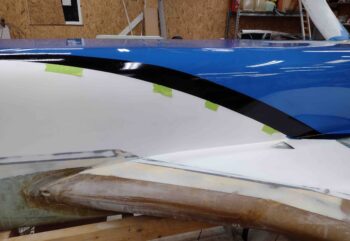
I started off today by pulling the tape along the black accent stripe that I had placed there to protect the border of the black stripe with the latest rounds of white paint on the bottom of the nose, fuselage and strakes.

I then wet sanded the 2 coats of white paint with 600 grit sandpaper.

Unfortunately, a big issue I had was my “protective” tape on the black border stripe didn’t do its job as I had expected/wanted, and I had a fair amount of seepage of the white paint as it encroached on the black accent stripes.

These white overflow spots onto the edge of the black stripe was pretty much the norm down the entire lengths of the black accent stripes.  I spent about an hour each side carefully using a razor blade to remove the surface level white paint.

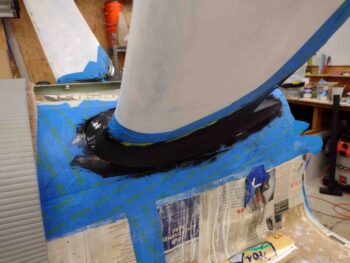
After my initial cleanup of the unwanted white paint on the black accent stripe, I then got to work on the black painted gear fairings by wet sanding them with 600 grit.

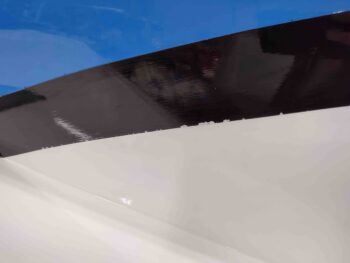
Another couple of shots of the black accent stripes on the gear fairings sanded with 600 grit sandpaper.

I then painted the last coat of black on the top of gear fairing accent stripes.

I then got to work touching up the black accent stripes to remove the white paint overflow spots.

I started out by taping up the white at the edge of the black accent stripe to touch up the black paint. However, it was a bit laborious so after this first round I simply went to free handing the touchups with black paint… I’m happy to report it went a lot faster and I didn’t have any issues with getting any black paint on the white paint.

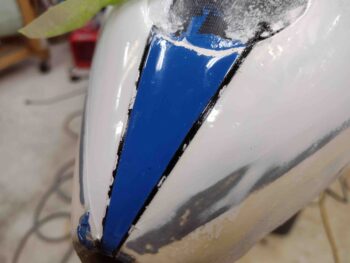
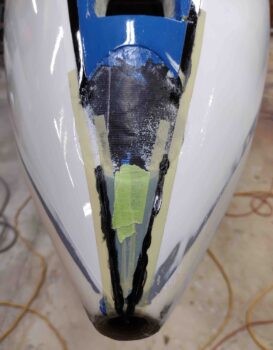
I also taped off and repainted the black accent stripes at the very front of the nose… note the sanded white paint on the right side of the pic vs the unsanded white paint on the left side.

At the end of the evening, after the final black paint coat on the gear fairing accent stripes were pretty much cured, I pulled the tape from around the gear fairings.

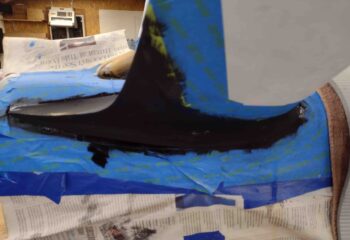
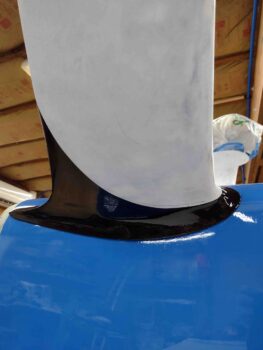
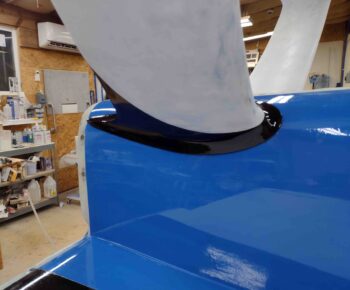
Some shots of the final black paint on the gear fairing accent stripe.

I then set the RAM air scoop/hell hole hatch cover in place on the bottom of the fuselage.

The RAM air scoop definitely needs some tweaking to fit into place, but these shots provide a good general view of how it will look in place.

A few more shots of both the gear fairing black accent stripe and the RAM air scoop in place.

With that, I left the black painted surfaces to cure overnight.


Chapter 25 – Gear black accent

I’m still feeling a bit under the weather so I only got the bare minimum done today in the shop.

I started by retaping all the protective paper in place and placing the cardboard to ensure no black paint gets on any of the rest of the fuselage, etc.

I then mixed up a small batch of black paint and added the second coat to the top of gear fairing accent swooshes.

I then assessed my 3 fills of the minor divots on the bottom of the strakes and decided I didn’t like the texture of the one coat of white paint over the Metal Glaze.  I’m thinking another coat of paint —after sanding with 600 grit— would probably cover it fine, but since I am not sanding the white coat and repainting tonight as planned I figured I would sand these spot refills lightly and very lightly cover them with a coat of primer…. which I did.

I also removed the nose gear fairing and doors to tape them up in prep for a final coat of white paint on the interior when I paint the final white paint coat on the strakes.

With that, here’s a final shot of the second coat of black paint on the top of the left gear fairing accent swoosh…. and, yes, I realize it looks pretty much like the first coat.  I’m just documenting what I’m doing on this build!

And with that, I left the paint to cure and called it a night.

Chapter 25 – Black ‘n white paint

I started off today by wet sanding with 500 grit on the third/final white primer coat of the landing gear legs. Once I finished with the sanding and cleaning up the gear legs, I pulled all the painters and duct tape from around and underneath the landing gear fairings to ensure nothing surreptitious was occurring under the tape.

I also wanted to get a shot of the gear legs & fairings sans tape.

Also note the 3 minor fills on the aft side of the bottom strake surface.  I used Metal Glaze here simply because I wanted to get this white paint repainted today and not wait for a full cure cycle with West 410.  In fact, these fills are so minimal that I didn’t even recoat them with primer… and again, that would be another wait time infused into the cycle.

Another couple shots of the sanded primer on the gear legs and the removed tape around the gear fairings.

I then spent well over an hour designing and taping up the gear legs to create a black accent swoosh towards the top of the gear fairings, swooping down the aft side of the gear… on each side of course.

They aren’t perfect or 100% symmetrical, but they’re pretty darn close and I think they’ll look just fine for all the “normal” people (if you don’t feel you fall in this latter category, you know who you are!! <wink>)

After taping up the gear legs and around the gear fairings, I then whipped up a small batch of black paint and applied it to the taped off swoosh/fairing area.

Yet another shot of the black swooshes at the top of the gear legs and gear fairings.  I will most likely incorporate my new standard for paint coats, which is 2 coats applied, then sand 600 grit with a final coat after that.

So 2 more coats to be applied to these swooshes.  I can tell already, especially with black paint over white primer, that this first coat really is just a prep base coat.  The next coat will help clean up some minor blemishes I already see… then of course the third/final coat will polish it all off.

About an hour later I got started on white paint coat #2 on the bottom nose, fuselage, and strakes.

Again, I’m following the 2 coats + 600 grit sand + final coat paint schedule with this white paint as well.  This is the result of the discussion I had with Jason at Epifanes.

One last shot of the bottom nose, fuselage, and strakes white paint coat #2.  I’ll note that following Jason’s advice this last couple of rounds of paint have been much, much better than what I was producing before.

The remaining tally for the paint prior to re-flipping the bird back upright is another coat of white and another couple coats of black on the top of the gear legs.

After the paint is applied, and with at least a few days of cure time, I will then be wet sanding, buffing and polishing out all the bottom paint surfaces.

Chapter 25 – Fuselage white paint

Today I started off by wiping down the bottom of the nose, fuselage and strakes with Simple Green to clean off the residue from wet sanding.

I then taped up the edge of the black accent stripe and the bottom of the nose, fuselage and strakes in prep for white paint.

I then painted the bottom of the nose, fuselage and strakes with roll-on white paint.

I’ll note here that after my discussion with Jason at Epifanes I simply focused on a good coat of white without any brush tipping.

I have to say that I’m very pleased with this coat of paint.  I found one run and few minor depressions about the size of a quarter on the bottom the right strake… which I will fill before the next round of paint.

I had planned on wet sanding the gear legs and painting the black swooshes at the top of the gear legs at the fairings, close to the fuselage…. but I was honestly just feeling spent so I ended up taking it easy for the rest of the evening.

I’ll work on the gear first thing tomorrow after I fill the minor depressions on the right strake.

Chapter 25 – Gear legs final primer

I started off today spending yet another couple of hours sanding down the second/gray coat of primer on the gear legs.

I did quite an aggressive sanding to really dial in the shape of the gear legs and fairings, although I primarily used only 320 grit wet sandpaper on this round.  In the process I found about a dozen areas that needed refilling before the next round of primer, which will be white.  Moreover, I’m hoping this next round of primer will be the last coat of primer required before I paint the gear legs.

Since these were mostly very small blemishes and pin-type divots requiring filling, and I didn’t want to wait for a full epoxy cure cycle, I used Metal Glaze to fill them.

After the final sanding and contouring of the gear legs, including the new round of refills, I then mixed up some white primer —without any thickening micro— and applied it to the gear legs.

I painted on a medium coat of the white primer and it came out pretty nice.

Here we have a shot of the gear legs in primer coat #3, white primer…. again, hopefully this will be the last coat of required primer.

As before, I also applied white primer to the Aft Nose/Avionics Cover.

Also as before I didn’t get a “before” shot of the Aft Nose/Avionics Cover sanded and prepped before I laid down this coat of white primer.  As with the gear legs, I’m hoping this will be the last coat of required primer for this part.

I will note that beyond sanding down this coat of white primer on the Aft Nose/Avionics Cover, I won’t be doing anything else with it until I integrate it into the nose, with the canopy, for final fitting, fill and paint.

Tomorrow I plan on finally getting to laying down the first coat of white paint on the nose, fuselage and strakes.


Chapter 25 – Gear leg primer round 2

I started out today spending over 2 hours sanding down the first coat of white primer on the gear legs.

The finishing on the parts of these birds is definitely an iterative process to dial in the smoothness and defect-freeness of the surface, and it is getting there . . .  somewhat slowly.  Or at least slower than what I would want it to.

As you can see in these pics, a lot of the white primer was sanded away as I’m getting close to the goal of nice smooth flowing gear legs with no odd protrusions or divots anywhere.

I then mixed up some gray primer with a little bit of micro mixed in to make it a medium grade high build primer, although not nearly as much as I did on the initial white primer coat.

I then painted on a good coat of the gray primer on the gear legs.

I can really see the finish becoming much smoother and blemish-free on the gear legs, but there is always another spot or two lurking to rear their collective ugly heads on the next round…. we’ll see how it looks when I get to the next coat of white primer.

Although I have no pics of the sanded and prepped aft nose/avionics cover, I also coated it with its second/gray coat of primer as well.

I took a break and went out to dinner, and then upon my return I got busy knocking out another flip-prerequisite task of apply sound-deadening foam onto the back of the GIB seat in the hell hole.  Clearly much, much easier to accomplish this feat while the fuselage is inverted and I have good access to the hell hole simply standing on a stool right behind the firewall…. this would not be in any way fun to attempt this from below with the plane upright!

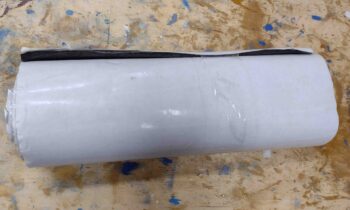
Having spent many hours in the back of Marco’s Long-EZ, JT, I know it can be a bit noisy sitting in the cockpit of these plastic birds with a 320 blasting away behind you.  I wanted to mitigate this noise level as best possible with some lgihtweight noise-reducing foam.

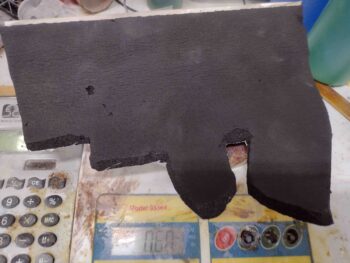
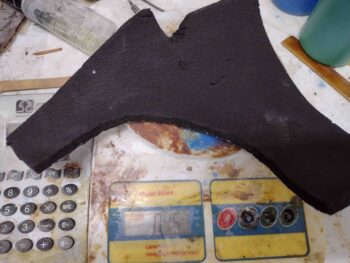
I made templates using leftover blue painters tape that I had pulled off the fuselage from painting the black accent lines, and then before installing the first piece I weighed it to get a good crosscheck and idea of my weight penalty for this stuff.

This piece is just about 25% of the back seat surface area, and it weighed in at 0.6 oz. Not bad.

I then pulled the backing off and stuck it into place on the GIB seatback in the hell hole.

Then came the next piece that would get placed below this one (again, as situated with the fuselage inverted… technically “above” the above piece).  This one weighed in at a whopping 0.45 oz… so looking at just over an ounce per side of the GIB seat, clearly a bit over 2 oz total for the entire seatback to be covered.

I then worked each quadrant to fill in the sound-reducing foam barrier on the back of the GIB seat.  As you can see, I temp installed the AEX LIDAR laser altimeter to ensure I could get it installed as hassle free as possible.

Here we have the upper part of the seatback with the noise-reducing foam in place…

And the other side.

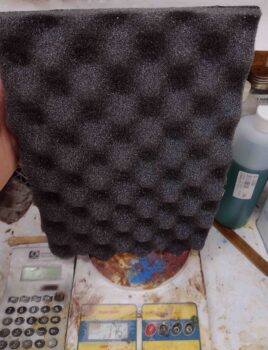
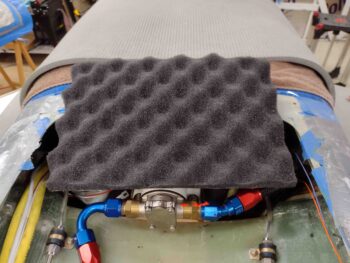
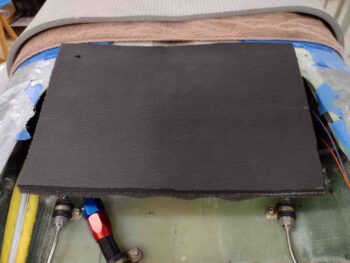
To finish off my noise-mitigating shenanigans I cut a piece of 8″ x 12″ anechoic foam to place in the hell hole to really help muddle up any noise trying to worm its way through to the front.  Since this foam also has a sticky backing, I simply cut a piece of the foam above and secured the 2 pieces together, back to back.

The resulting weight was 1.75 oz.  So about 4 oz total for all the hell hole noise mitigation foam.

Here’s a shot of the “egg crate” anechoic foam ready to go into the hell hole…

And the forward side of it with the noise-reducing foam that I applied previously to the aft side of the GIB seat in the hell hole.

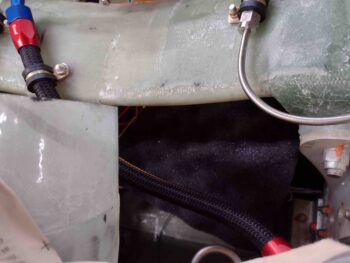
Not a great shot, but this pic gives you an idea of the anechoic foam “plate” shoved into the hell hole to help mitigate the noise.  I’ll probably do some noise tests once I get this bird in the air both with and without this in place —out of simple curiosity— to see how well it’s doing its job.

And with that, I called it a night.


Chapter 25 – Black accent stripe reveal

I started out first thing this morning by pulling the edge tape from the nose, fuselage & strake black accent stripes.

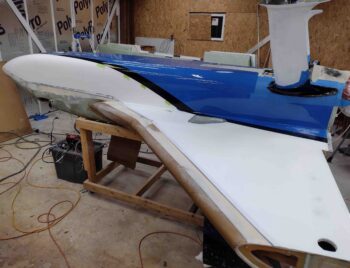
I’m very pleased with how the black accent stripes look bordering the blue along the bottom of the nose/fuselage/strakes.

Here’s a shot from slightly off center to show the stripe from nose to firewall.

I’ll note the majority of this blue and black will spend just about every minute out of direct sunlight for the life of this bird, in all practicality.

Again, I’m very pleased with the flow of the black accent stripes from nose to firewall.  This color scheme will of course carry aft onto the bottom cowling.

I then assessed the gear legs and identified all the divots, holes and blemishes that required refilling with West 410… which I then mixed up and applied.

West 410 refills on the gear legs, other side.

Although I didn’t get pics, which would have been a bit tough to tell anyway, I spent about half an hour fine tuning the shape of both gear fairing swooshes, mainly where they respectively met the gear legs.  I would say I shaved (sanded) from about 0.030-0.070″ off to just tweak the curve line and flow from straight trailing edge of the gear legs into the curve of the swoosh.

I then called Jason at Epifanes paints to have a heart-to-heart about this paint.  I spent a good hour on the phone with Jason and got some really good course corrections.  The biggest takeaways were to roll on only (too difficult to tip with just one person), tweak the hardener and thinner numbers a bit to allow a bit longer painting window, and —possibly the biggest Ace in the hole— is the process for post-finishing the paint.

I then got to work wet sanding the primer I re-applied to the white areas of the nose, fuselage and strakes.

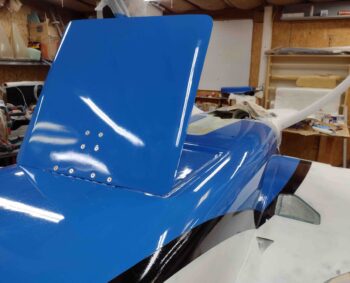
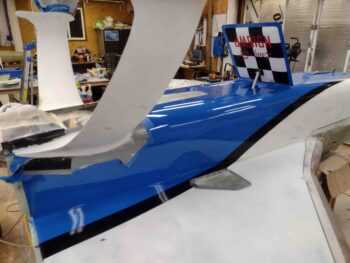
I then permanently installed the landing brake on the belly of the fuselage.  I have to say that I’m very pleased with the seams between the landing brake and depression on the bottom of the fuselage.

I’ll also note that I attempted to incorporate the teflon tubing mod in the hinge, but I think this hinge has just a hair too much tension on it when in various positions to allow for a good initial insertion of the teflon tube.  I tried in vain for about a half hour before calling no joy and simply reinserting the original hinge pin.

I guess I’ll deal with wiping away any unsightly stuff that comes from having the original hinge pin installed, but it appears to be working fine.  I’ll further note that I do intend to use the teflon and smaller diameter hinge pin on the ailerons and rudders, which I believe will be a bit more manageable than this beast.

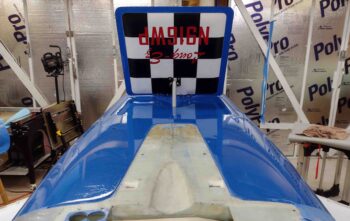
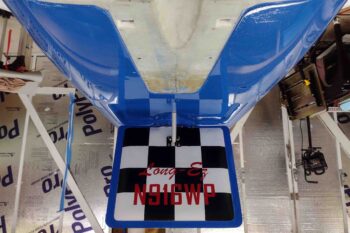
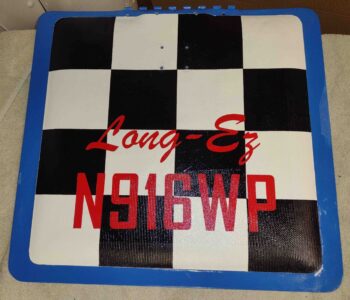
I’m also thrilled about my bling on the inside of the landing brake, and think it adds a really fun element to the design of this bird.

Except for the red characters, the black and white checkerboard pattern with blue border is of course in line with the elements of the airplane’s color scheme.

To show how this landing brake will look when deployed while the bird is on the ground I flipped the above pic…. I’ll call this good! (wink)

Tomorrow I plan on sanding down the white primer and West 410 refills on the gear legs and hit them with a coat of gray primer.  Along with the aft nose/avionics cover as well.


Chapter 25 – Gear legs in primer

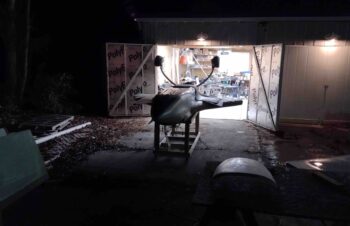
I started out today by hauling the fuselage outside to sand down the epoxy-wiped gear legs.

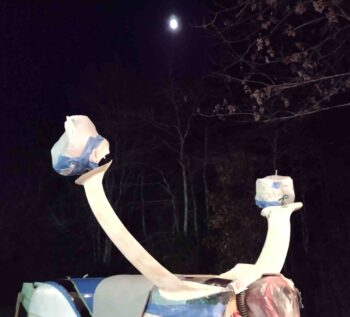
I figured it would take me 2-3 hours to sand the gear legs, not the 5 hours that it actually took me… the light at the top of the pic below is actually the moon!

After the 5-hour sanding project, I then pulled the fuselage back into the shop.  Next I sanded down the epoxy-wiped refills on the aft nose/avionics cover (in the foreground in the pic below).

I then whipped up some white thickened primer and applied it to the gear legs.

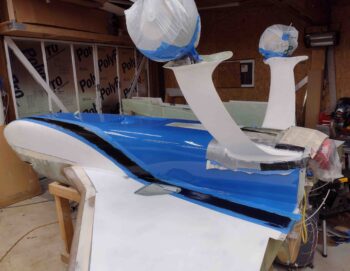
Almost simultaneously with the mixing up of primer, I also mixed up some black paint to recoat the fuselage/nose/strake accent stripe…. which these pics show both the gear legs in primer and the recoated black accent stripe.

I also applied the thickened white primer on the aft nose/avionics cover.

Another shot of the primered aft nose/avionics cover

So my sanding of the gear legs took a lot longer than I expected, meaning I didn’t get nearly as much done as I had planned on today.  Still, knocking out the gear leg sanding and getting them in primer is a significant milestone.  Tomorrow I’ll press forward to finish as many tasks as possible to get this fuselage flipped back upright.

Chapter 25 – Painting purgatory

Before I repainted the black accent stripe on the nose/fuselage/strake I cleaned up the fuselage-side landing brake hinge.
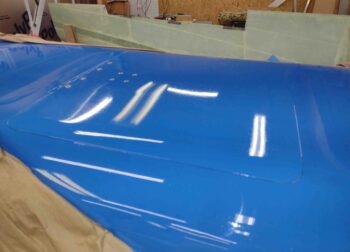
After cleaning the hinge, as I did last night on the actual landing brake, I then test fitted the landing brake into the fuselage landing brake depression.  I’m very happy with the fit of the landing brake into the fuselage.
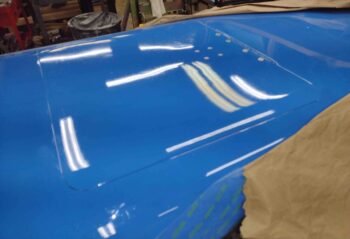
I then repainted the black accent stripe on the nose/fuselage/strakes (see below).

After the landing brake test fit, I then removed the painters tape to reveal the blue border along with my checkerboard bling.  There were a couple of paint runs, one on each side, that I scraped with a razor blade.  So before I grabbed this shot I cheated and covered these scraped runs with blue tape.
As for the paint, I’m not overly happy with it.  Again, it looks great from 6-10 feet away, but closer up you can see some minor runs, brush strokes and dust.  Moreover, the painting process itself is hit or miss.  It requires a near-perfect application of paint to get it to come out looking nice, and has to be applied very quickly to keep it from drying too quickly as its being tipped.

My major angst with this paint is that there is just very little room for error as it’s pretty much a one shot deal.  If there is a hair or piece of debris that needs to be removed as the paint is being applied, you have a window of about 5 seconds before needing to move forward.  There is just no wiggle room and it’s a razor’s edge of being an acceptable success or a surface that will require a recoat.

That all being said, the black paint stripe will need another coat.

The nose hatch door would have been a done deal if I hadn’t kissed it with a paint brush while mucking about with painting the nose gear fairing right next to it.  With that little blight on the midpoint edge of the nose hatch door, it had to be dealt with.  So before I moved forward with the next blue coat of paint on the canopy frame I wanted to see if I could buff out and polish the paint on the nose hatch door.

I wet sanded the nose hatch door paint starting with 1200 grit, then 1500 grit and finished up with 2000 grit.  After the sanding I used cutting compound, then polishing compound to see if I could bring back a shine.  Nope. Nada.

Now, to be clear, I was told that I would be able to buff out this paint.  I have done a fair bit of automotive style base coat/clear coat painting effort, and this paint does not buff out like clear coat, although when cured it is super glossy like clear coat.

With that, I cleaned the surface twice with acetone, then a couple rounds of denatured alcohol.  I then wet sanded the surface with 500 grit paper in prep for another coat of paint.
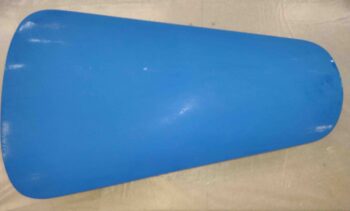
With my newfound knowledge in hand, I pressed forward with my blue painting tasks.  I’ll note that each time I painted the black accent stripe I had a fair bit of paint left over in the cup when finished.  Using the amount of total paint used for the stripe as a baseline, I of course thought I had enough to not only paint the canopy, but the nose hatch door as well.  Well, as par usual with this painting effort I shot myself in the foot by not mixing up enough blue paint to complete the canopy frame painting [I think a big difference in required amount was using brush only vs foam roller, which soaks up a lot more paint].
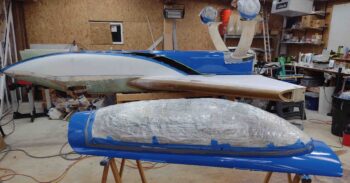
Not to toot my own horn, but I actually nailed the paint application on the aft 80% of the canopy before my paint started running out.  This caused a too thin application for tipping on the front canopy skirt area.
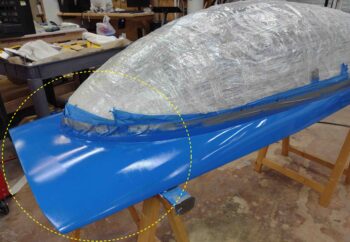
I could tell that the paint was too thin on this forward area, and my attempted tipping was going to leave some brush grooves that would require a fair bit of sanding.  Begrudgingly of course, I accepted that this was going to require yet another coat.  Thus, to mitigate the amount of future sanding required I simply smoothed out the paint on the forward frame/skirt with the roller.
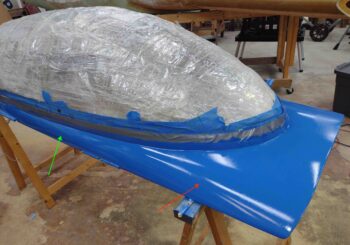
Here’s the aft frame of the canopy… and it definitely is acceptable.  So, the goal is to repeat this success for the entire canopy frame (groan).
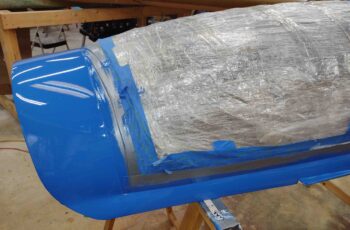
Back into the realm of my great looking “6-foot-plus” paint job, I mounted the nose gear fairing and doors to check their fit and appearance.  Also note the black painted accent stripe.
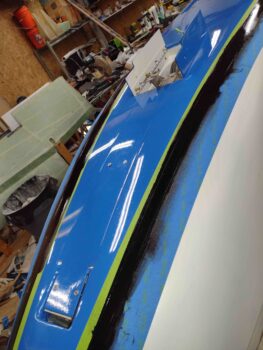
Here’s another shot of the nose showing the nose gear fairing with the gear doors closed.
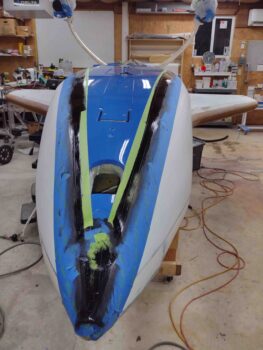
And a wider angle shot of the repainted black accent stripe, installed nose gear fairing & gear doors, as well as the repainted blue canopy frame.
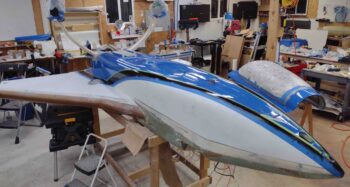
When I repainted the nose hatch door it came out ok.  There were definite streaks I saw from tipping, so I rewetted the brush just a tad to smooth out the streaks, but the paint had clearly passed the stage where it wanted to play nice, so a mottled mess ensued.  By this point I’ll admit my frustration got the best of me.  I grabbed the roller, loaded what little bit was left in the tray and recoated the door before aggressively tipping it out.

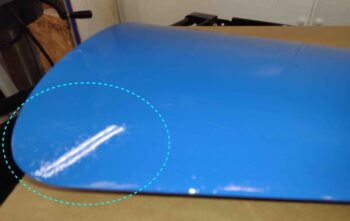
Well, this paint was not going to reward such rogue behavior! I don’t know if it was the reapplication action of putting on a second coat, or that my roller and/or brush got contaminated, but the resulting coat was simply awful… clearly yet another sanding and recoating required.
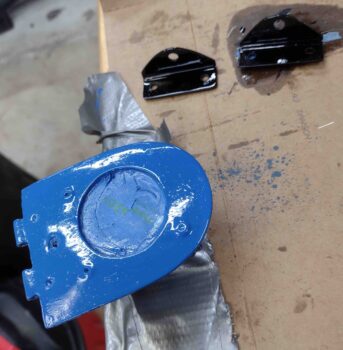
The “contaminated” paint carried over to my taxi light frame as well, which too turned out awful and will need yet even more sanding and a recoat.
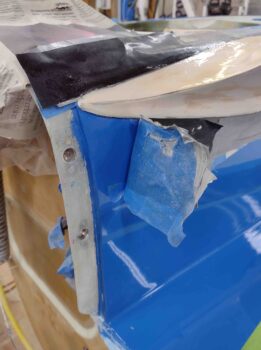
The patch on the fuselage near the firewall turned out acceptable, although there is some contamination in this paint as well.  This is the required patch from me sanding through my tape into the paint on the sidewall.
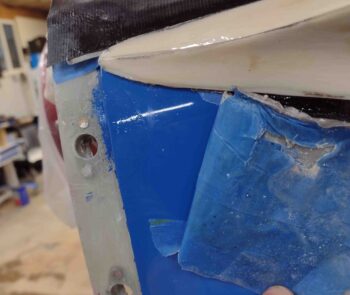
It does have just a slight edge to it, and that dust stuff going on.  I’ll watch it and evaluate further.  Yes, call me crazy but I’ll sand this first patch coat down and reapply another coat.
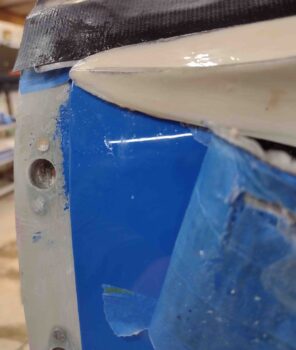
Here’s a shot of the patch from a few feet away.  Time will tell how noticeable it is.
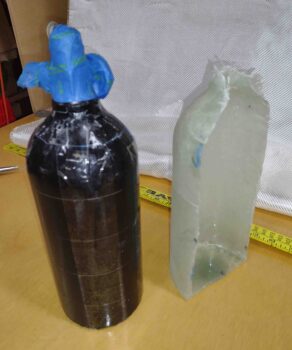
Wanting to clear my thoughts of a not-so-stellar painting day, I tackled the final removal of the half of the oxygen bottle mounting tube (I had taken it off while it was still somewhat pliable then taped back into place).  I’ll lay up the other half in the next day or two.
And with that, I closed up shop and called it a night.