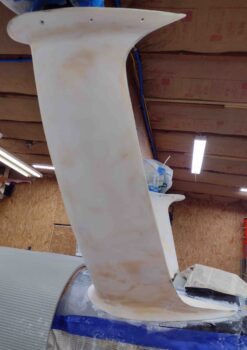
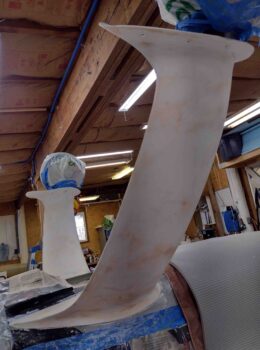
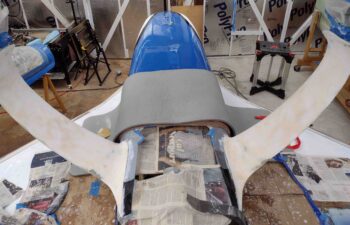
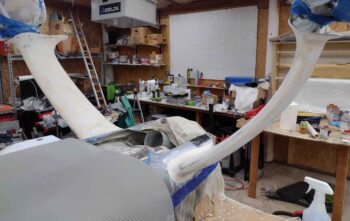
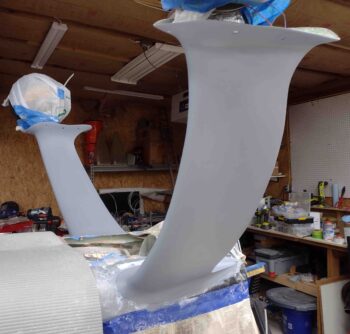
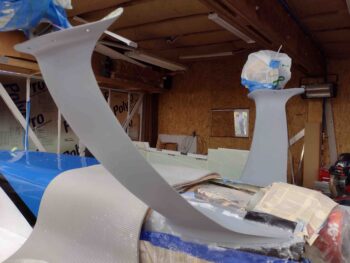
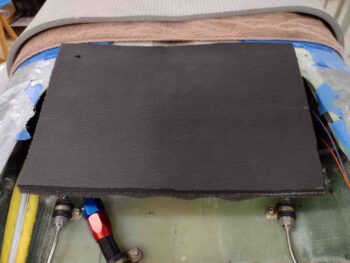
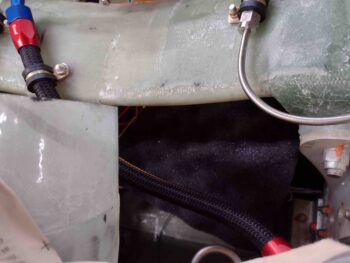
I started out today spending over 2 hours sanding down the first coat of white primer on the gear legs.
The finishing on the parts of these birds is definitely an iterative process to dial in the smoothness and defect-freeness of the surface, and it is getting there . . . somewhat slowly. Or at least slower than what I would want it to.
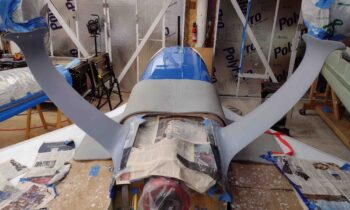
As you can see in these pics, a lot of the white primer was sanded away as I’m getting close to the goal of nice smooth flowing gear legs with no odd protrusions or divots anywhere.
I then mixed up some gray primer with a little bit of micro mixed in to make it a medium grade high build primer, although not nearly as much as I did on the initial white primer coat.
I then painted on a good coat of the gray primer on the gear legs.
I can really see the finish becoming much smoother and blemish-free on the gear legs, but there is always another spot or two lurking to rear their collective ugly heads on the next round…. we’ll see how it looks when I get to the next coat of white primer.
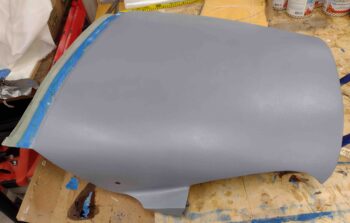
Although I have no pics of the sanded and prepped aft nose/avionics cover, I also coated it with its second/gray coat of primer as well.
I took a break and went out to dinner, and then upon my return I got busy knocking out another flip-prerequisite task of apply sound-deadening foam onto the back of the GIB seat in the hell hole. Clearly much, much easier to accomplish this feat while the fuselage is inverted and I have good access to the hell hole simply standing on a stool right behind the firewall…. this would not be in any way fun to attempt this from below with the plane upright!
Having spent many hours in the back of Marco’s Long-EZ, JT, I know it can be a bit noisy sitting in the cockpit of these plastic birds with a 320 blasting away behind you. I wanted to mitigate this noise level as best possible with some lgihtweight noise-reducing foam.
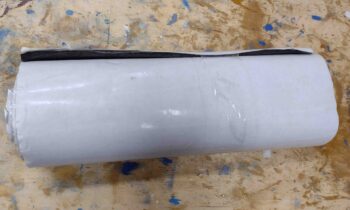
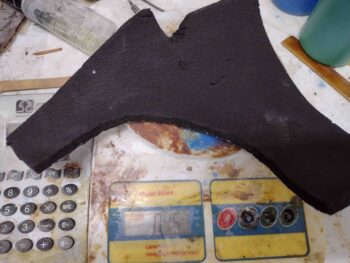
I made templates using leftover blue painters tape that I had pulled off the fuselage from painting the black accent lines, and then before installing the first piece I weighed it to get a good crosscheck and idea of my weight penalty for this stuff.
This piece is just about 25% of the back seat surface area, and it weighed in at 0.6 oz. Not bad.
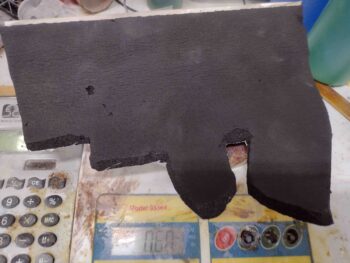 I then pulled the backing off and stuck it into place on the GIB seatback in the hell hole.
Then came the next piece that would get placed below this one (again, as situated with the fuselage inverted… technically “above” the above piece). This one weighed in at a whopping 0.45 oz… so looking at just over an ounce per side of the GIB seat, clearly a bit over 2 oz total for the entire seatback to be covered.
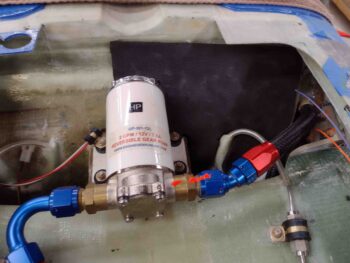
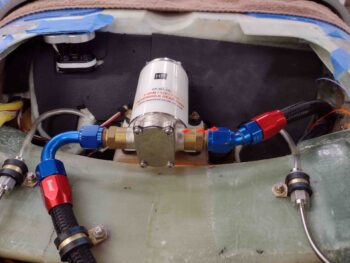
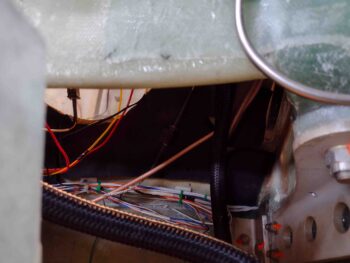
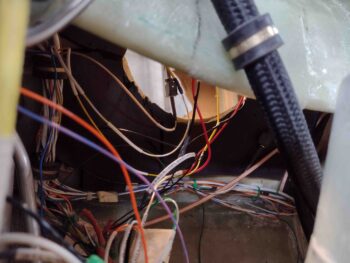
I then worked each quadrant to fill in the sound-reducing foam barrier on the back of the GIB seat. As you can see, I temp installed the AEX LIDAR laser altimeter to ensure I could get it installed as hassle free as possible.
Here we have the upper part of the seatback with the noise-reducing foam in place…
And the other side.
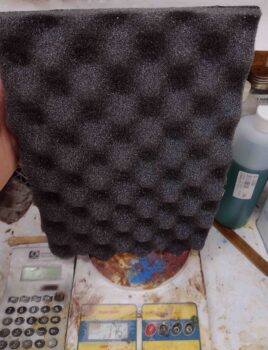
To finish off my noise-mitigating shenanigans I cut a piece of 8″ x 12″ anechoic foam to place in the hell hole to really help muddle up any noise trying to worm its way through to the front. Since this foam also has a sticky backing, I simply cut a piece of the foam above and secured the 2 pieces together, back to back.
The resulting weight was 1.75 oz. So about 4 oz total for all the hell hole noise mitigation foam.
Here’s a shot of the “egg crate” anechoic foam ready to go into the hell hole…
And the forward side of it with the noise-reducing foam that I applied previously to the aft side of the GIB seat in the hell hole.
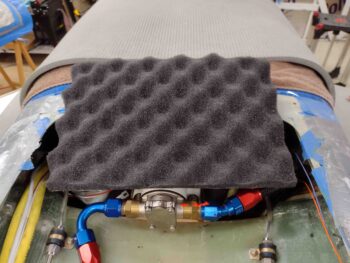
Not a great shot, but this pic gives you an idea of the anechoic foam “plate” shoved into the hell hole to help mitigate the noise. I’ll probably do some noise tests once I get this bird in the air both with and without this in place —out of simple curiosity— to see how well it’s doing its job.
And with that, I called it a night.

