
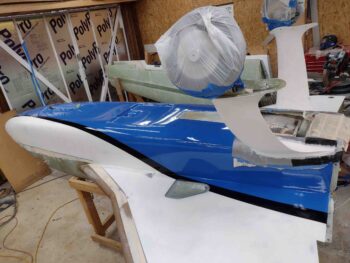
I started out first thing this morning by pulling the edge tape from the nose, fuselage & strake black accent stripes.
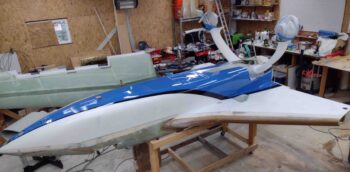
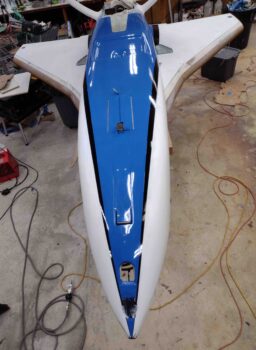
I’m very pleased with how the black accent stripes look bordering the blue along the bottom of the nose/fuselage/strakes.
 Here’s a shot from slightly off center to show the stripe from nose to firewall.
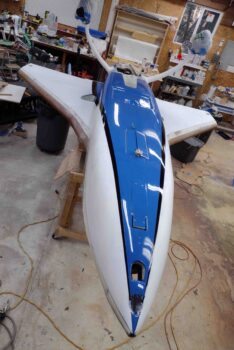
I’ll note the majority of this blue and black will spend just about every minute out of direct sunlight for the life of this bird, in all practicality.
Again, I’m very pleased with the flow of the black accent stripes from nose to firewall. This color scheme will of course carry aft onto the bottom cowling.
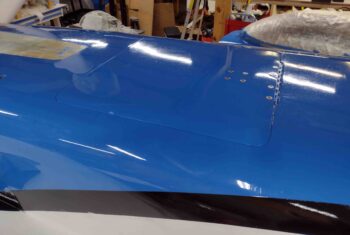
I then assessed the gear legs and identified all the divots, holes and blemishes that required refilling with West 410… which I then mixed up and applied.
West 410 refills on the gear legs, other side.
Although I didn’t get pics, which would have been a bit tough to tell anyway, I spent about half an hour fine tuning the shape of both gear fairing swooshes, mainly where they respectively met the gear legs. I would say I shaved (sanded) from about 0.030-0.070″ off to just tweak the curve line and flow from straight trailing edge of the gear legs into the curve of the swoosh.
I then called Jason at Epifanes paints to have a heart-to-heart about this paint. I spent a good hour on the phone with Jason and got some really good course corrections. The biggest takeaways were to roll on only (too difficult to tip with just one person), tweak the hardener and thinner numbers a bit to allow a bit longer painting window, and —possibly the biggest Ace in the hole— is the process for post-finishing the paint.
I then got to work wet sanding the primer I re-applied to the white areas of the nose, fuselage and strakes.
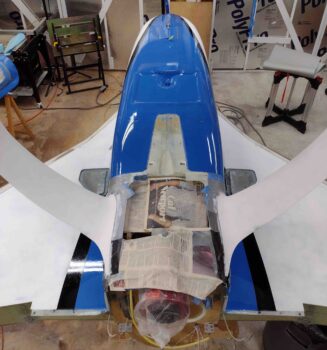
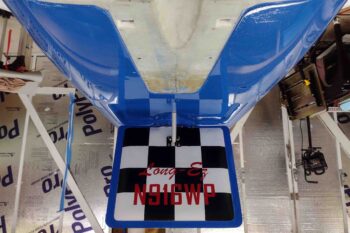
I then permanently installed the landing brake on the belly of the fuselage. I have to say that I’m very pleased with the seams between the landing brake and depression on the bottom of the fuselage.
I’ll also note that I attempted to incorporate the teflon tubing mod in the hinge, but I think this hinge has just a hair too much tension on it when in various positions to allow for a good initial insertion of the teflon tube. I tried in vain for about a half hour before calling no joy and simply reinserting the original hinge pin.
I guess I’ll deal with wiping away any unsightly stuff that comes from having the original hinge pin installed, but it appears to be working fine. I’ll further note that I do intend to use the teflon and smaller diameter hinge pin on the ailerons and rudders, which I believe will be a bit more manageable than this beast.
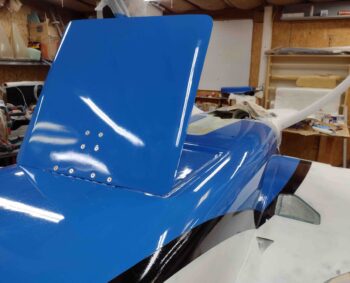
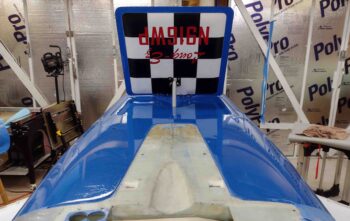
I’m also thrilled about my bling on the inside of the landing brake, and think it adds a really fun element to the design of this bird.
Except for the red characters, the black and white checkerboard pattern with blue border is of course in line with the elements of the airplane’s color scheme.
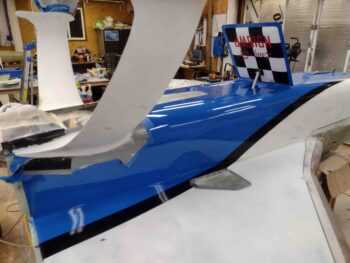
To show how this landing brake will look when deployed while the bird is on the ground I flipped the above pic…. I’ll call this good! (wink)
Tomorrow I plan on sanding down the white primer and West 410 refills on the gear legs and hit them with a coat of gray primer. Along with the aft nose/avionics cover as well.