Today was a prep day to knock out some of the myriad of nit-noy things that need to be completed before the fuselage can be skinned.
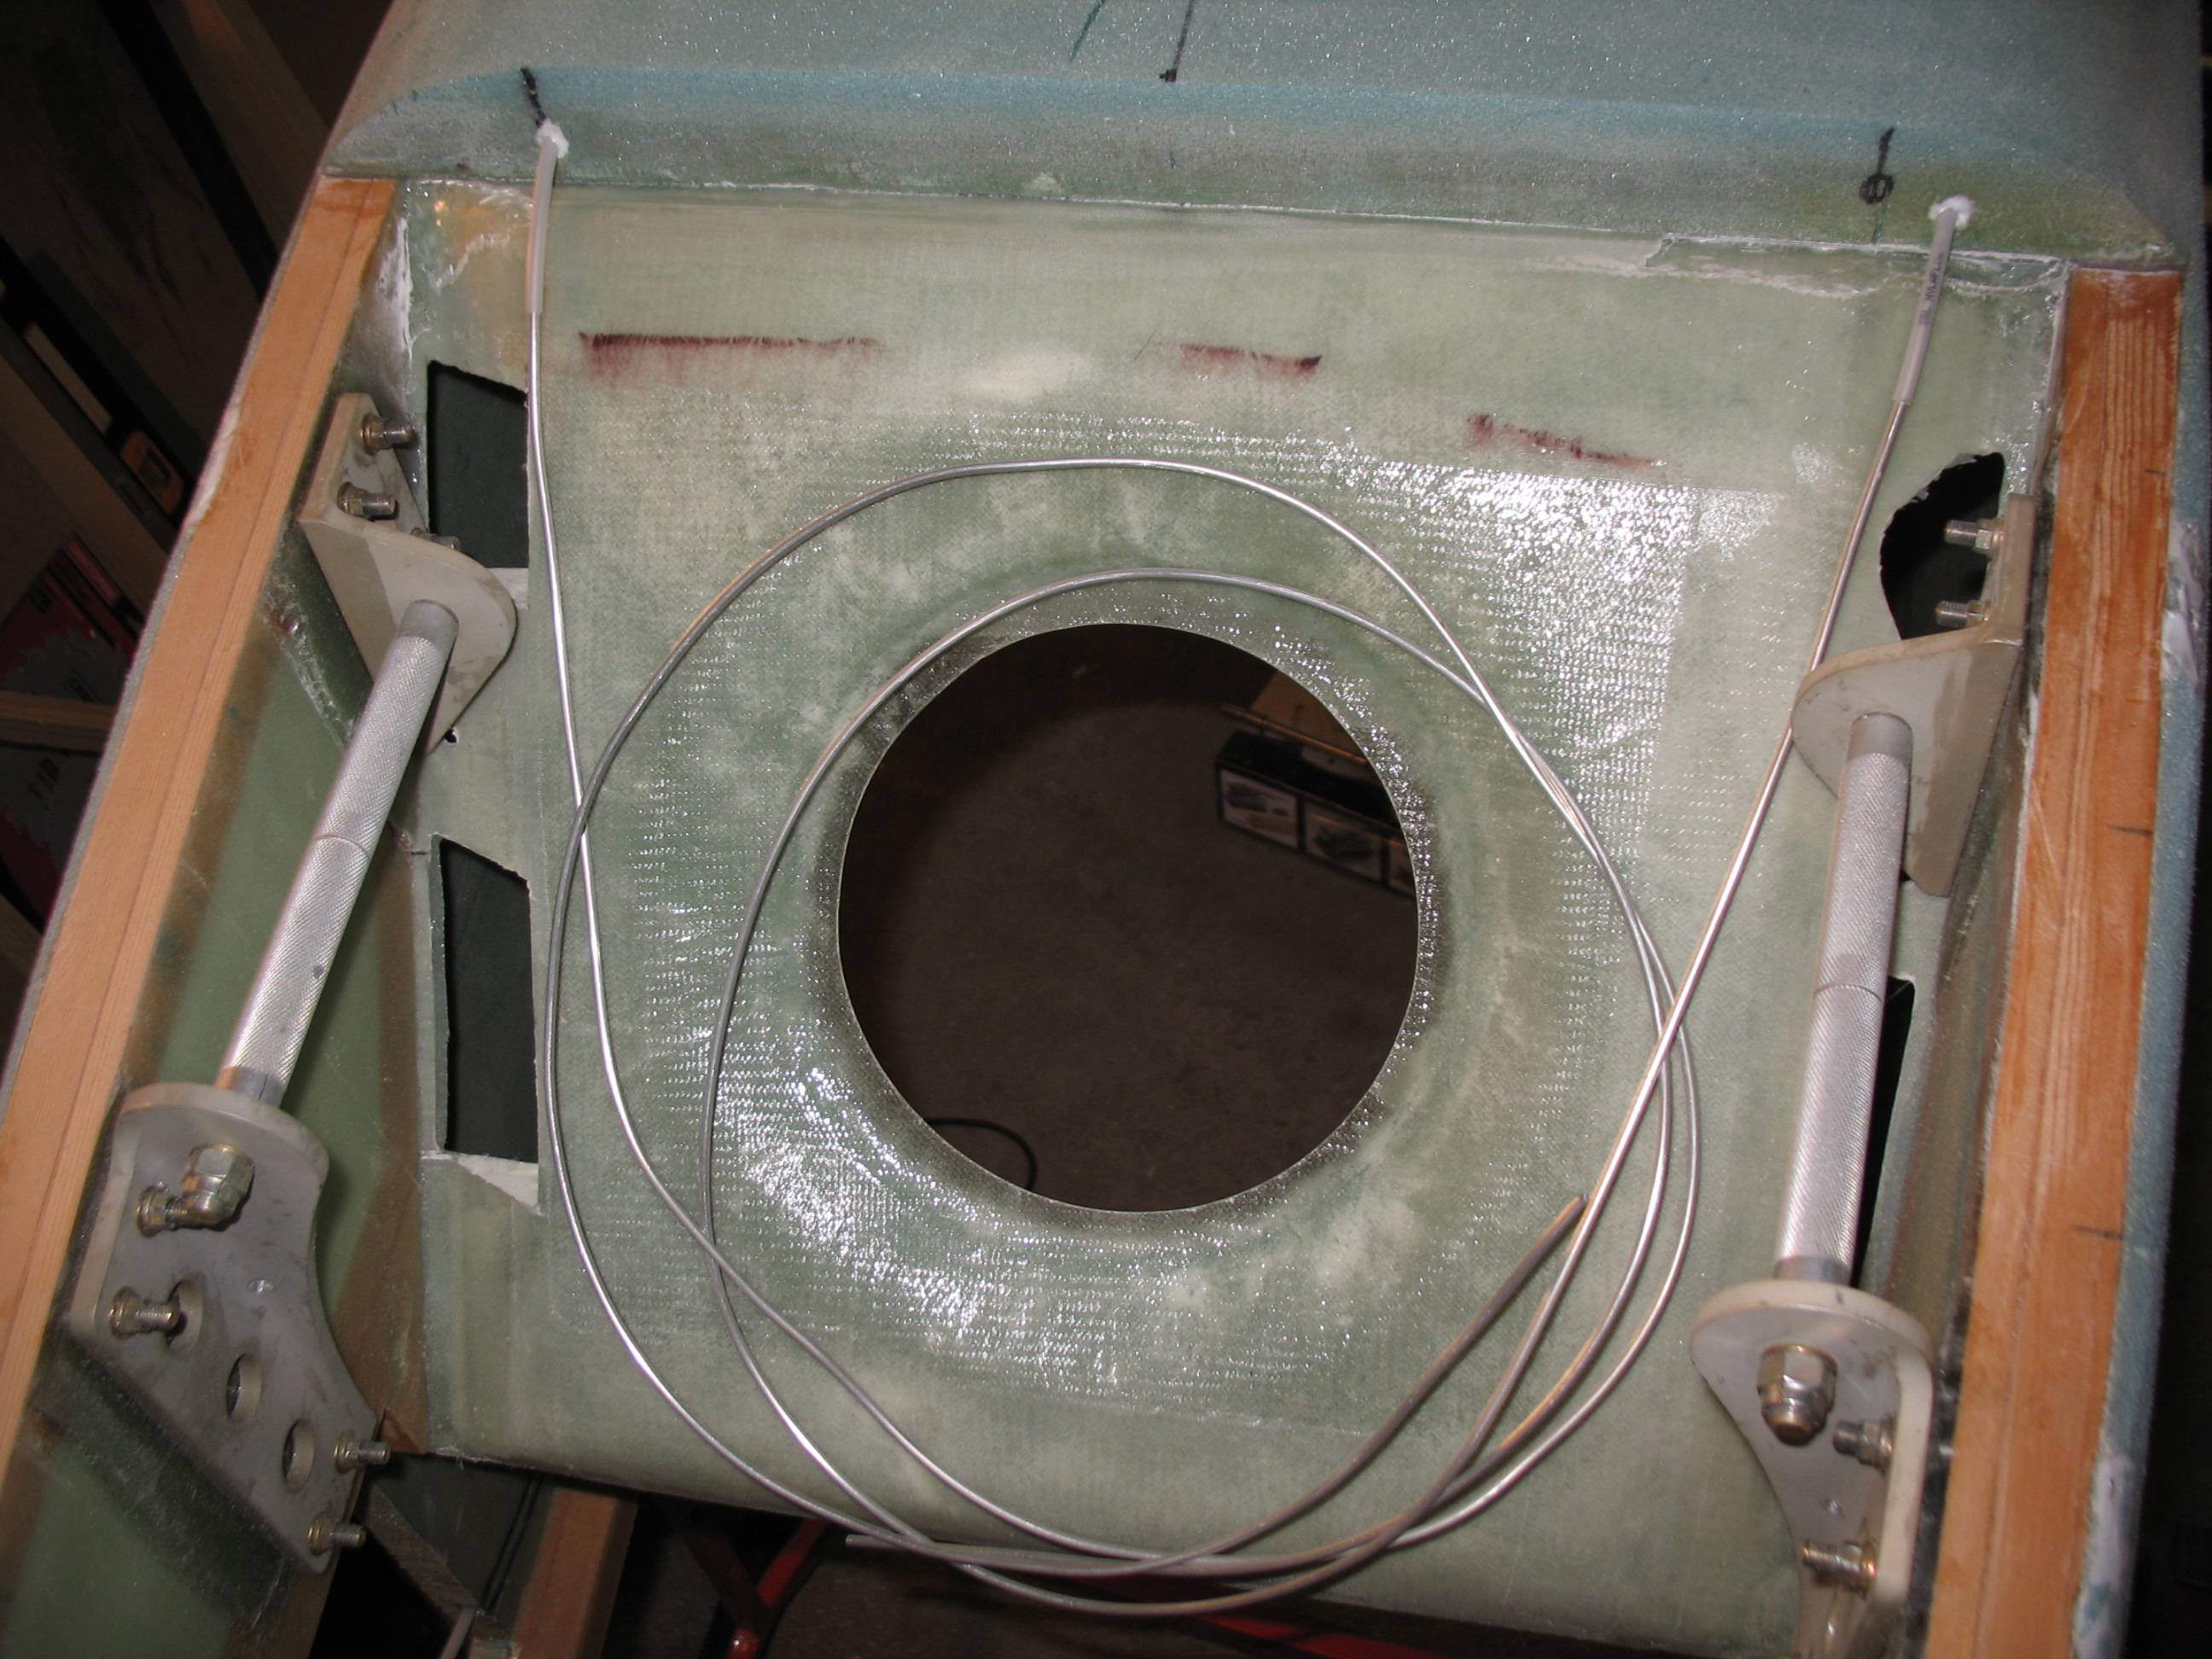
So, before I turned the fuselage back upright I rechecked the embedded brake lines. I specifically wanted to make sure the foam/glass conduit exit points were good—they look fine and positioned correctly.
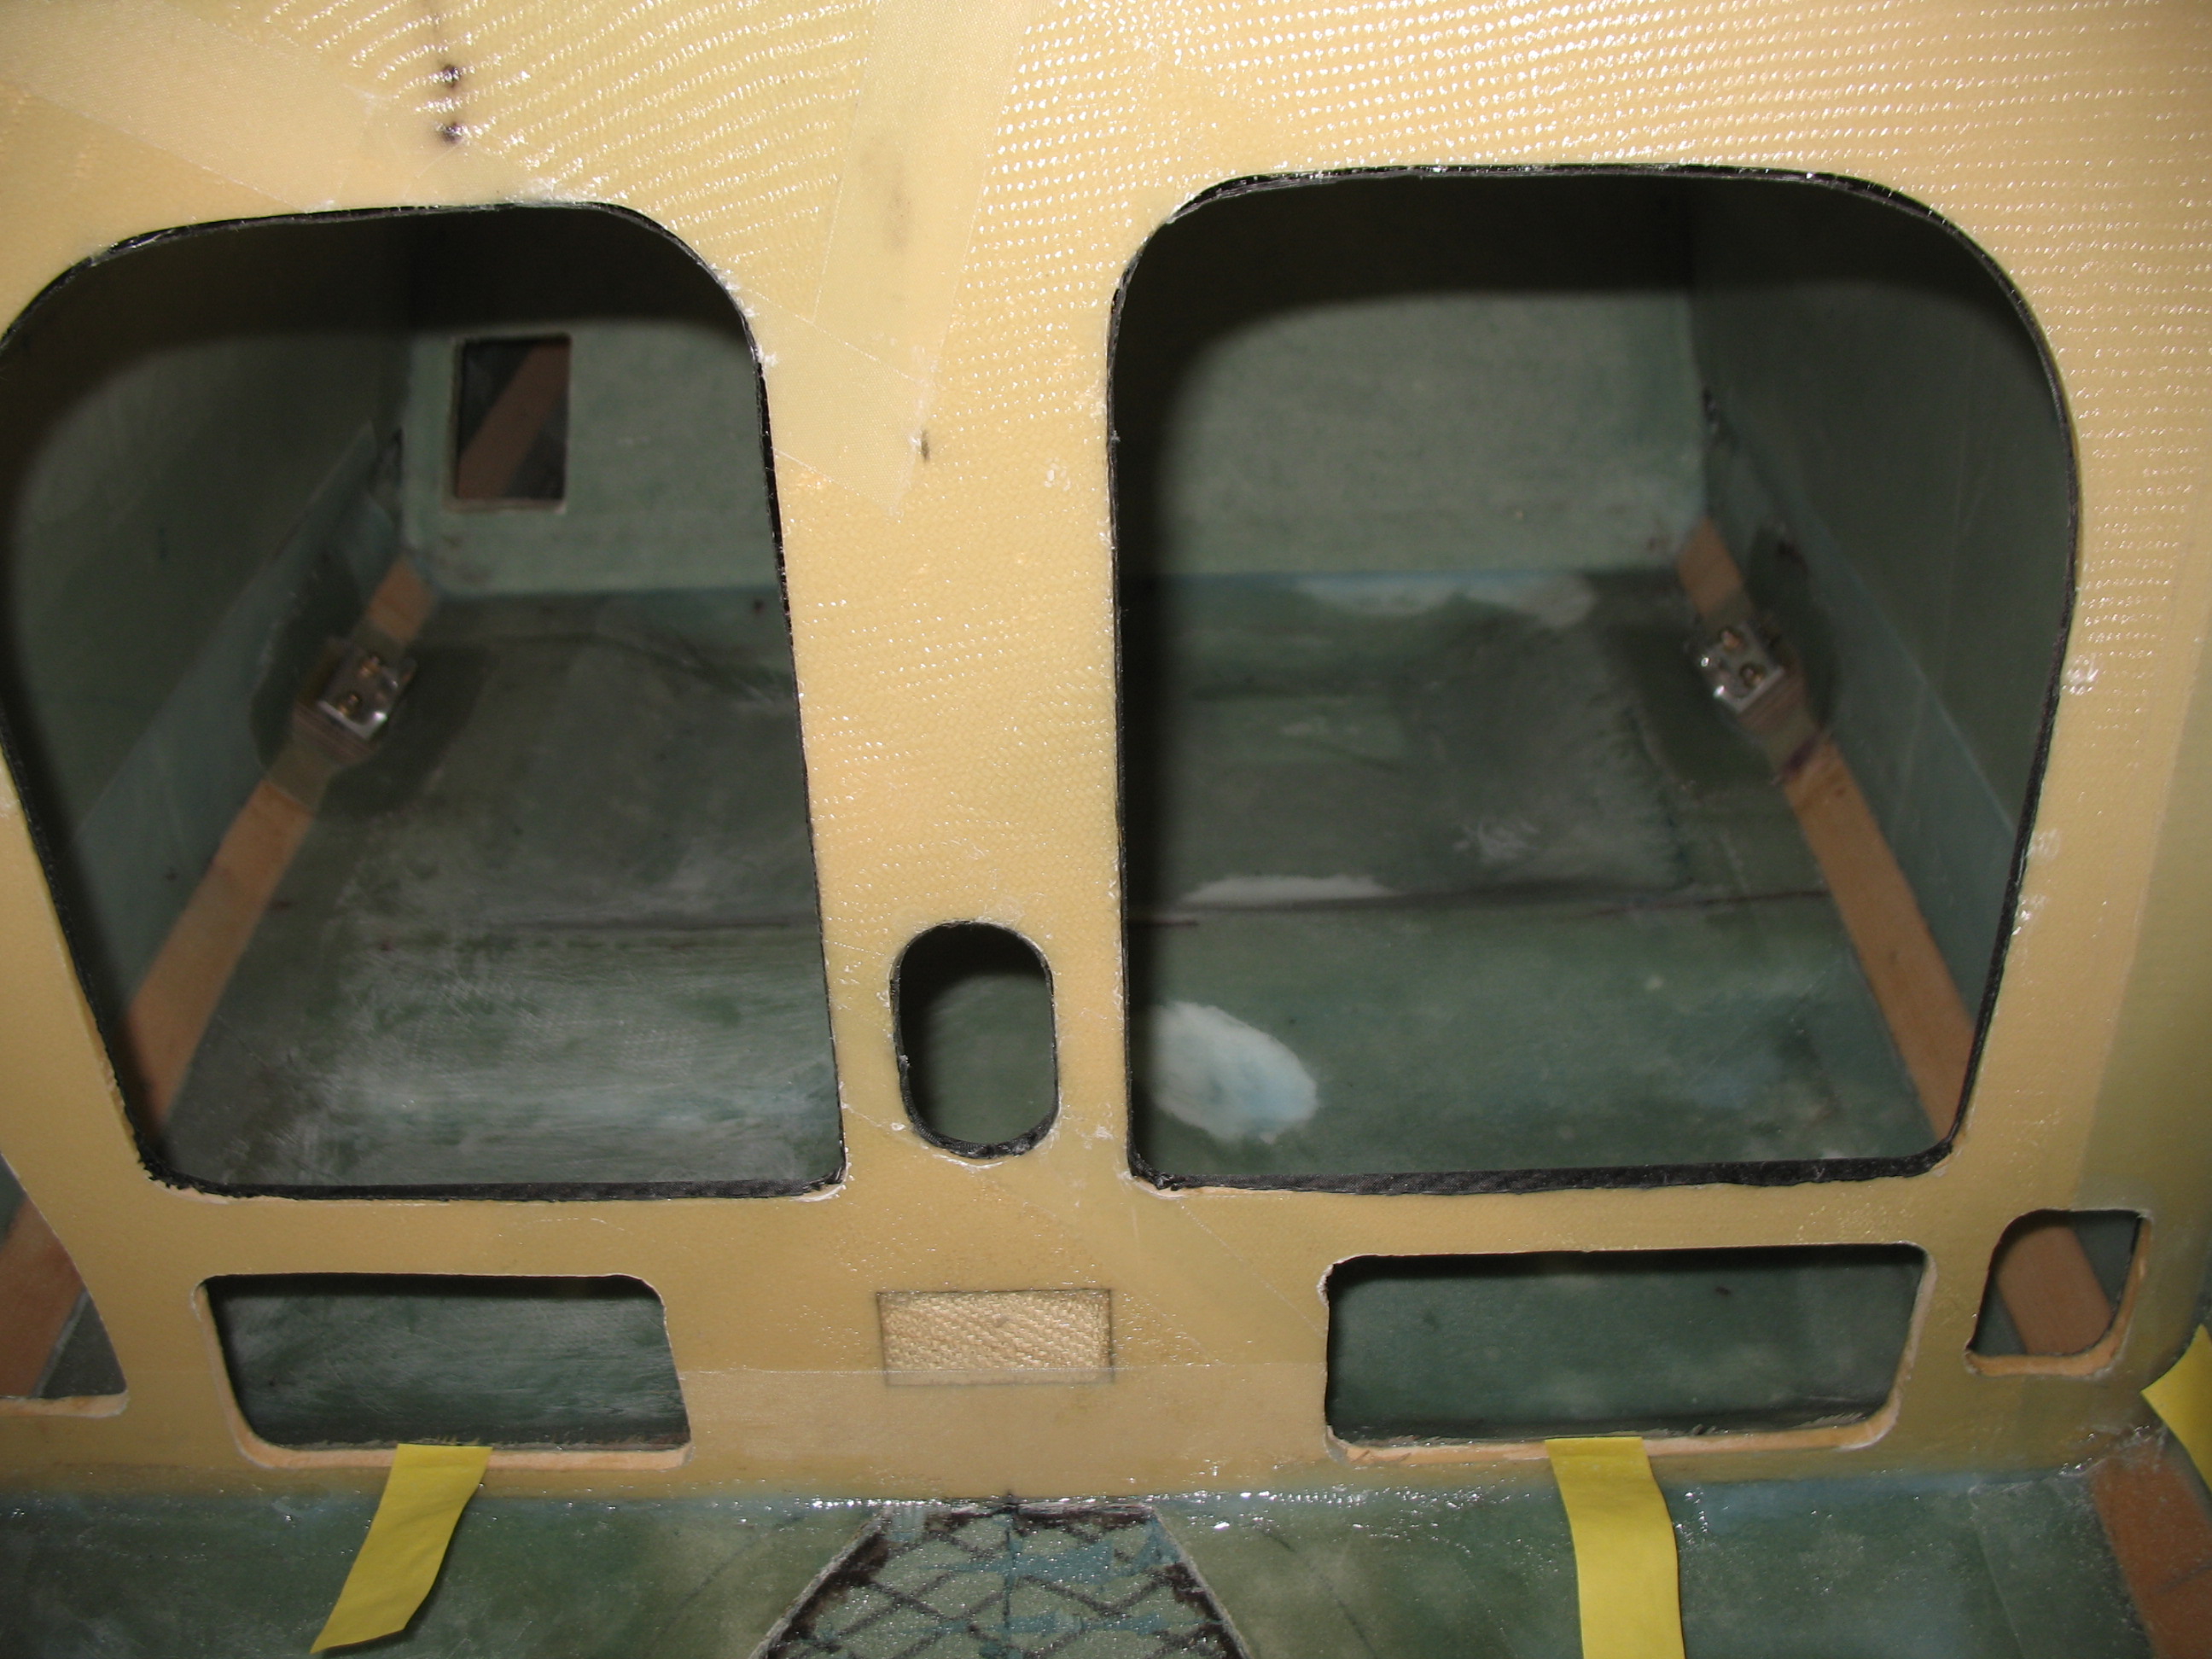
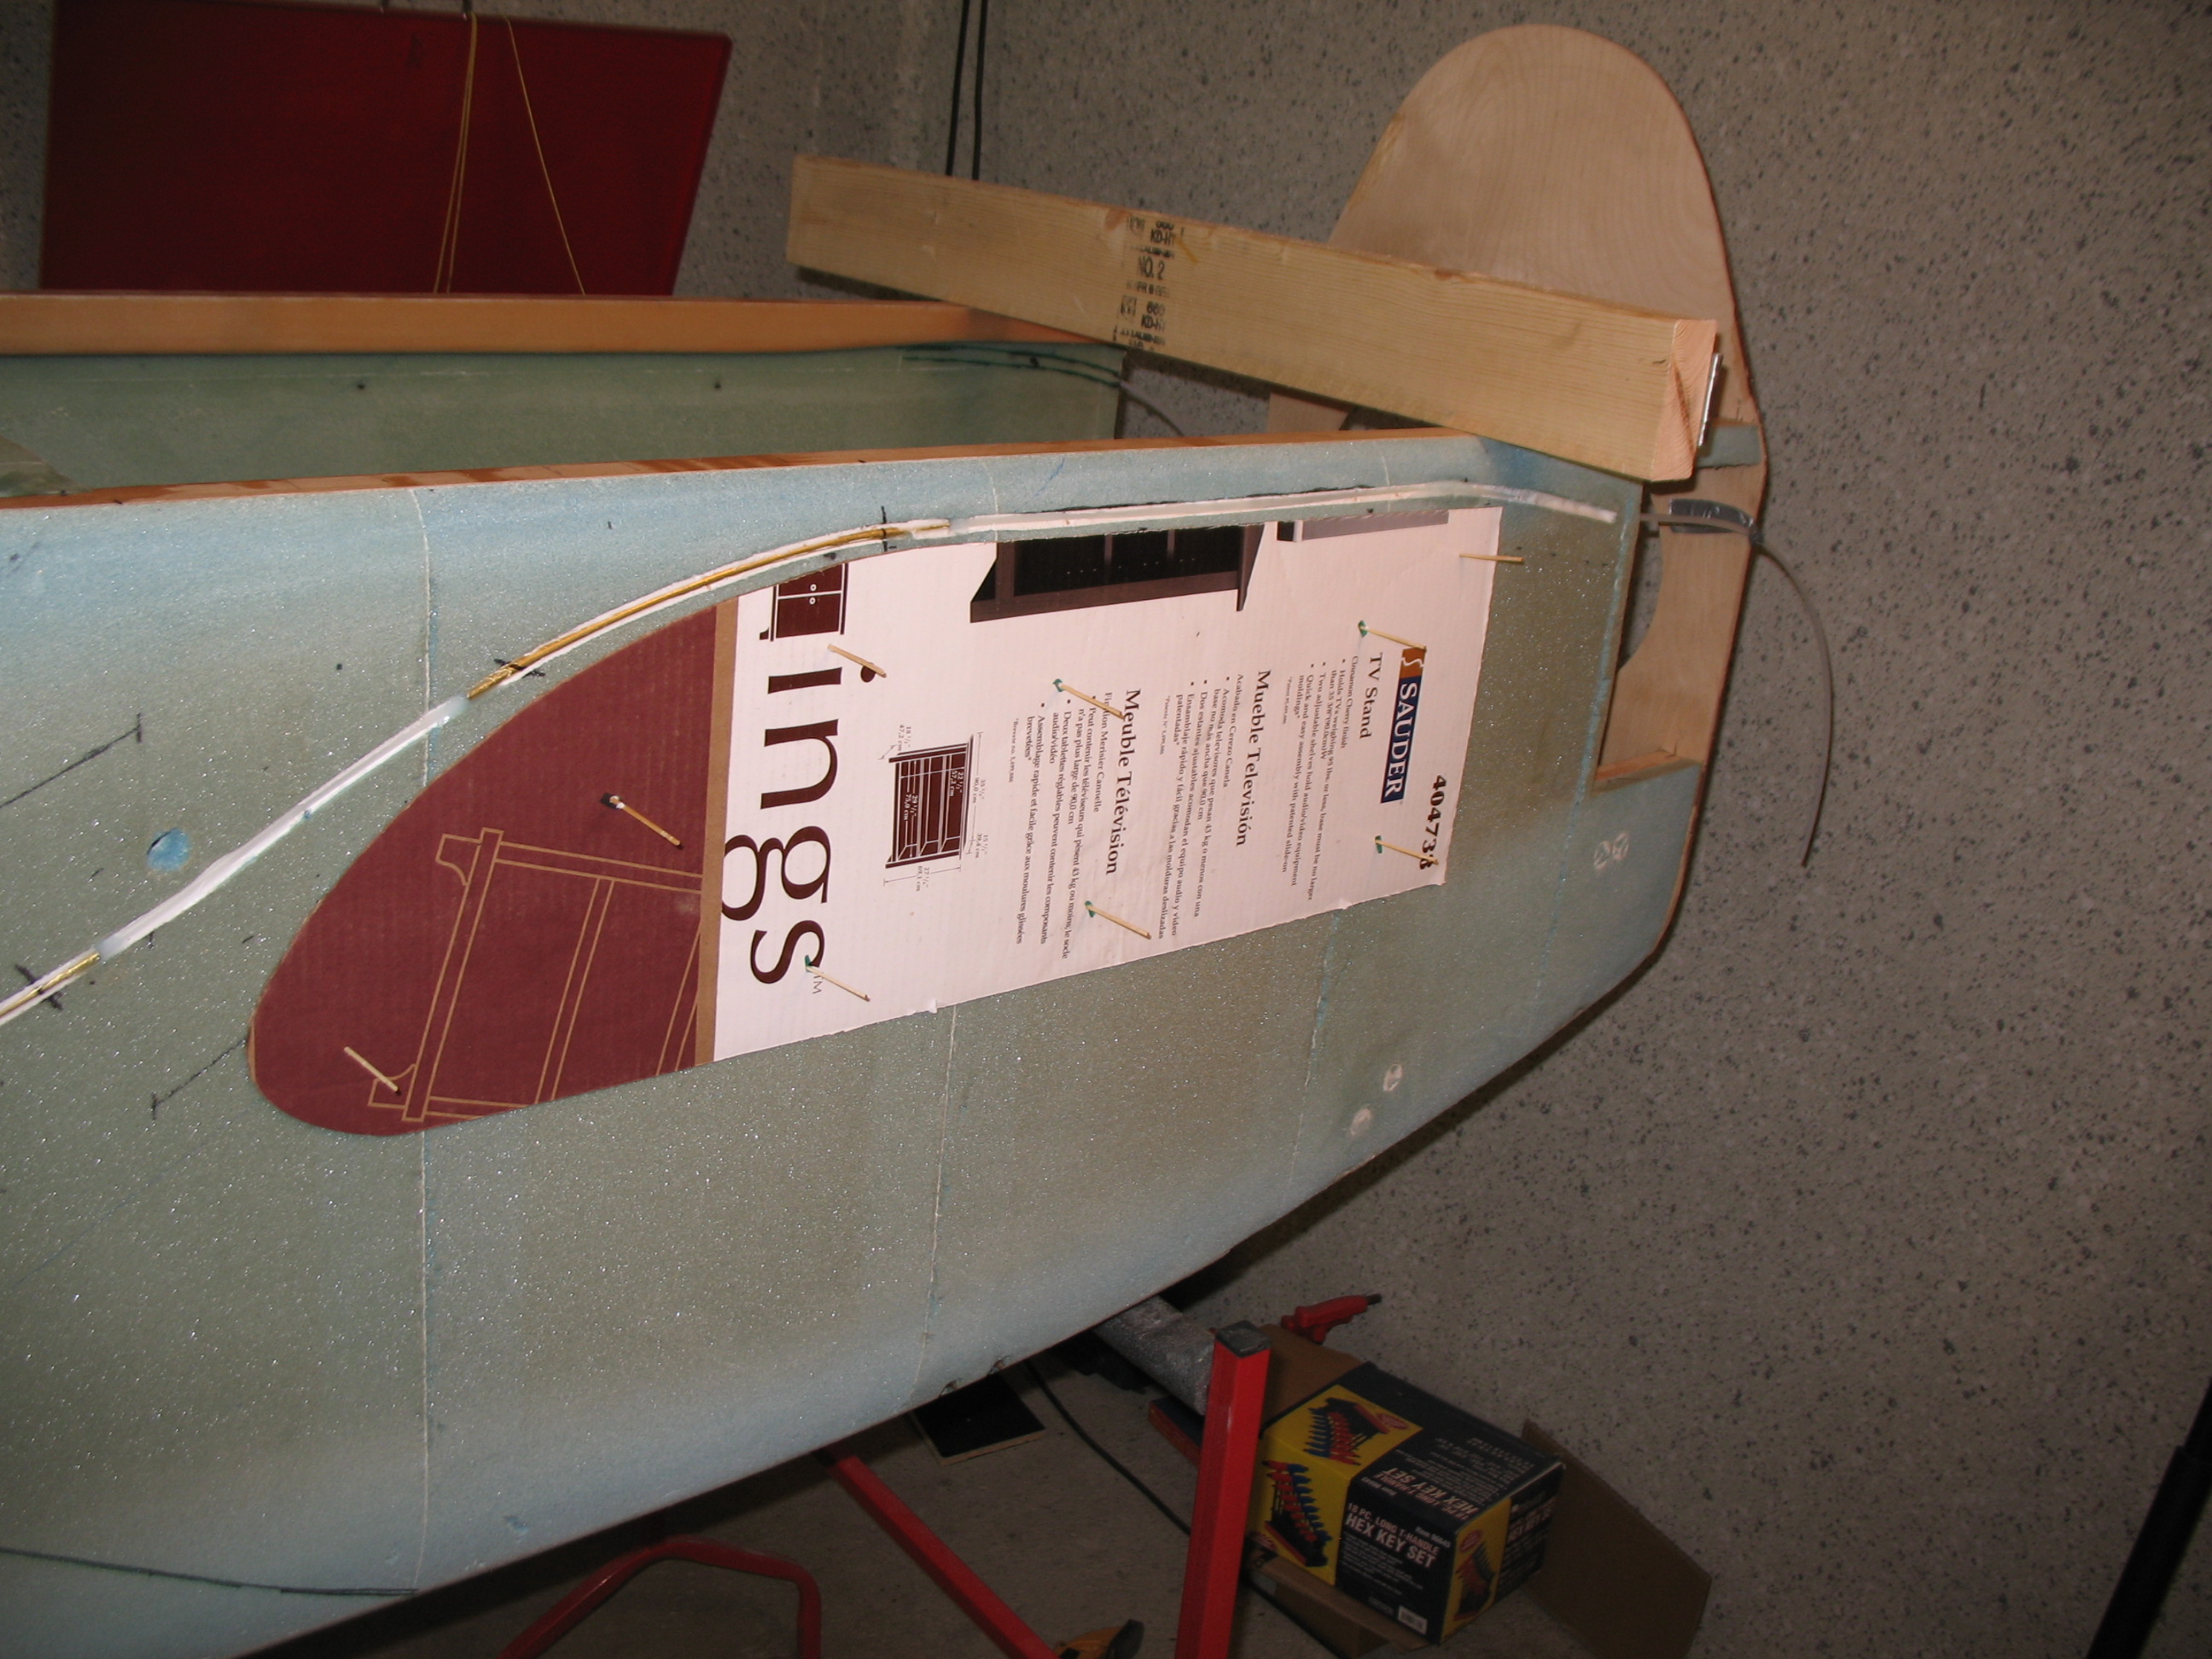
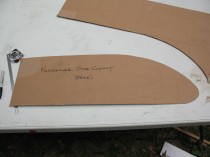
I measured out and designed the side fuselage openings that allow access into the strakes (wing root area). Specifically, access to the pilot & GIB’s baggage area. Guilty of some more slight modifications, I reshaped the oval front of the GIB’s opening to one that is slightly more ‘triangular’ (maybe a better description than C-5 nose-ish?!) and follows the curve of the embedded rudder cable conduit. I’ll also most likely extend the pilot’s strake opening to the instrument panel… somewhat of a Cozy Girrrl’s strakes mod for a Long-EZ.
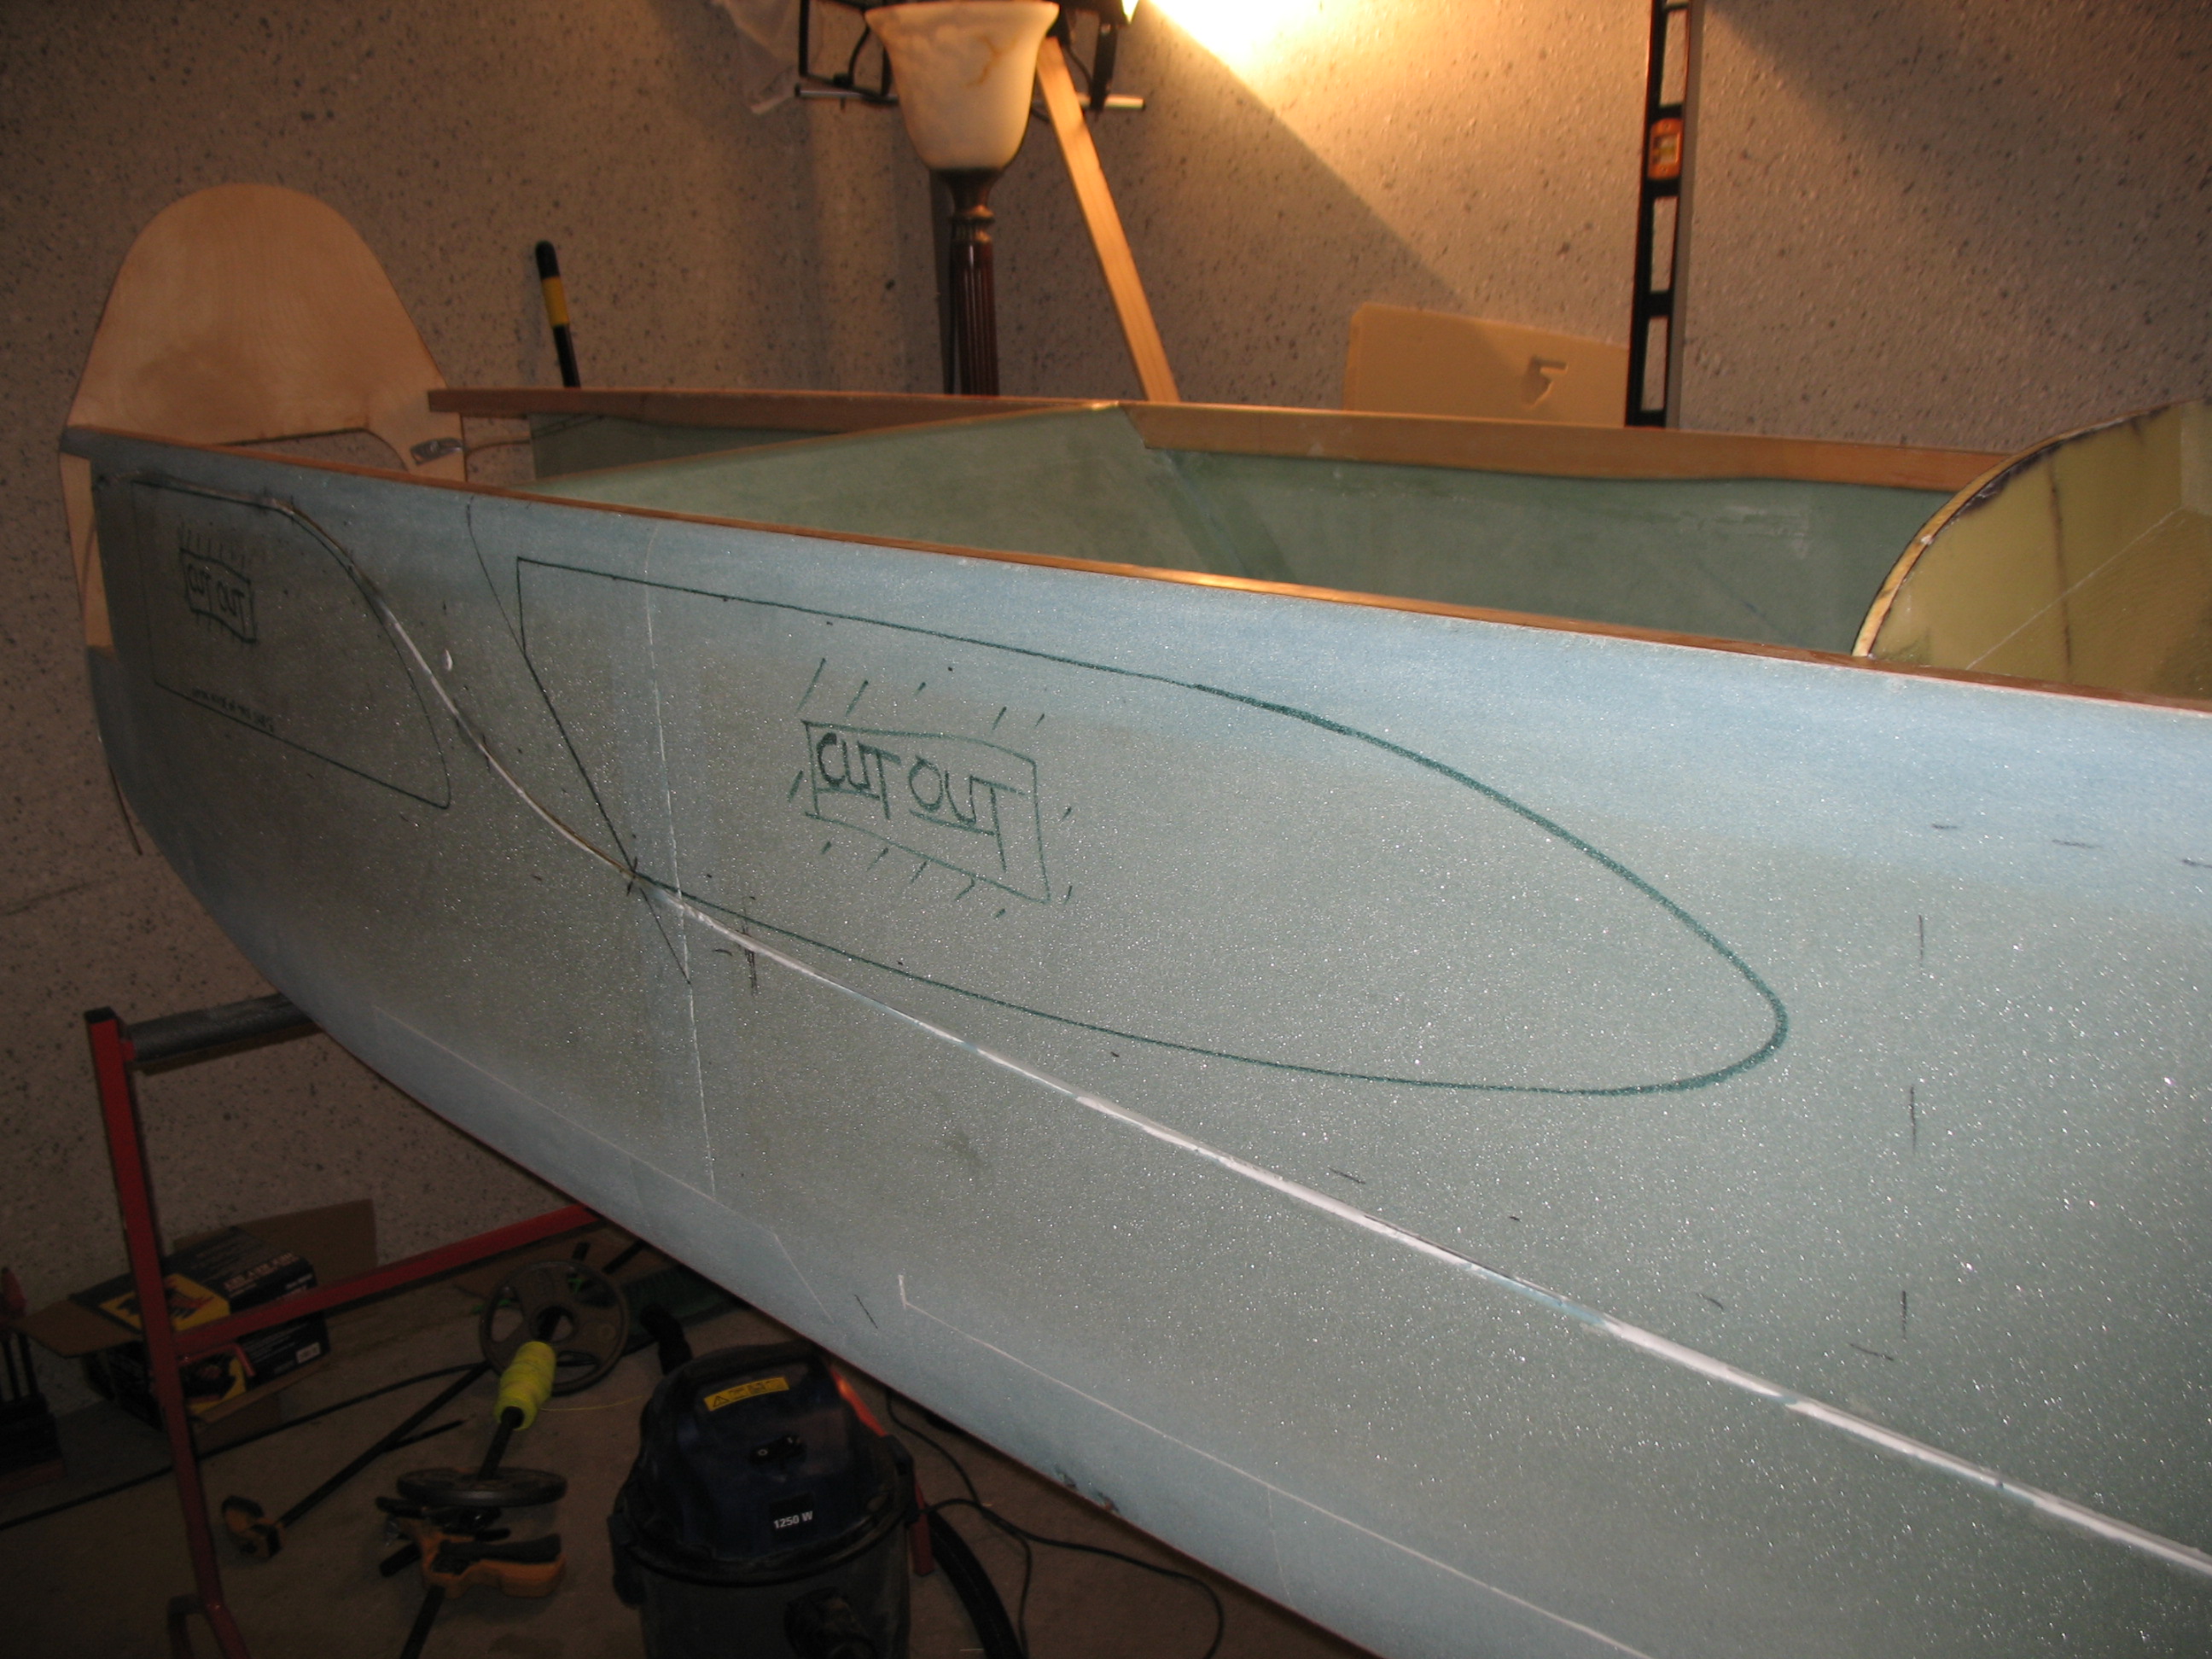
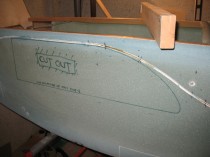
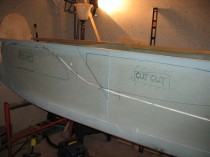
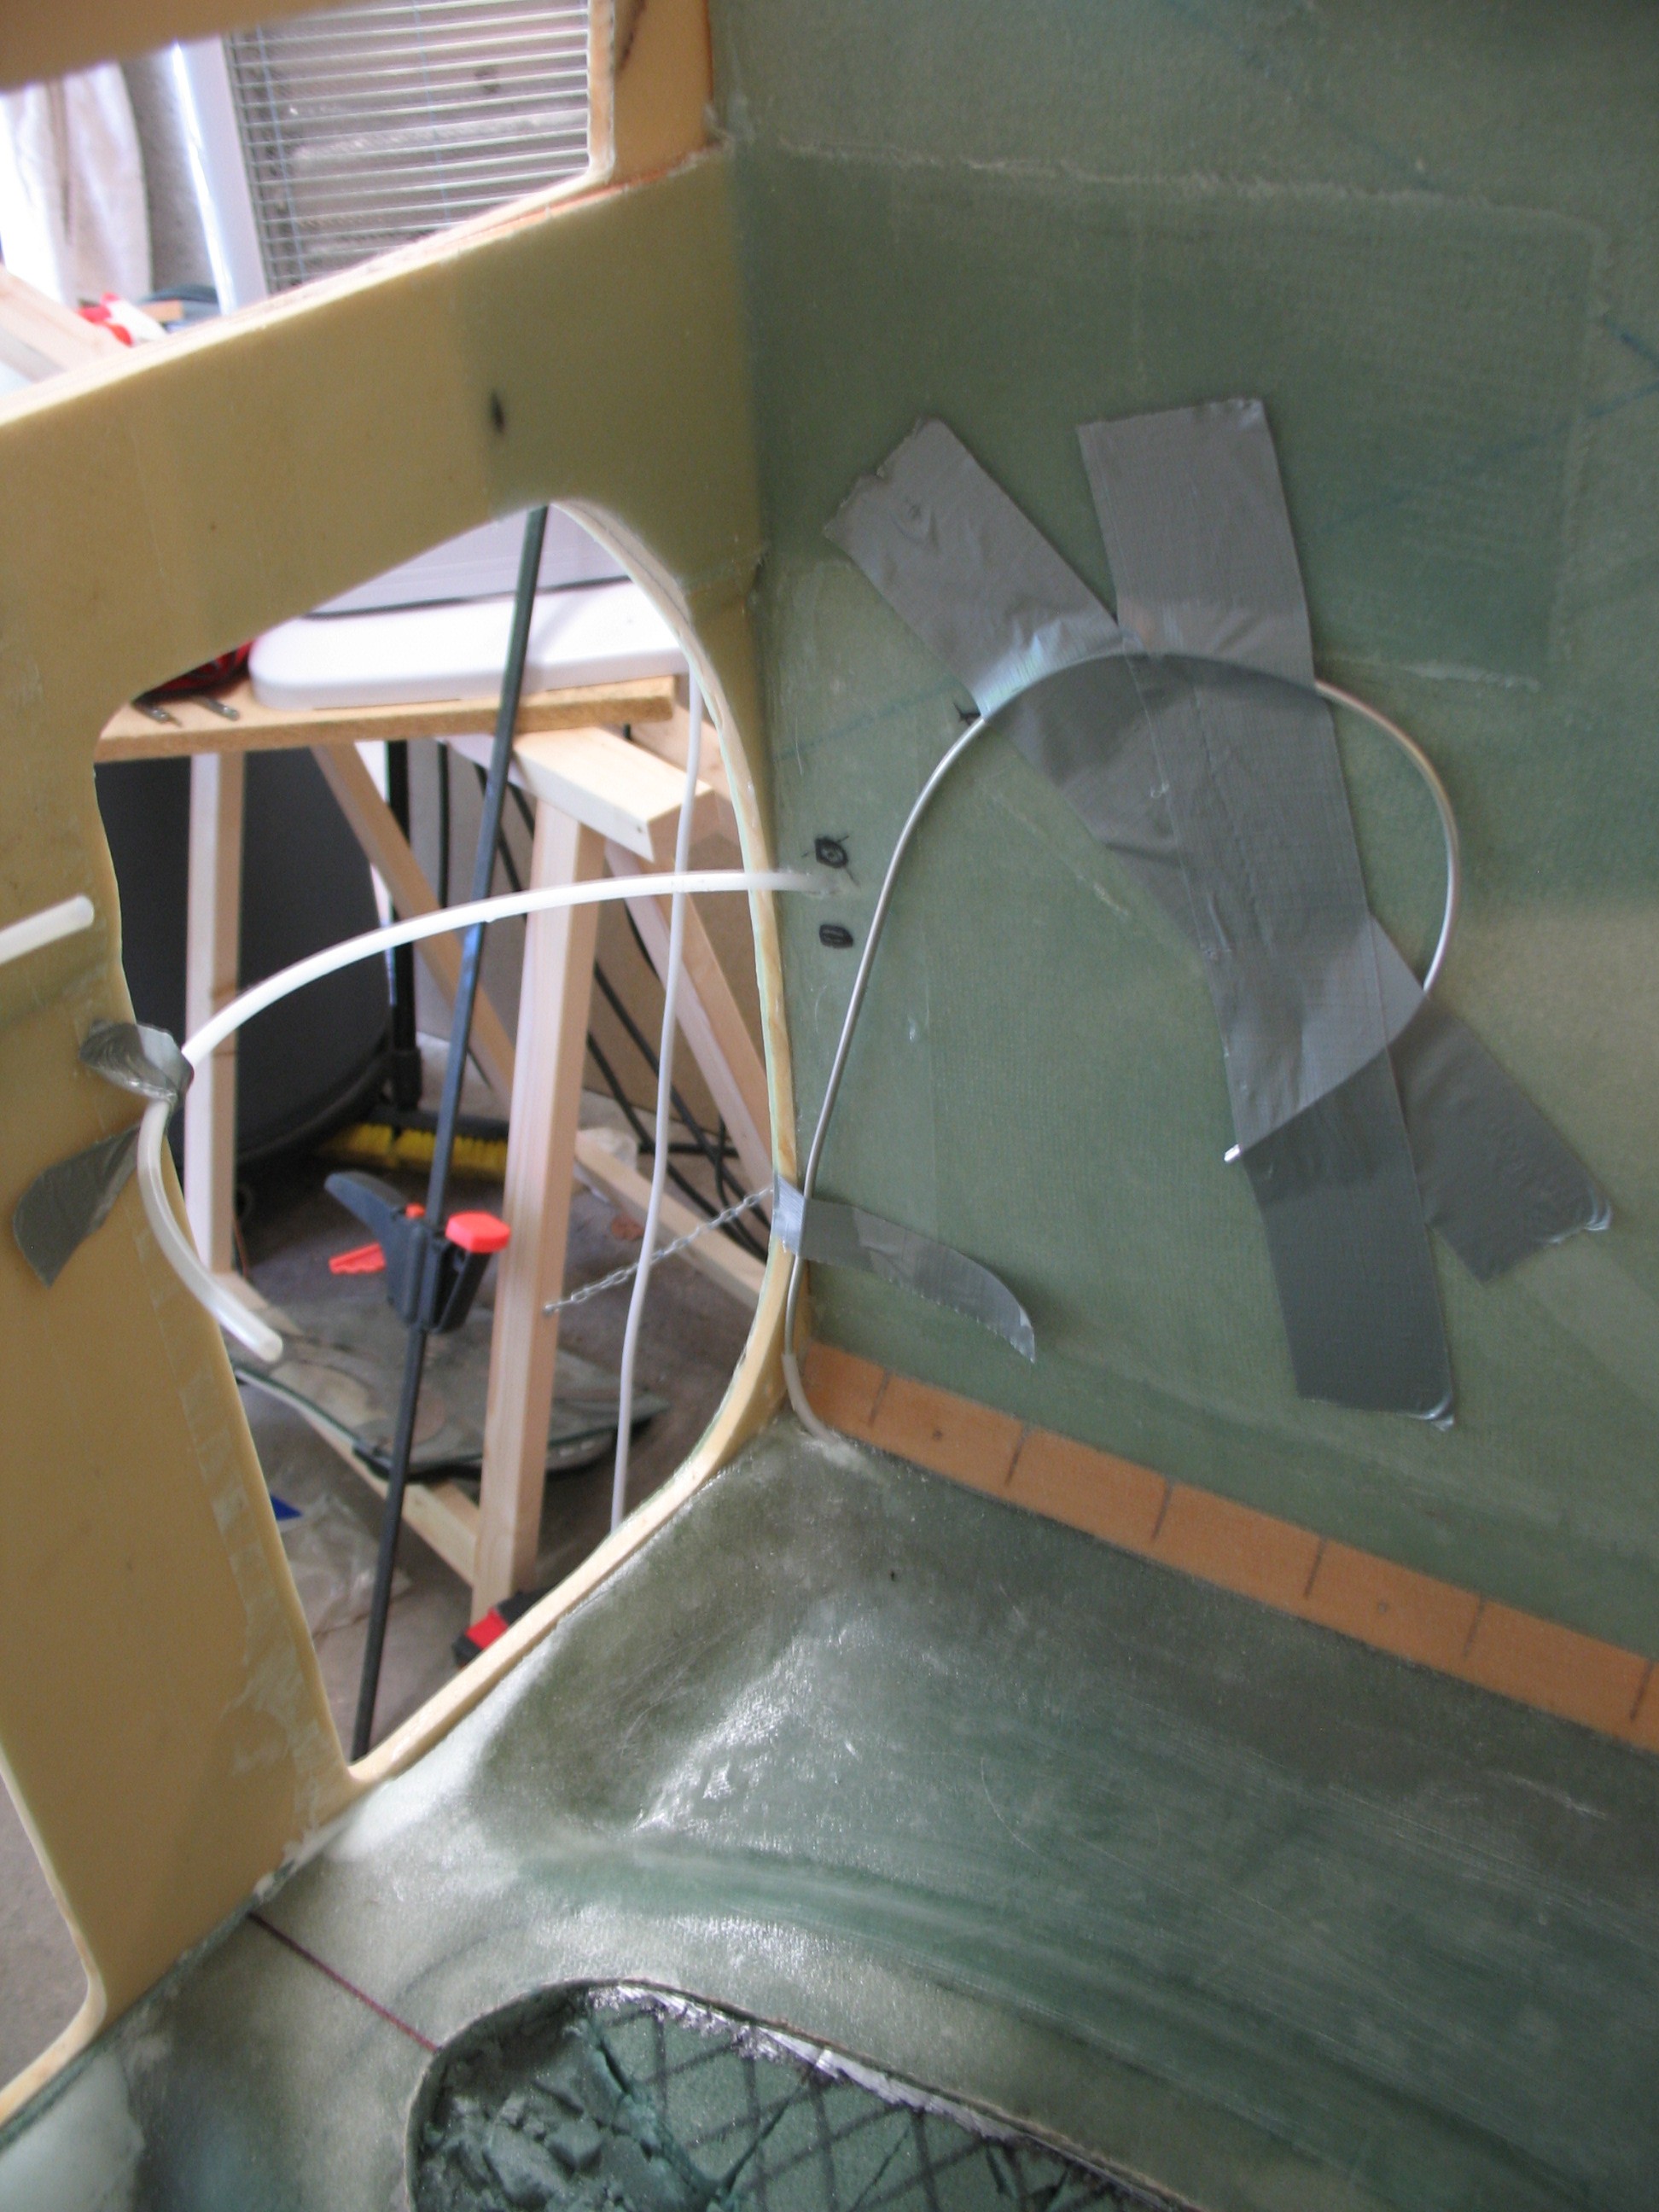
Next, I cut off the front top corners of the fuselage to create a “shelf” for the canard to sit in and be positioned correctly to mount to the F22 (front) bulkhead. The aft vertical line of this square area that gets cut out is drawn straight down from the front edge of the F28 bulkhead (the narrow one across the top of the fuselage). The plans call for a more invasive cut into the fuselage, but of course I’m deviating slightly by just making a simple square cutout without any of the jut-outs in the corner that the plans would have me make.
After the “lightening” of the fuselage above…ha! I did a little bit of housecleaning by sanding down a bunch of the heavier micro & flox rich areas on the fuselage. I also sanded down the longeron tops in prep for glassing (wood grain should be sanded so the epoxy grips it better).
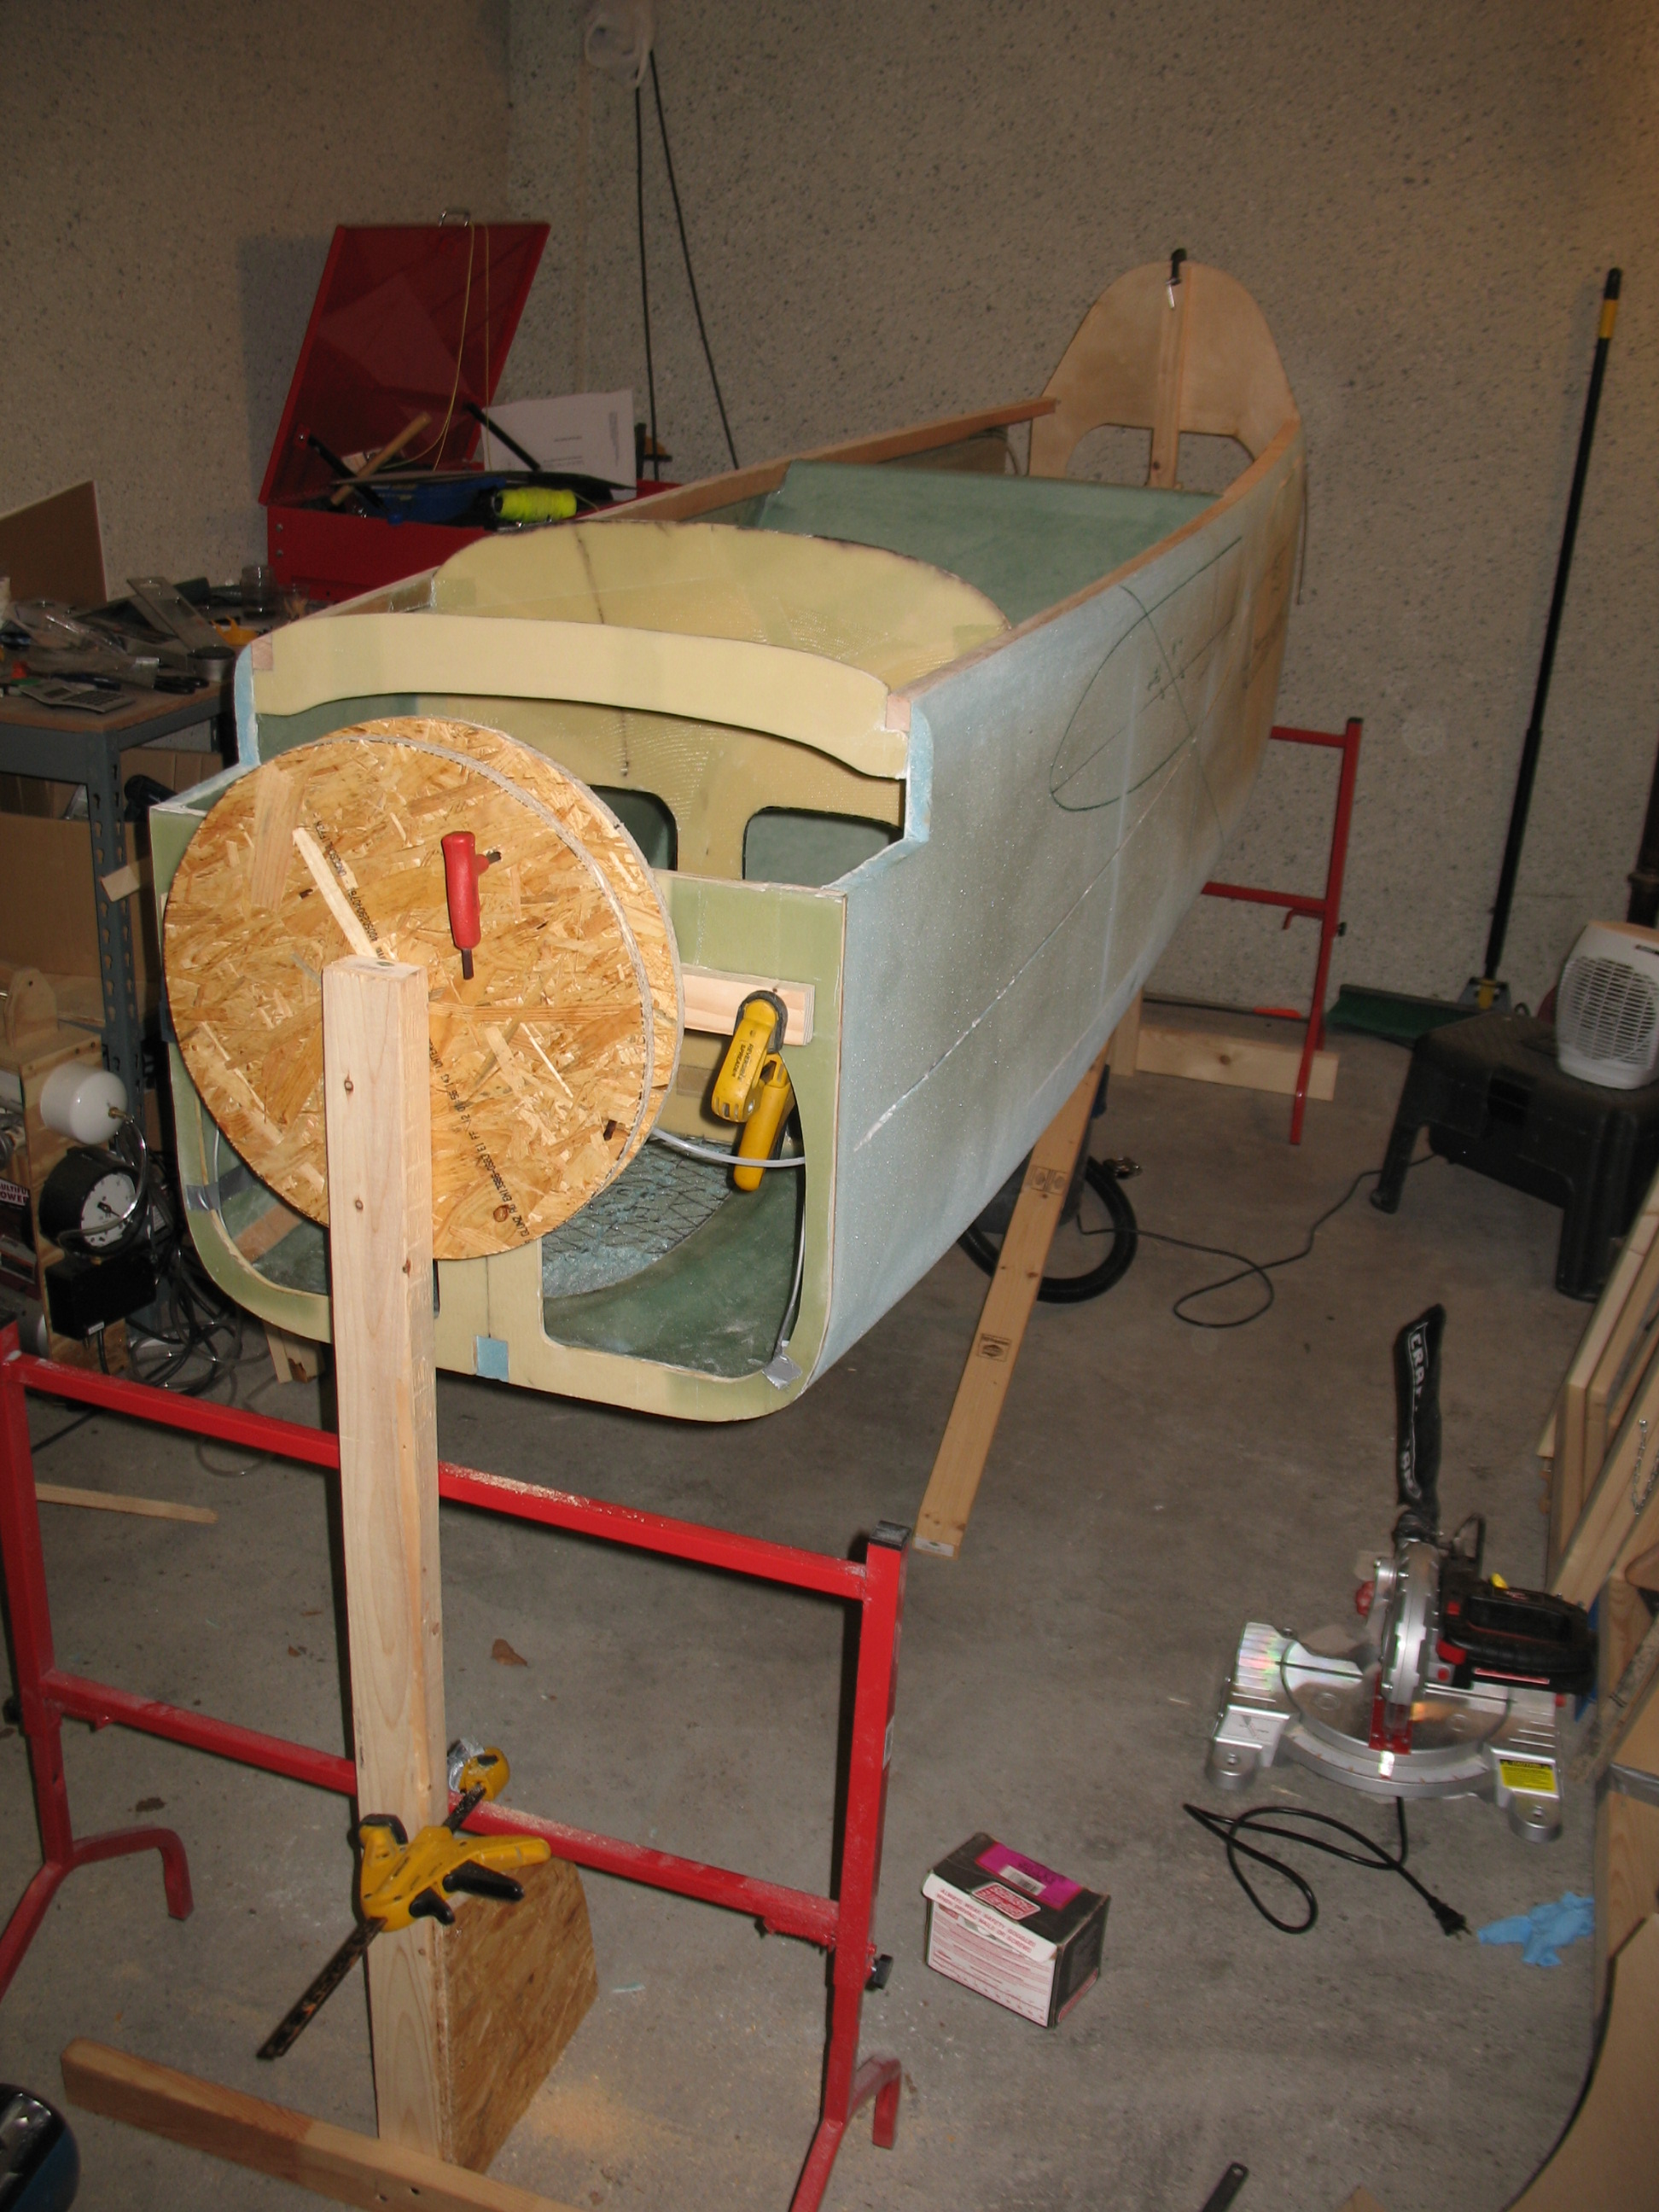
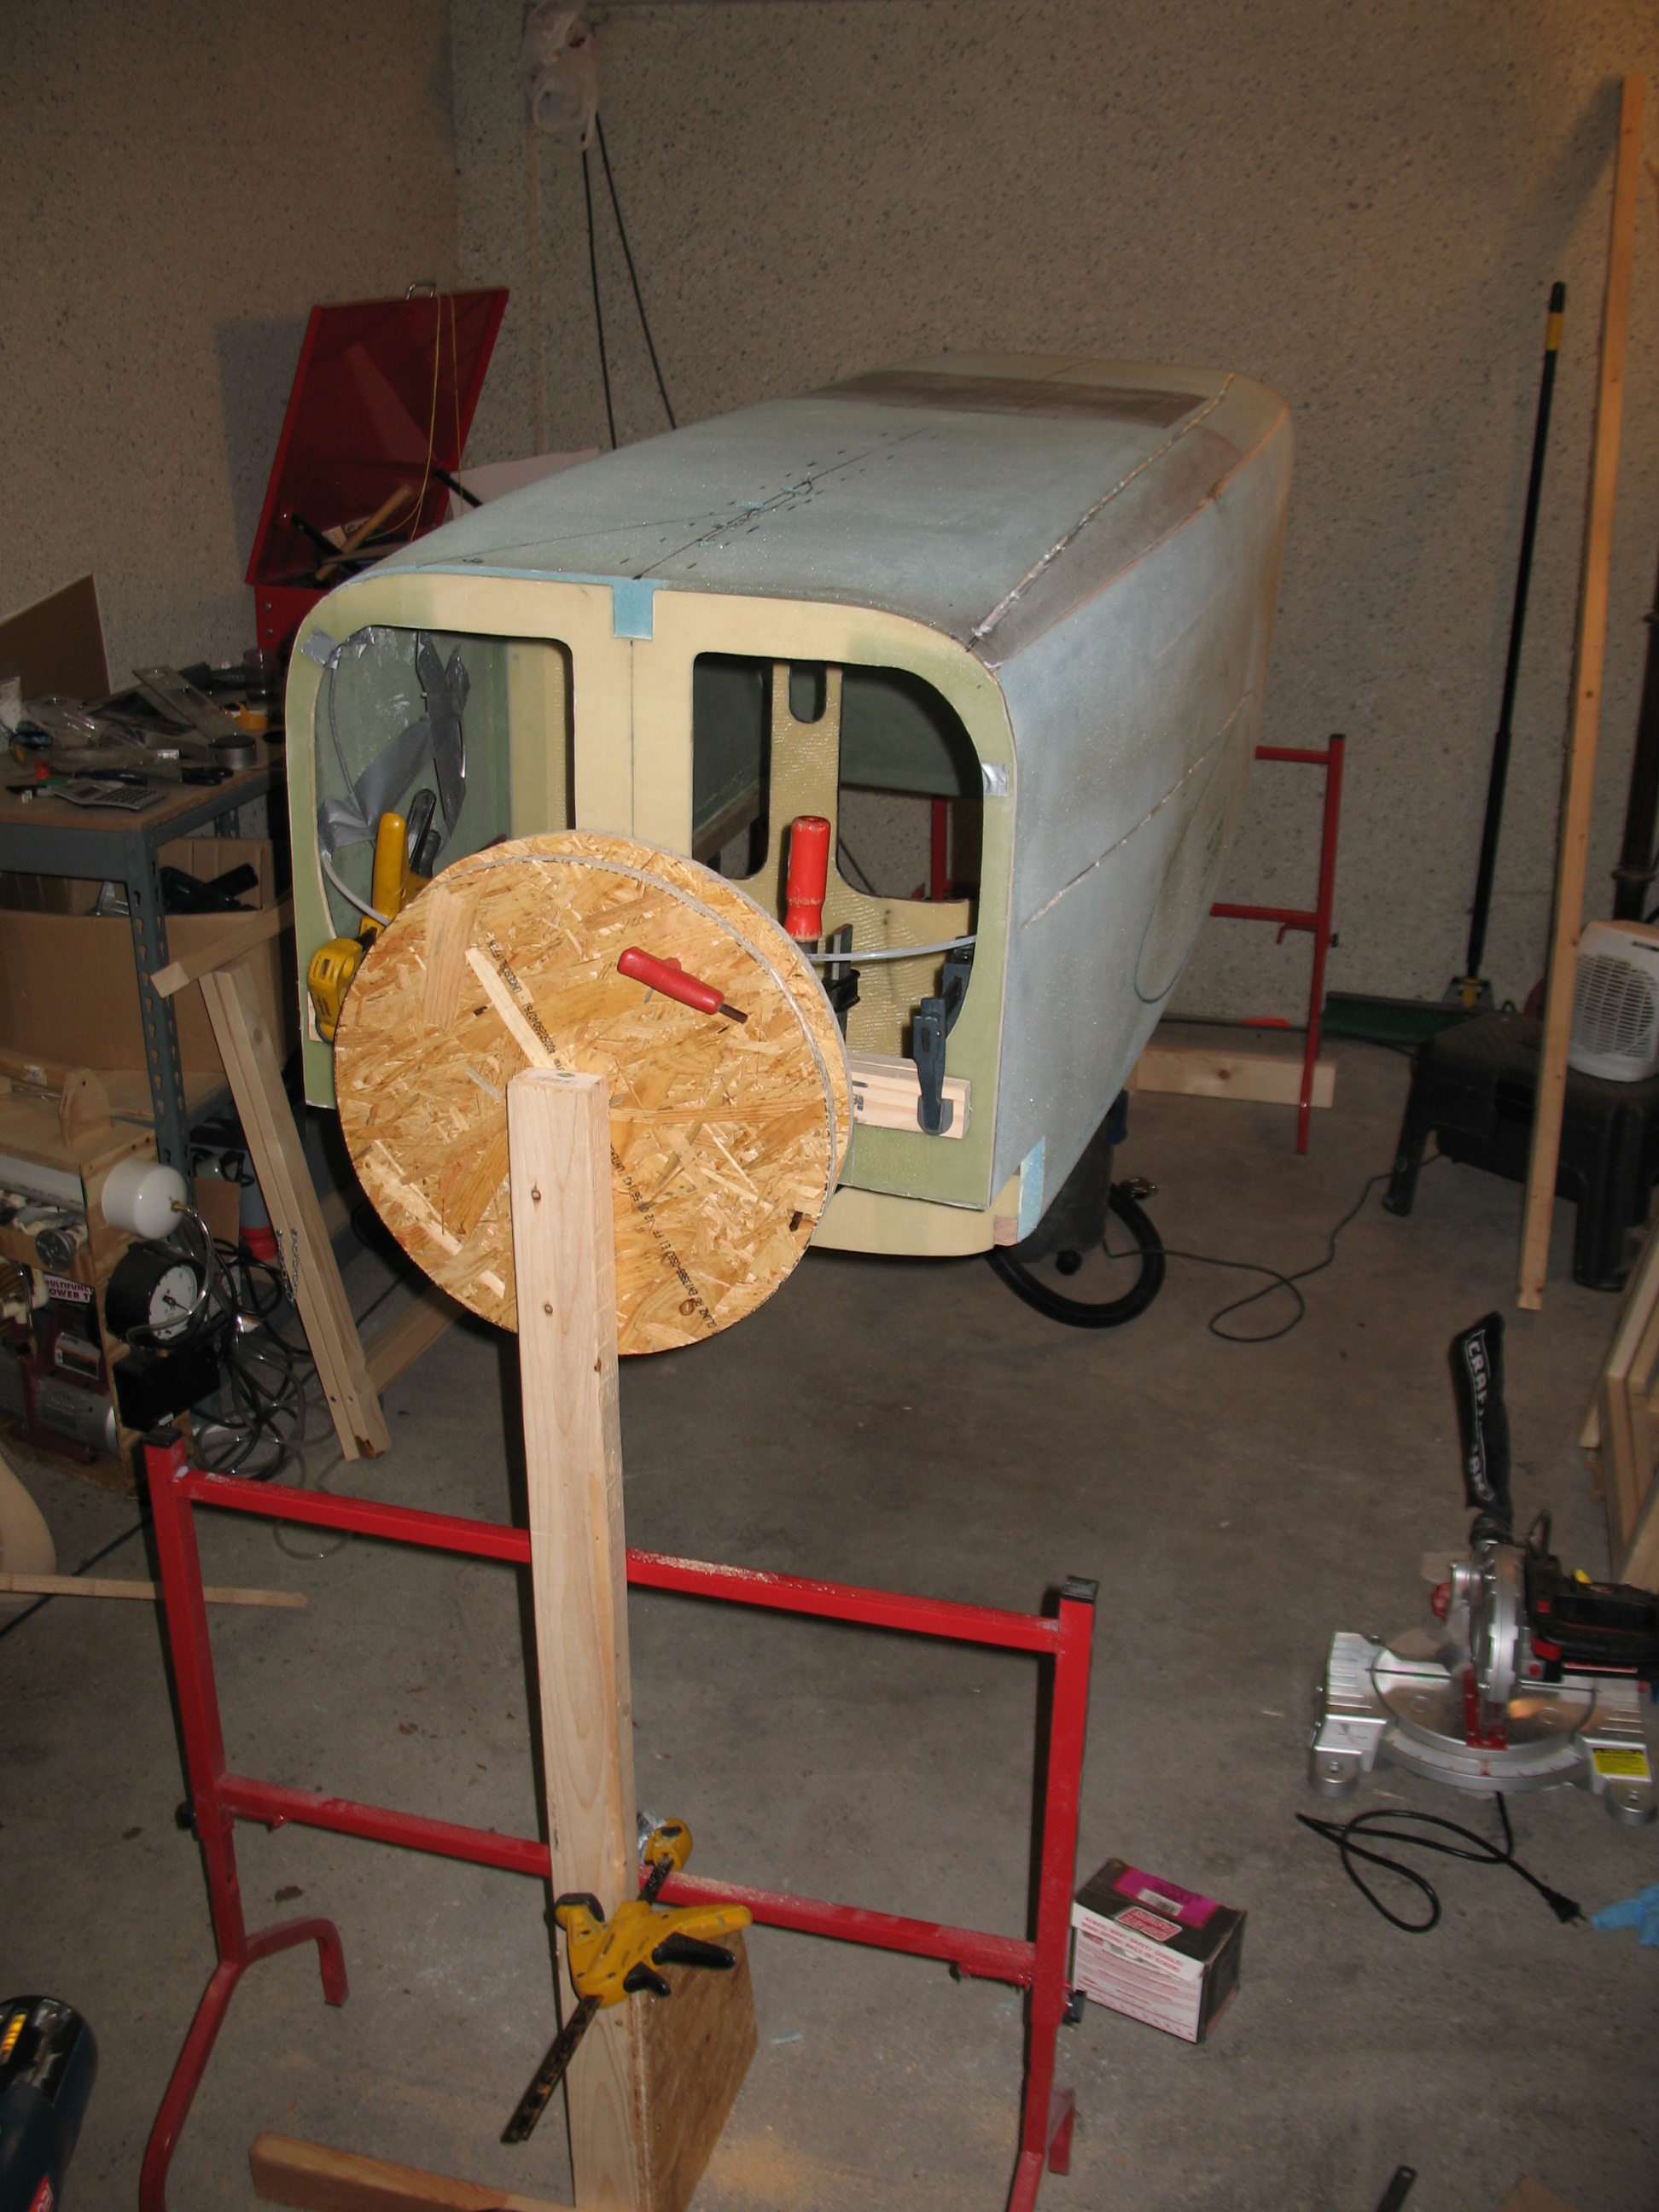
My last effort of the day was designing and constructing a fuselage “spit” so I can spin the fuselage in quick-fashion as I glass it. I got the front half of the spit completed with some good initial ops testing.
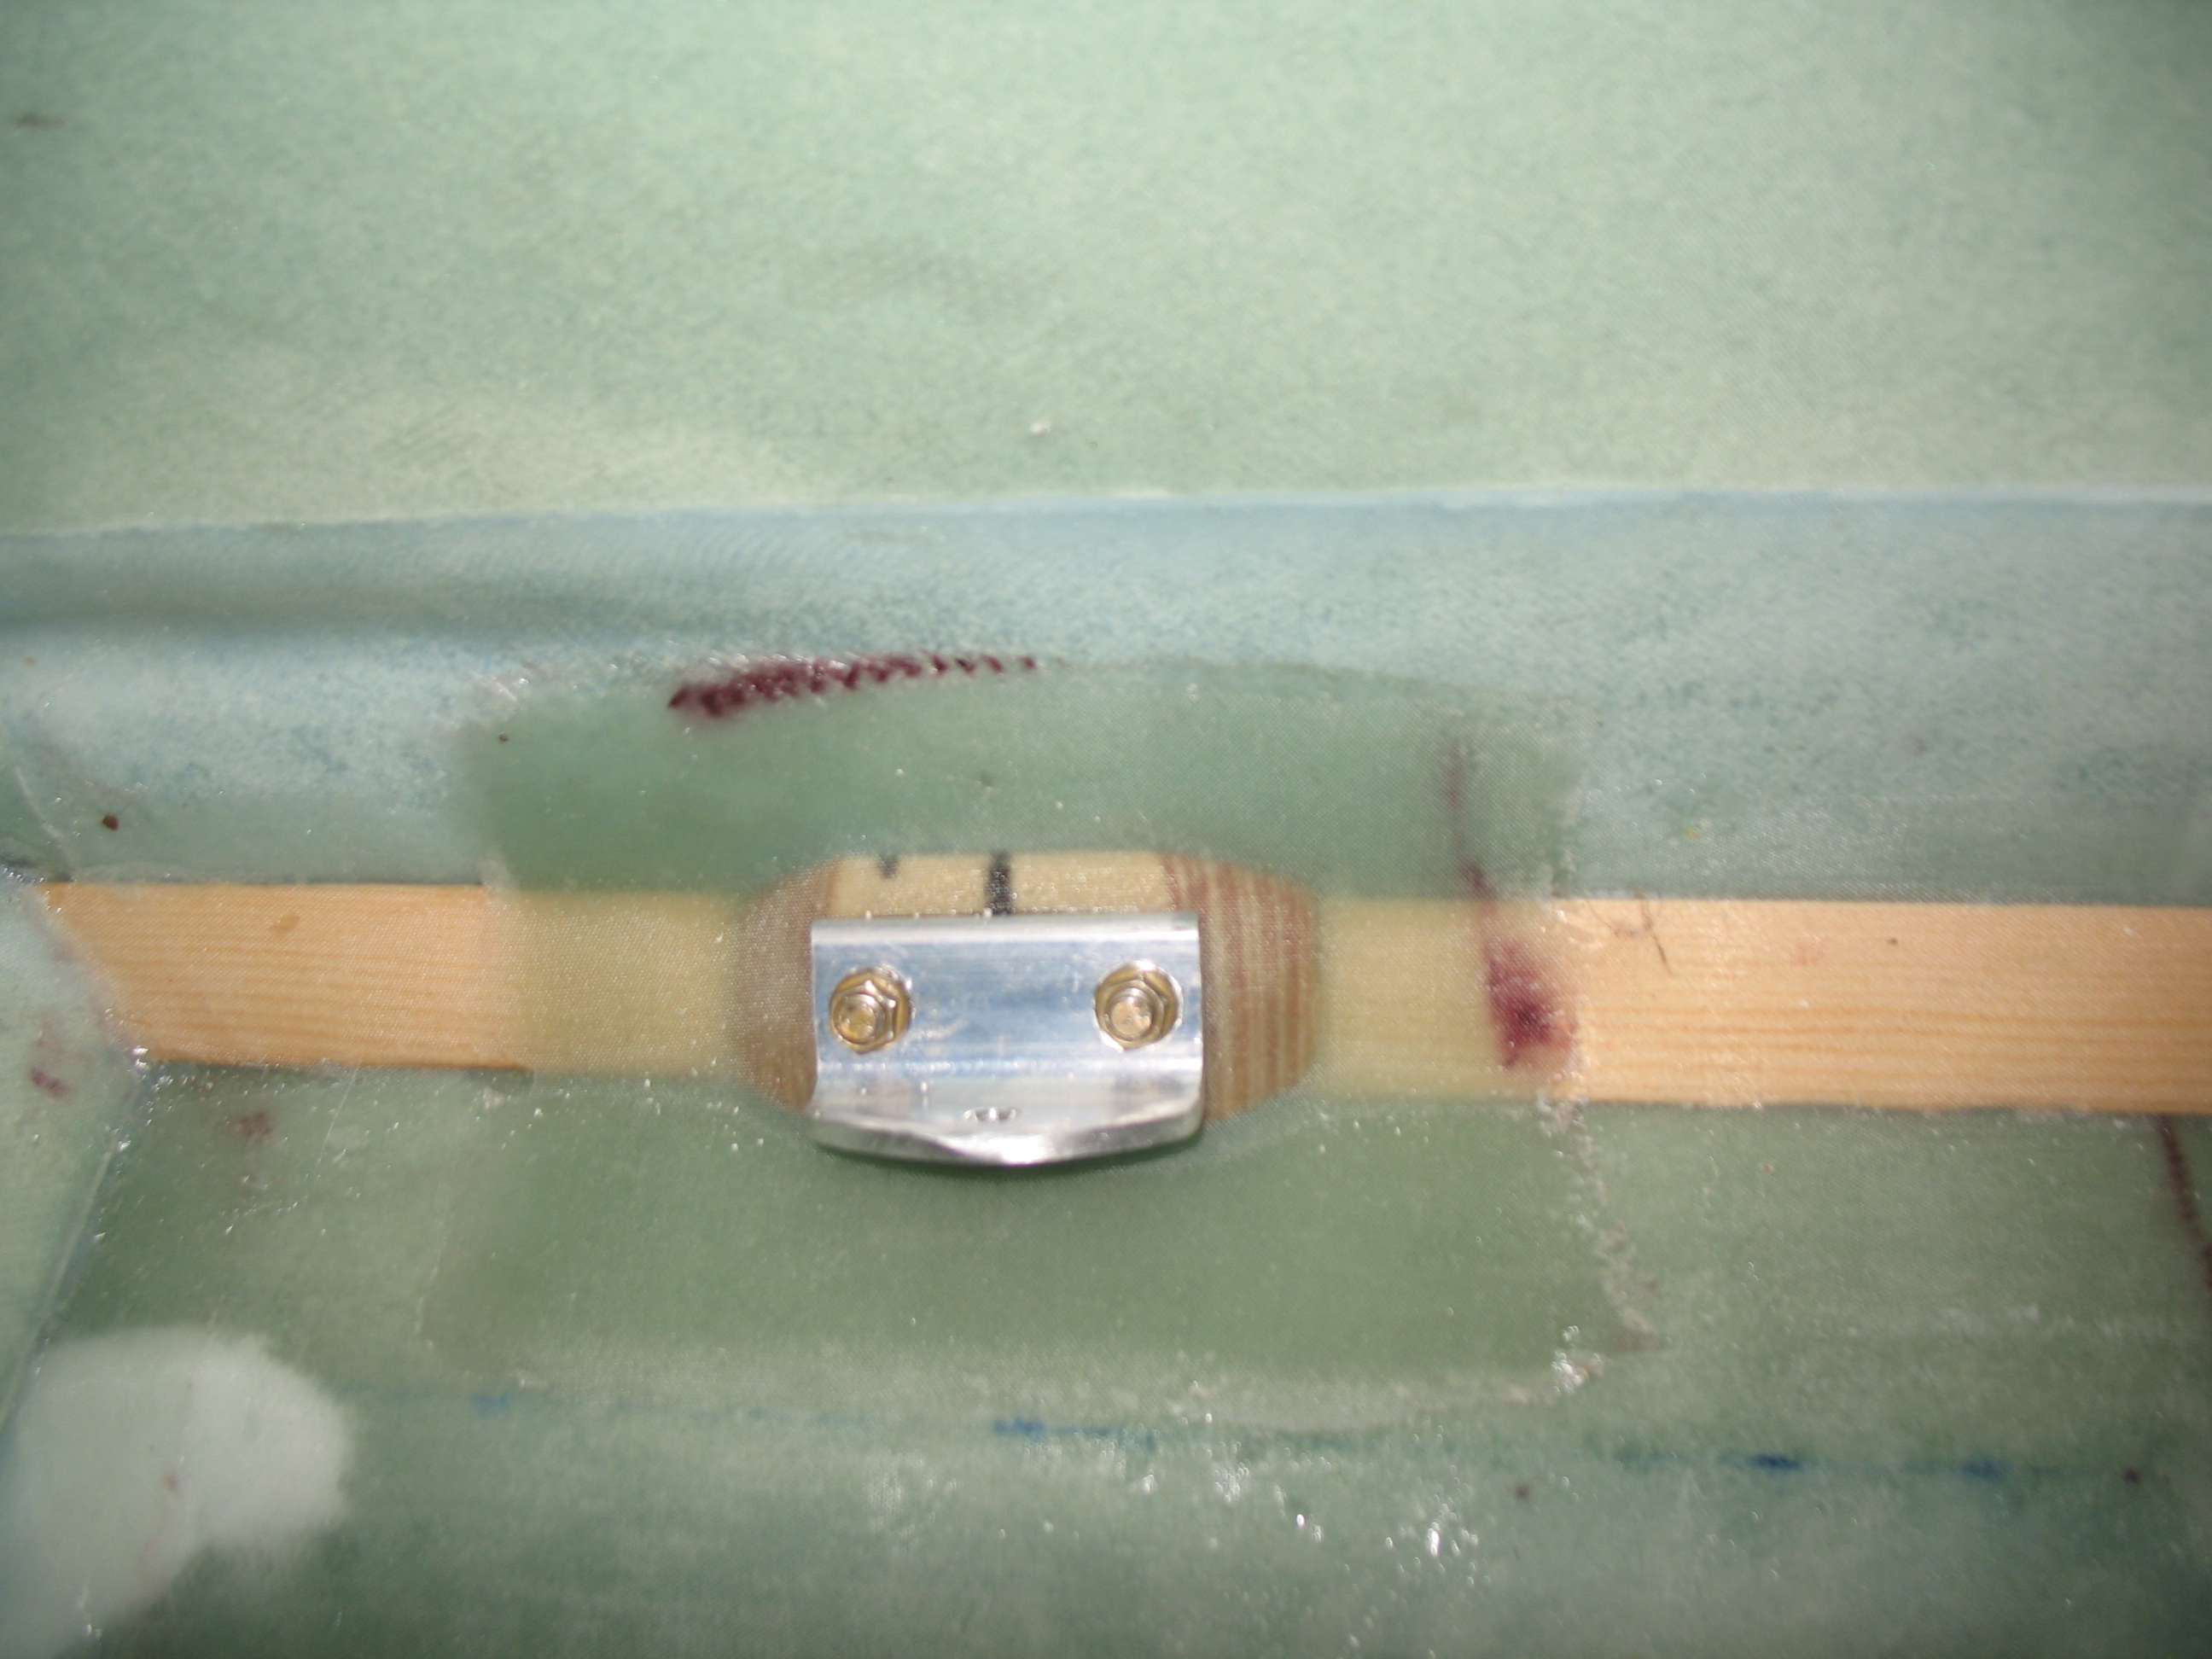
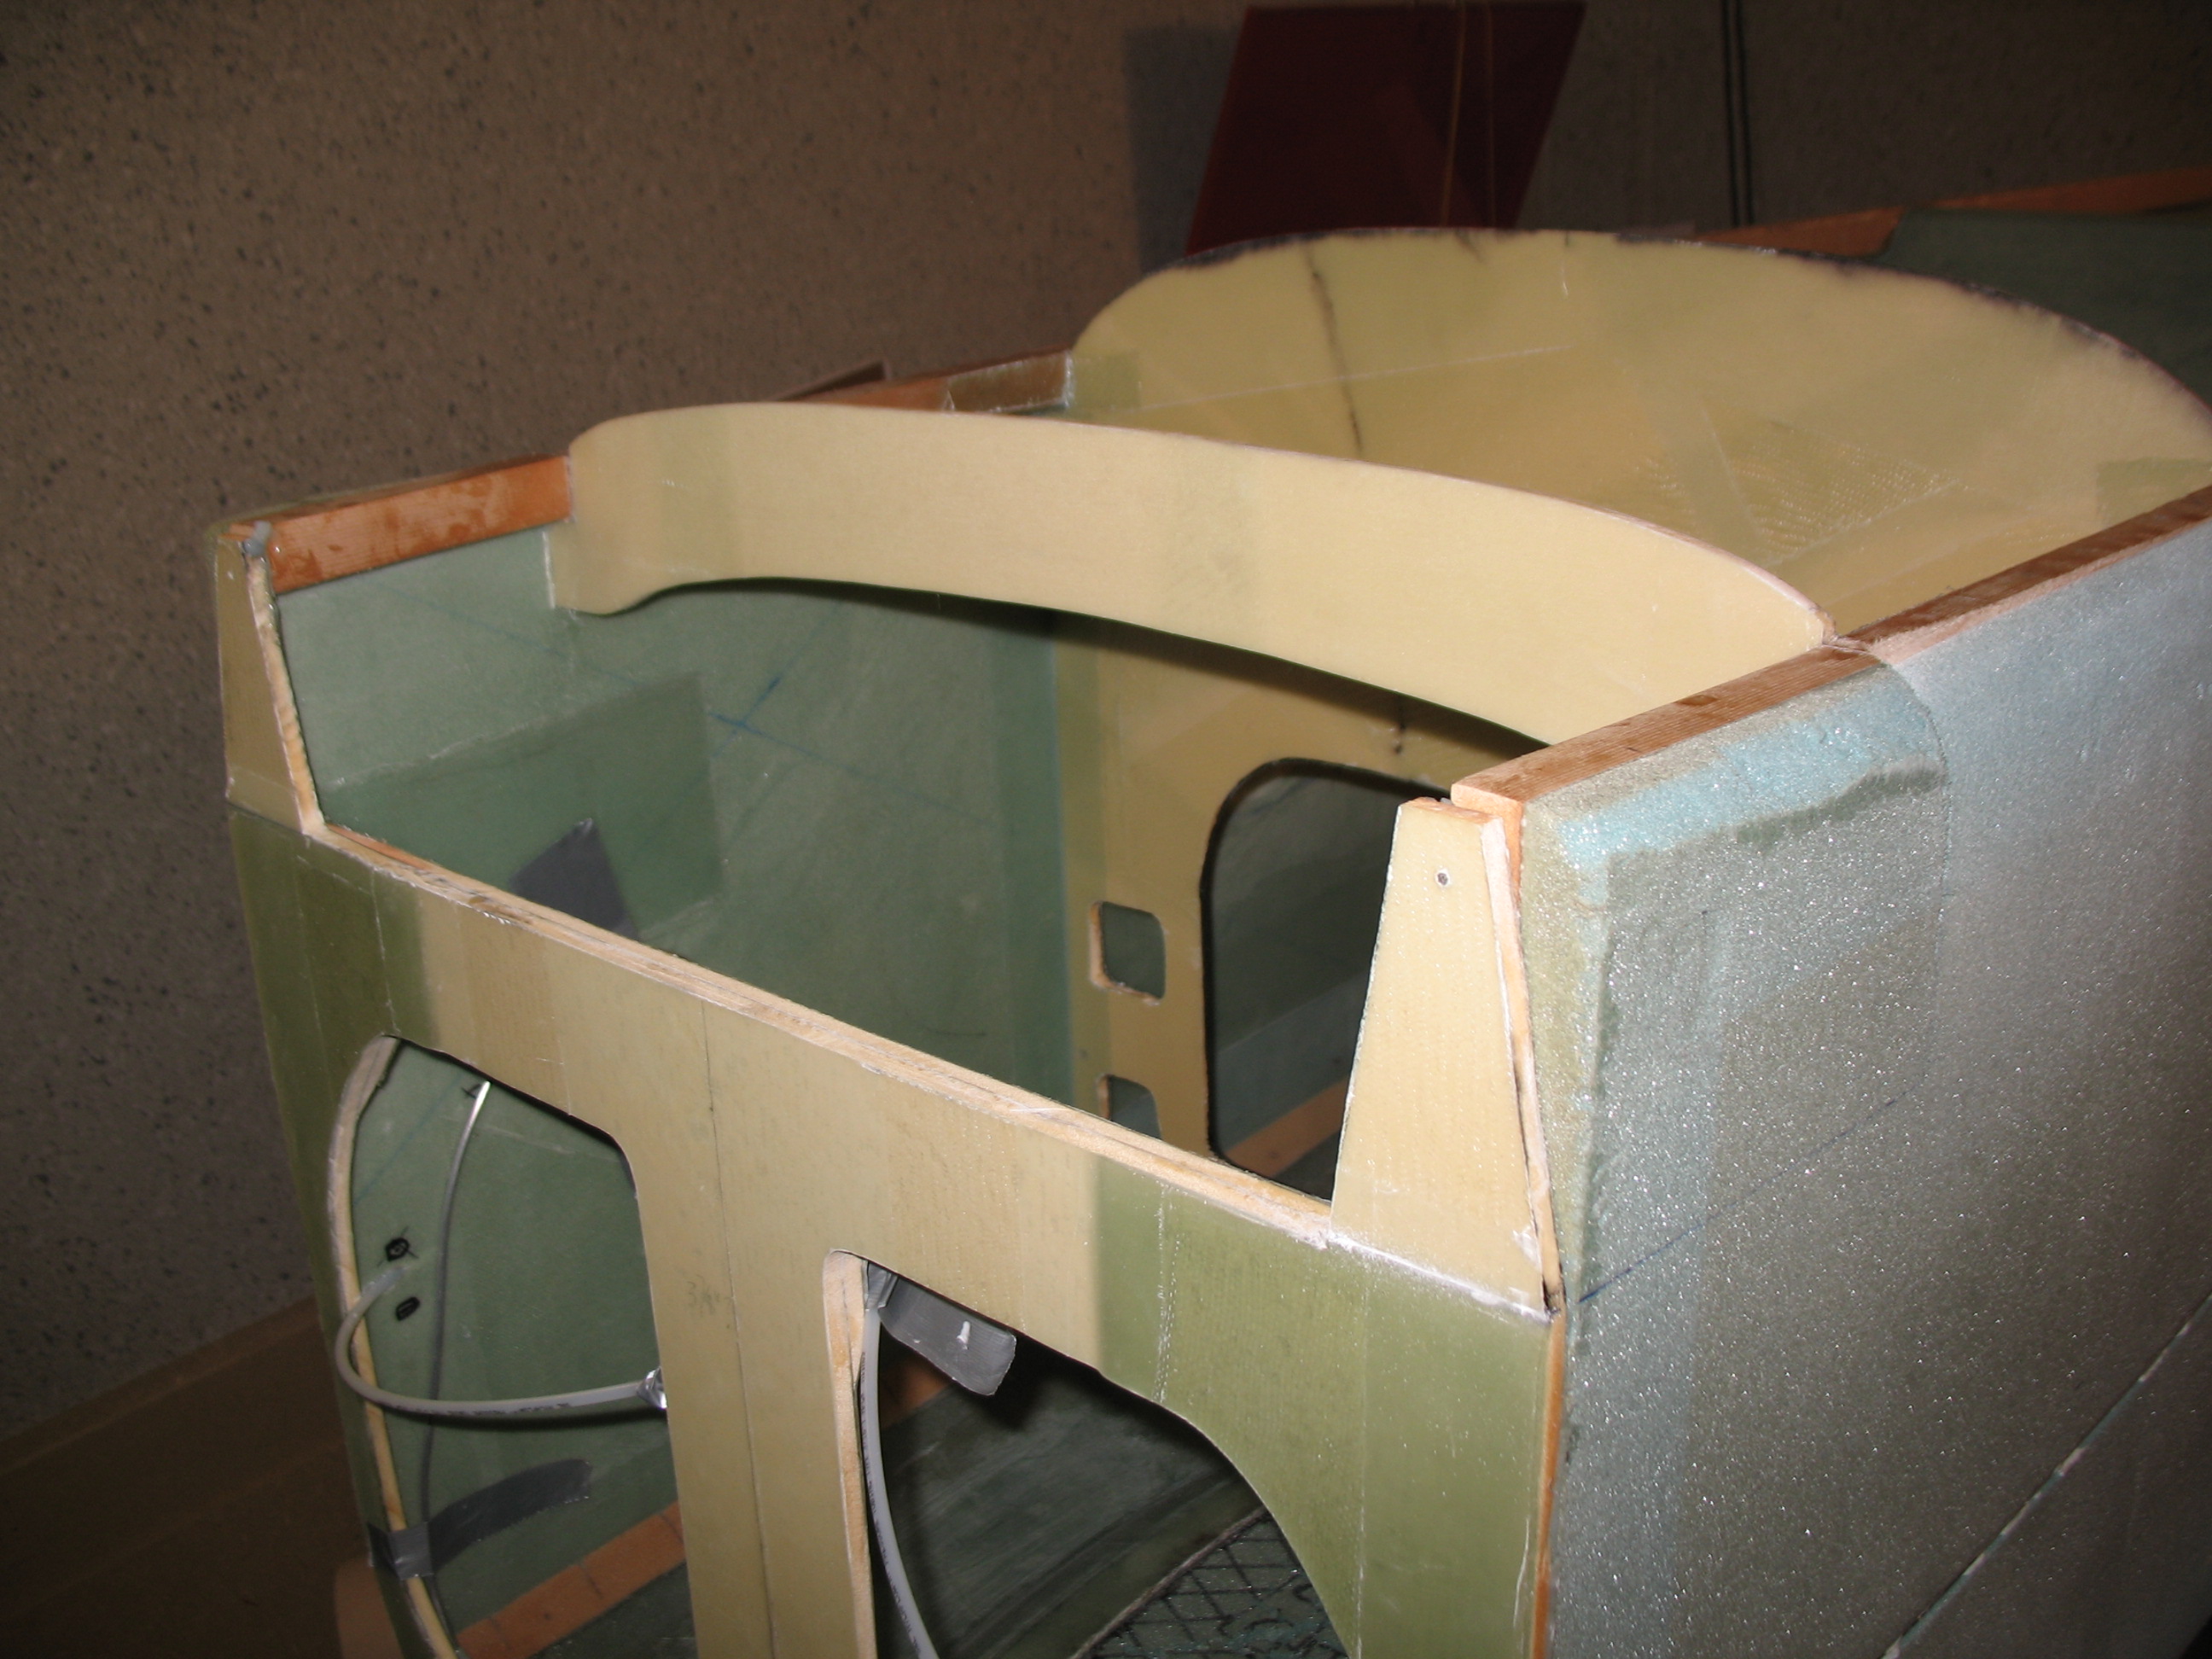
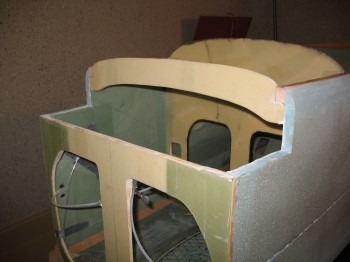
Lastly, with the fuselage upright I had the opportunity to take a good look (and some pics) at the seatbelt mounts on the inside of the fuselage. . . let me say: “those dogs will hunt!”