
Today I have at least one more controversial mod to make. I’ve been discussing these with a number of people, so here goes.
First, I’m planning on running my brake lines down the outside of the fuselage, imbedded just under the skin, like I did my rudder cable conduits. The only difference is that the brake lines would A) run along the bottom of the fuselage, one on each side of the landing brake, and B) be encased in Nylaflow for their entire journey through the length of the fuselage. Since I’m running 1/8″ aluminum brake lines, the ability to withstand pressure is high and I have a security blanket, almost literally, with the Nylaflow. [Note: I was originally going to go with Dick Rutan’s idea of stainless steel: but too hard to bend & also just found out the wall thickness is too great—so it won’t allow enough brake fluid to travel back & forth enough to recharge the brakes].
I’ve traced this out, and reviewed the mechanical layout a dozen times, as well as assessed the pros & cons, and I like the idea a lot. It means by the time I’m done skinning the outside of the fuselage, I’ll have both my rudder cable conduit and my brake lines “pre-run” cleanly without having to get into the inner bowels of the fuselage. Plus, I’ll essentially have one long brake line run on each side from the rudder/brake pedal (Point A) to the brake assembly (Point B) with no connectors in between (unless I choose to).
From my Bomb Squad days I like to worse-case-scenario things. I think any brake fluid leaks will be mitigated greatly in this dual-layered system. If something does go wrong, then the answer to peoples’ “what about maintenance?” question means that worse case I would snip the end of each line and run the brake lines per plans inside the cockpit and suffer a small weight penalty. In fact, my first act today was planning out & drawing the runs for the brake lines. Ok, enough on internal brake lines.
The next mod is a result of one of those head-scratching moments all of us builders have reading the plans. I didn’t understand why we skin the fuselage, and then turn around and drill holes through the skin to mount the seatbelt brackets. I read, looked at the diagrams, reread the plans and it just didn’t seem right to me. I Googled it, and then hit the blogs and the phones. I talked to my building mentor, Dale Martin, and others and still didn’t have a good feel for why the build sequence between the seatbelt bracket mounting and skinning seemed reversed (for the record, Dale suggested I follow the plans).
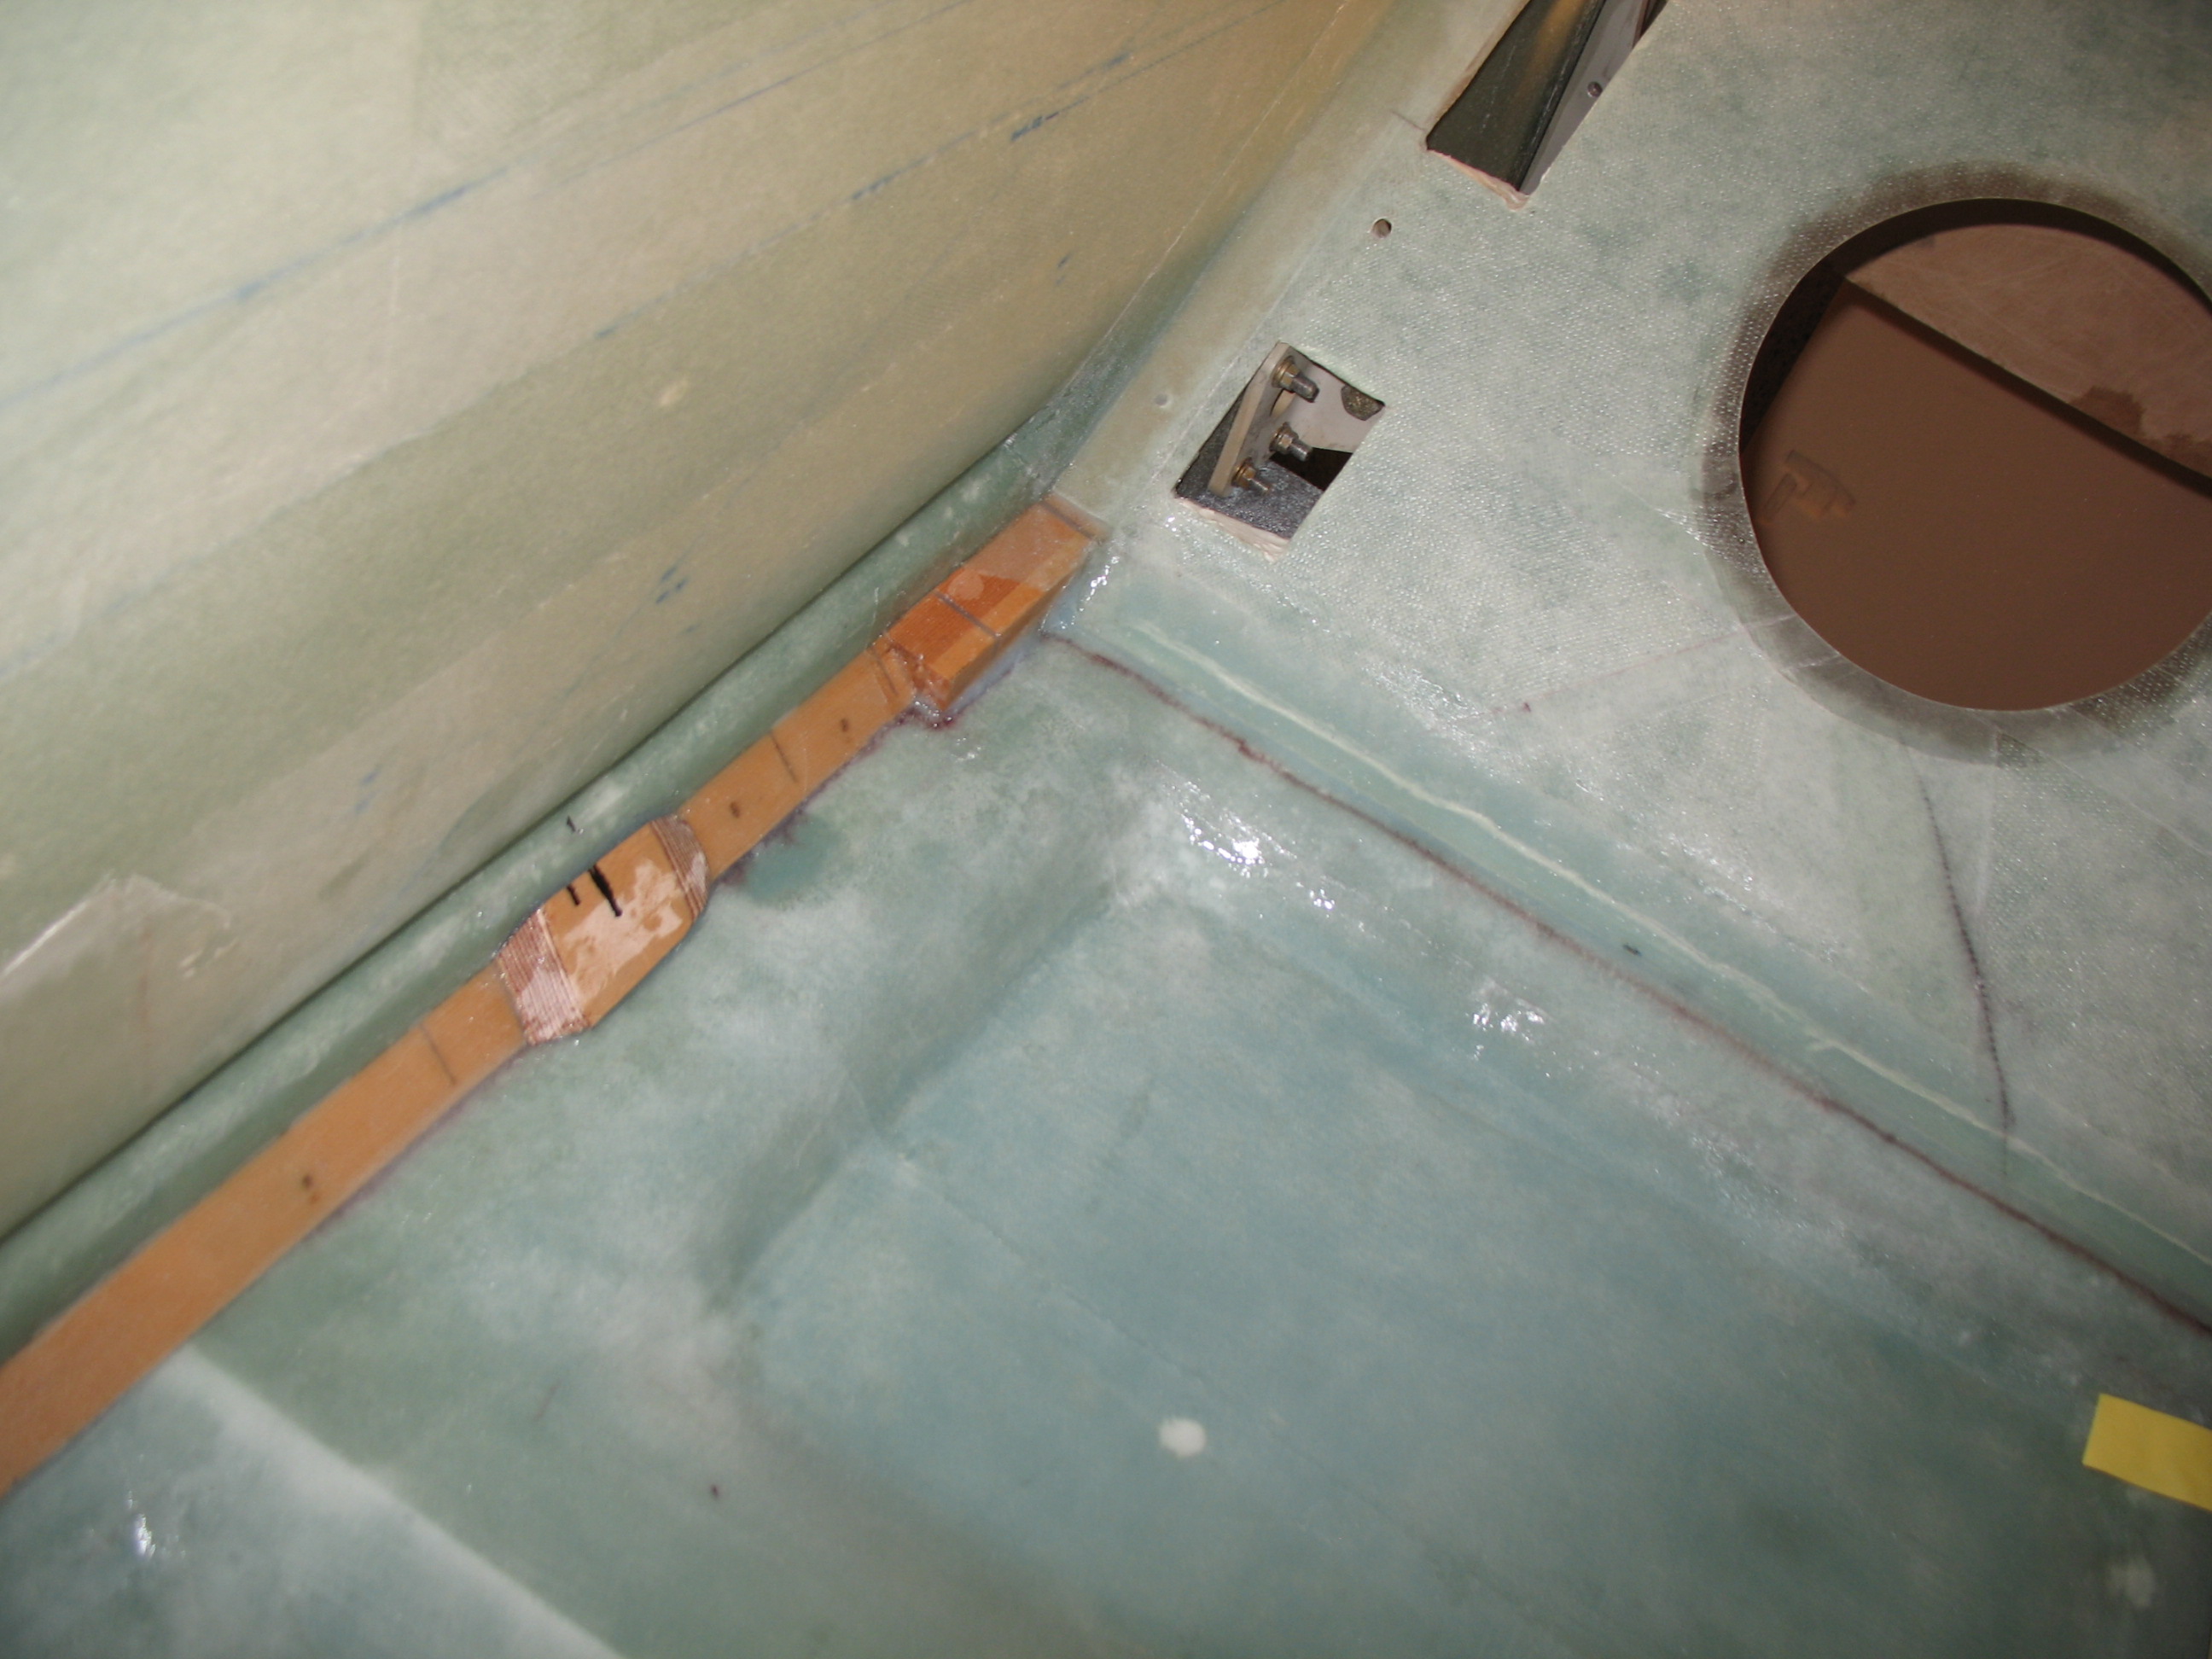
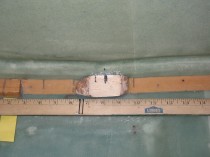
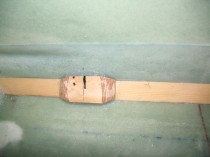
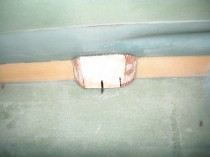
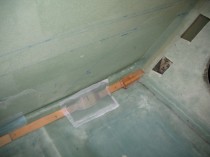
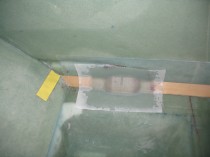
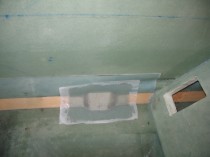
I finally made a command decision. Not wanting to drill through perfectly good glassed fuselage skin, I decided to mount my seatbelt brackets before I glassed the fuselage. Thus, below you will see exactly that: the start of my seatbelt mounting.
First, I finished cutting & sanding the 1/4″ plywood seatbelt hard points and then mocked them up for install. They looked good so I floxed them in place. I then wetted out the 7-ply BID “Poor Man’s” pre-preg setups that I had made up the night before, and then respectively glassed in the 4 seatbelt hardpoints with 7 plies of BID on each one. I then covered these 7-ply layups with peel ply and overlapped it onto the surrounding glass to get a nice, smooth transition. All the layups looked good, so I left them to cure.
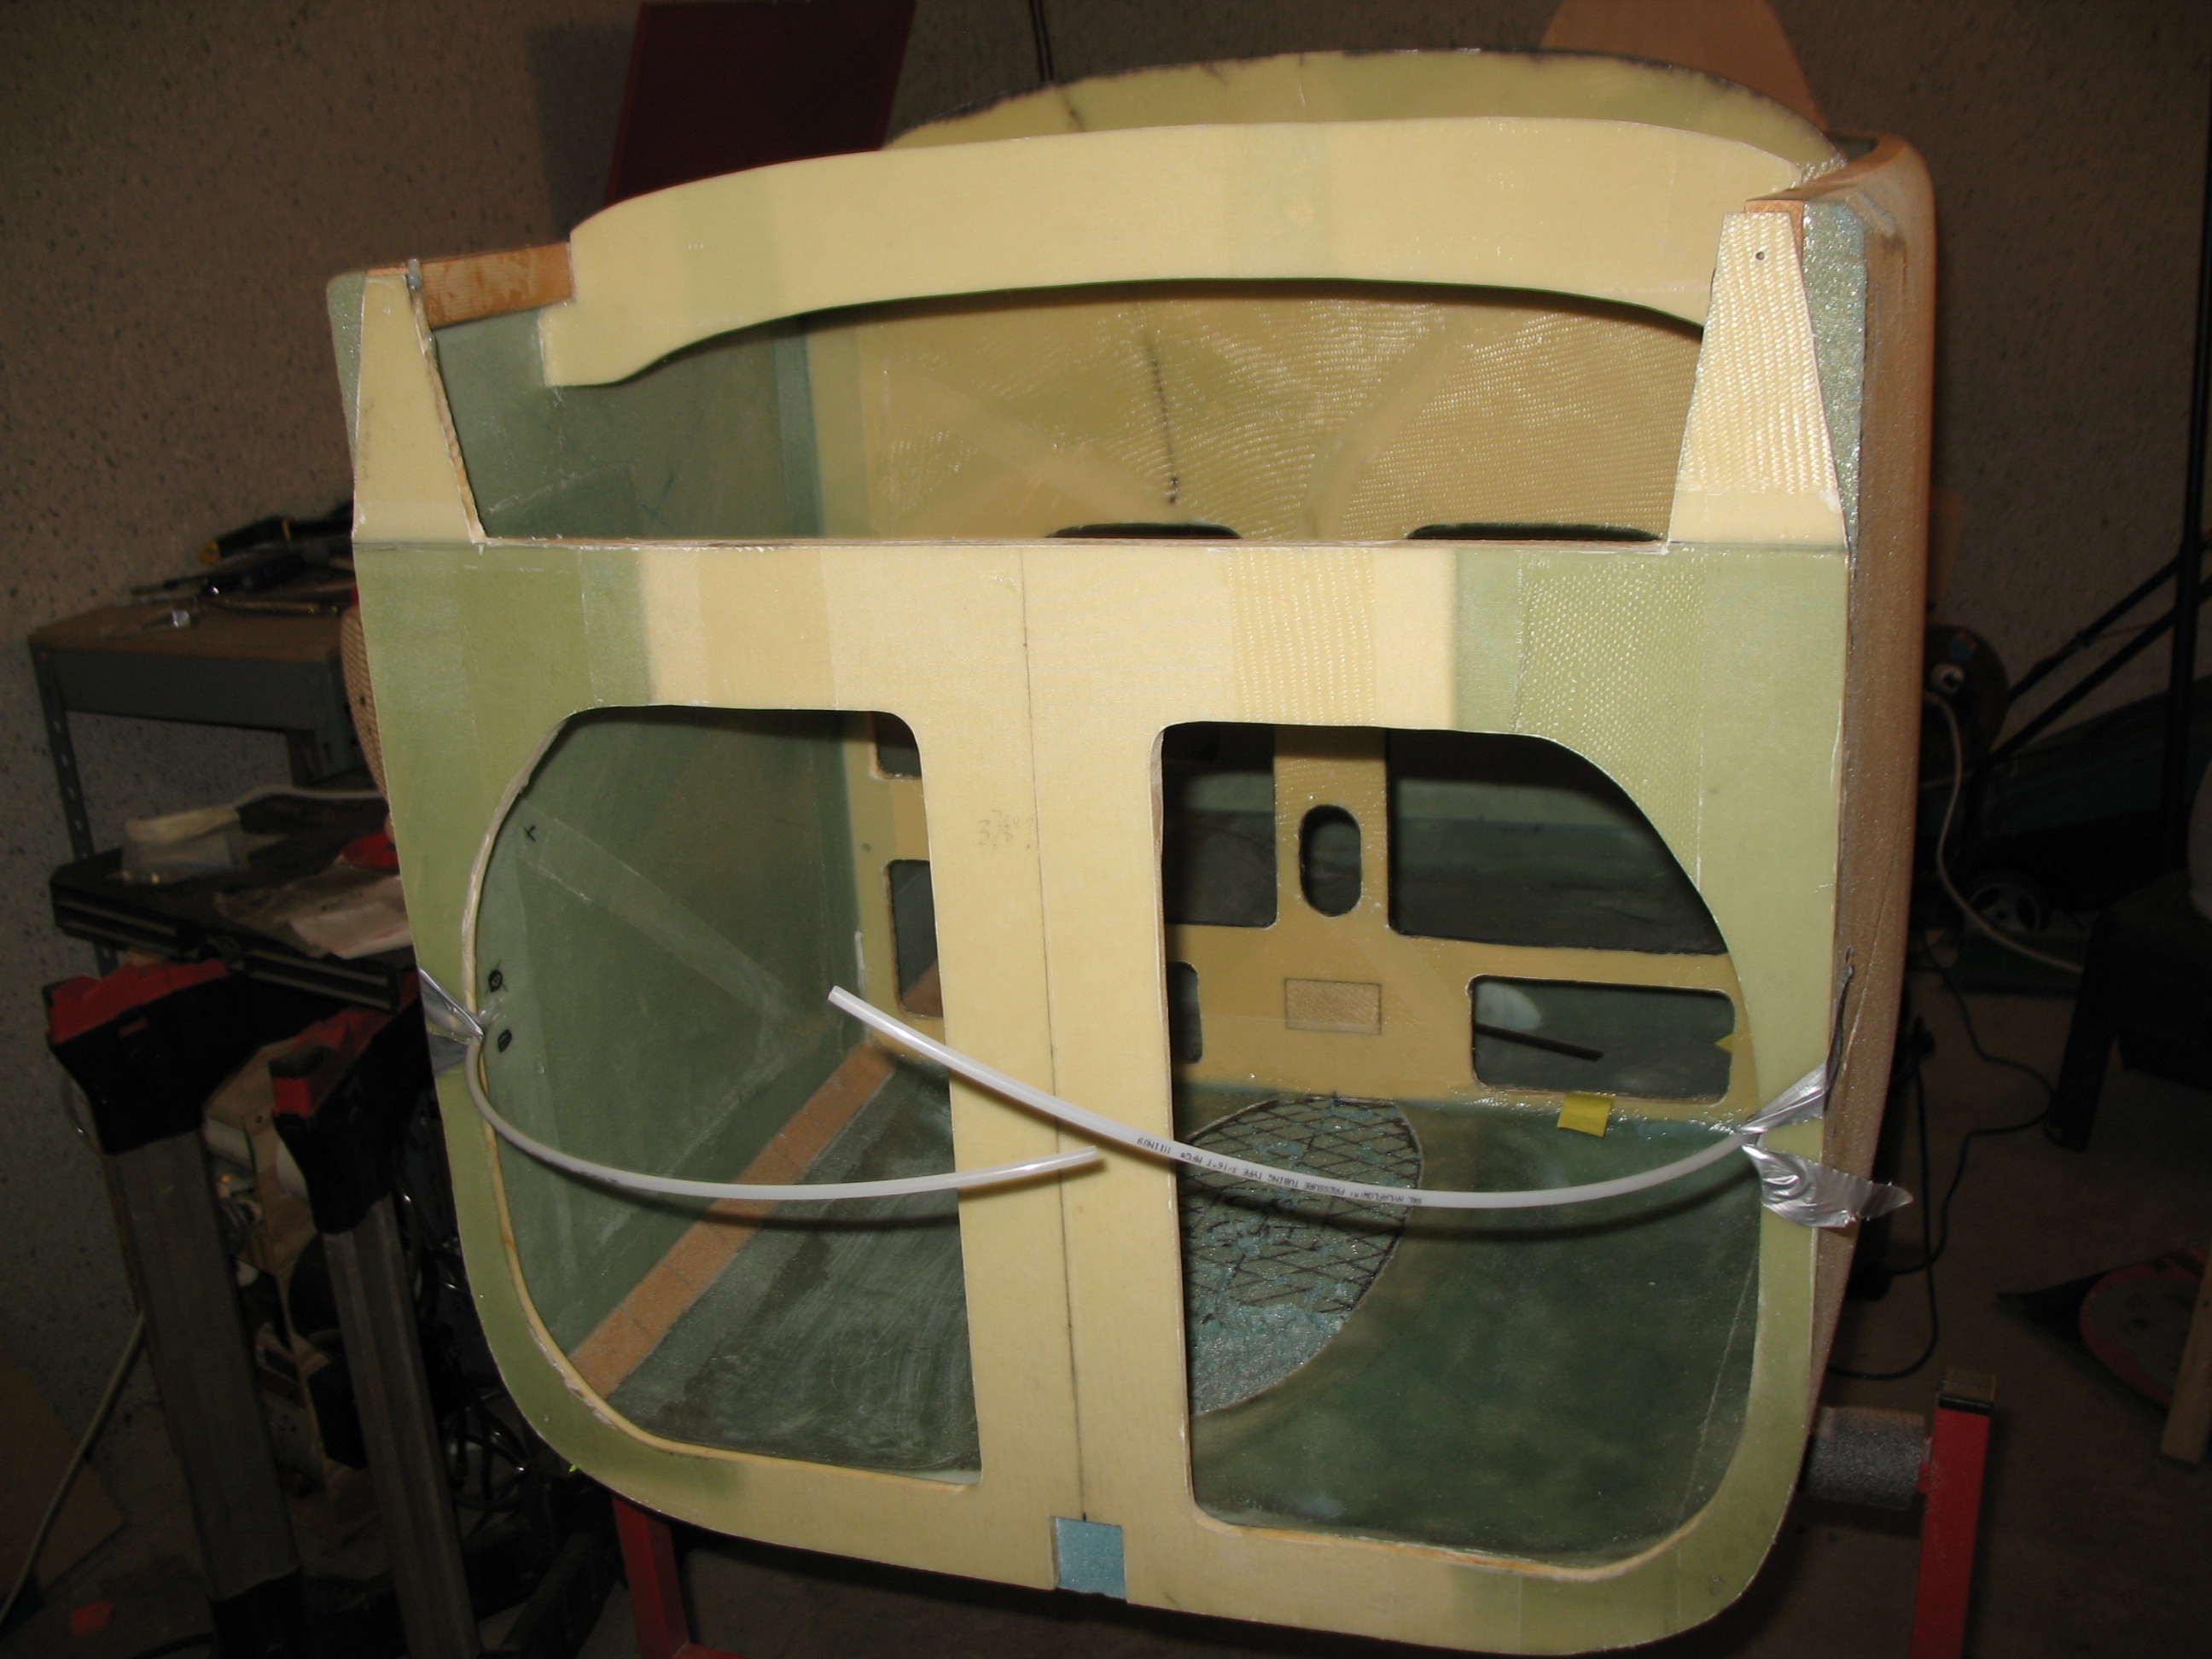
The pic below just shows the front end of the fuselage with the new rudder cable conduits coming out the front. I just gave my fuselage fangs! How cool is that?!
 Finally, to wrap up some of the tasks over the last couple of days: when I attempted to drill the final hole for the fuselage Left-sidewall thread insert, the drill must have just barely caught the soft aluminum, because when I inserted the bolt it caught and I put just enough force on it to strip it out. So I drilled it out, will reinsert another one, and will redouble my efforts to be more vigilant and careful!