After days of seemingly micro steps (pardon the pun), I finally feel like I got some heavy lifting done on the seat back assembly. I could have actually done this layup last night, but it was too late and I was too tired. So this morning I was able to jump right in and get started.
My first order of business was scrounging for BID for the seat back shelf to existing seat back layup. The plan is to use a 4″ wide 2-ply BID layup under the front part of the seat back shelf since that’s all the support glass that the front of the seat top will get. The aft side of the seat will only get 1-ply of 2″ wide BID since I’ll be adding 2 more plies of BID on top of the rear BID tape in the final layup of the seat back shelf.
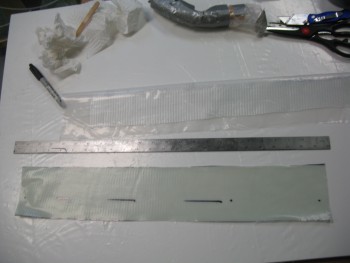
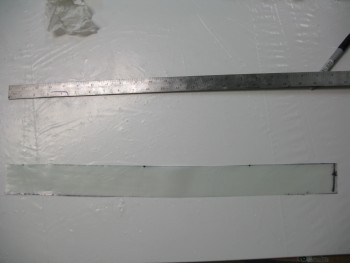
Below is the 4″ wide 2-ply BID that I wetted out for attaching the front & underside of the seat back shelf to the existing seat back. Since this is the only layup going in here, I won’t be peel plying it.
I slathered up the foam on the seat back shelf assembly with micro. I then filled the spike holes with flox.
And then did the same on the foam for the existing seat back.
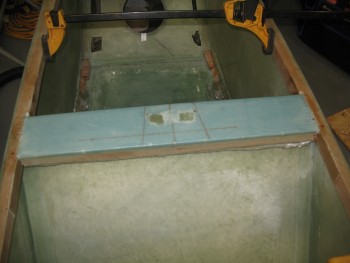
I laid up the 4″ wide 2 ply BID tape on the front side to attach the 2 seat parts. The top side was overlapped with about 1-1/2″ of the 4″ inches, while the bottom existing seat back get the rest of the BID tape (about 2-1/2″).
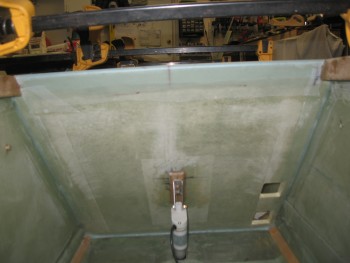
I then wet out the 2″ wide 1-ply BID in a pre-preg setup for the layup on the aft side of the seat.
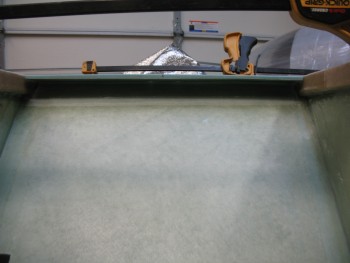
Although hard to see, below shows the seat front side layup. I peel plied just the bottom edge with 1″ peel ply tape to keep the edge transition smooth and fiberglass barb free!
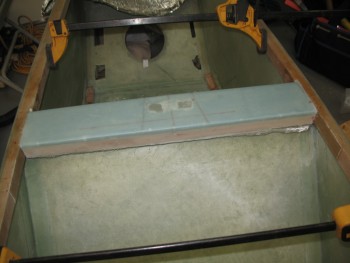
And here’s the aft seat layup. Since there will be more BID added to the aft side of the seat, I peel plied this layup.
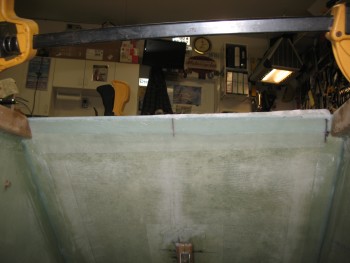
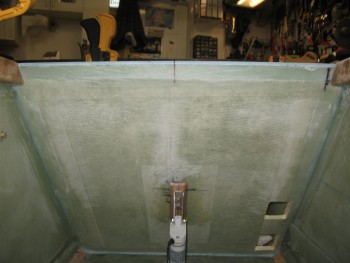
To keep the top edge of the front part of the shelf straight, I pressed the rollover cross bar into service and taped the edge to this rectangular metal piece.

While the seat back was curing, I Alodined the 2 small 1/8″ thick 2024 aluminum plates that I used to house the nutplates after I riveted them into the aluminum pieces.
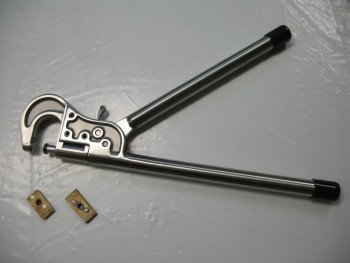
Here’s a closeup of the nutplate assemblies that will be used to secure the middle screw on the roll bar assembly side rails.
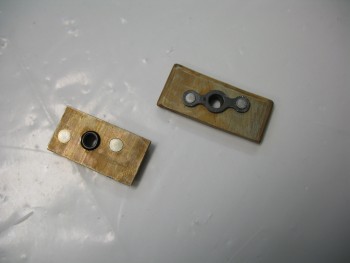 You’ll note that one nutplate assembly is shorter than the other. That’s because I was trying to shape these assemblies in order to make them fit under the longerons before I realized that I needed to go another route (aka “Plan B”).
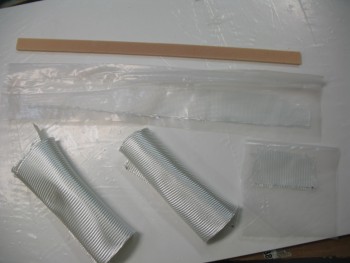
I started prepping for the next couple of layups by cutting the glass & plastic for the pre-preg setups for the BID required to cover the nutplate assemblies on the seat back shelf, and the 2″ wide 1-ply BID tape that I’ll use to glass the 1″ foam strip under the front lip of the seat back shelf. Finally, I had to actually pull some BID off the roll and use my glass cutting table to get the 2 pieces required for the seat back shelf top layup (the rolled up glass below).
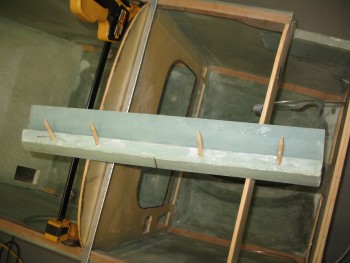
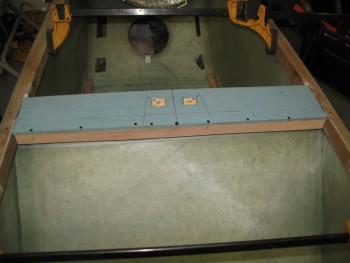
I used thin screws and fast hardener to attach the 1″ yellow foam piece to the front lip of the seat back shelf. The yellow foam piece will be the back “wall” of the notch in the seat back assembly that the 4130 steel roll over crossbar will be resting in. The 2″ wide 1-ply BID tape was laid up on the aft side of this yellow foam piece and with the bottom side of the adjoining seat back shelf.
Here’s a quick shot of the peel plied pulled from the aft seat layup, and then a fairly robust sanding I gave it to smooth out some of the rough edges between the 2 seat pieces.
Being a cheapskate, the flox from the first layup was still good so I used it to mount the nutplate assemblies into the top of the seat back shelf and also to fill the holes leftover from the screws I had just removed.
By using the fast hardener and setting heat on the 1″ foam lip layup, it cured in no time flat.

I started the layup on the top side of the seat back shelf by working the pre-preg for the BID inserts that go over top of the wood nutplate assemblies. Of course these make up the rear bolt hardpoints for the headrest.
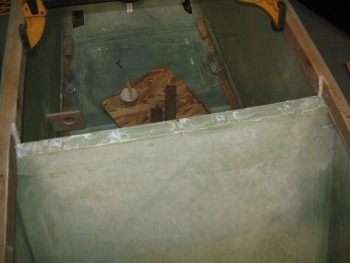
After I got the 12-plies of BID situated as neatly as possible in each of the nutplate cutouts, I micro’d all the foam faces to prep for the upcoming 2-ply BID layup (shown below after I peel plied it).
Here’s the main layup shown from the aft view. Also peel plied.
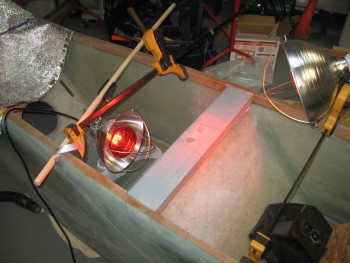
 I bought some heat laps quite a while ago in preparation for building my fuel tanks, so I decided to see how they work here & see if they’ll give the layup a boost in its cure time!