
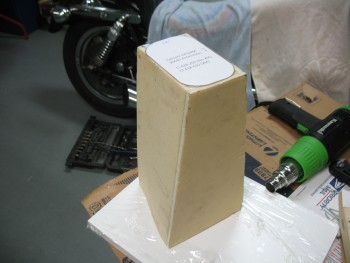
Today I took all the clamps off the cured headrest box. I will state for the record that building a complex shaped box without the use of jigs may have quelled my inner artist, but it didn’t make for a perfectly shaped box. Not bad, but the sweep (or swoosh!) on one side of the box from the front corner is slightly different than the other side. A symptom of having glassed the front face to the rear part of the box one corner at a time.
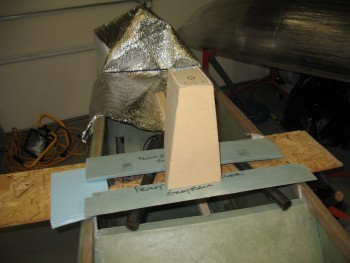
Anyway, I tweaked it with a myriad of clamps and will work on it just a bit more to massage the shape. Regardless, here’s a couple shots of the completed headrest box structure. Note that the top shelf insert for the GPS puck is just wedged into place and not glassed yet. I will need to insert some small hard-points for the GPS puck screws to be fastened to. In fact, in the second pic you can see the markups I did for the puck screw points & cable access hole.
A couple of days ago I showed a pic of my glassing the foam for the GPS puck shelf and the headrest base, which I shaped to size below.
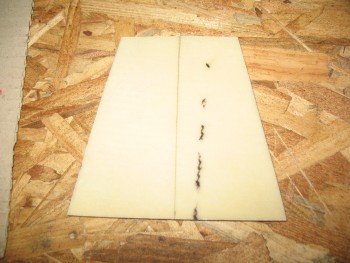
This headrest base–made of 1/4″ foam–would prove to a trooper that fought valiantly to stay in the game, but alas, it succumbed to the intense heat of my heat gun and warped as I was bending the headrest tower to my will. As I hunted around for some more material, I ran across a scrap piece of 3/8″ Divinycell foam that was already glassed on one side.
Moreover, since I had ginned up a base mock-up out of OBS flooring board, I was already in the frame of mind for something just a tad thicker and robust than the 1/4″ foam base. After playing around with the shape for about half an hour, I transferred the actual wood base mock-up outline to the 3/8″ foam.
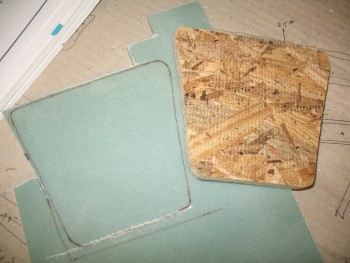
I then cut out some small square hard-points out of the Finnish Birch 1/4″ plywood that is used for the firewall, etc, after I decided where my headrest attach bolts will go.
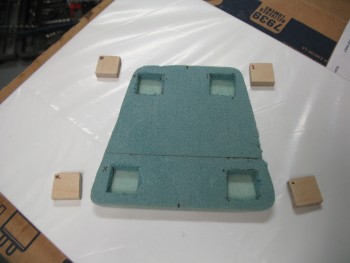
I floxed the plywood hardpoints into the holes that I made in the headrest base, and then covered each piece of plywood with about 12 plies of BID to fill up the remaining 1/8″ of space so that the hardpoints would be even with the face of the foam. I then laid up 1 ply of BID over the entire piece of foam & peel plied it.
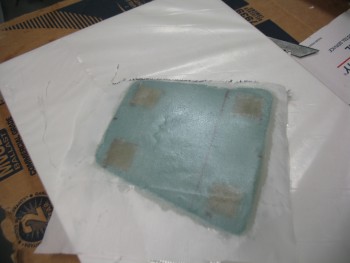
I set the headrest base aside to cure overnight and called it a day.
I guess here would be a good point to digress & explain why I have bolt hard-points in the base of my headrest. It all stems from the design of my 4130 steel rollover assembly, or simply the roll bar. Since the main roll bar wraps around the back of the headrest tower, AND the front 1-3/4″ of the headrest tower actually sits on the rollover crossbar, there’s no way to hard glass the headrest to the base of the pilot’s seat and still have the rollbar removable (which is a design feature I would prefer to have)… since they’re interconnected. A bolt-on headrest also allows for much easier future mods (if I decide to make any). Or I can replace the whole thing with a super swank version later on if I so choose!