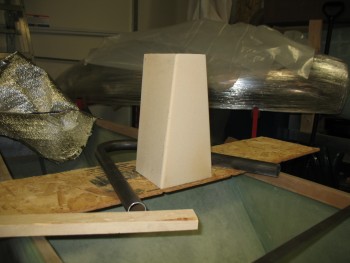
Today I focused on tweaking the shape of the headrest tower to get it as close to symmetrical as possible. Because of the design, it’d actually be somewhat difficult to see my slightly lopsided headrest assembly. Nonetheless, I still wanted to get everything as balanced as I could. I spent about an hour sanding the tower and was pretty darn happy with how the symmetry came out.
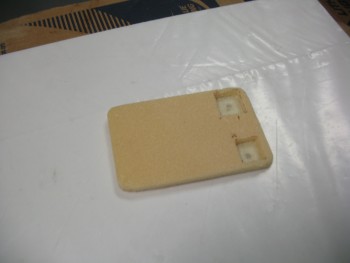
 With the shape locked in, I worked on the GPS antenna puck shelf to install the hard-points that will keep the GPS antenna nice and secure. As you can see in the picture below, I had 2 pieces of 1/4″ plywood marked off and cut the first one no problem, but when I cut the second one, it flew off into the bowels of the garage, not to be found no matter how much cussing and moving things around ensued. Thus, I grabbed the next piece of plywood available, which was slightly smaller than the other one. In my mind, here’s where NOT sweating the small stuff comes into play. Thus, to save time, material and frustration, I simply embedded different sized–albeit capable–pieces of plywood for the hard-points. I’m sure stuff like this drives the OCD’ers crazy, but that’s why I revel in not being OCD!
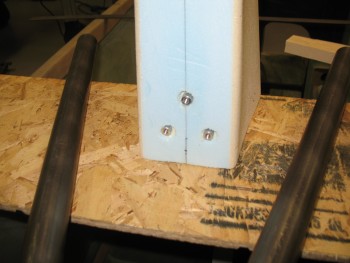
My next task of the evening was to embed 3 threaded aluminum bungs into the back of the headrest to attach a RAM ball mount for the GIB. I climbed into the back seat to get a good idea of what level the RAM ball mount should be attached. Once I had that info in hand, I set about setting up the RAM mount to install the threaded aluminum bungs.
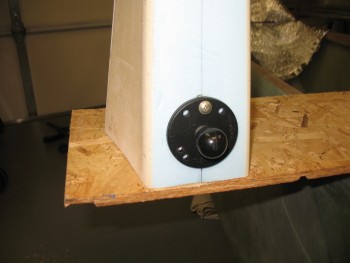
I started by cutting the 1 inch long aluminum threaded inserts (ala the Cozy Girrrls) in half since the foam is not thick enough to allow for the full length of a standard insert (aka “bung”). After cutting them, I prepped the RAM ball mount by wrapping it with packing tape. Once protected from the flox I would be using to hold the threaded aluminum inserts, I made 3 holes into the foam down to the opposite-side glass. I then screwed the bungs to the RAM ball mount securely. After mixing up some flox, I poured it into the 3 holes about halfway, then I embedded the 3 bungs attached to the RAM ball mount into the flox and let cure. Below shows all this post cure.
And with the ball mount placed to show the final spacing.