
After a day away from the project I was ready to jump back into it full bore today. And I did, AFTER I jumped through some hoops to get an Instrument flight lined up with my flight instructor. So after an hour of partial panel flying while wearing the beloved foggles, and a quick early dinner, I finally found some time to get some glassing done.
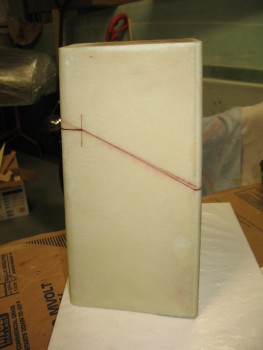
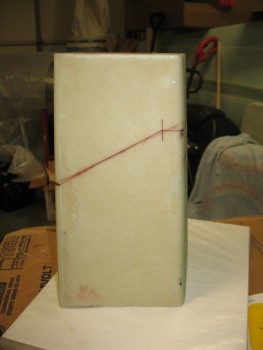
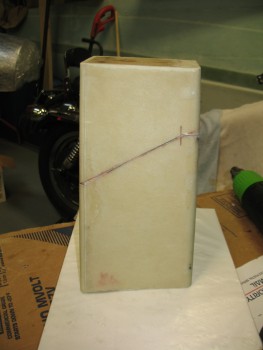
My goal for the evening was to embed the hinge halves into the top & bottom of the headrest (you’ll see what I mean below) along with the associated 1/4″ plywood hardpoints. I had originally drawn the cut lines on the side of the headrest as simply straight diagonal lines, but after thinking on it more I realized that both the front & rear faces would need to be cut straight. The front required a straight cut for the hinge installment to be optimized and the rear face needed to be cut straight because I want to install some type of lock mechanism onto the back of the headrest to allow me to secure a few small things while away from the aircraft at fly-ins, etc.
Thus, I rewickered my original plan(s) & redrew the cut lines.
 I then got out my trusty Fein saw and went to work.
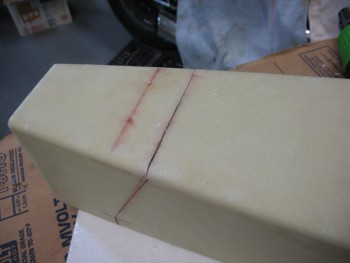
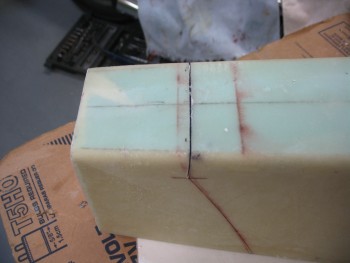 The cuts were a little tougher to make at the corners than I expected due to the micro fillets, making them all just a little bit rougher & less razor-straight as I wanted them to be.
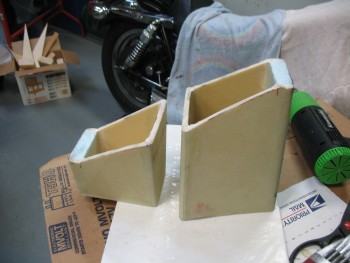
Of course they’re still perfectly workable & the lines looked good when I put the two halves back together.
Again, my goal was to embed the hing halves, but then I realized there was some more pressing, less sexy glassing that needed to get done. Both the top antenna shelf and the bottom base pieces required some micro fillets in the corners and some BID tapes to finalize the installation of these pieces.
As I started prepping the layups for the top antenna piece, I came across another minor issue that I needed to resolve: the location of the rear mounting screws for the GPS antenna falls right on the edge of the inside, rear face of the headrest. Since the rear foam is 0.8 inches thick, it’s in the way of the rear two screws securing the GPS antenna puck to the top antenna shelf. Clearly I needed to remove some glass & foam to give room to the hardware securing the antenna to the headrest assembly. I at least wanted to account for this issue before I glassed up all the inside corners underneath the antenna mounting shelf.
I started by drilling a tiny hole on the top side of the antenna shelf at each hardpoint where the two (2) rear screws would hold the GPS antenna to the shelf. Then I drew a couple of rough outlines for the underside shelf hardware access points.
 I grabbed the drill with an 1/8″ drill bit and made a series of holes along the marks I just made.
I then used my razor knife to cut out the fiberglass outlined by the marks.
Once I cut out the fiberglass wedges, I used the small round Perma-Grit tool to create a “scoop” that would allow access to screw hard points.

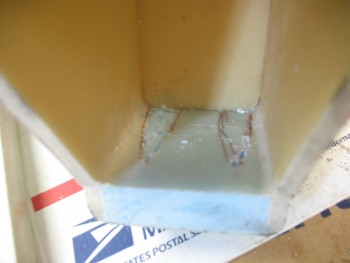
With that out of the way I began glassing the corners of the underside of the antenna shelf. I started by whipping up some thick flox & laying it into the “bottom” (turned upside down) of the screw access point divots that I just created. With very little flox left, I added more epoxy to that cup and dumped in a bunch of micro to use for the corner fillets. Before I started mixing any epoxy, I had selected a good-sized piece of BID and cut out a bit of plastic in order to pre-preg the corner BID tapes.
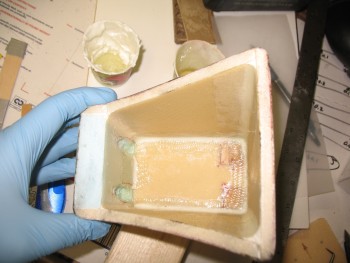
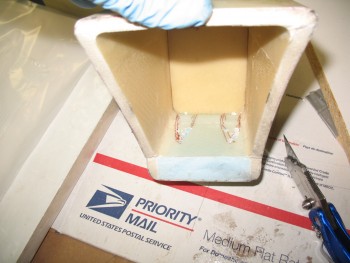
I got the corner micro fillets in, wetted out the 1-ply BID in the pre-preg setup and finished up the layup for the inside front, left & right sides, and the middle corner piece between the 2 new hardpoint divots. I set it aside to cure, which is the picture below a few hours later after I cleaned up the excess glass at the edges of the hardpoint divots.
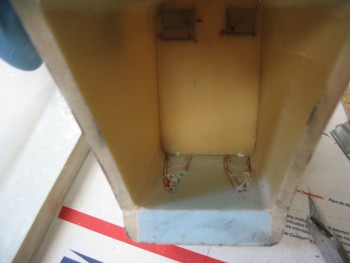
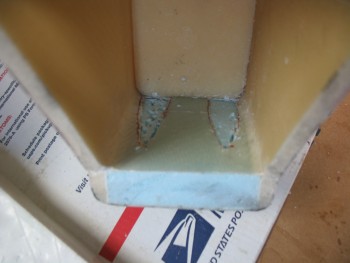
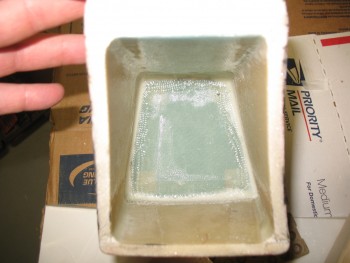
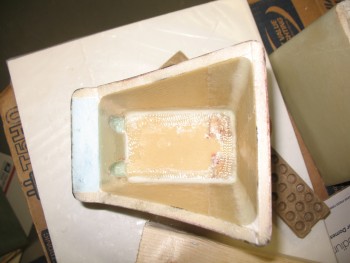 While the antenna shelf corner tapes layup was curing, I essentially did the same thing for the interior side of the headrest base. I whipped up some micro for the corner fillets, and then pre-pregged 1 ply of BID for the corner tapes. Since I had a little more room to work, I cut a 1″ peel ply tape strip in half and peel plied some potential prickly barb areas along the front side tape and the right side tape. The pic below is after it was all cured and the peel ply pulled.
So although I didn’t complete what I set out to, I got the “mundane” stuff out of the way and will work on the hinges next.