Yesterday and today I’ve been pouring over my project to-do lists, plans and tasks in order to get back on track with the build. After spending hours re-covering specific steps in the Long-EZ Plans Chapter 10, the Roncz canard plans, and the Cozy Girrrls instructions on their elevator actuators, I then went back over my notes on finishing the canard with micro, sanding techniques (mainly Wayne Hicks’ methods), etc.
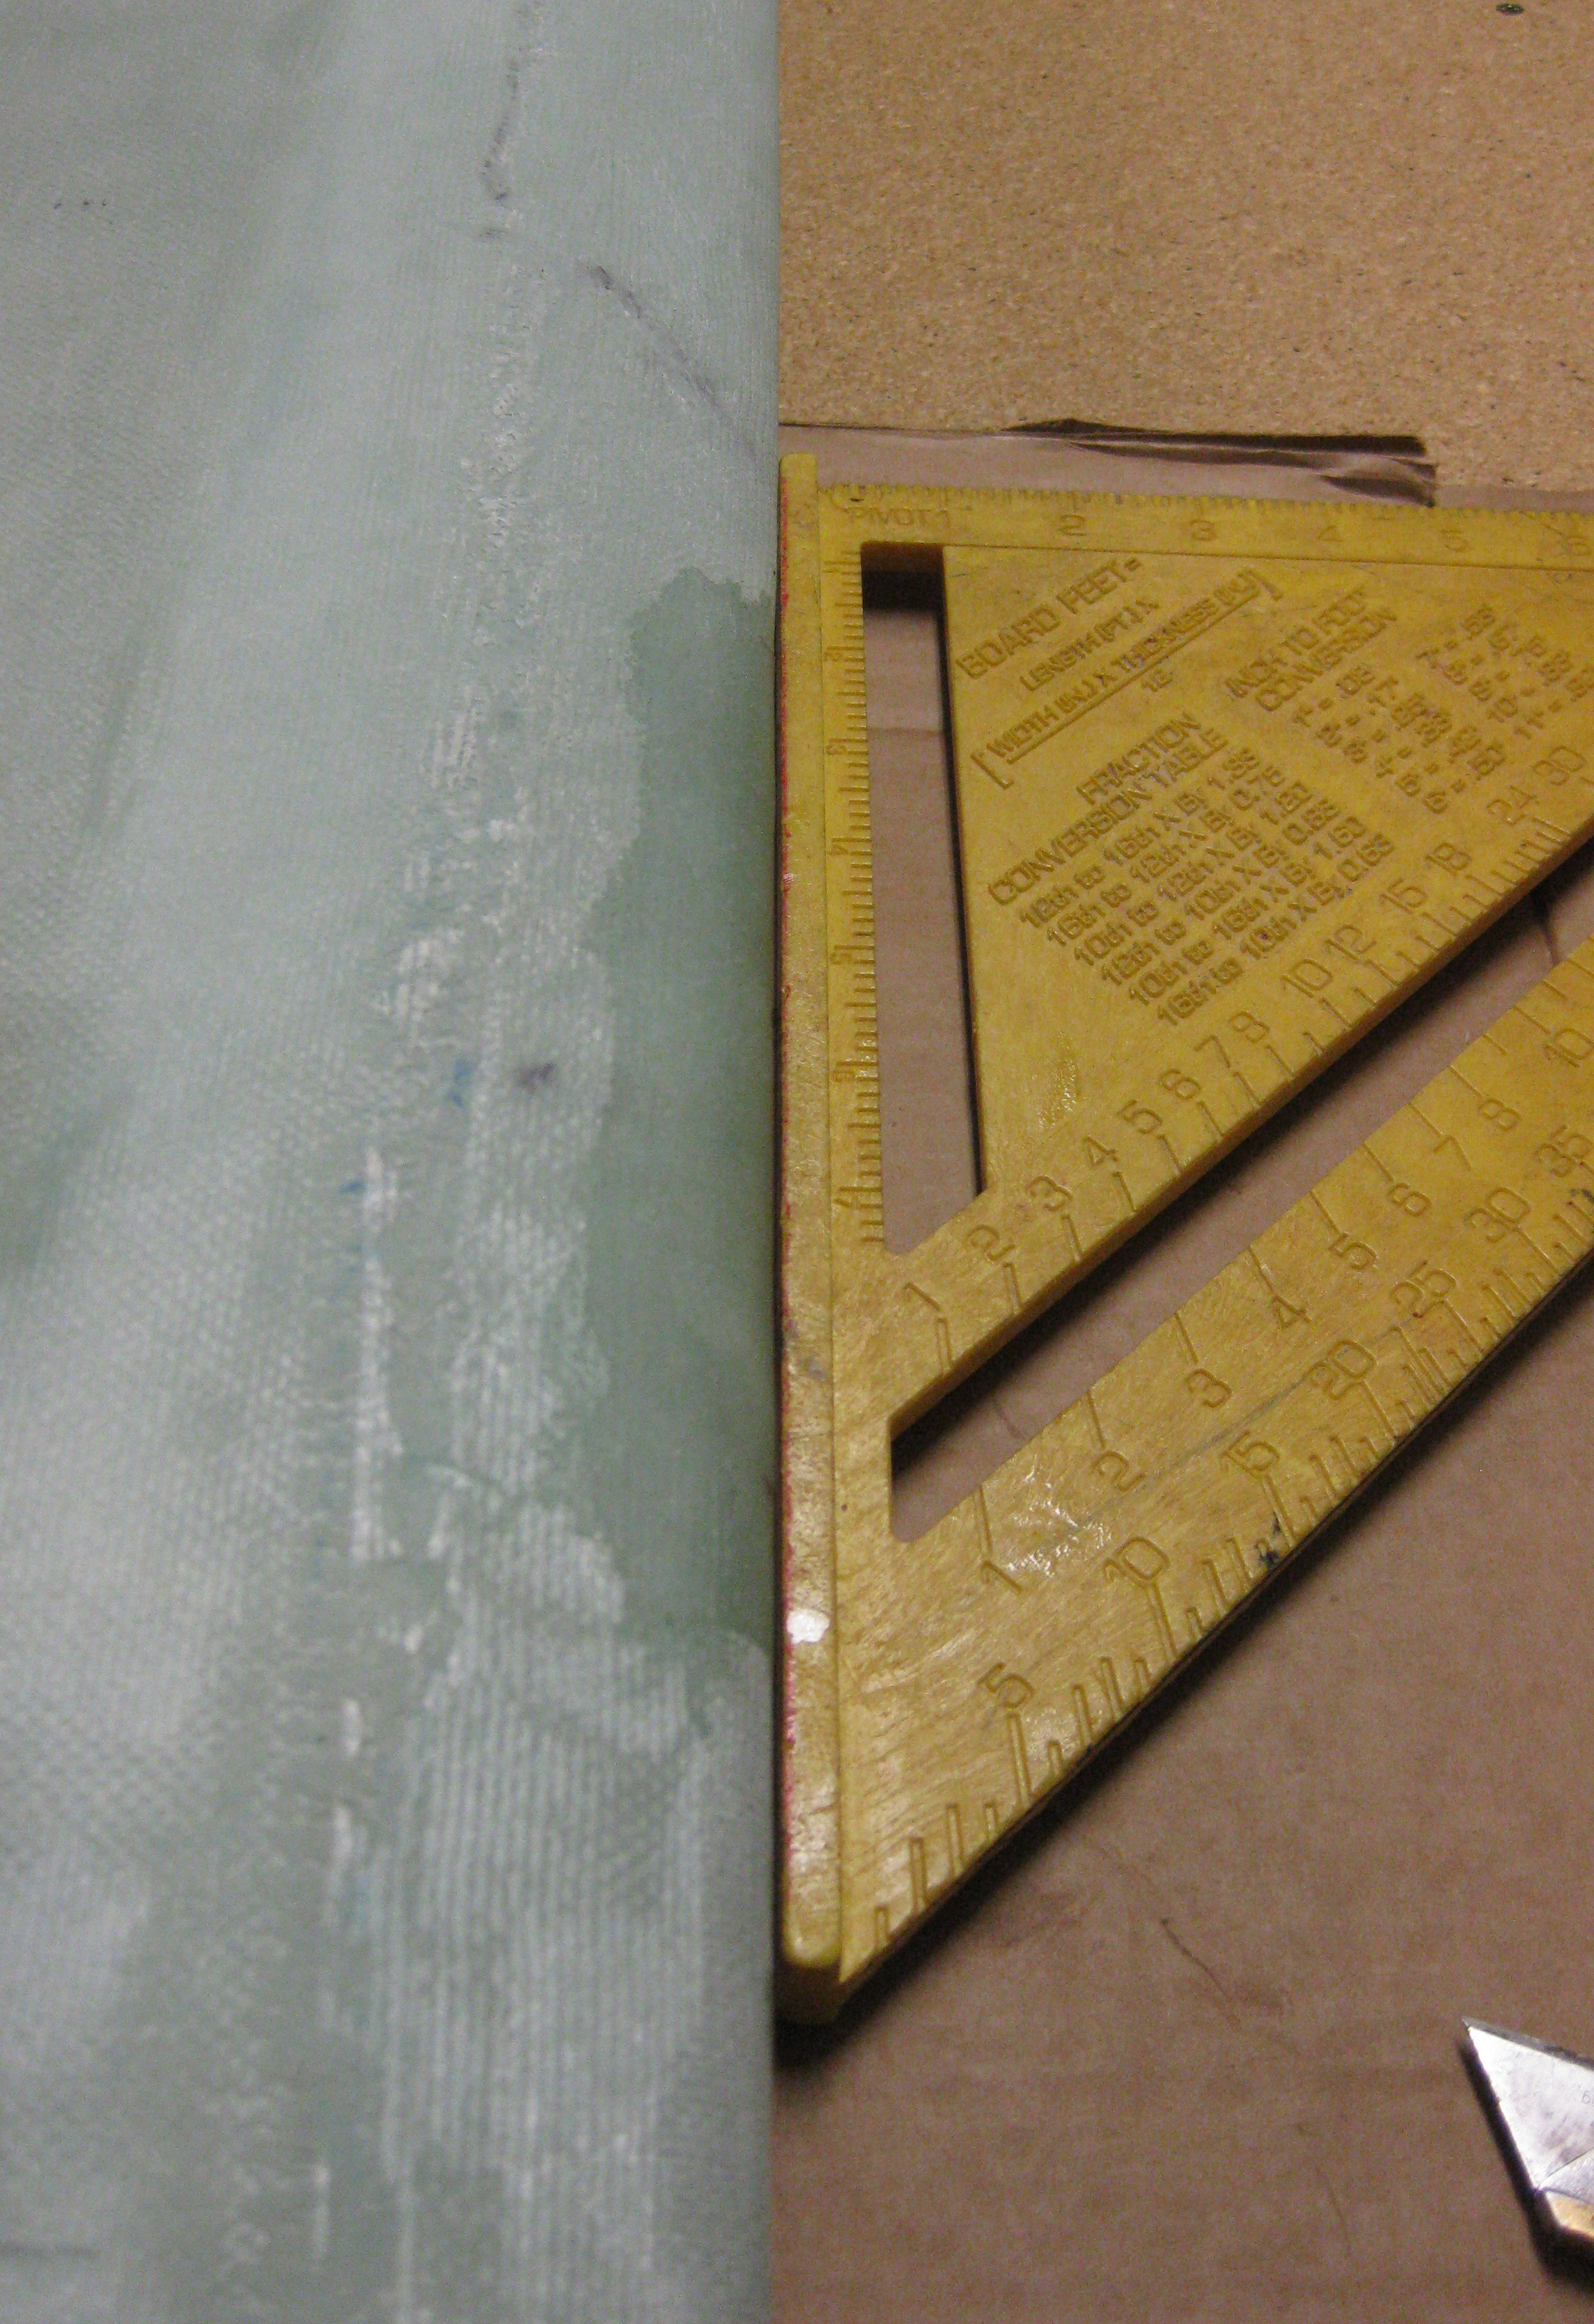
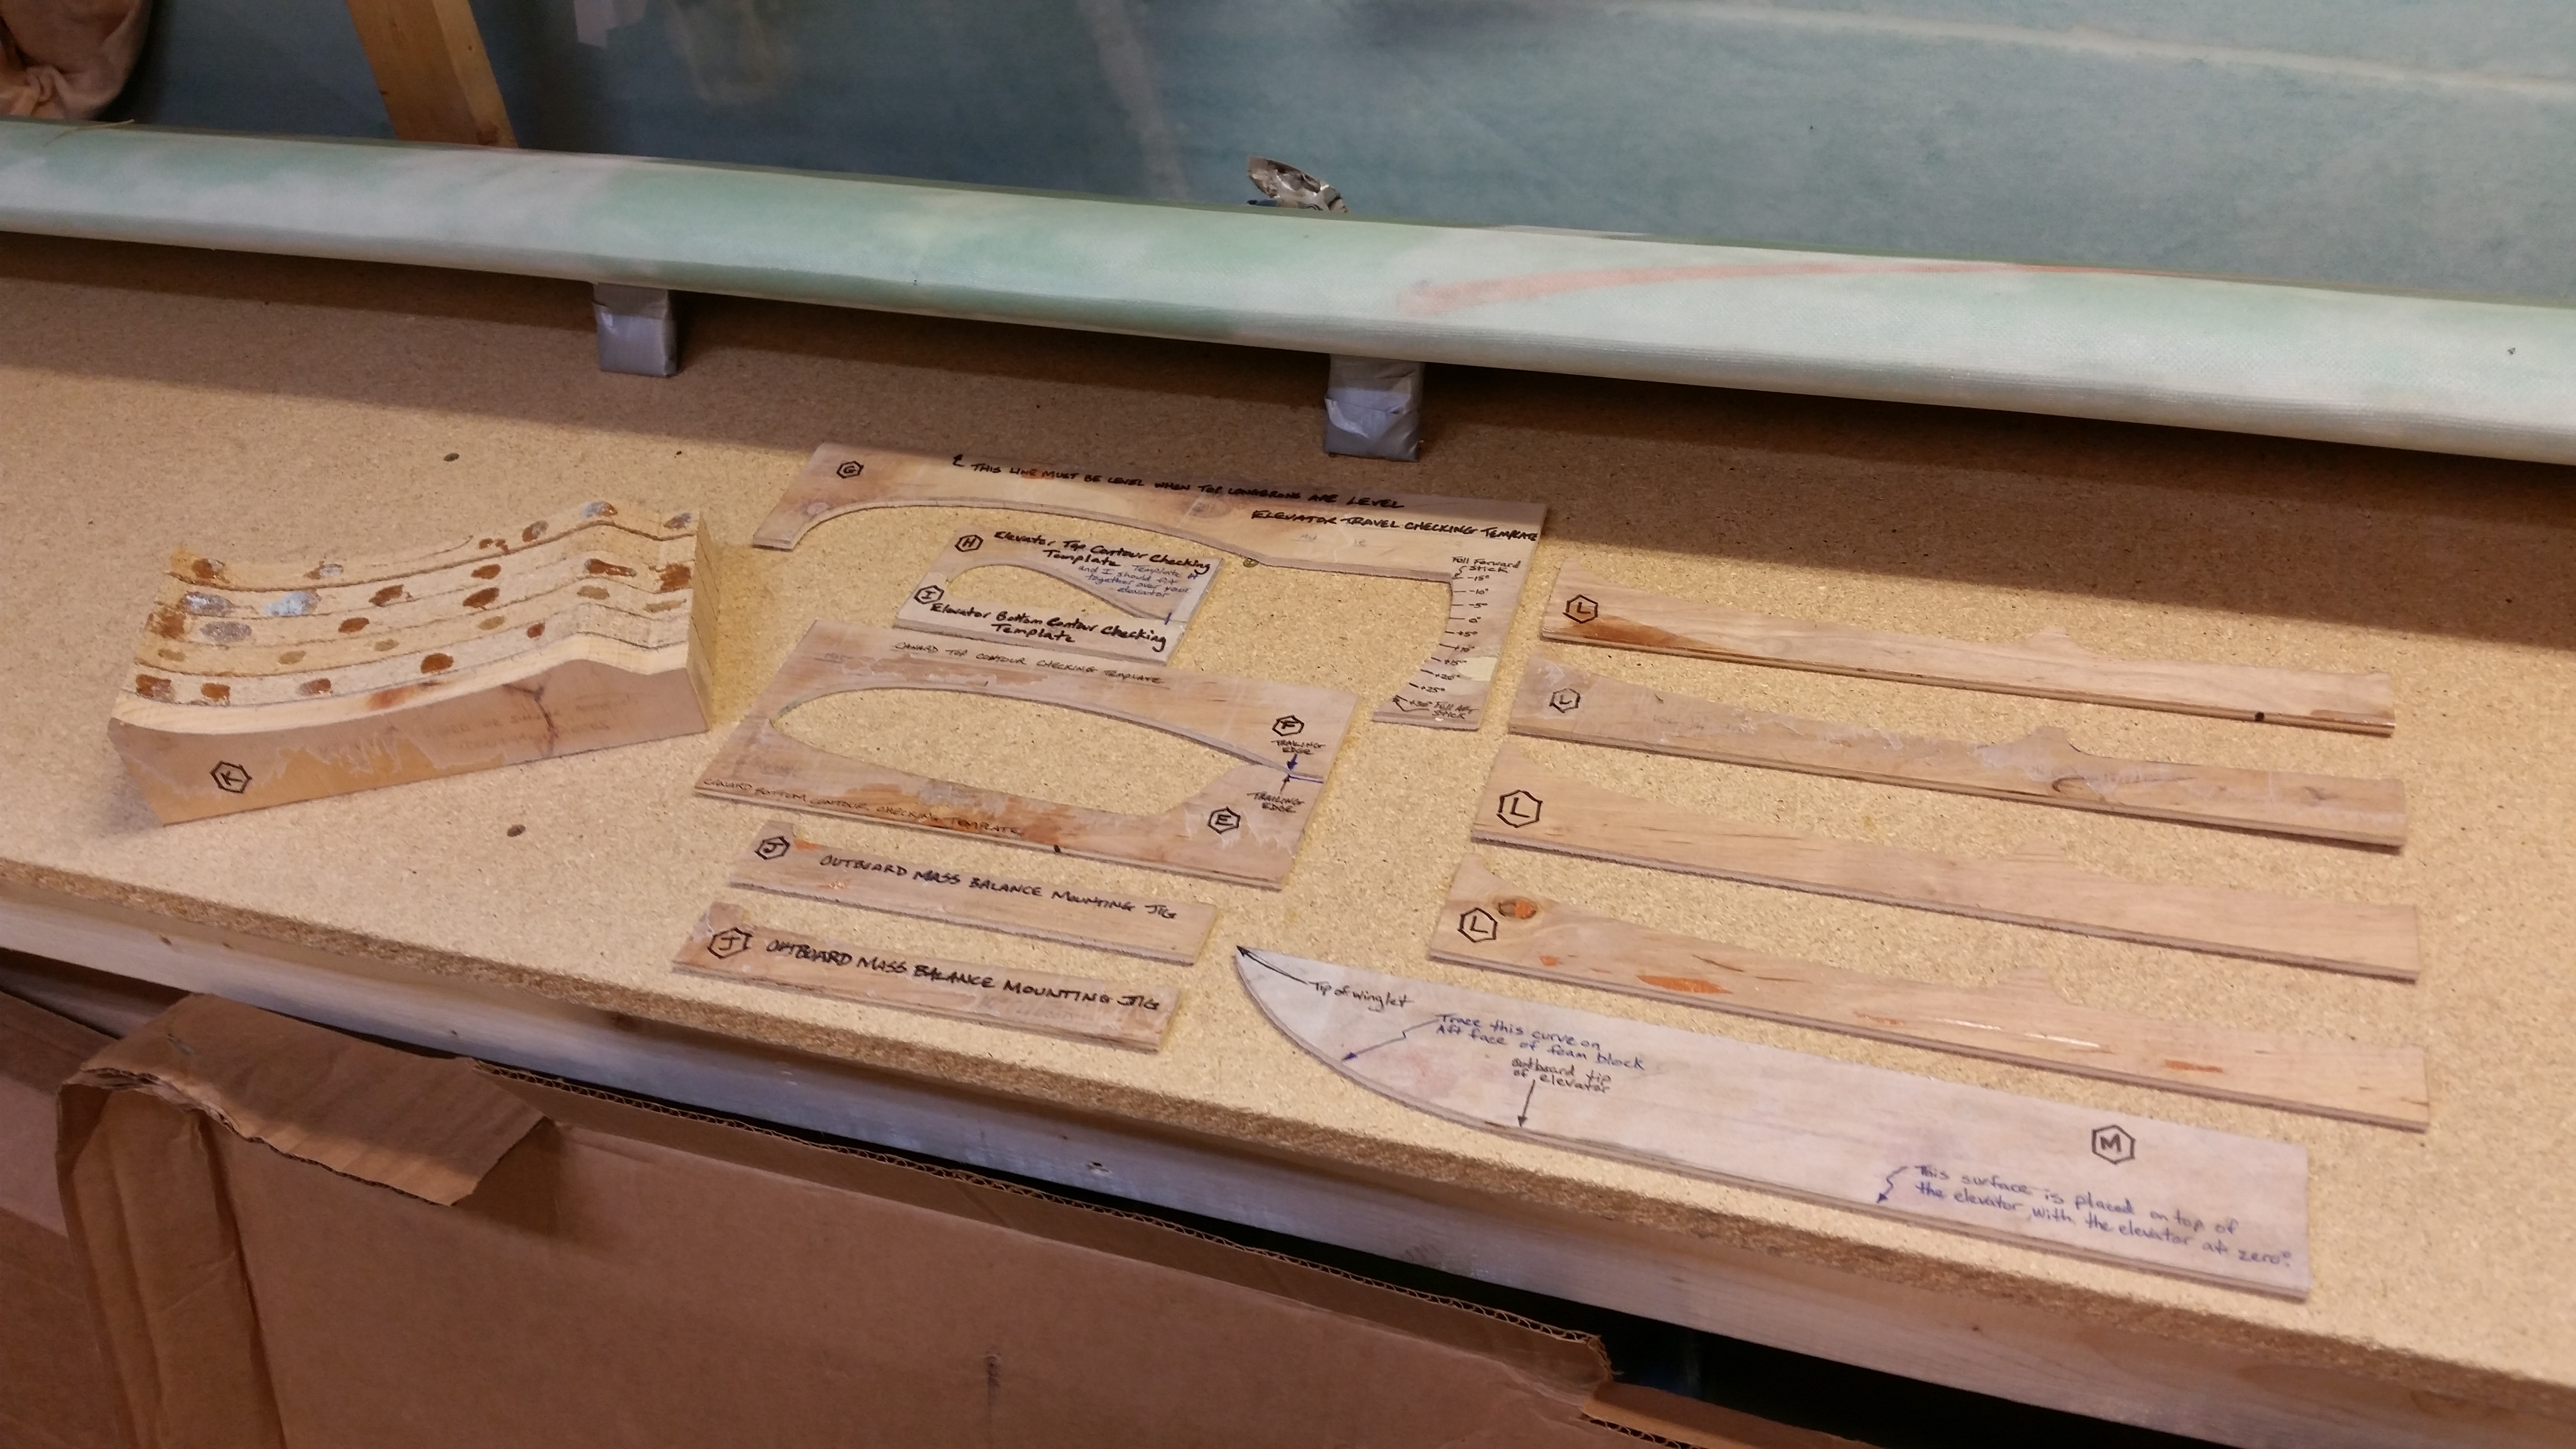
My first order of business, after cleaning & organizing the workshop a bit, was to find all the templates related to the canard and elevators. That took maybe 5 min since luckily I had the box in which they resided in sitting on the work bench. Hey, sometimes I guess I am a little proactive!
My next task was to clean all the goop off the “K” canard mounts to allow them to be reused while finishing both sides of the canard. I spent about 15 with a razor knife cleaning up the crud to allow for a fresh clean canard mounting.
After calculating the distances between the 5 “K” mounts I’m going to use, I then mocked up the canard upside down on the “K” mounts to ensure a study platform on which to finish the bottom side of the canard.
Now, if you’ve seen Wayne Hicks’ webpage on how to finish the canard, then you’ll know that he uses a 3-4″ wide sanding block which is essentially nothing more than a widened contour template that is adjustable in height and which a wide piece of sandpaper can be attached on the inside of the contoured area. Well, on his site Wayne explains that you can’t finish the bottom of the canard using the contoured sanding block setup because of the multiple installed elevator hinge mounts that get in the way.
So, a few years ago when I was talking to Randi (aka “Cozy Girrrl”) she gave me a ninja tip to finish the underside of the canard first, then not only would I have a more concise measured gap between the aft tail of the canard and the front of the elevators, but I would also have eliminated a lot of pain & strife trying to finish that bottom of the canard with those darn elevator hinge tabs in the way! Plus, not only would the finish look much cleaner & nicer, but it would be more aerodynamically correct. A win-win if you will.
One last thought on finishing the bottom of the canard now, is that as simplistic as it sounds, it will be finished. And since I plan on finishing the entire canard & elevators before storing it away until later, it will be one less thing I have to finish when I “hit the wall” that is Chapter 25 (aka “Finishing”).

The first actual step that I needed to complete was repairing the Leading Edge of the canard. You see, back when I glassed the canard as I was pulling the duct tape off the leading edge after the bottom skin had cured, it pulled out a pretty big chunk of the leading edge blue foam underneath. With the canard being upside down, and with some foam missing under that 4″ leading span, the bottom skin glass naturally depressed a little right in that area as it cured. When I flipped the canard to glass the top, I had to back fill micro behind that 4″ deformed area on the LE to account for the missing foam.
When I did the glass layup on the top of the canard, I could tell that I was going to have to repair that damaged LE area later on by adding a few plies of glass. To “mark” the LE area that would required repair, I simply peel plied it. The peel plied area on the LE was thus my marker for the future on the exact area that needed further work.
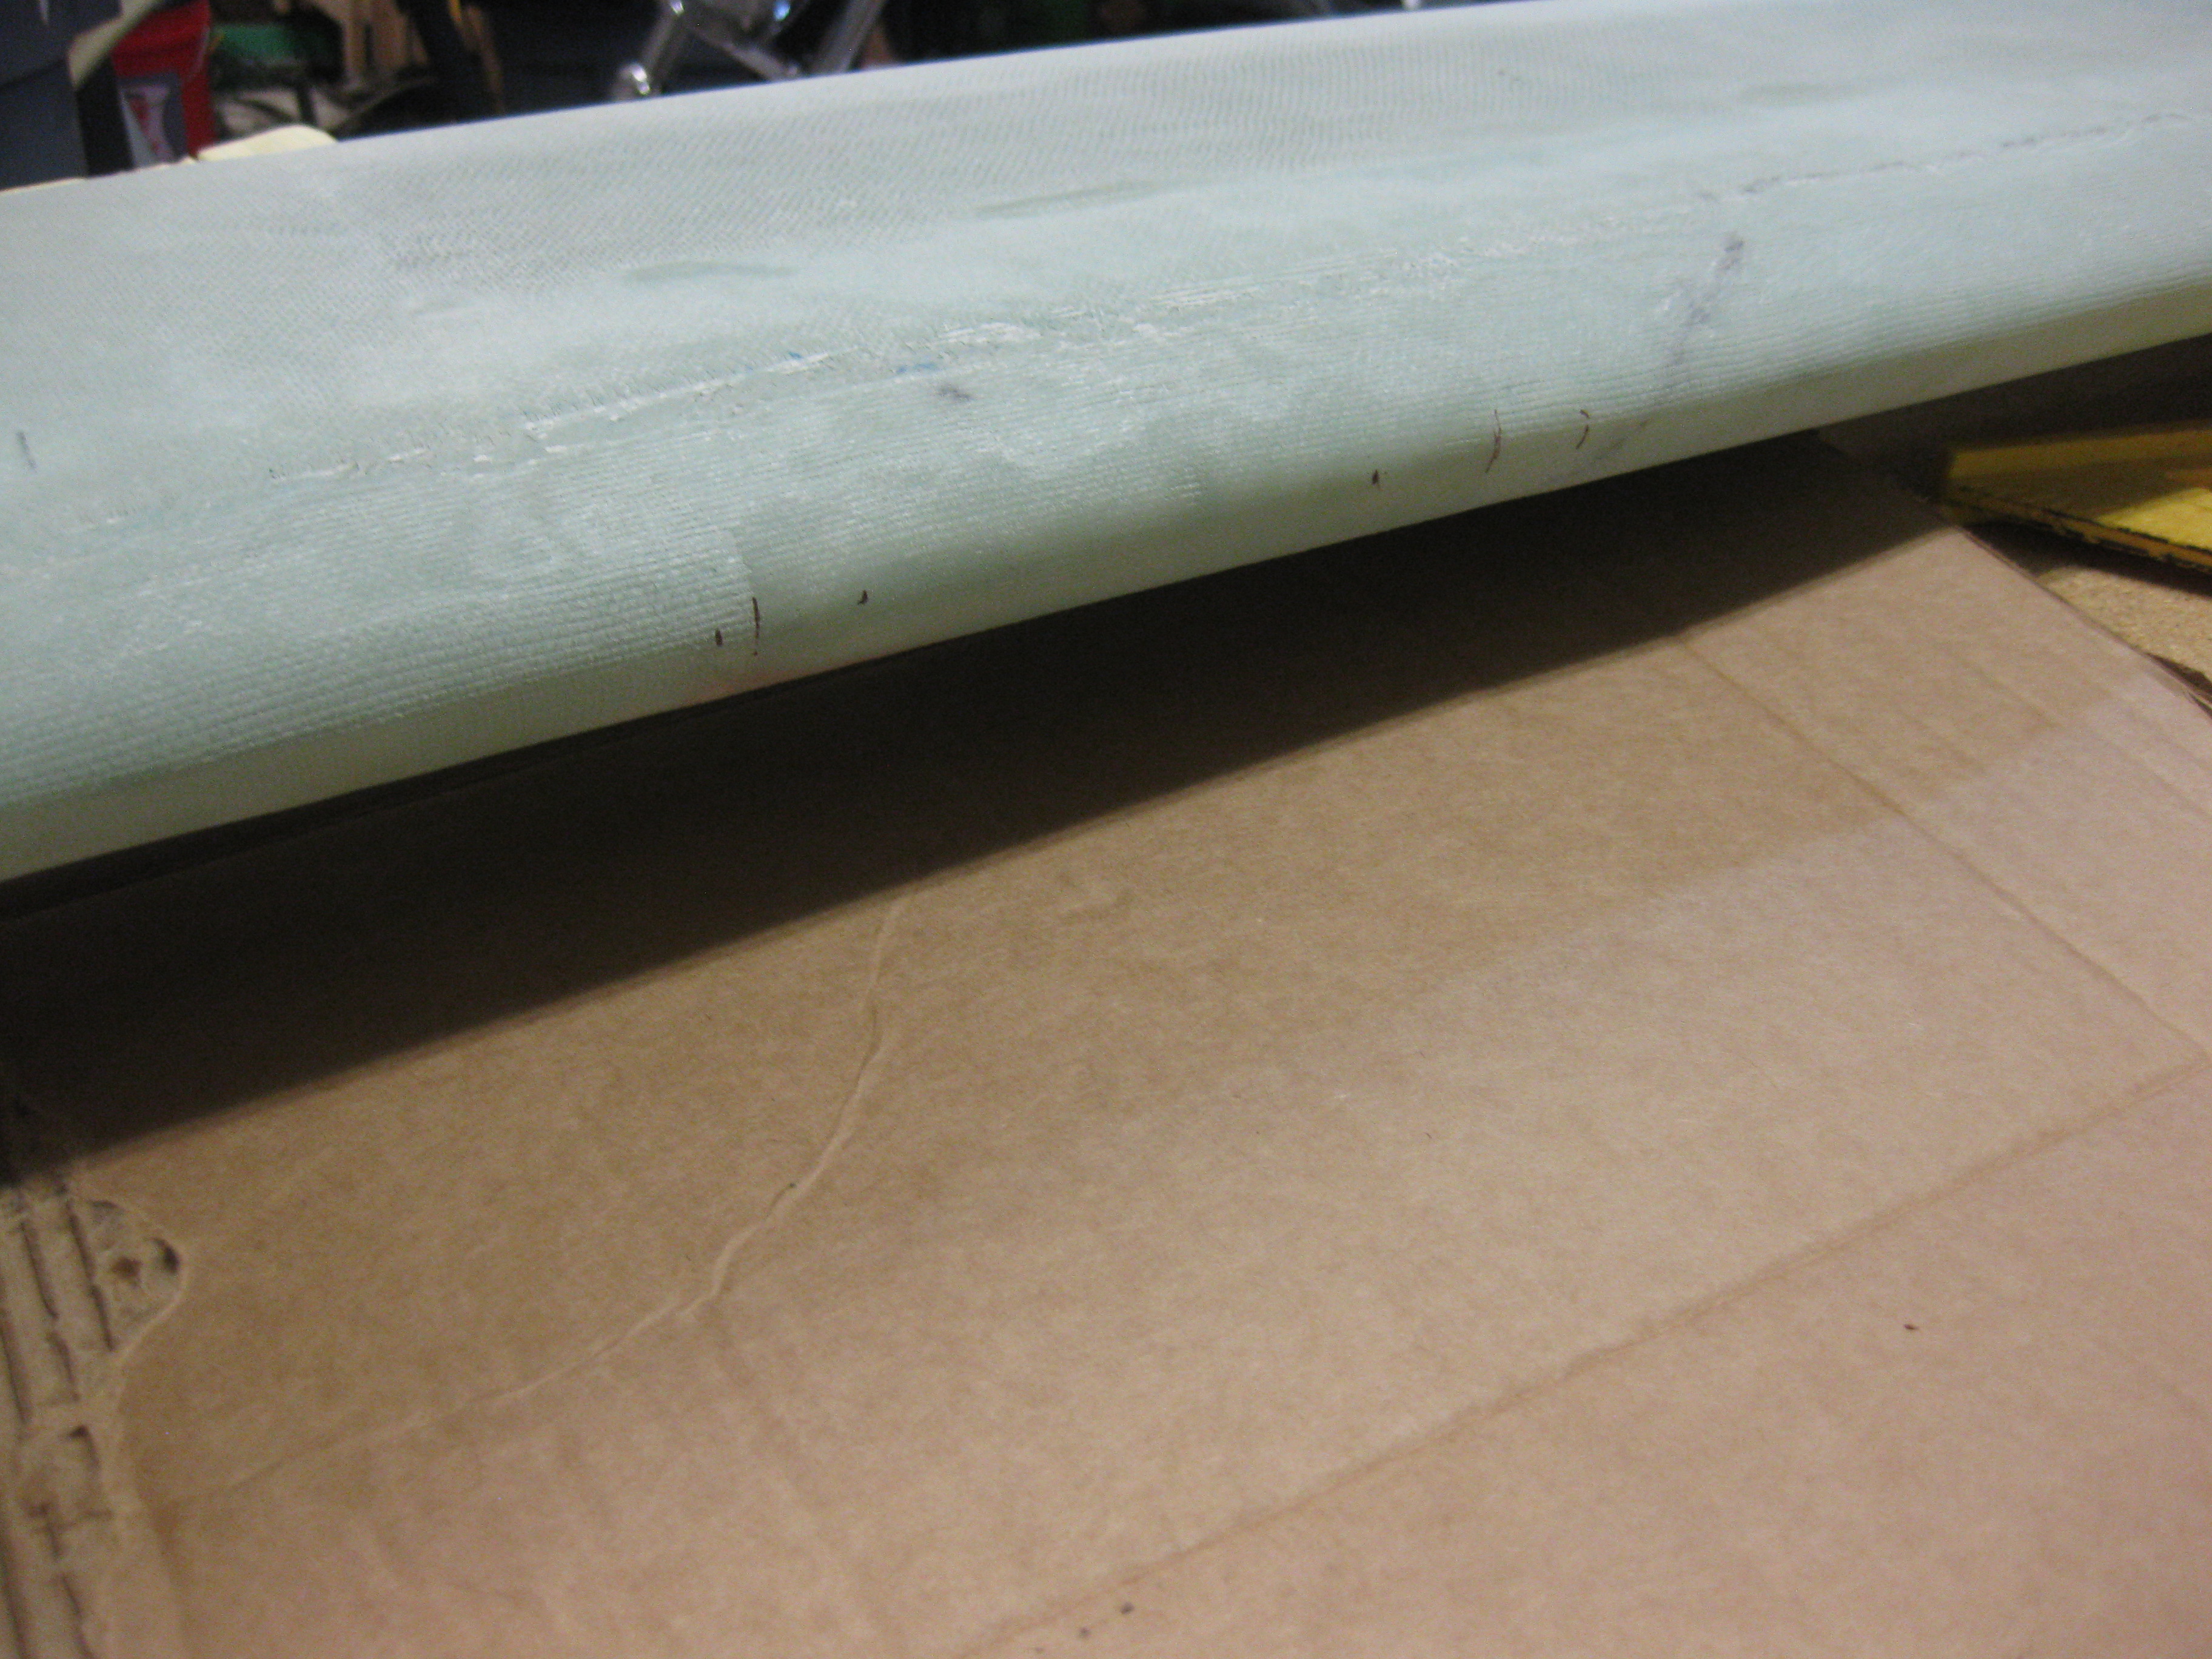
Well, the time to repair the canard LE has finally come . . . after about 2-1/2 years since I finished the canard. (Wow, time flies!)
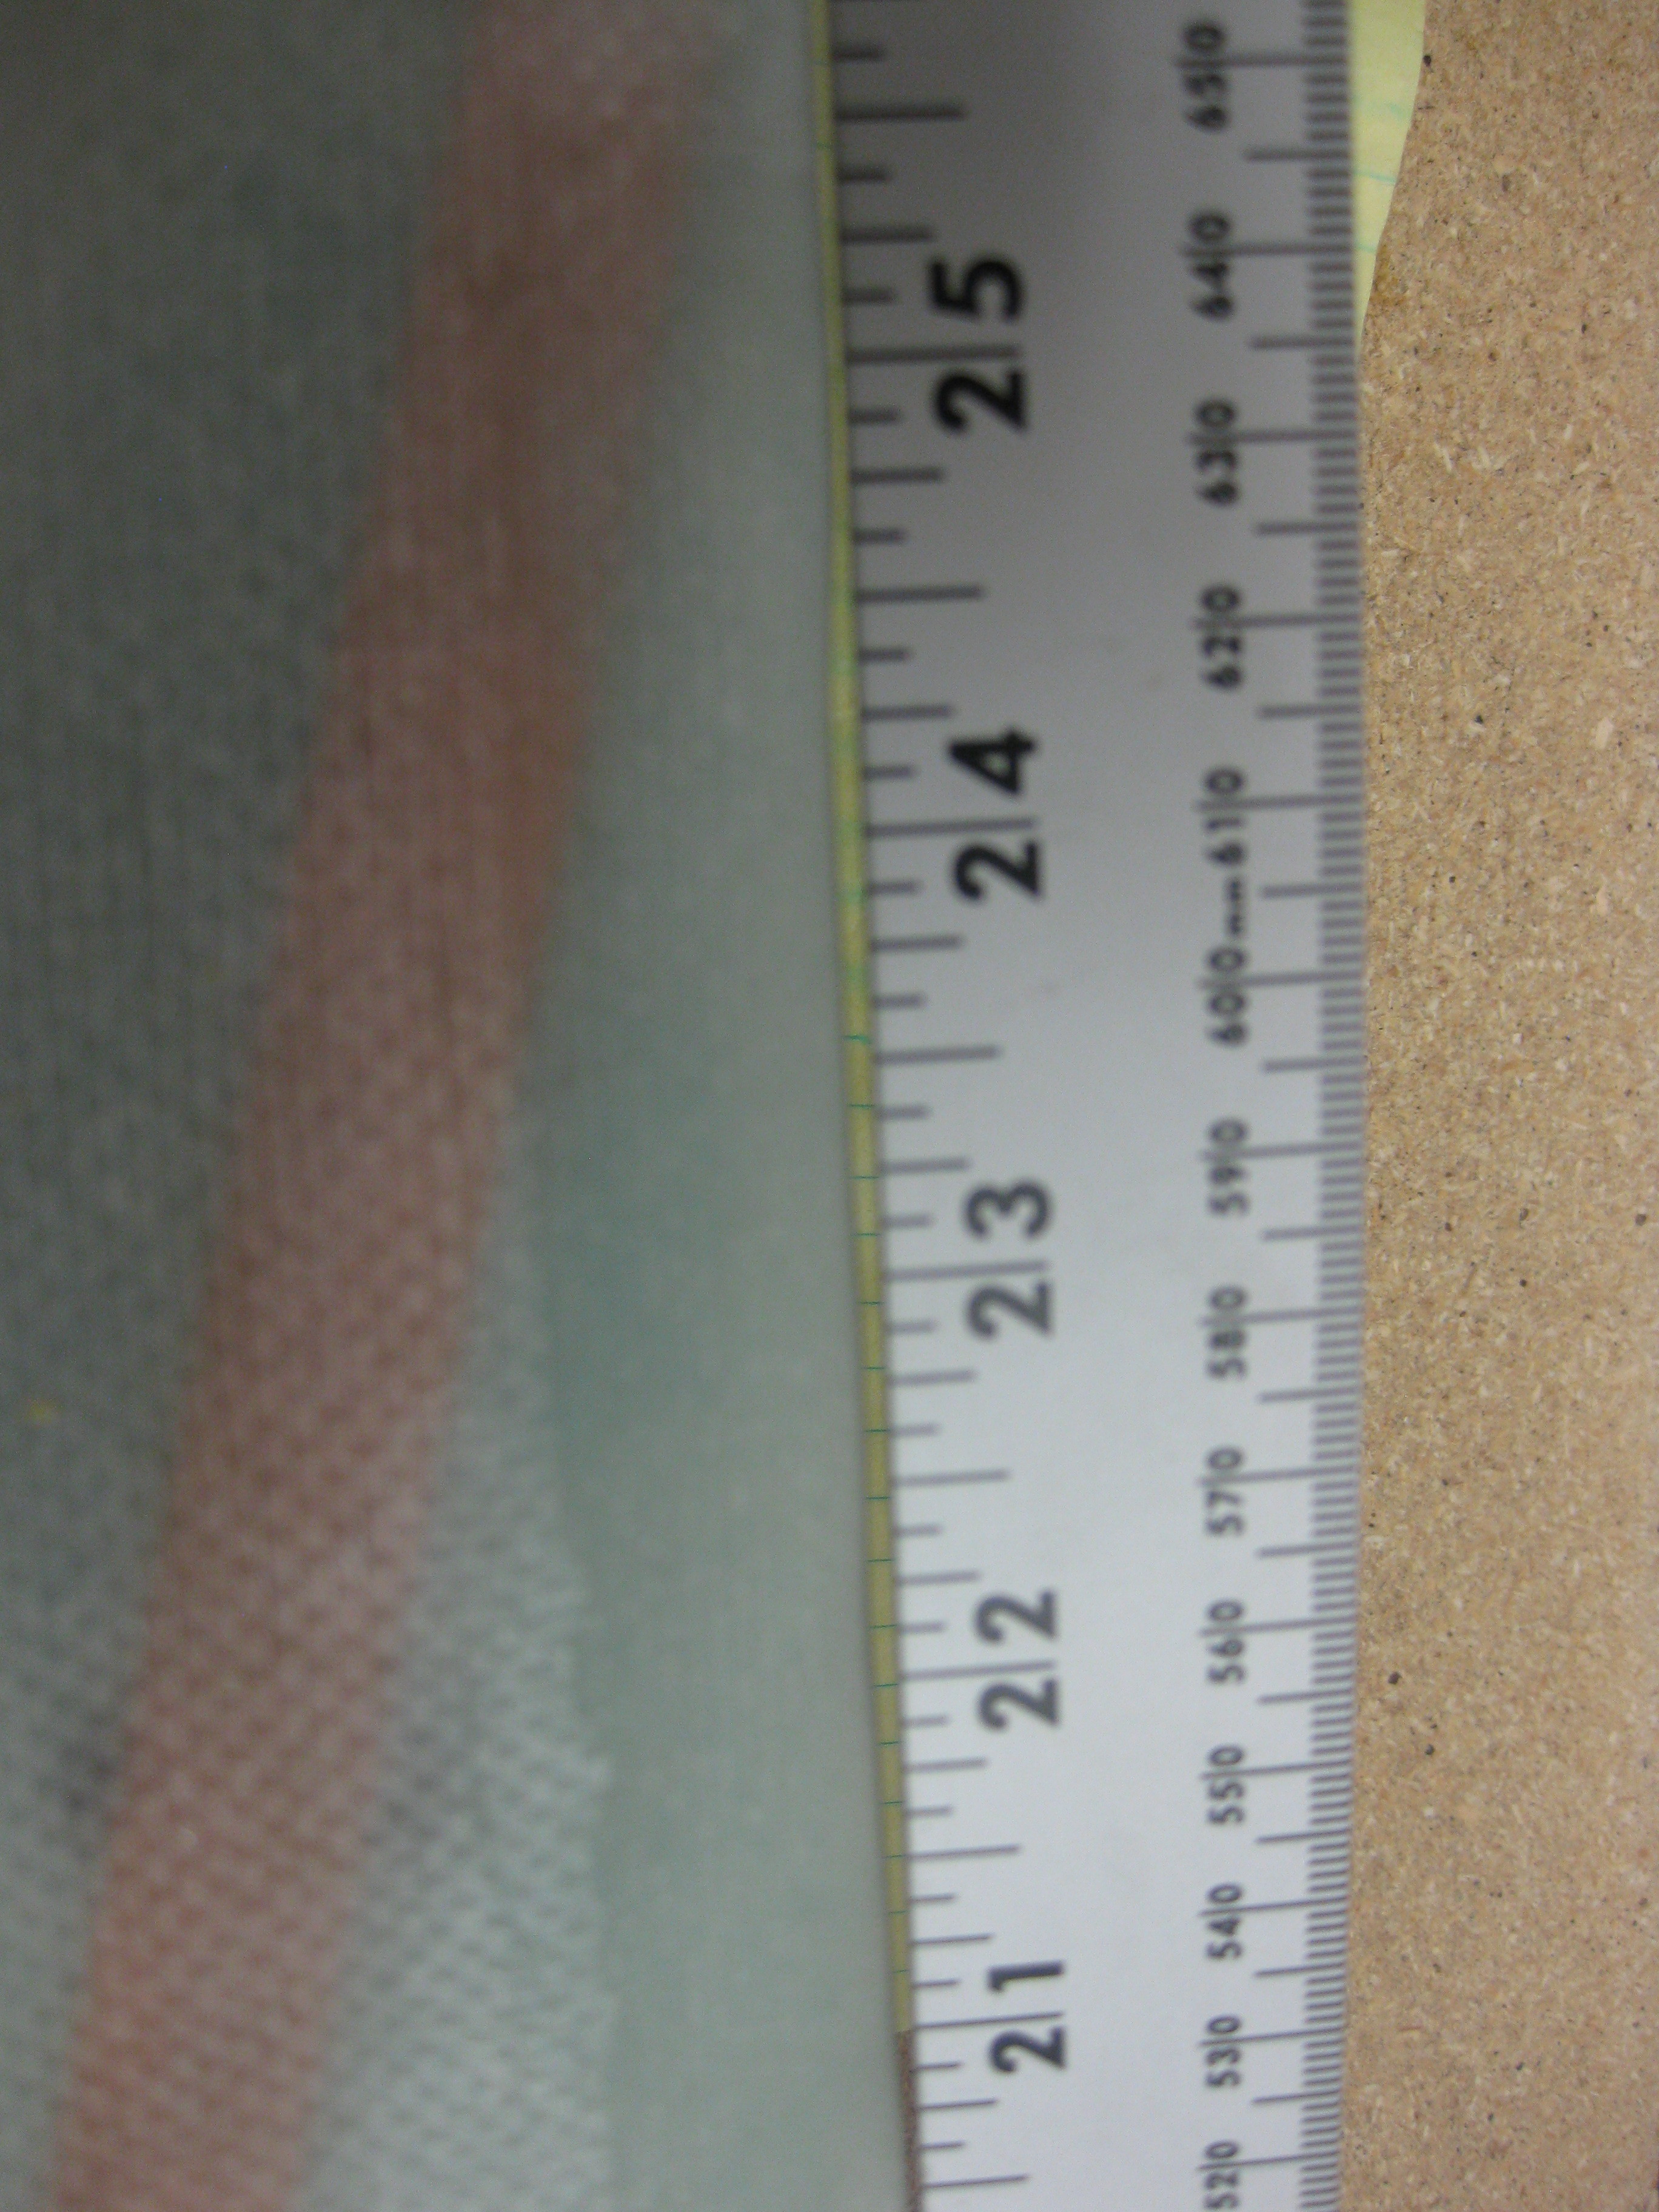
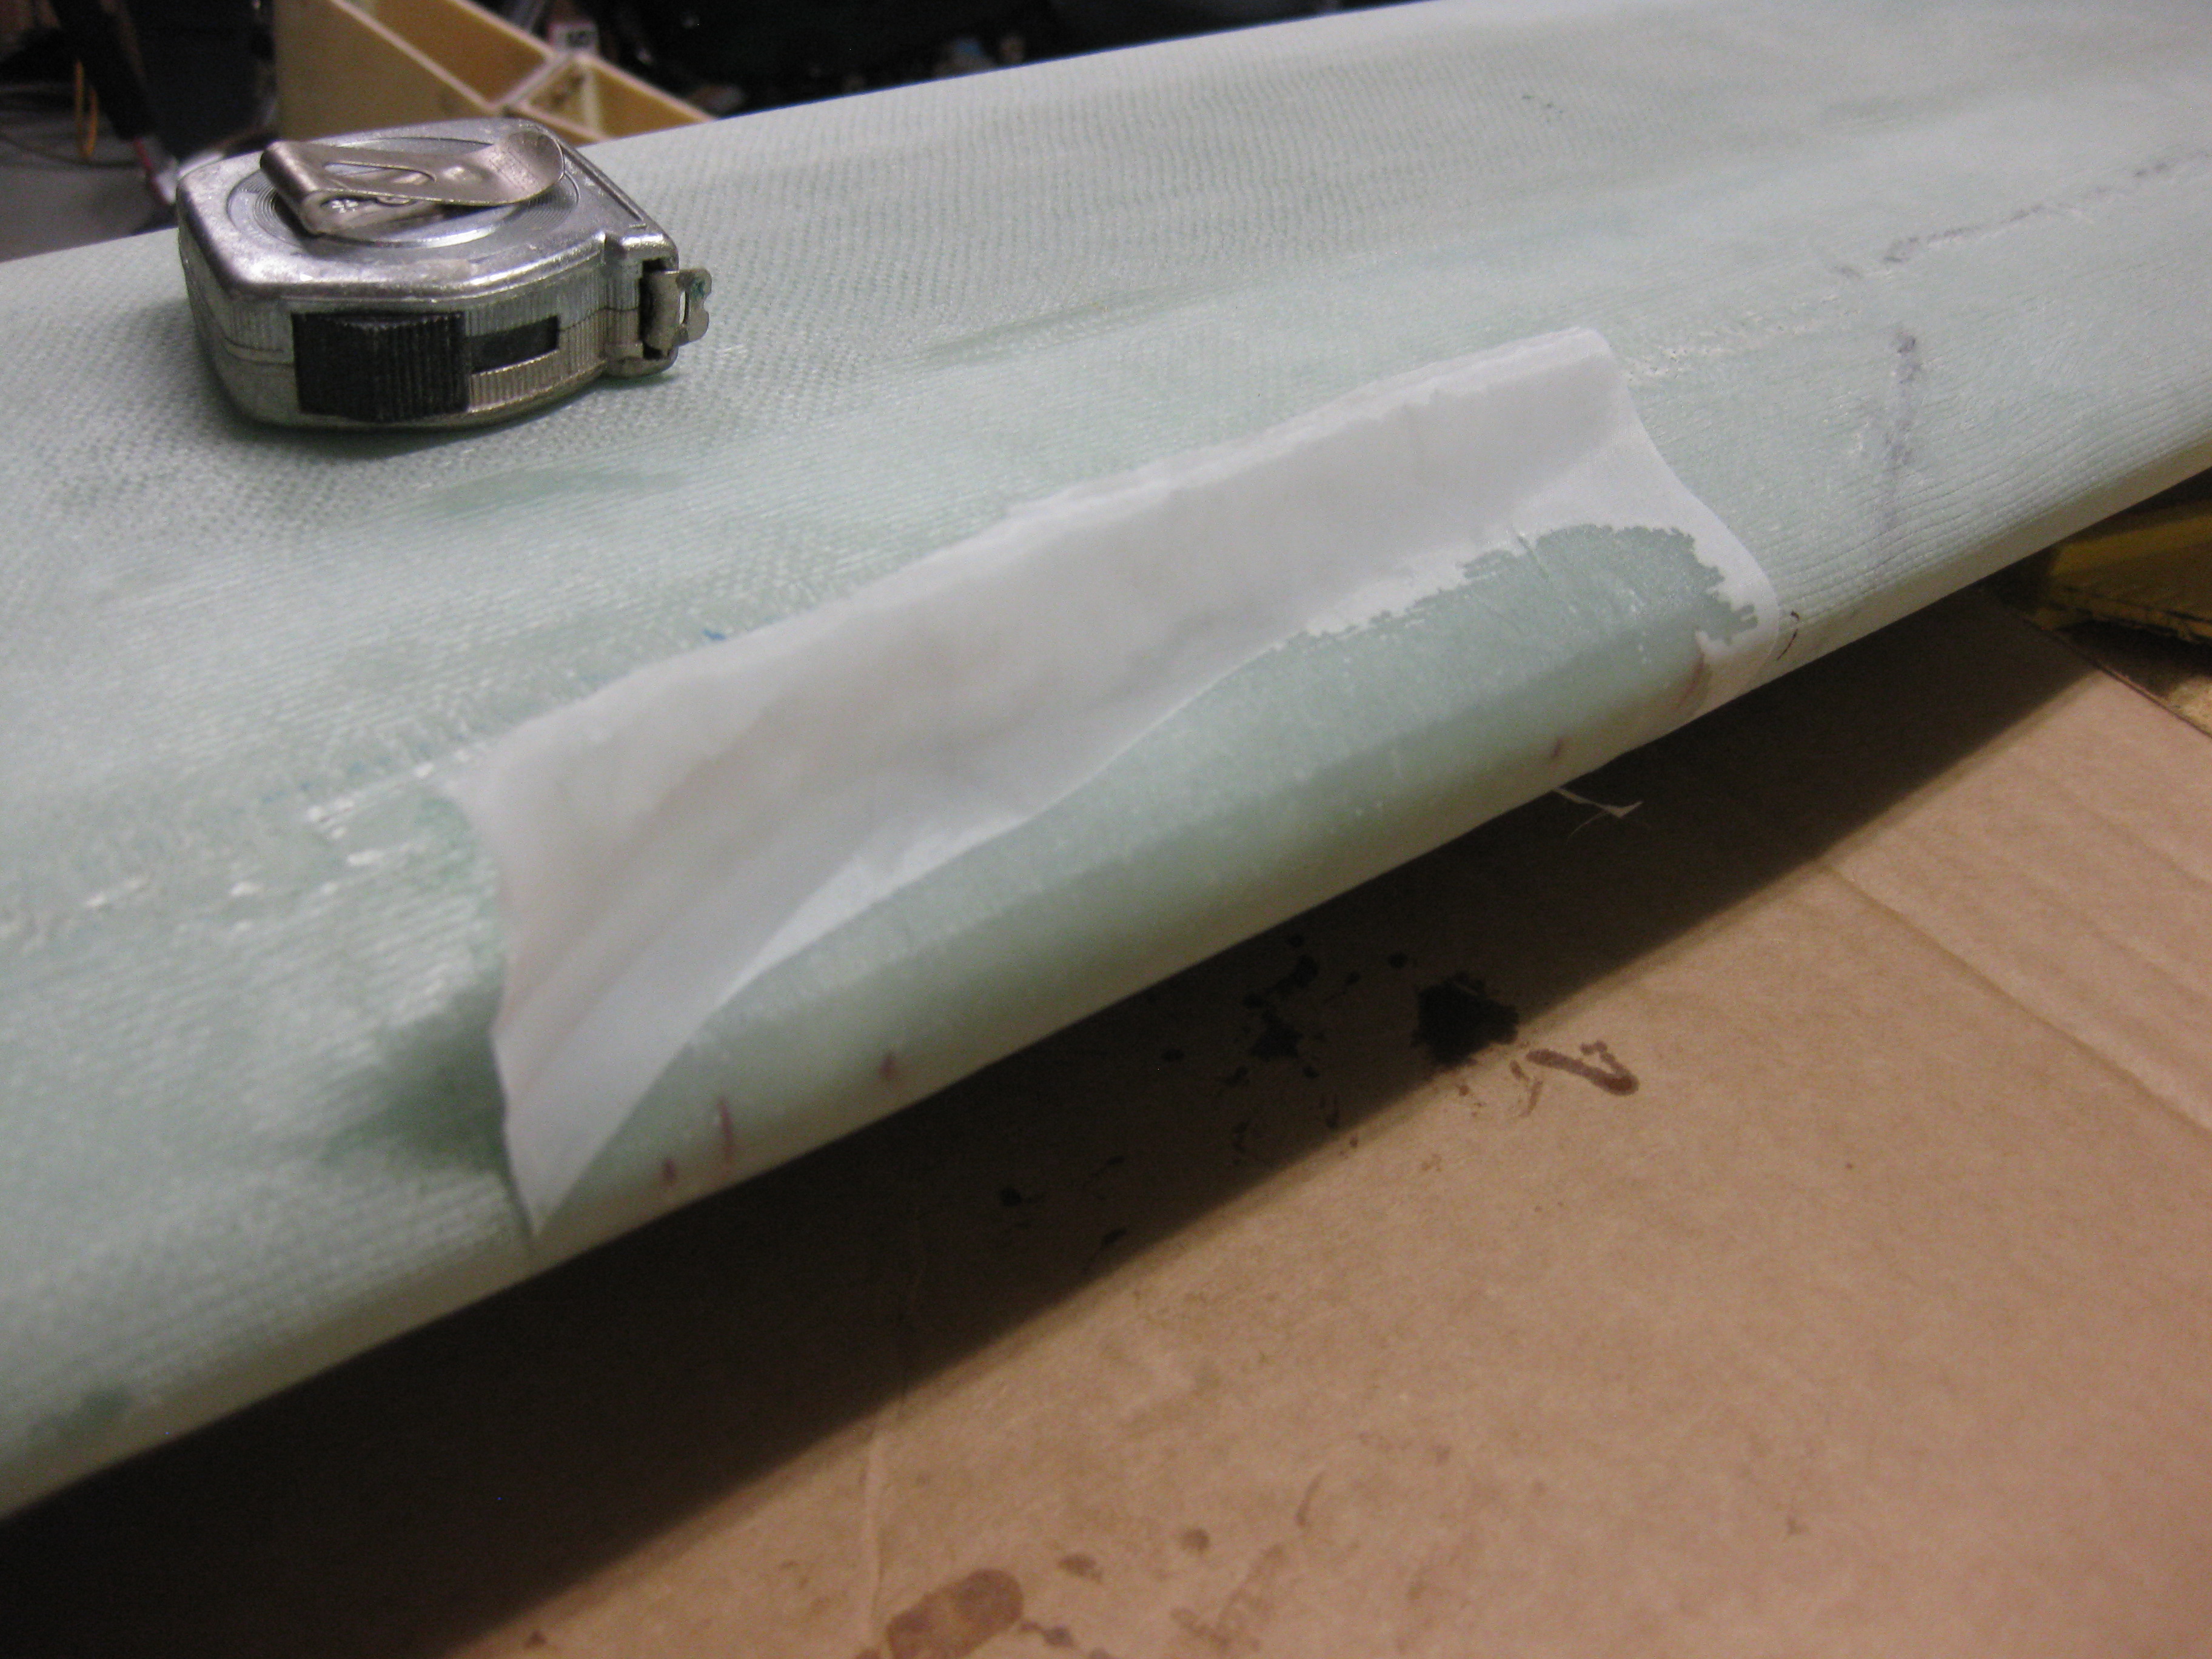
I took a straight edge to the front of the canard to get an idea of how much glass to add. I determined I would only add two plies of BID: a) 3/4″ x 4″ and, b) 1-1/2″ x 5.2″. These would give me just enough glass fill that, after sanding, the remaining surface irregularities would easily be filled by the finishing micro.
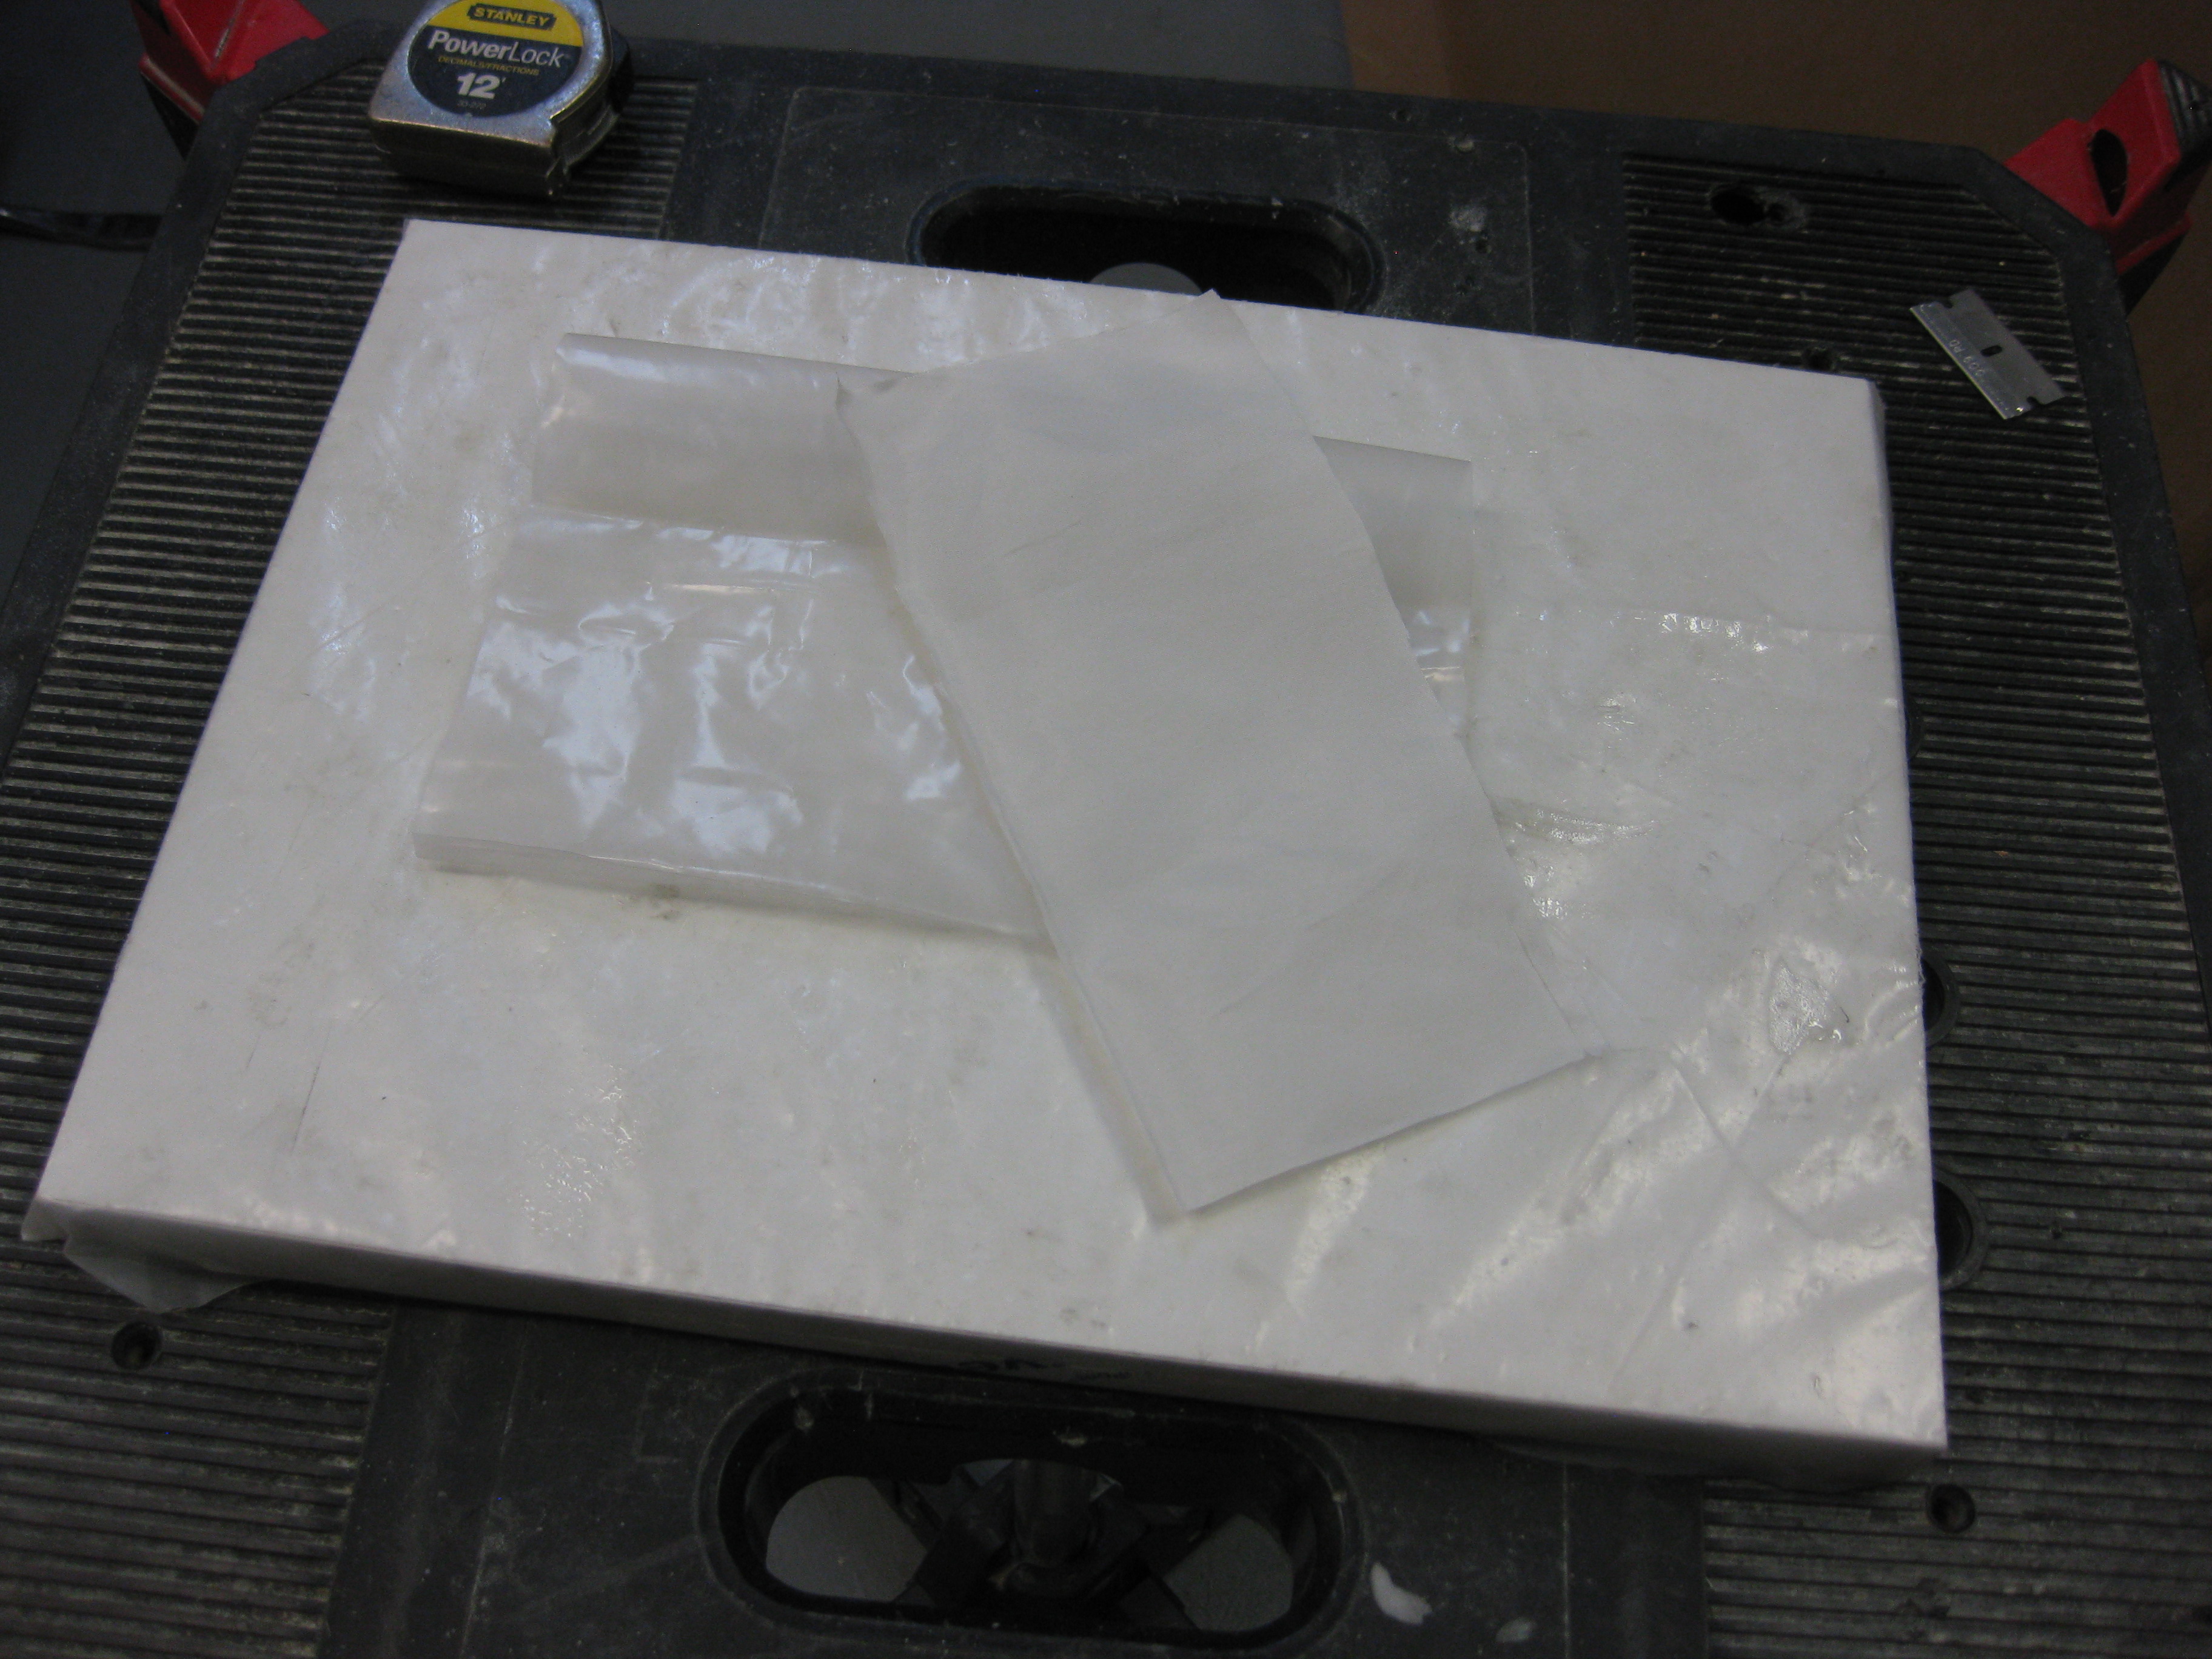
As per my usual, I will pre-preg this layup so I cut out a small piece of plastic and prepped my peel ply.
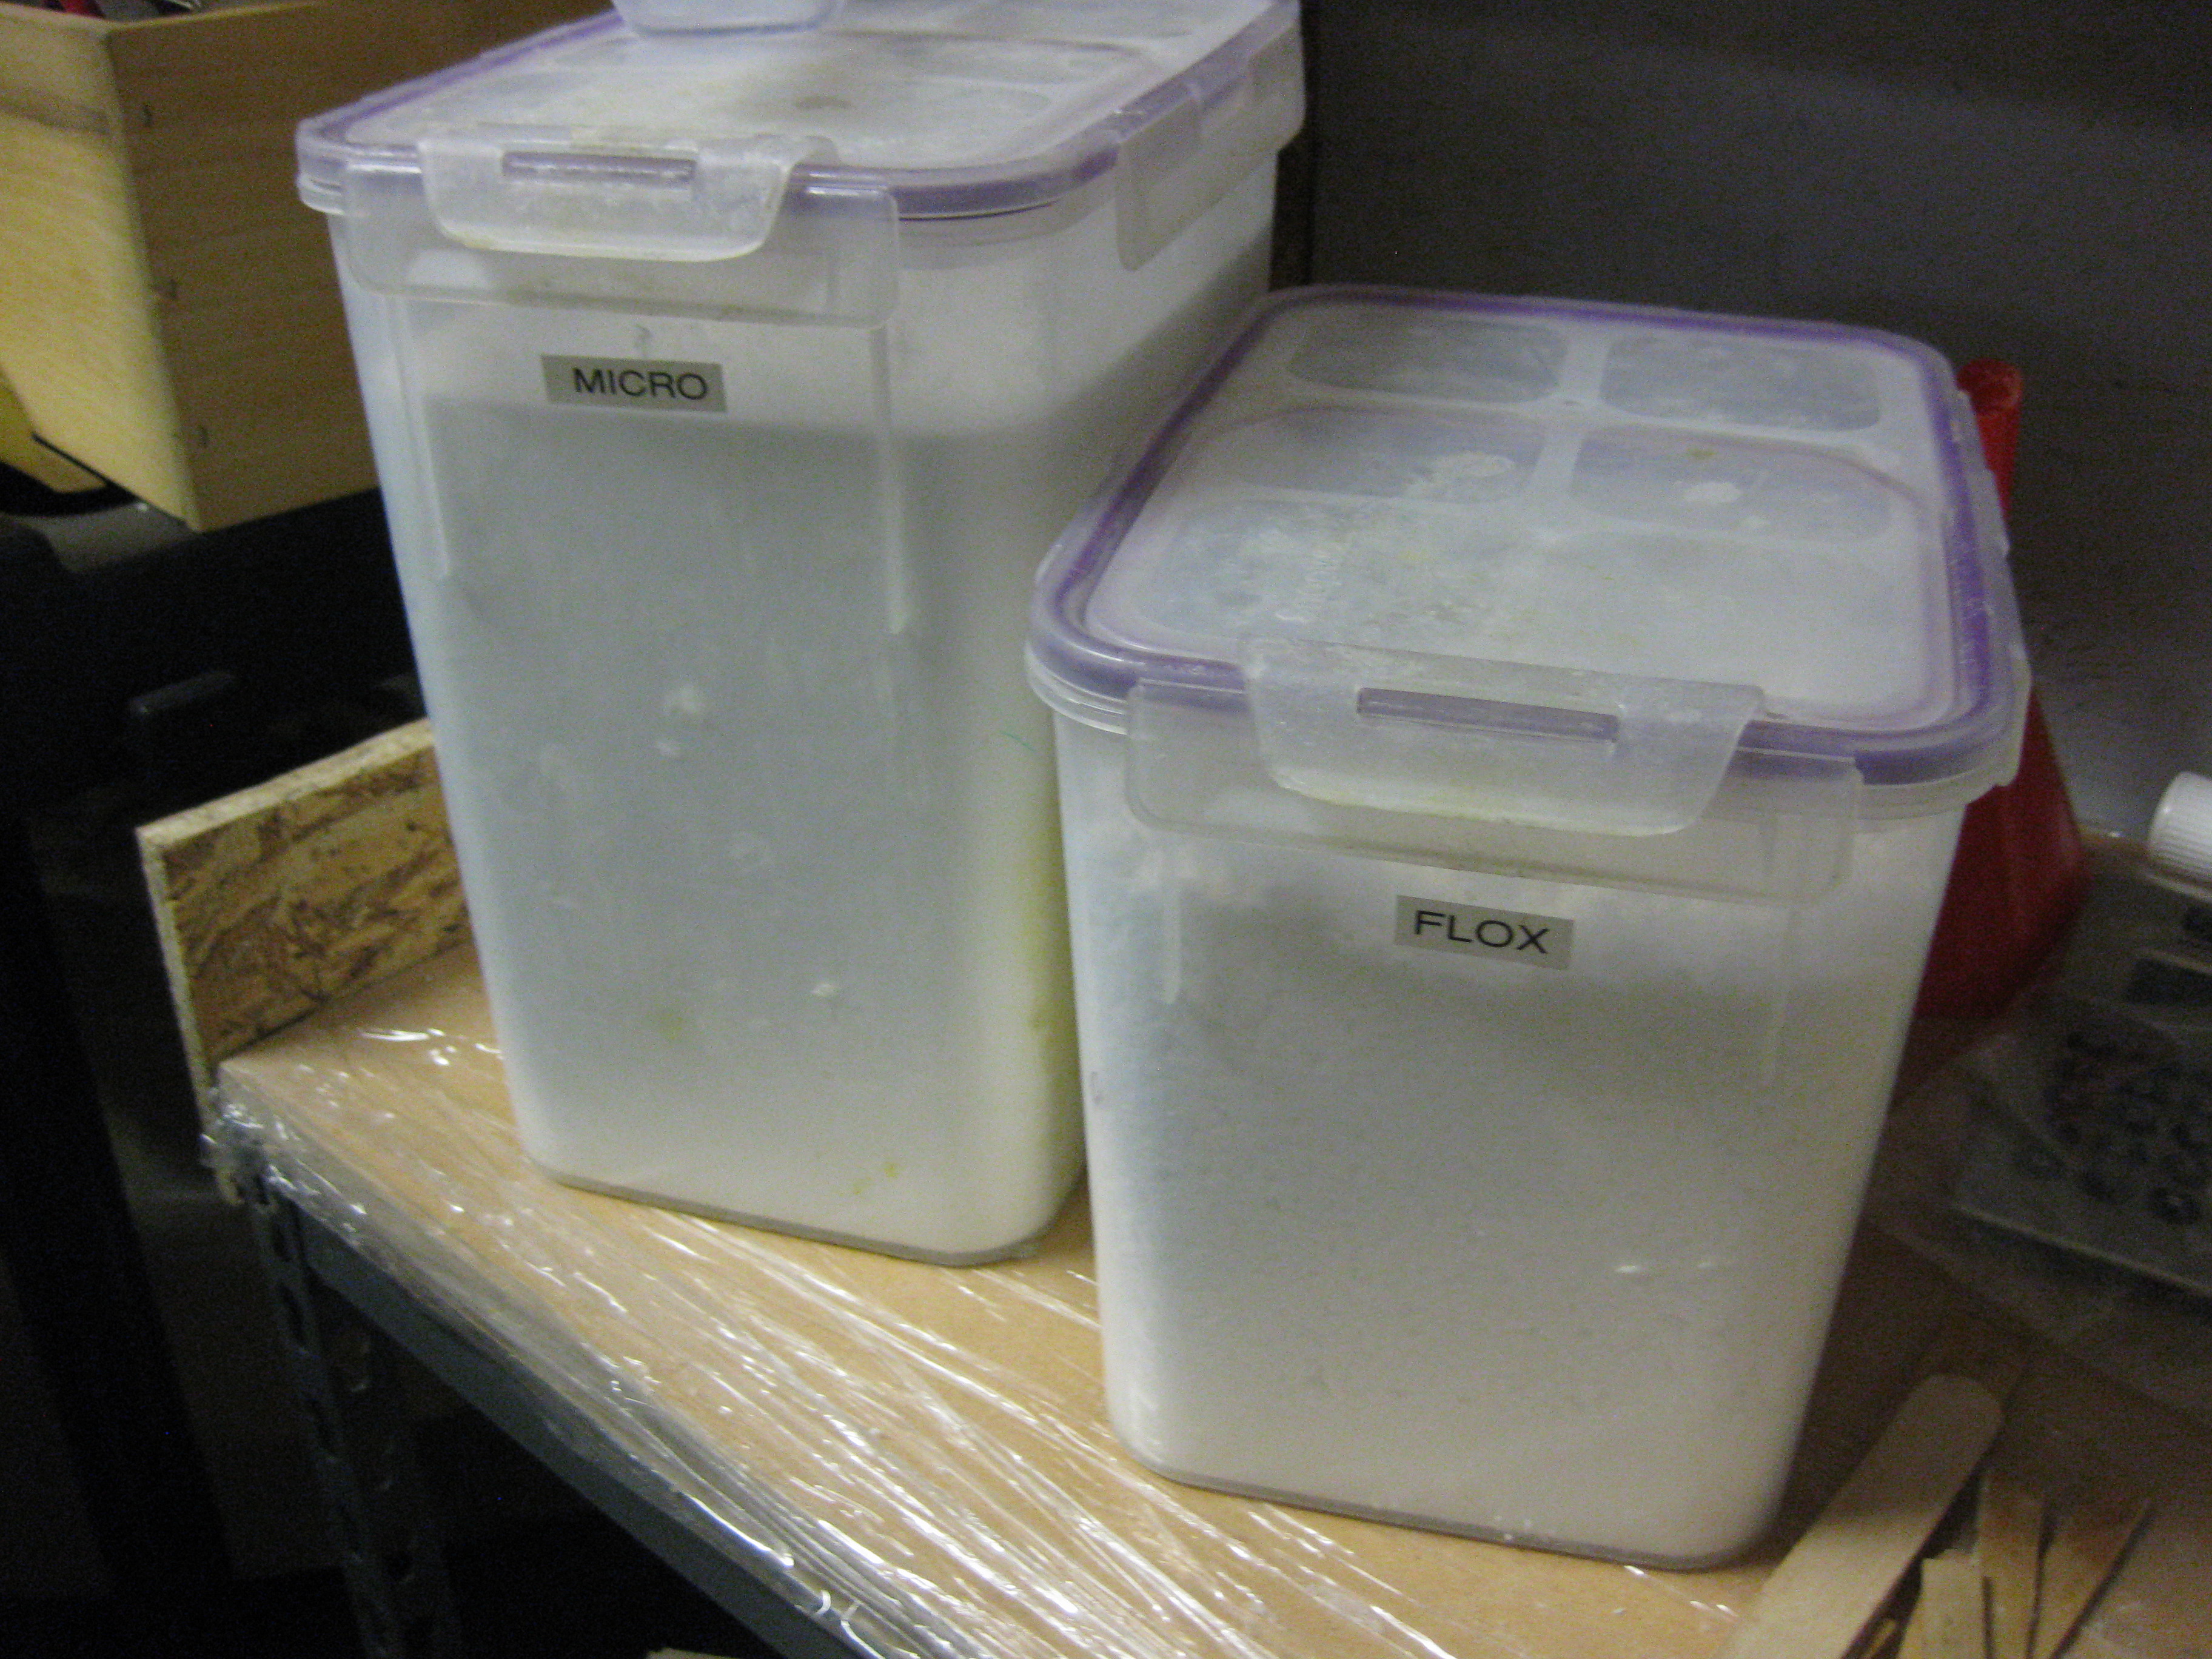
Before getting started on my new build quest, I had to reload both my stock of micro and flox, each container being almost completely empty!
Below is the freshly laid up 2 plies of BID.
 Below are a couple shots of the finished layup peel plied.

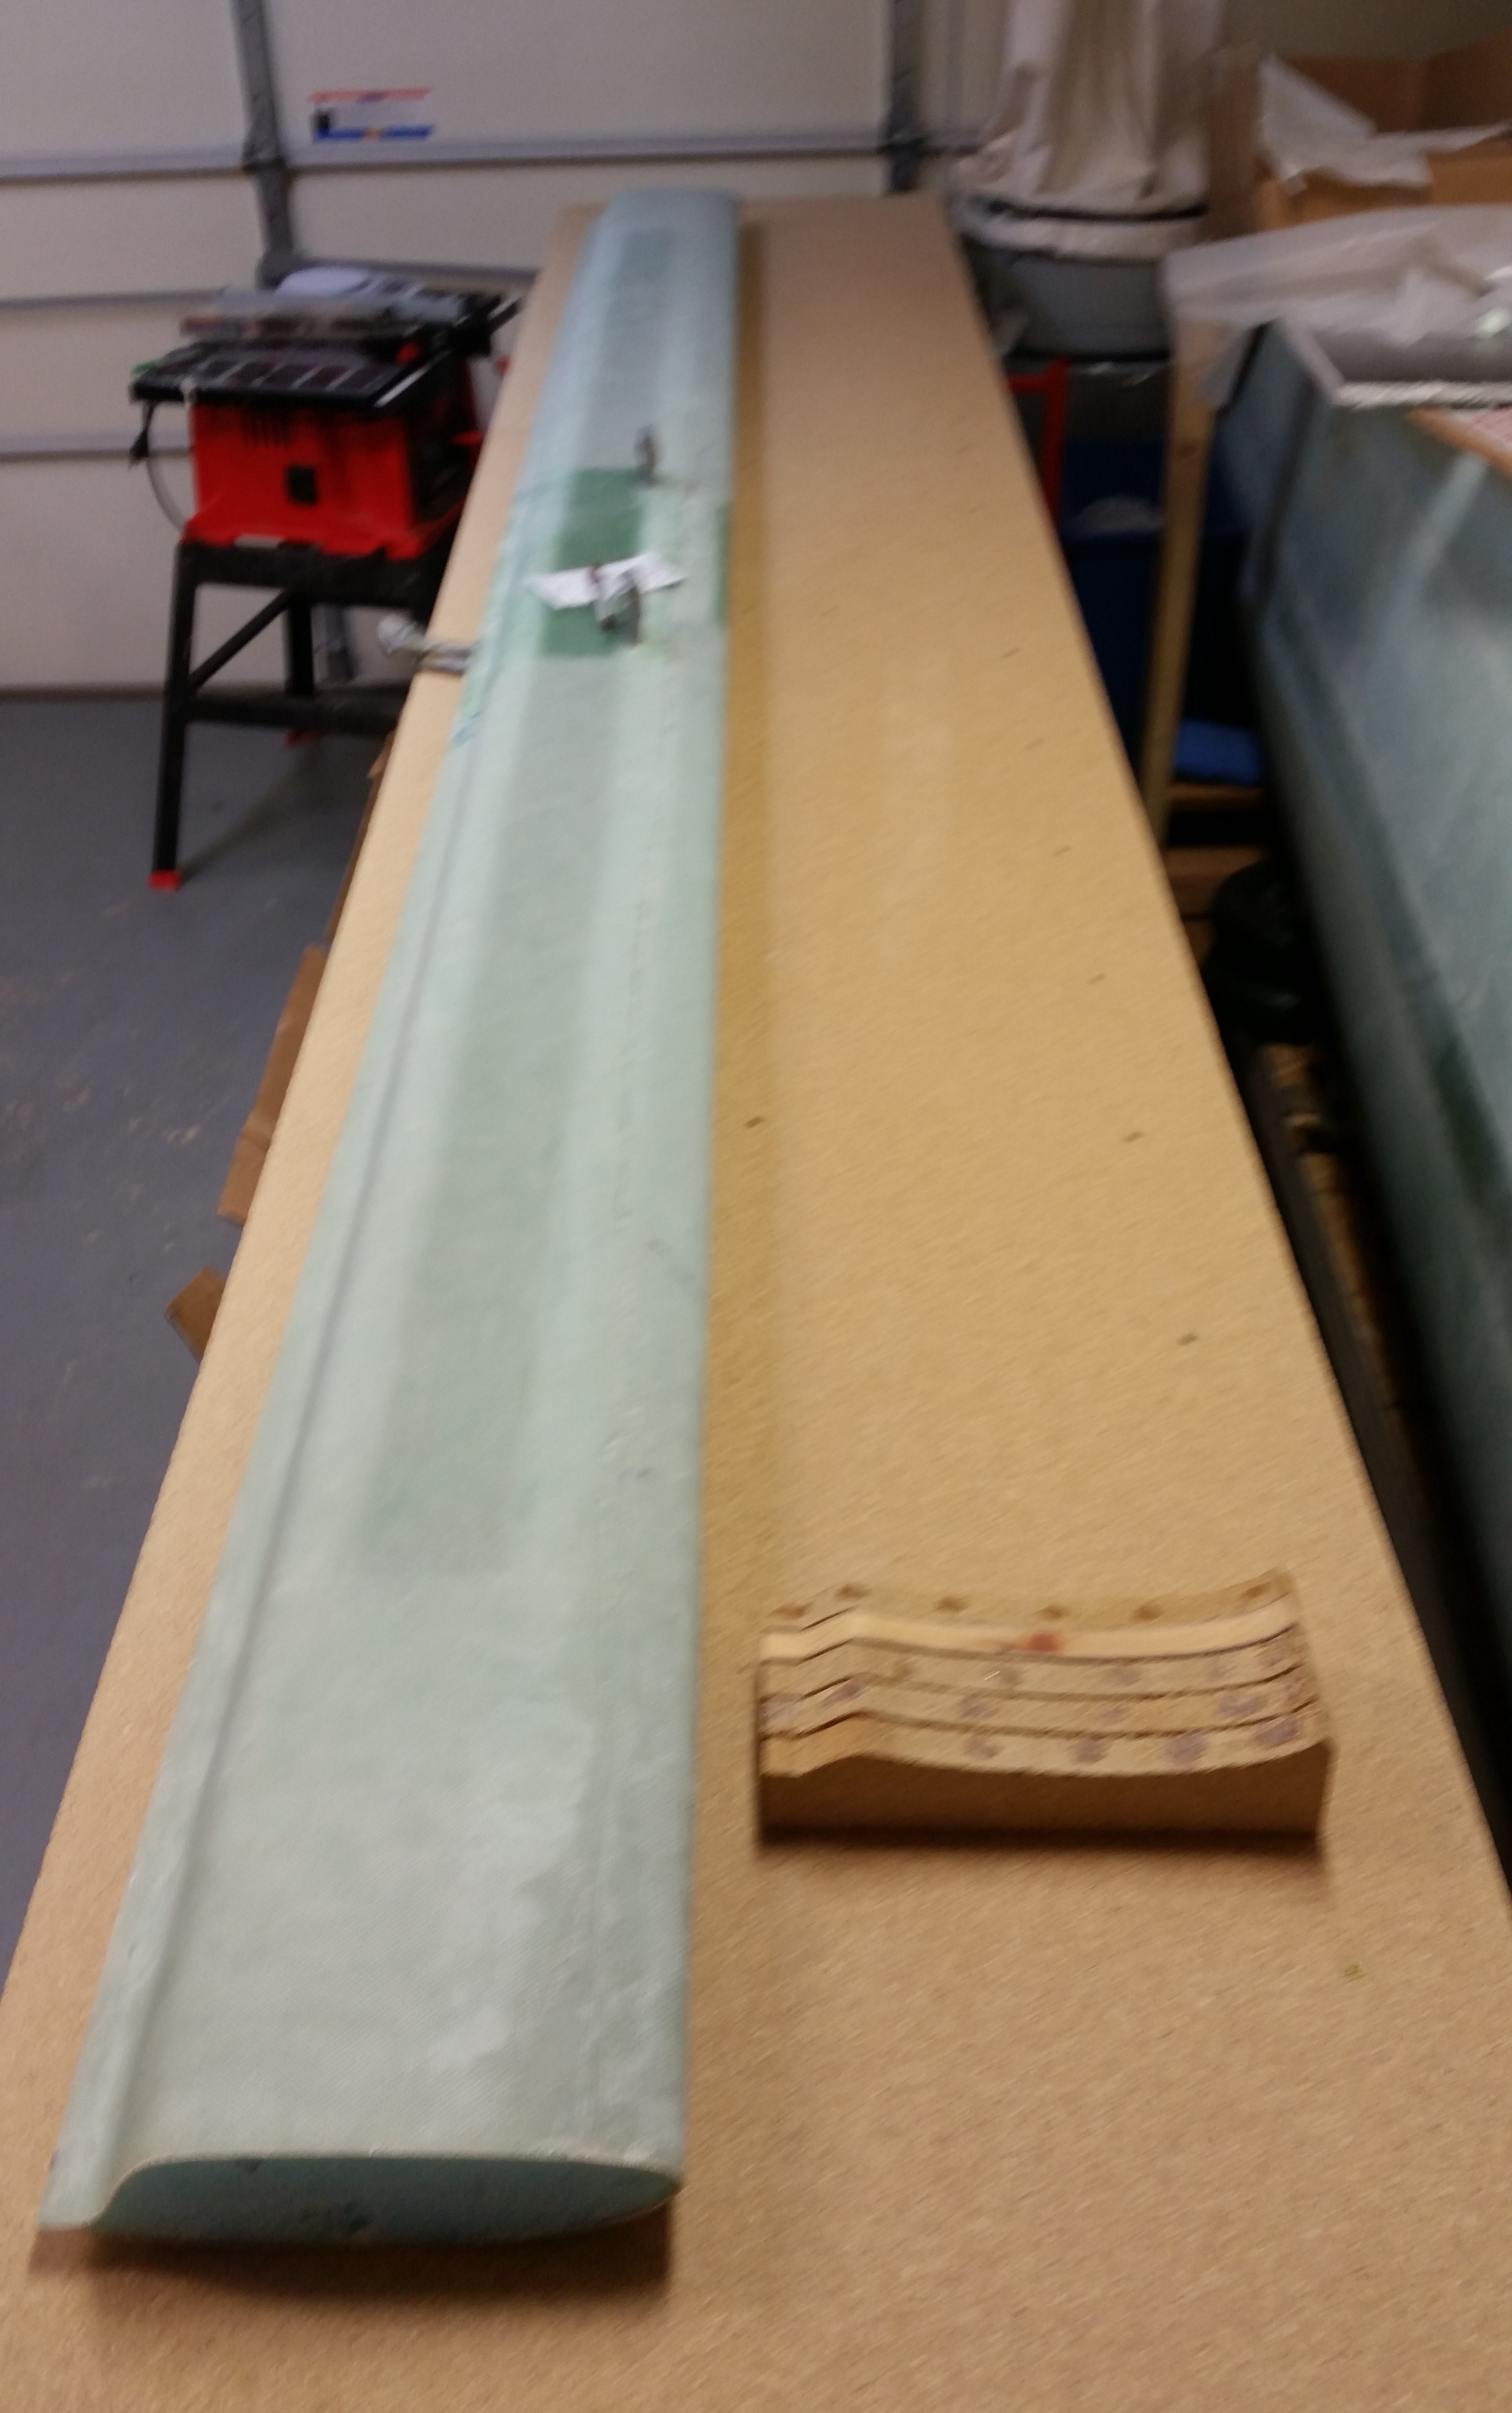
As the LE patch cured, I started working on the canard lower contour sanding block.

A few hours later I pulled the peel ply off the 2-ply BID patch.
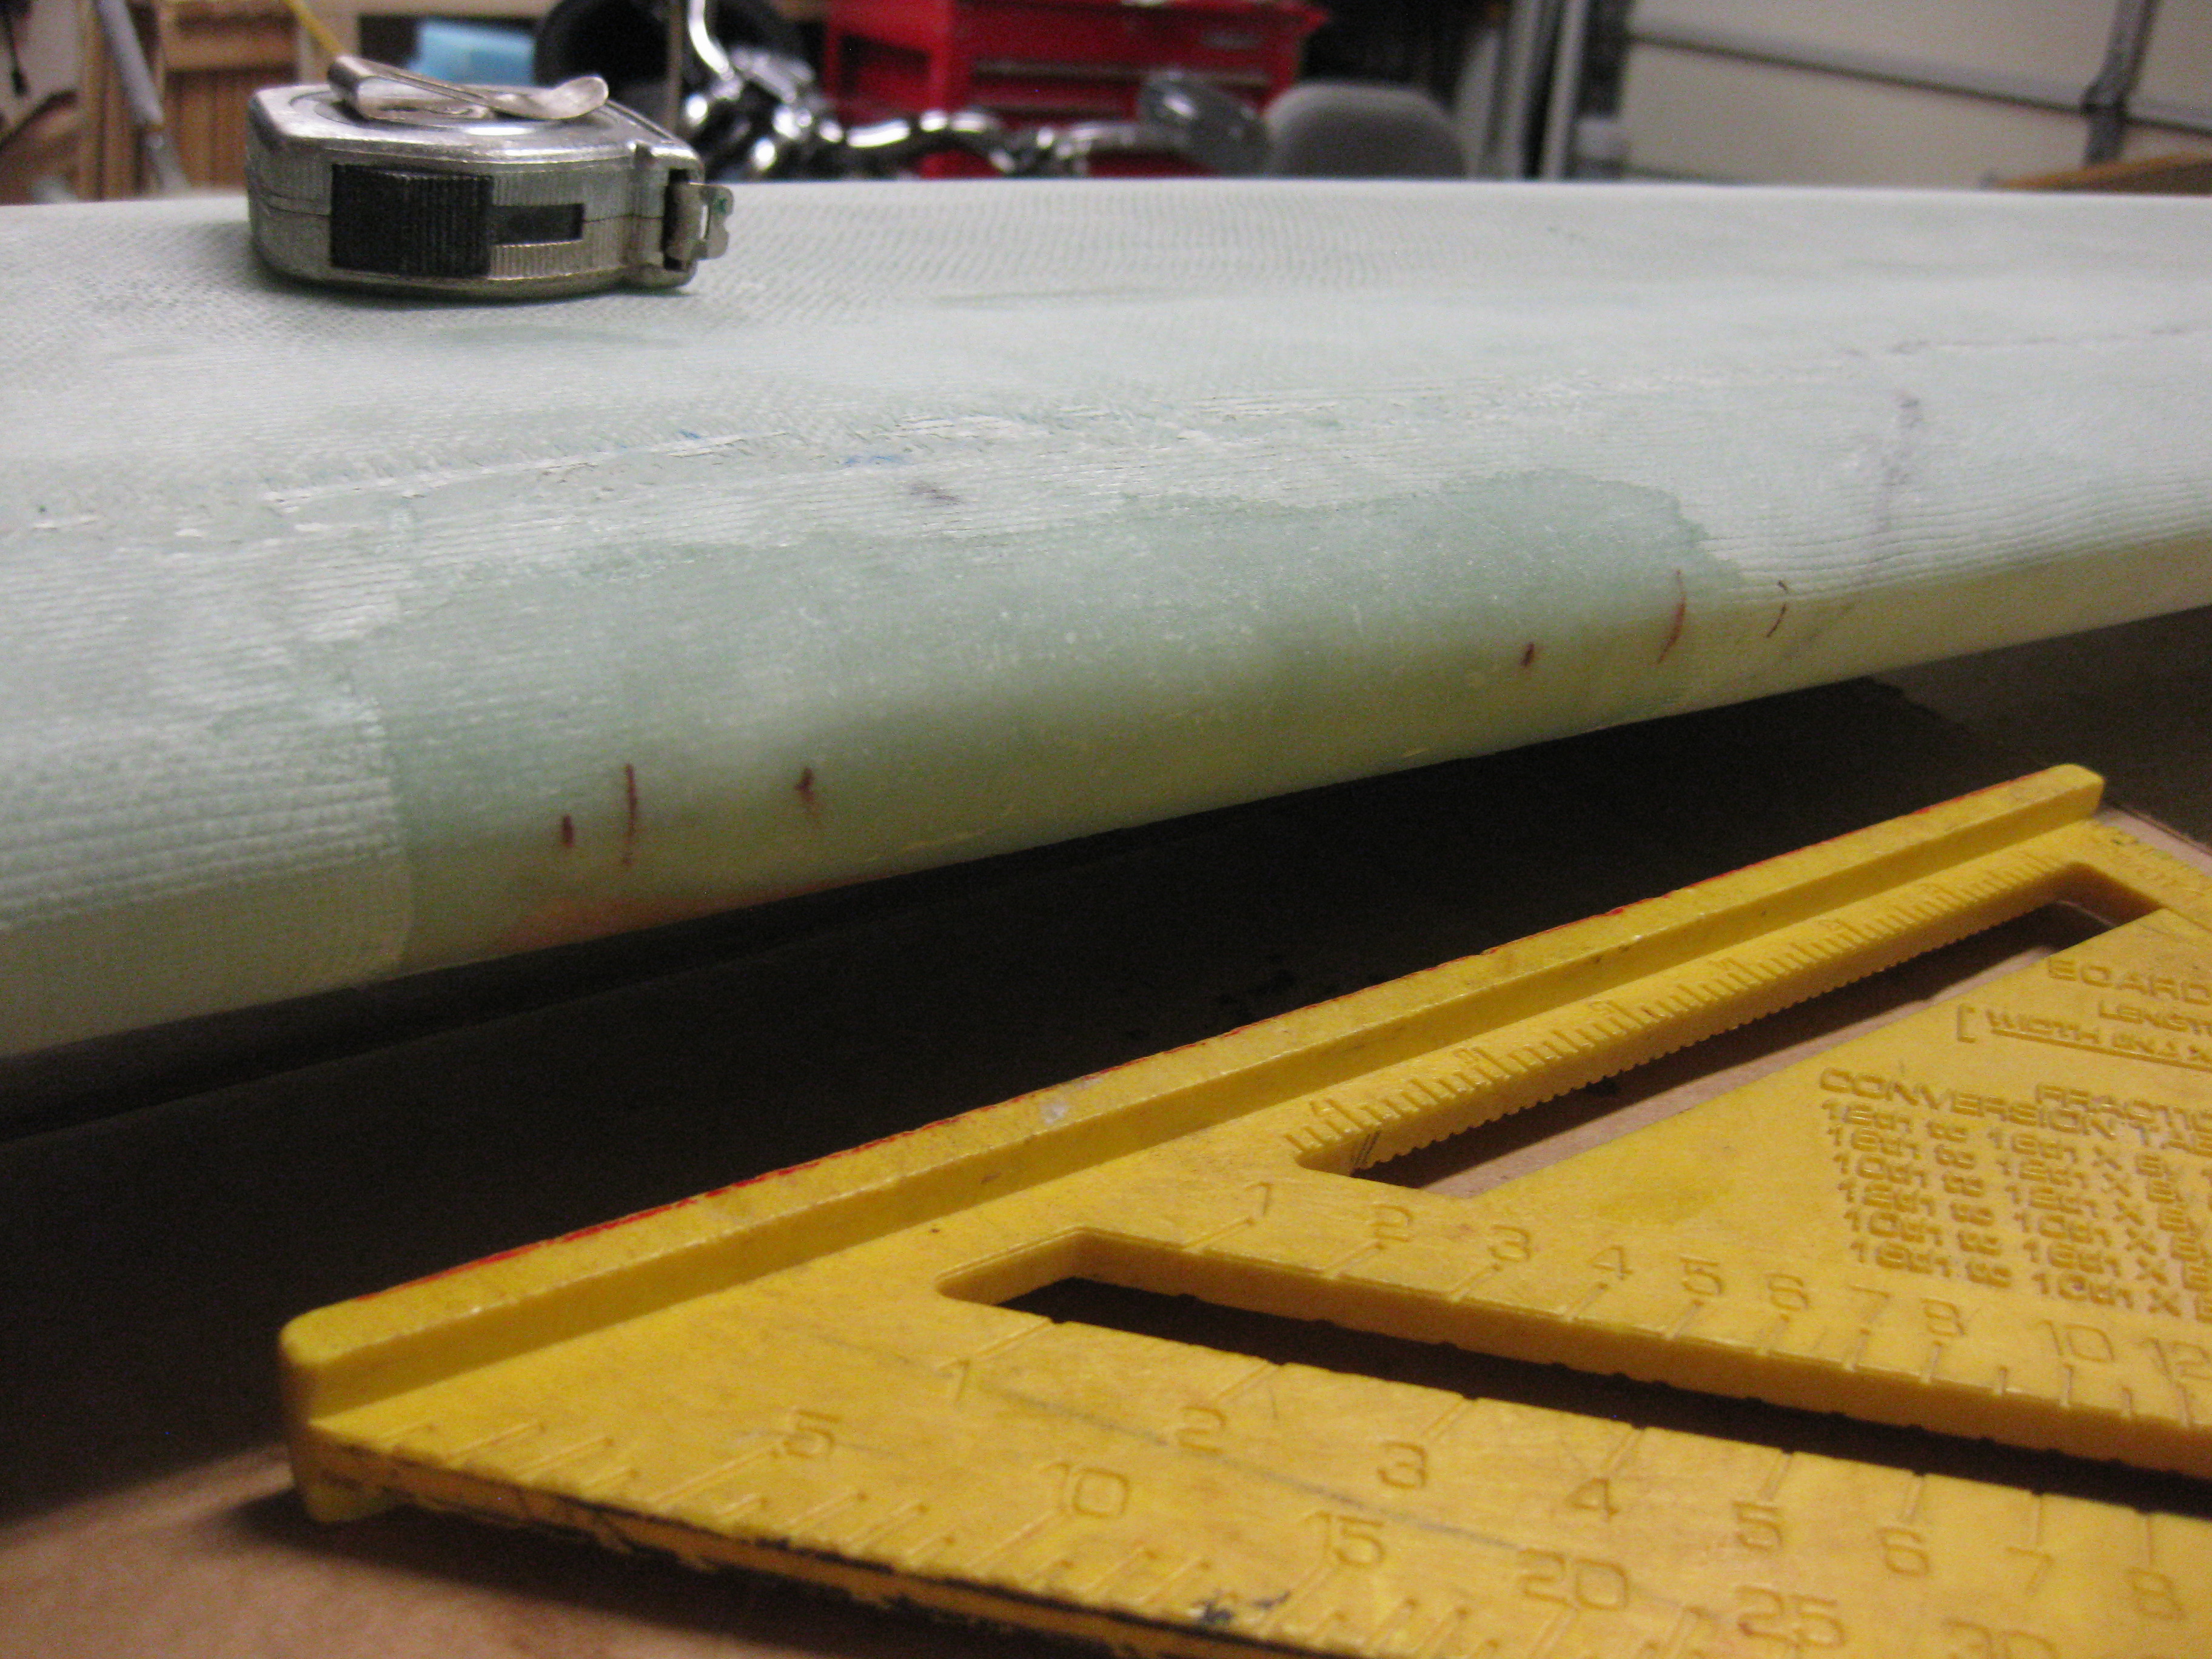
And then tested the patched LE area against a straight edge. There are still a few minor irregularities, but nothing that can’t be handled with a little bit of sanding and some micro during the finishing process.