
I started off today by hot gluing the outside corners of the canard jig that I had been messing around with yesterday while leveling the canard & ensuring it was straight.
I then cleaned up the spar: sanded, Dremeled, & prepped the LE & TE.

I then cut the antenna cable runs & installed the canard VOR & ILS antennas.
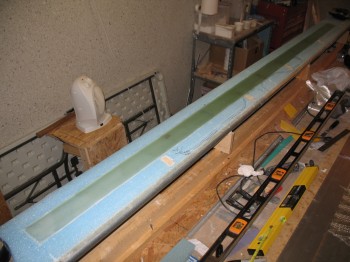
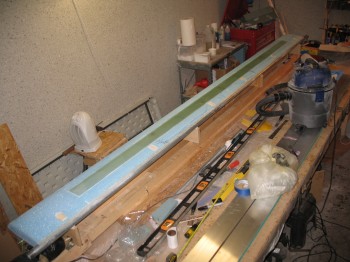
I vacuumed the entire top surface of the canard & made a final check of my preparations before starting the final main skin layup.
I used a mixture of fast hardener for the dry micro paste for all the heavy dings & divots, and around the installation of the antennas. I used a ~50/50 mixture of micro & flox for the LE prep. Something I may not have mentioned before, but something I’ve noted to building buddies of mine is that my unofficial ratio is that for about every hour worth of glassing I do, it seems like I have about 8 hours of actual prep (NOT researching & studying the plans, etc.). On this layup it took about an 1-1/2 hours just to finish prepping all the foam with micro.
I used fresh epoxy to wet out the LE, spar cap, TE glass. [Note: I think it’s worth reiterating that glass surfaces always get a coating of epoxy (normally) or flox (occasionally), which are structural, but never micro–which is not structural–in between the layers of glass].
I glassed 1 long single ply of UNI, a 4-piece layer of BID, and then 2 more long single plies of UNI… with 2 small holes in the middle for the antenna leads ~ 5.5″ & 4.0″ Left of CL.
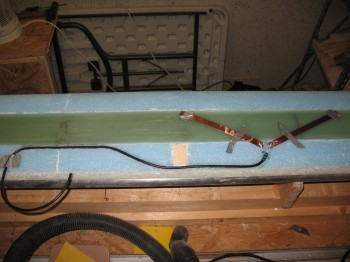
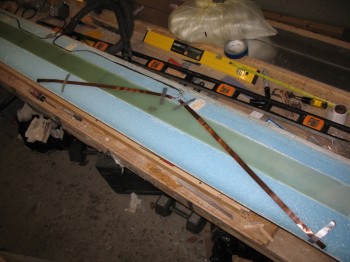
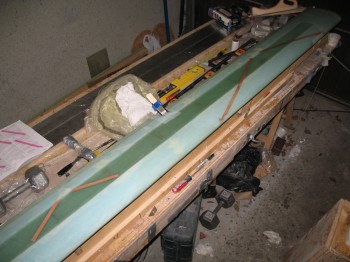
 I used toothpicks to the hold antenna leads straight while glassing the individual skin plies, and then used a makeshift taped Popsicle stick contraption to hold it at the right angle after all the top skin was glassed and the antenna lead area was peel plied.
I also specifically peel plied the Left Outboard LE area that was damaged by the foam being removed. It’s a slight flat spot that’s about 5 inches long, which I will just add a 2-3 ply glass patch and then shape it afterwards after this main glassing is completed.
 I checked the layup about an 1-1/2 hours after I finished and found a bubble a little over 1 inch long & about 1/2″ wide right over the edge of the spar cap, on the Left side about 6″ Inboard from the seam with the 11″ tip extension. It looked like it might be internal air off-gassing through the seam of both the spar cap and maybe even up through the top of the internal shear web. I “popped” the bubble with my scribe, added just a dab of wet epoxy and re-squeegeed out the bubble.
Another area that I wasn’t overly happy with was the contour of the TE, after using the contour checking template. Although I had built to plans, there was a trough/depression running down the entire length of the TE, not unlike the TEs of the main wings or winglets. So, while not called for in the plans, I filled in the TE trough with dry micro while the glass was still tacky and not yet cured.