
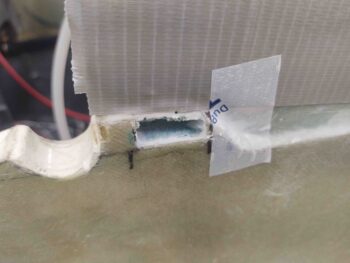
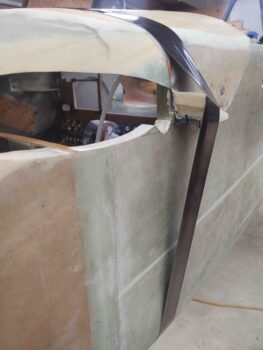
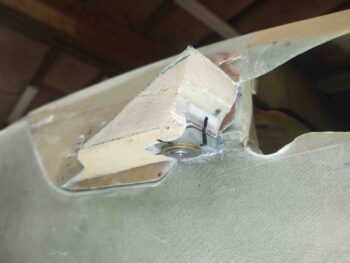
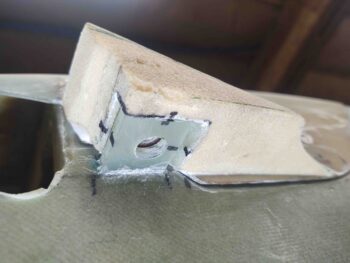
I started off today taping up around the elevator fairing nubs to protect the area from any errant flox or epoxy during the attachment of the nubs to the fuselage.
I then prepped each slot with micro on the foam and then flox in the corners and edge of the slot.
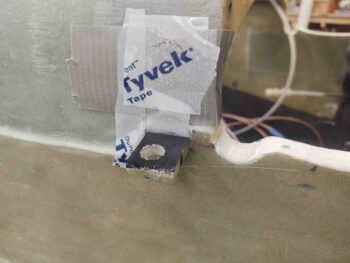
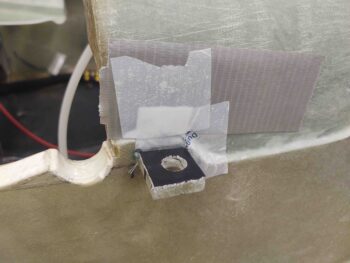
Not visible in these shots of the elevator fairing attachment nubs are the ply of glass I wrapped around the inboard half of the nub that is internally secured in the sidewall. This essentially creates a 1-ply glass bond between the top outboard edge of the slot to the inboard wall, then the same on the bottom. I figured I would simply help add some glass back in the mix to bolster and reinforce this area as much as possible.
As you can see, I have thick black Gorilla duct tape on the top surface of the nubs to both help protect it during floxing and glassing ops, but also as a spacer to help mimic the 2-ply glass layup that the top surface will receive.
I then reinstalled the aft nose/avionics cover and buttoned it down with CAMLOCS in various spots. There are actually CAMLOC studs securing the nubs to the bottom of the fairings, so to ensure that I had as snug of a fit against the sidewall as possible I taped the fairings to press them inwards.
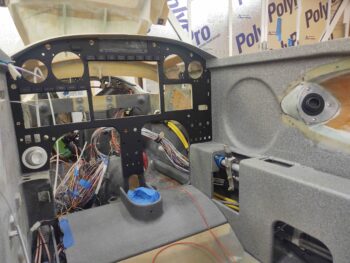
As the nub-securing flox and glass cured, I got back to work on the instrument panel… specifically on widening out the mounting holes in the original composite panel to allow the installation of the Korey indicator lights in the row just over the HXr EFIS.
I started by applying duct tape (this time, I think it holds better than the blue painters tape in this application) over the row of lights and then reinstalling the panel over the tape.
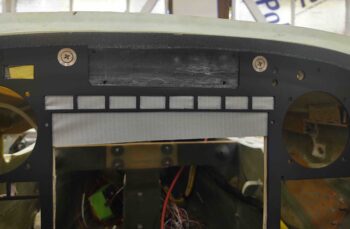
I then used a razor knife to cut the outlines of the aluminum panel face Korey light holes into the tape and then removed the cut tape from the holes.
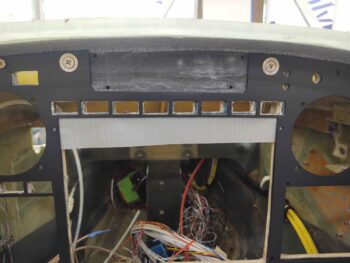
I then removed the panel again and proceeded to cut out each hole using the tape outline as a rough guide, and just kept at it for nearly an hour until I could insert a Korey light into each mounting hole.
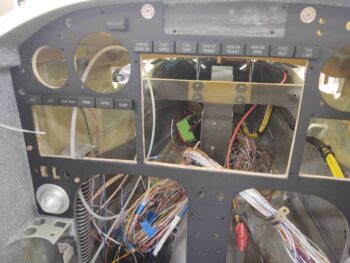
I also grabbed a wider angle shot of the front cockpit and panel to show the 2 pilot air vents… one on each side.
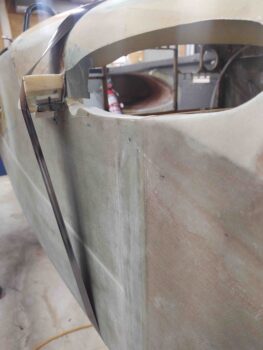
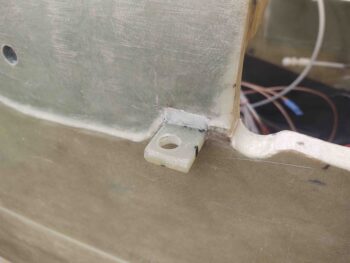
Here we have a shot, many hours later, of the elevator fairing nubs secured to the sidewall with cured flox and glass. I removed the tape and peel ply, and cleaned up the edges along the top and bottom edges where the nubs entered the sidewall. I then reset the aft nose/avionics cover back in place —which of course now includes the elevator fairings— and re-secured the fairings to the nubs via CAMLOCs.
Note that since the smallest sized CAMLOC studs are -2s, I needed to use some washers to ensure a tight fit between the nub and fairing underside. I will re-assess these -2s after I glass the tops and bottoms of the nubs to see how well they fit.
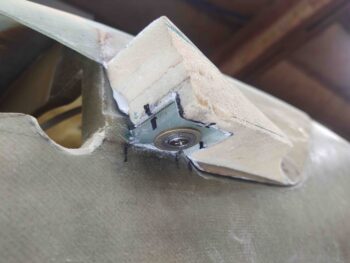
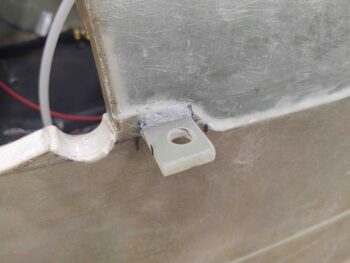
Here we have another shot with the CAMLOC studs removed.
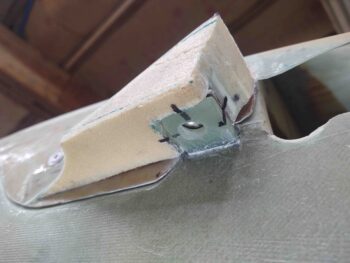
And a final shot of the left and right side nubs floxed and glassed in place just by themselves.
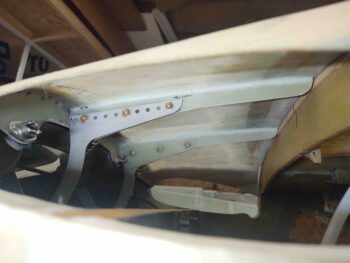
As I was grabbing some shots of the nubs getting installed into the sidewall, I saw this shot of the underside of the forward aft nose cover… I thought it was pretty cool and showed a fair bit of the hardware for the aft nose cover, so I included it here just for fun.
Tomorrow I’ll continue on with my elevator fairings install and final tasks on the instrument panel… all again in prep to flip this bird over and glass the bottom strake skins.