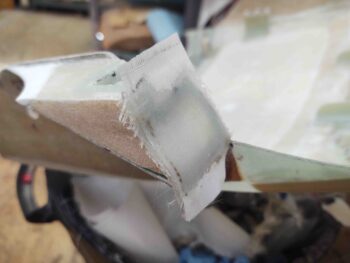
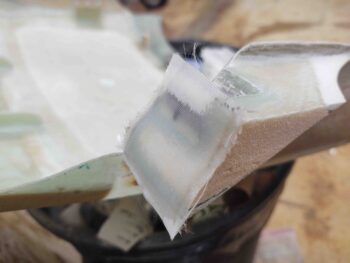
I started off today by shaping and prepping the front edges of the elevator fairings for glass. This required a fair amount of edge work to create the flox corners, which in large measure is honestly what mostly holds these fairings together.
I then whipped up some flox and slathered it into the flox corners. I waited a good hour for it to firm up before laying up 2 plies of BID on each respective front face. I then peel plied the layups.
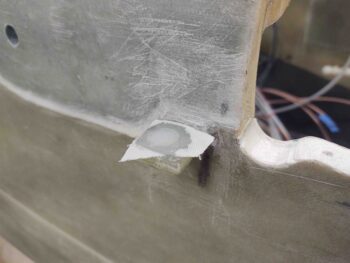
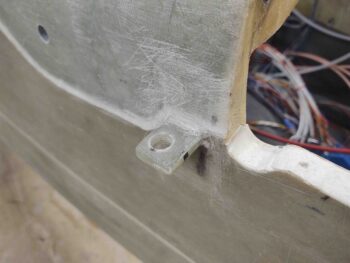
Previously I added 2 plies of BID to the left elevator fairing securing nub –which I subsequently trimmed and re-drilled the hole– and on the right side I added 3 plies of BID. Both these glass additions were to better seat the CAMLOC stud.
I trimmed the glass on the right side, except I did not re-drill the hole. I needed to move the entire hole outboard about 1/16″ so I scuffed up the glass on the bottom of the hole with a scribe and then filled it with flox. I then peel plied it and left it to cure.
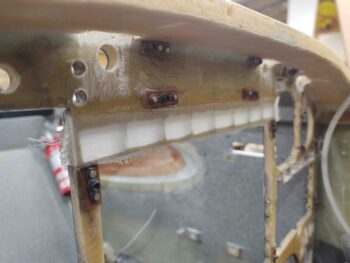
I had some epoxy left over, and hate to waste it, so I added a reinforcement ply of BID to the back side of the over-HXr row of Korey lights. These mounting holes need as much reinforcement as they can get, so I thought this would be a good addition. I then peel plied the layup.
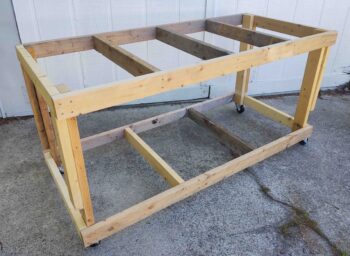
While all my composite tasks cured, I then went outside and finished up building my fuselage dolly (#2) for supporting the plane while its inverted… for the bottom strake glassing, etc.
Later in the evening I marked and re-drilled the hole in the right elevator fairing securing nub, although I think my larger bits tended to track back into the original hole. So instead of getting my desired 1/16″ shift outboard, I think I got more like 1/32″… oh, well.
Although I failed to grab pics of it, I then laid up a ply of BID on the outboard face of the elevator fairings, replete with flox corners and peel ply. I’ll grab a shot of those of course tomorrow.

