
I started off spending a good hour, and 3 good long board sanding sheets, before I finally got the hint that although the primer looks cured, and feels cured to the touch, it’s not cured fully and that’s why my sanding sheets gummed up so quickly. Argh!
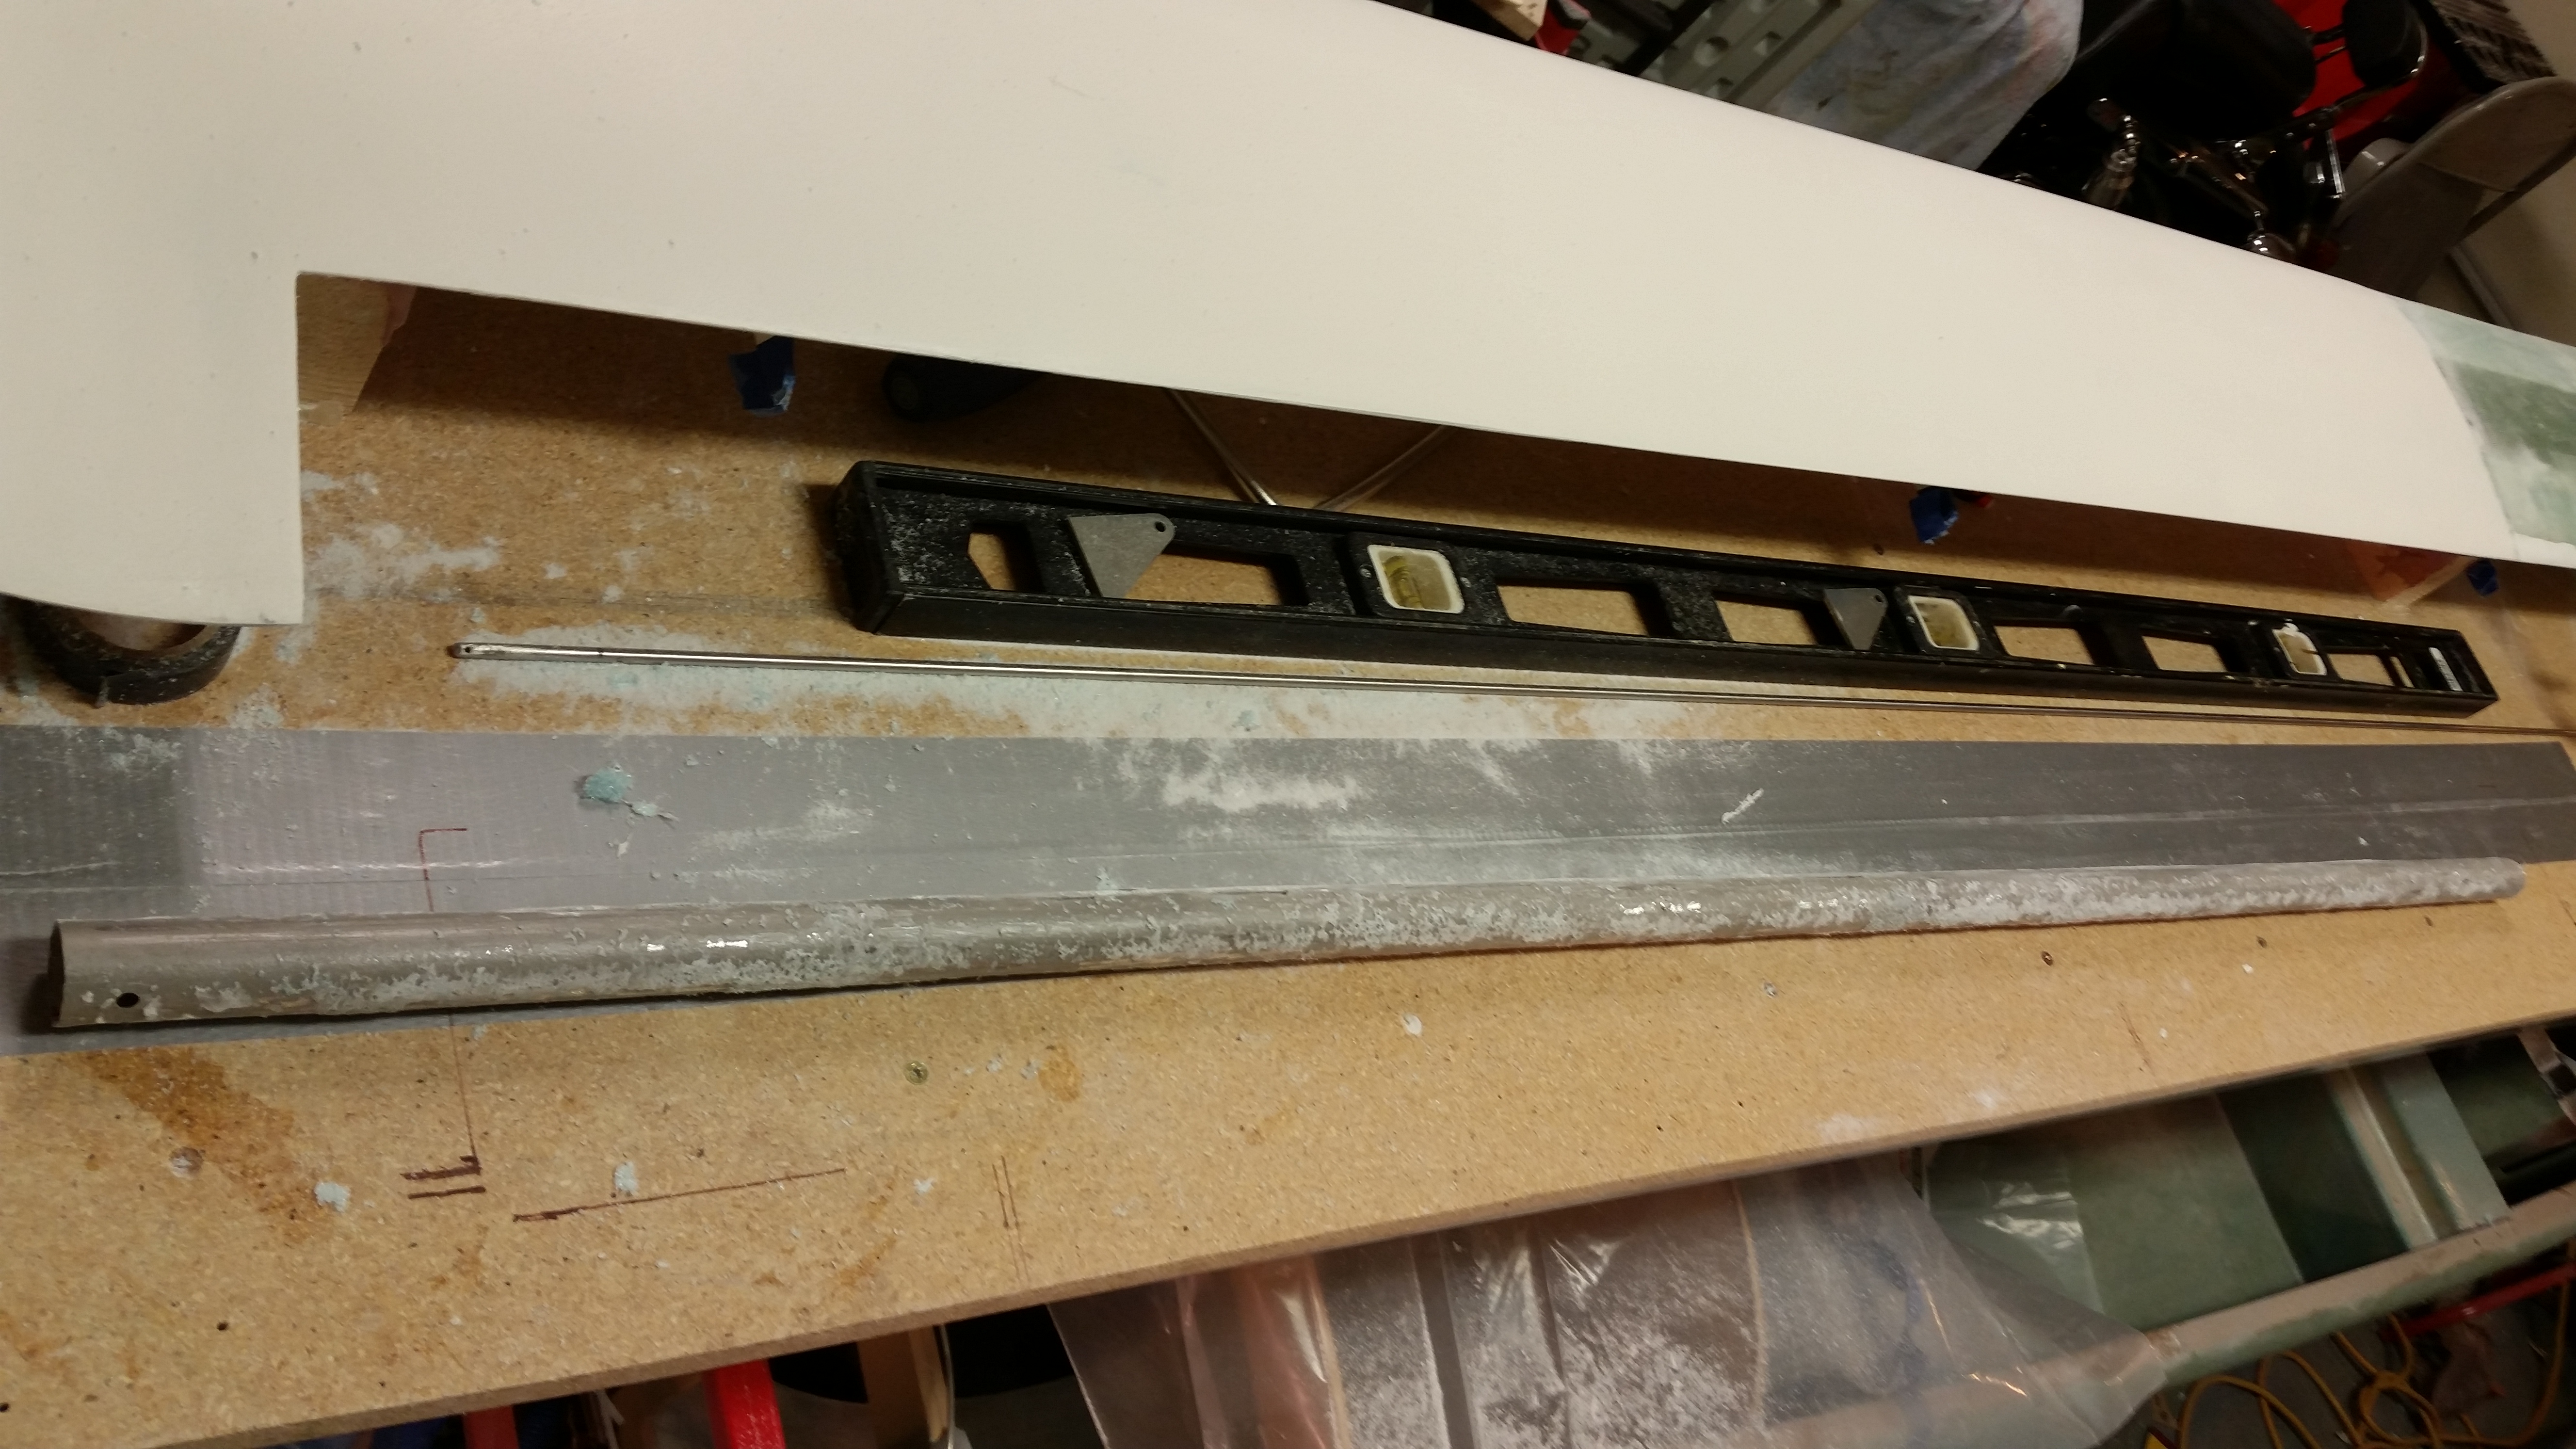
So I quickly stopped that futile endeavor and started working on the elevator build prep. My first step was to ensure the table surface was level for the elevator build. I pulled out the über awesome aluminum straight board that I picked up in Germany to check the work bench alignment. From the corner to about 60″ in I had just about 30 thou of sag in the table. A couple of quick shims and everything looked good, straight and level.
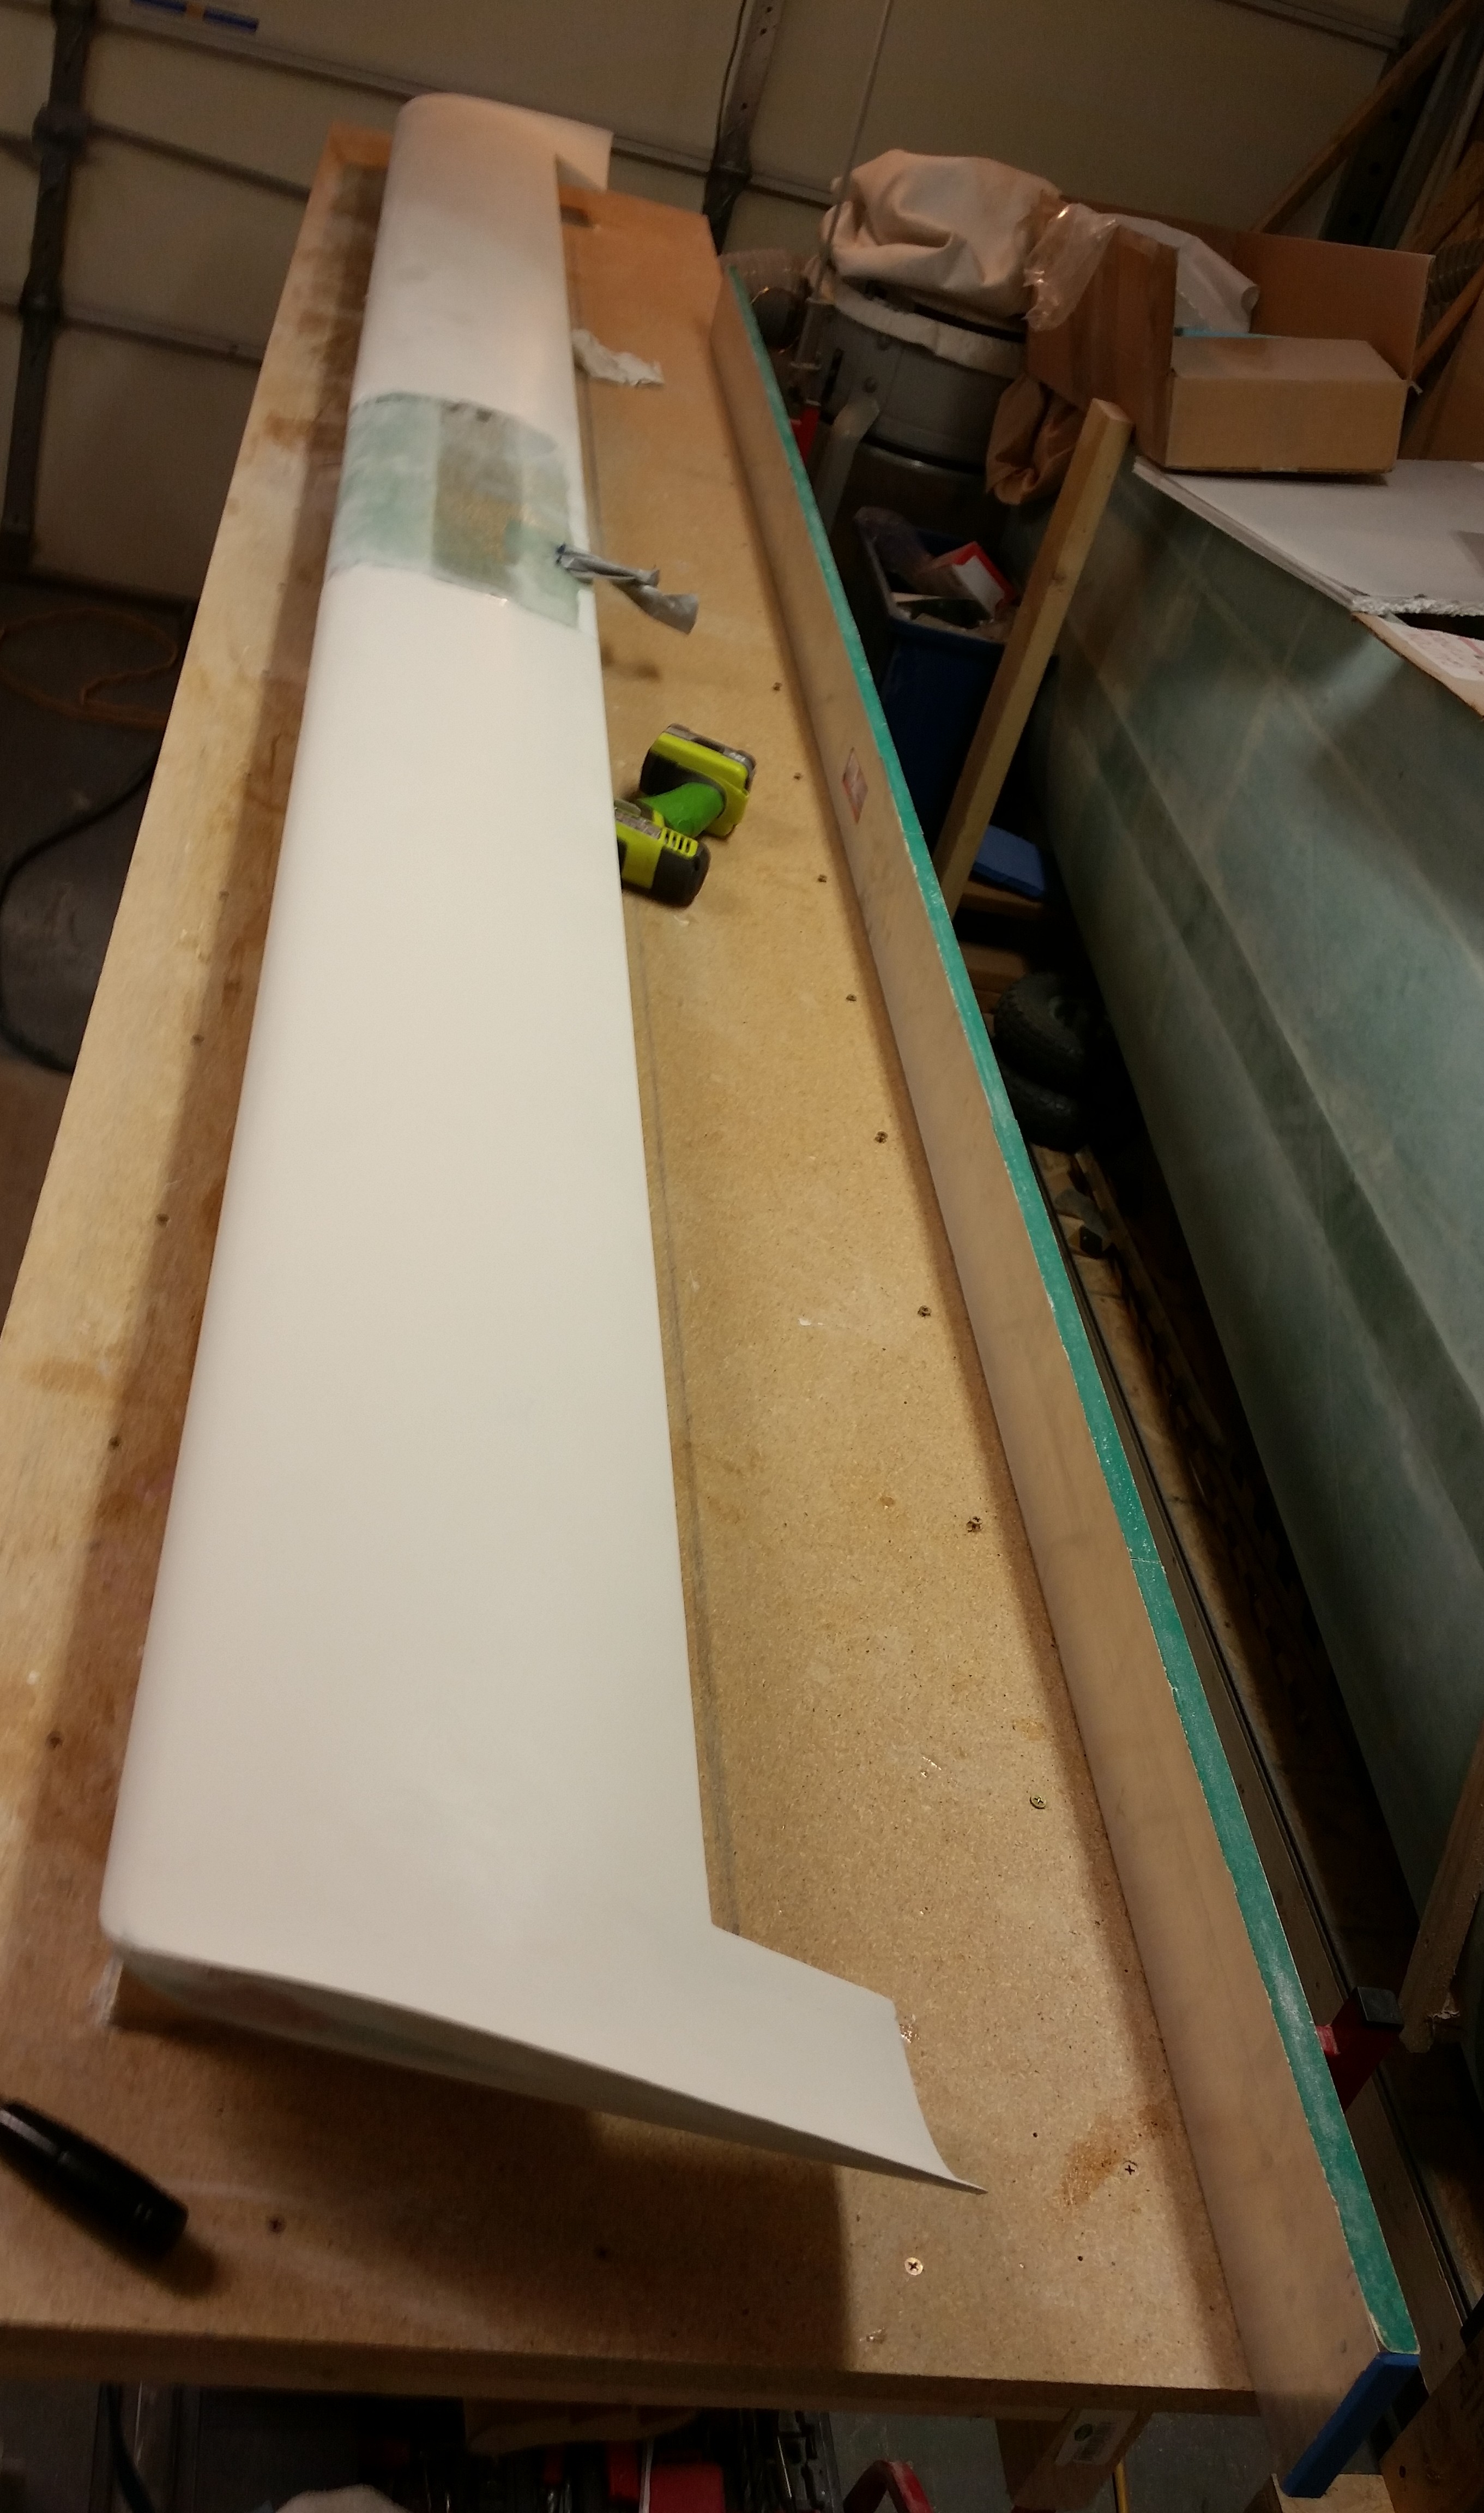
I laid down some duct tape where the TE of the elevator will run on the table and then got to work deconstructing the elevator.
The first task was to remove the torque tube offset from the inboard side.
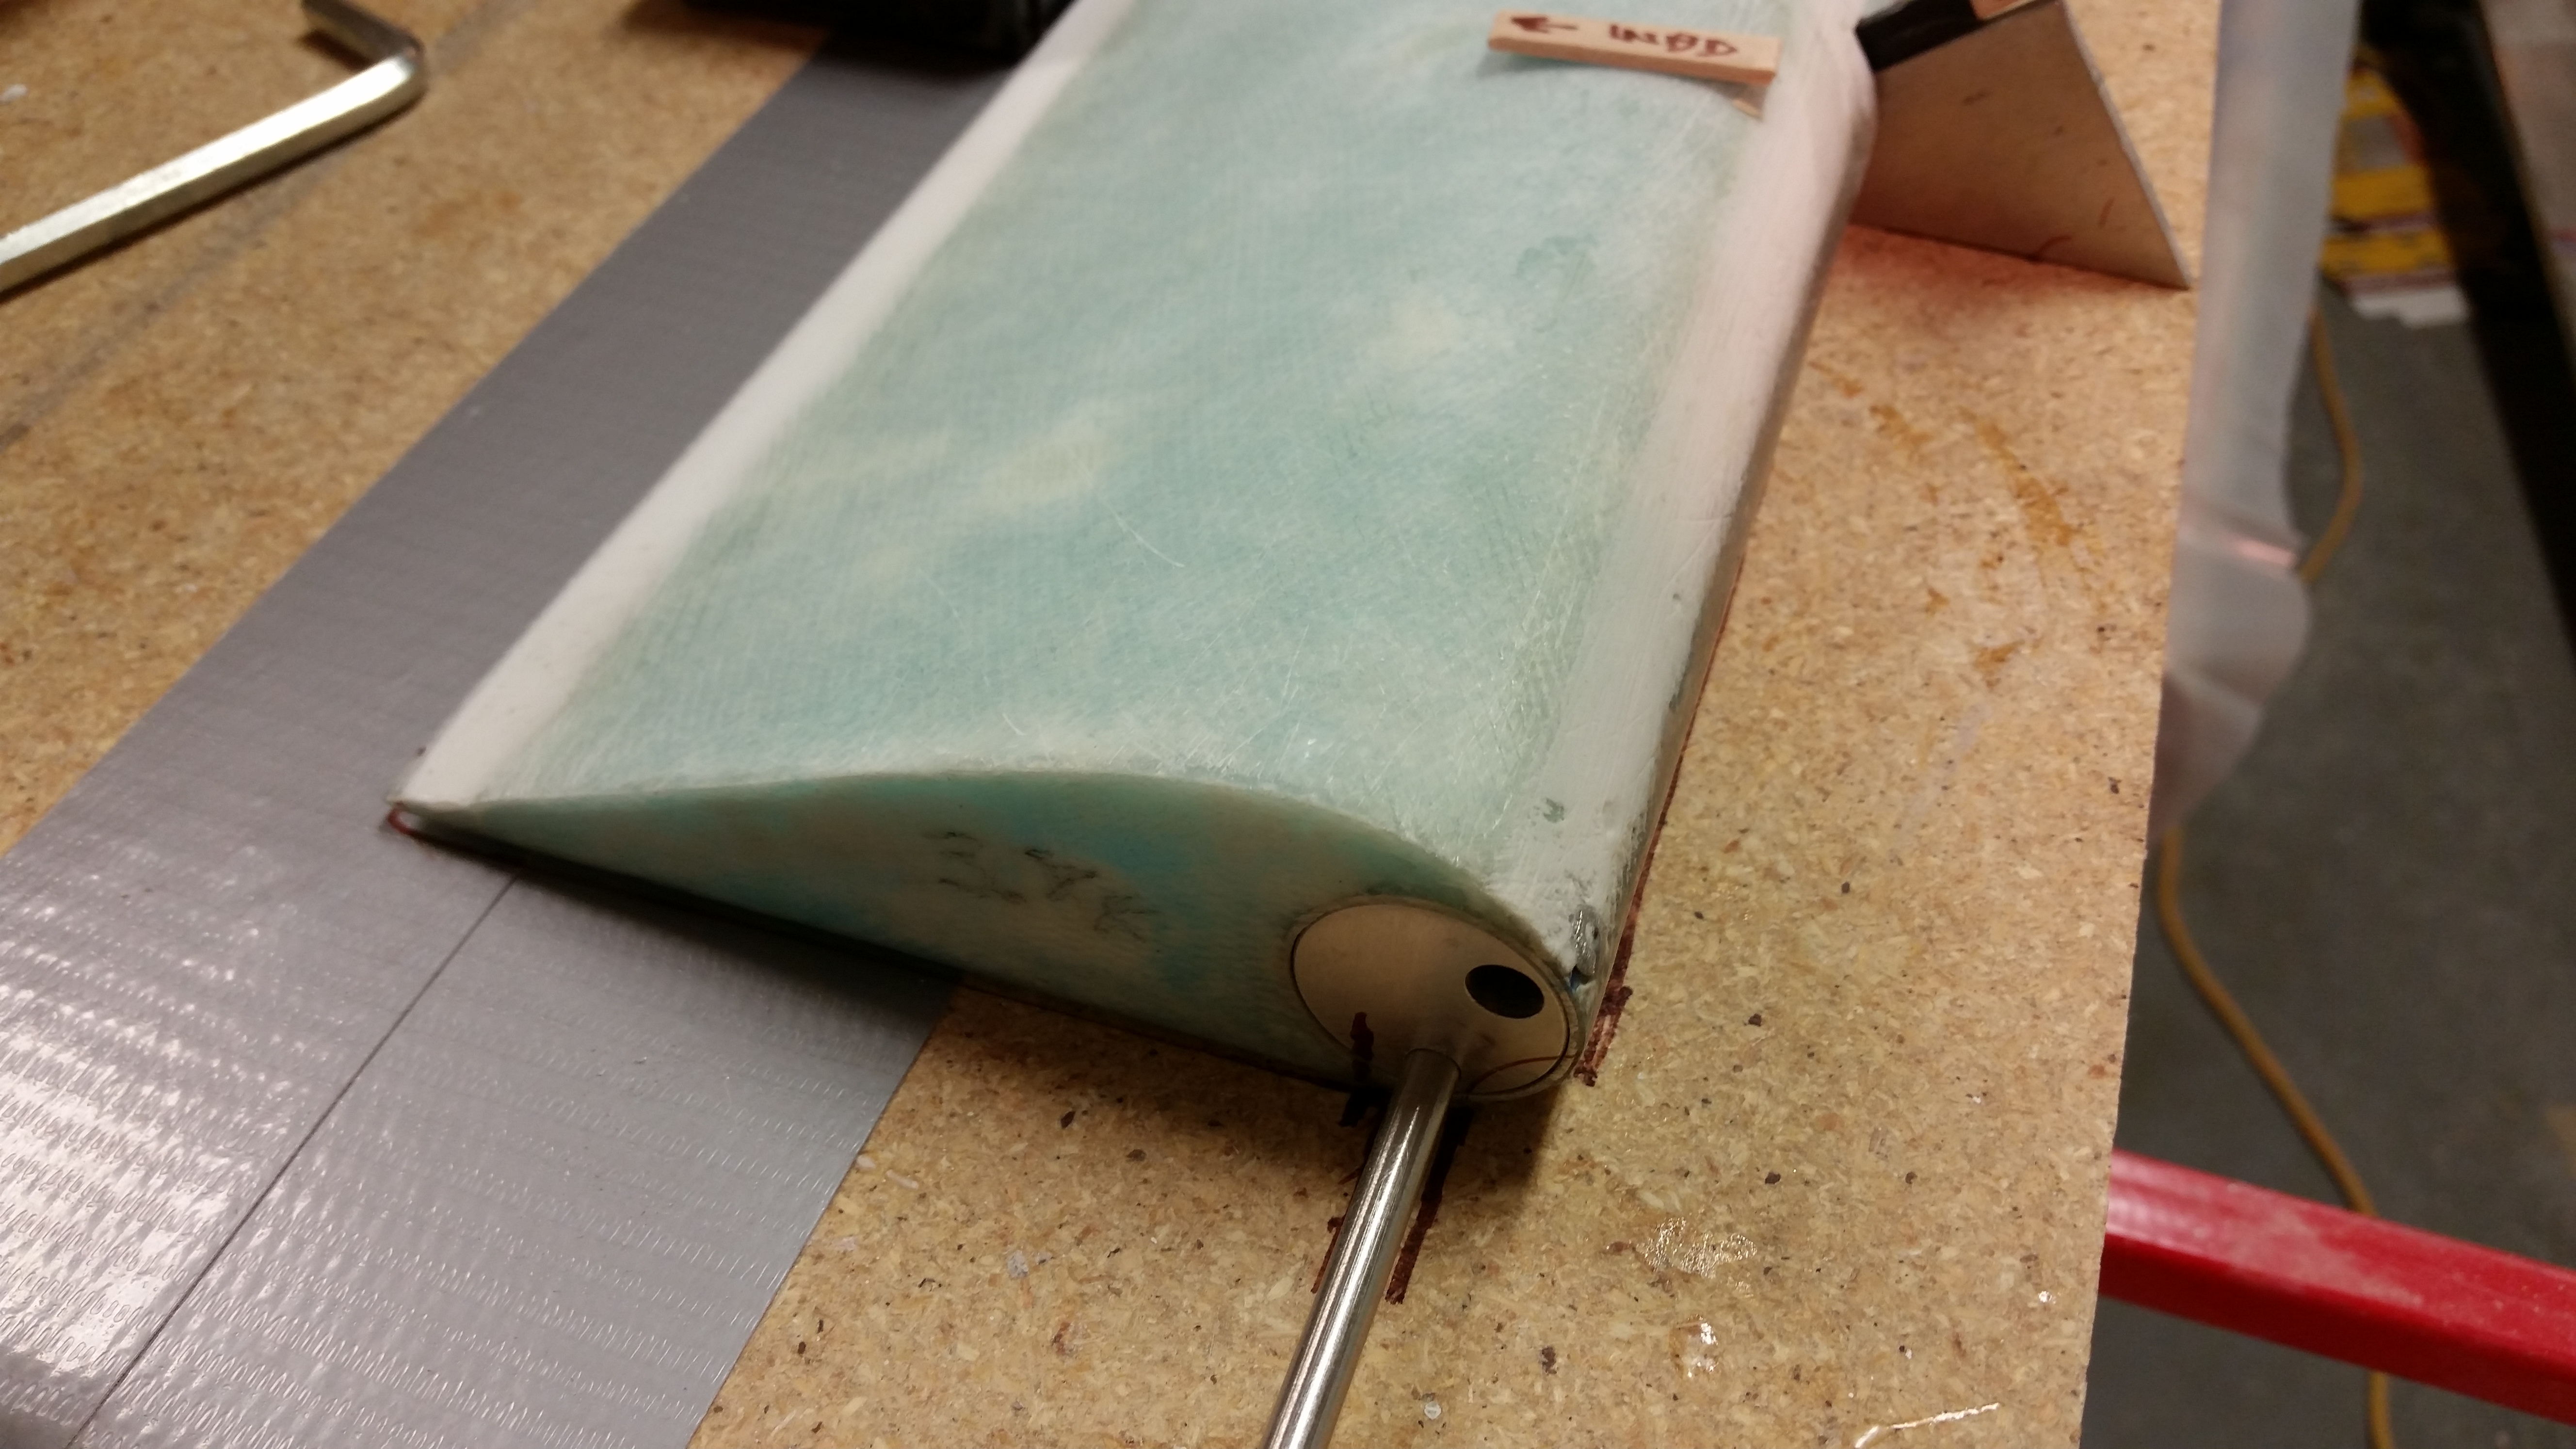
And then the elevator weight on the outboard side.

After cutting the UNI plies at the base of the foam on top & bottom, I gave the weight a sharp rap, snapping it off. Unfortunately it came off a little less gracefully (read: intact) than I had hoped for, but I think with some judicious application of flox it may very well work on the next elevator. BTW, as you can see below, the UNI pretty much peeled right off the weight with a little effort, but not a lot.

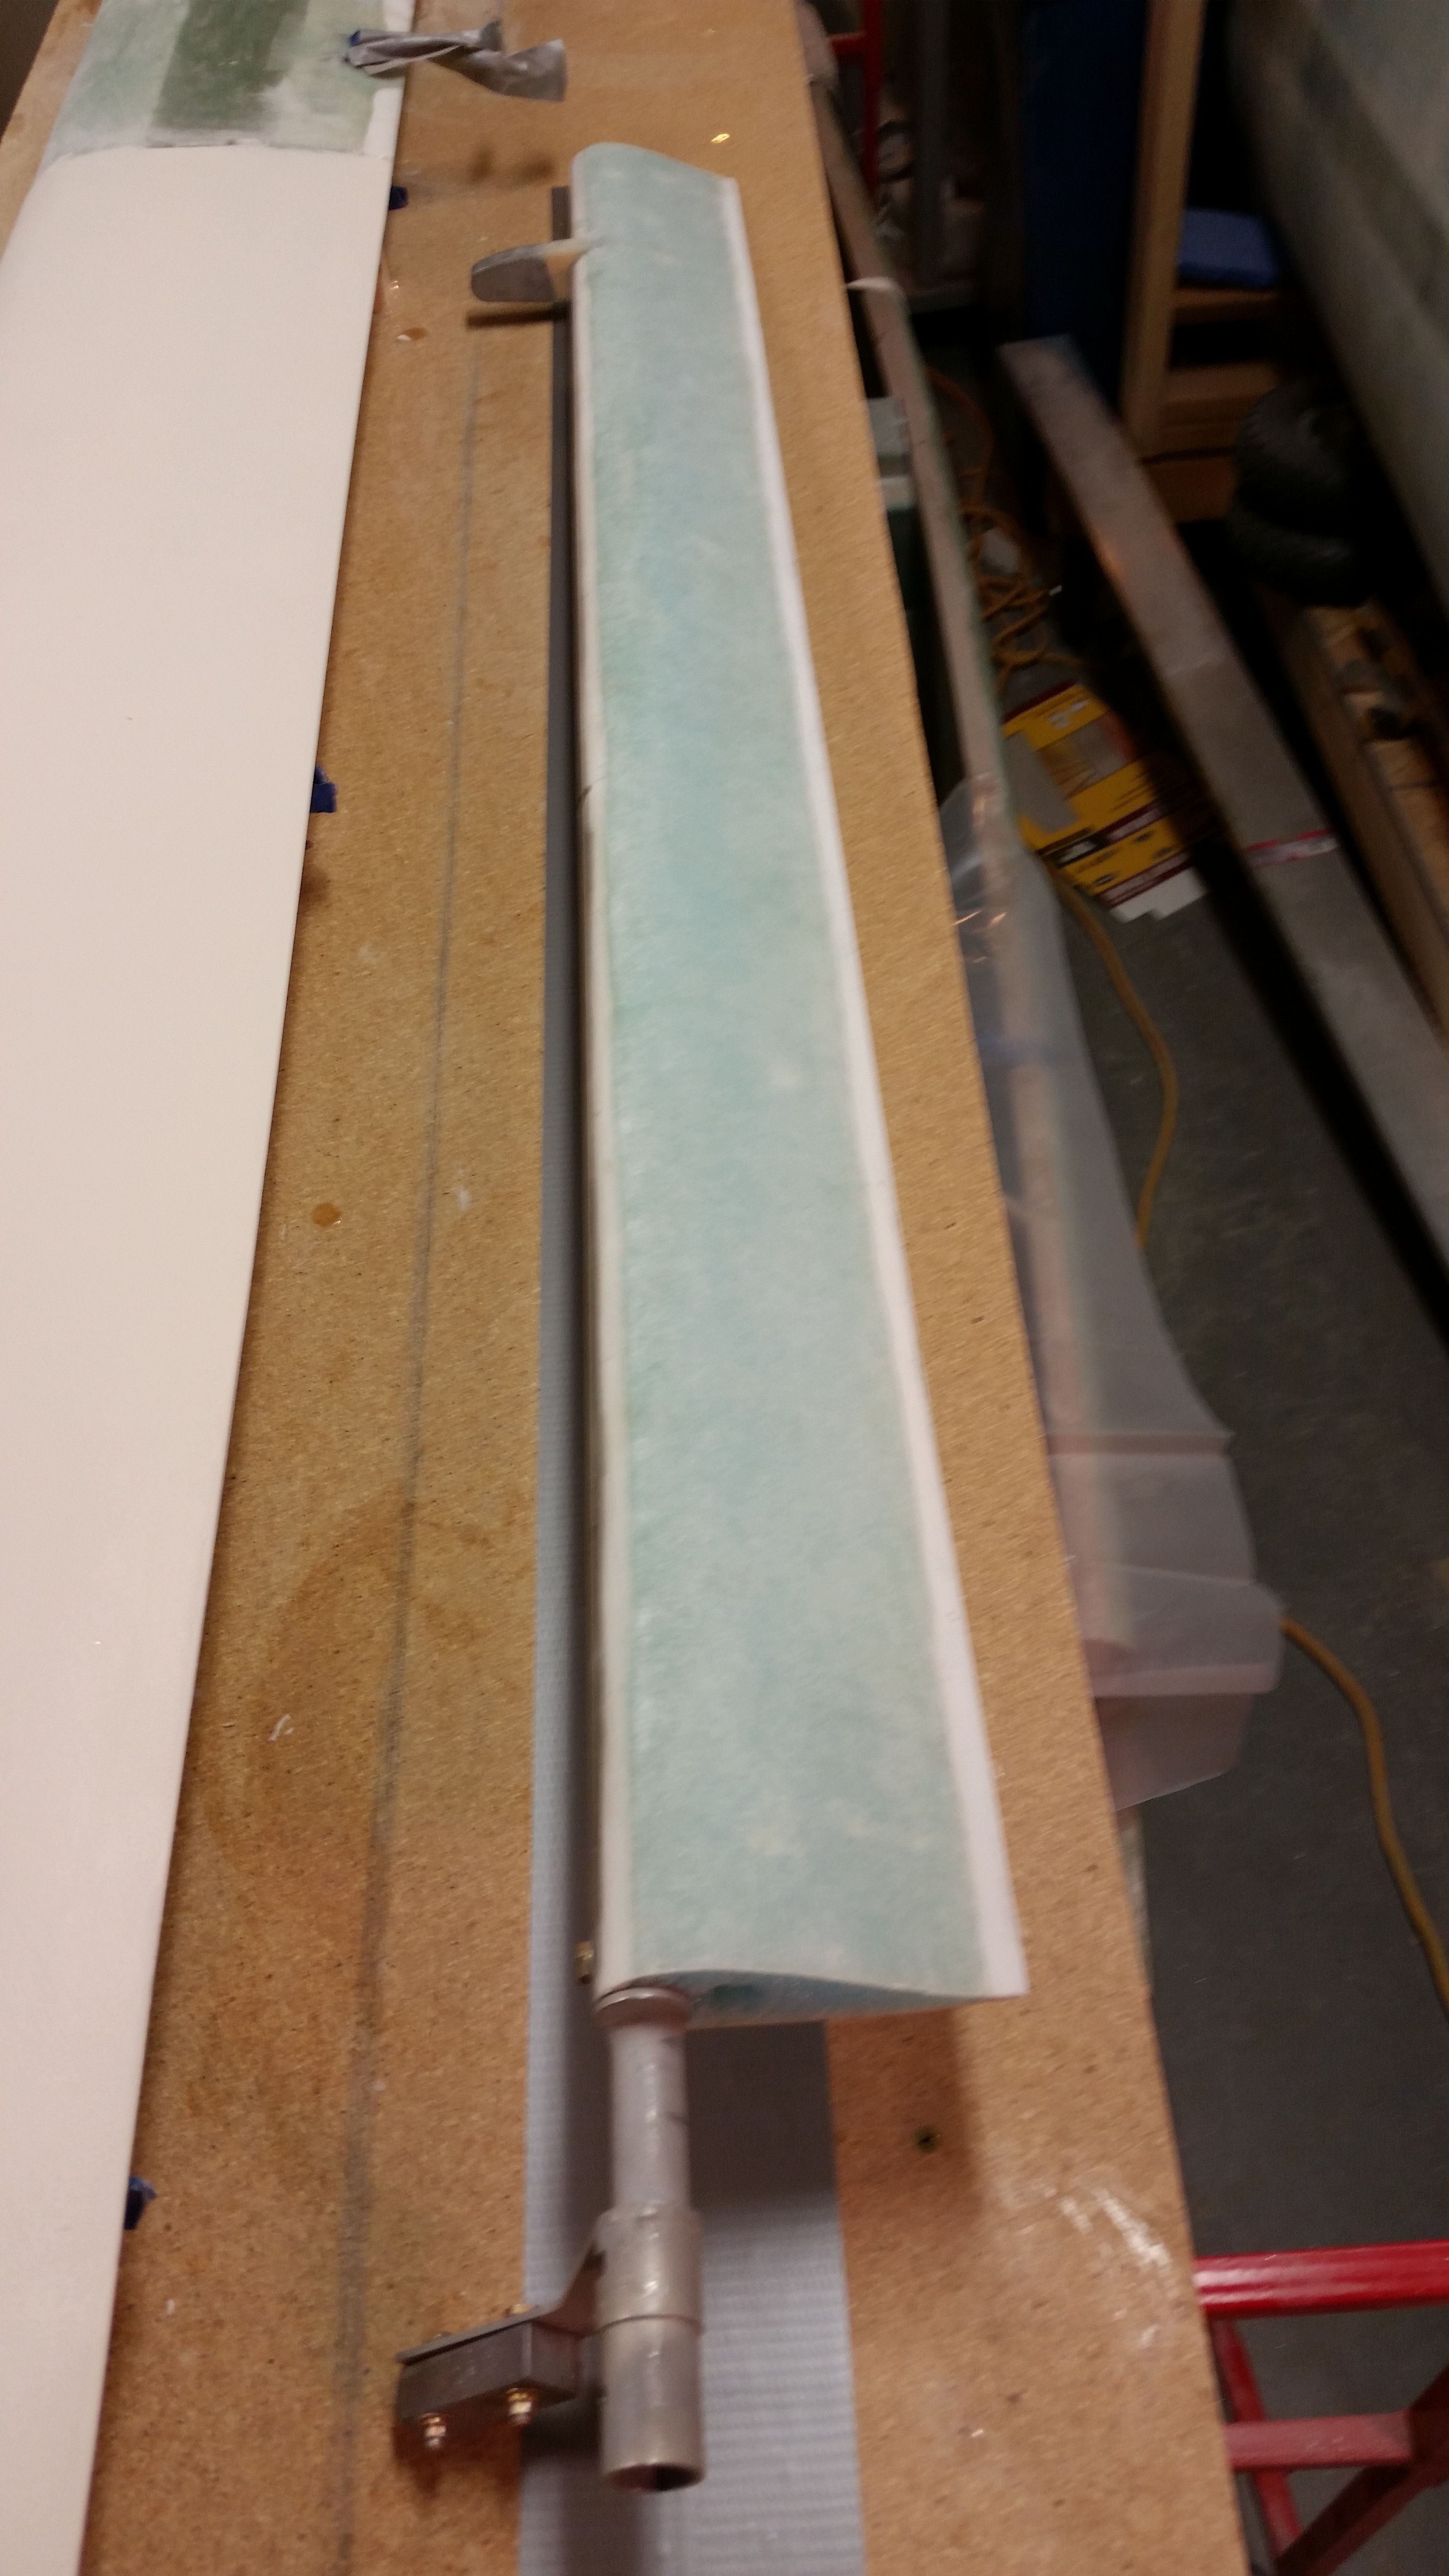
I then broke out my old friends, the NC-7s, to get a gauge of how they line up currently in the hinge tab slots.
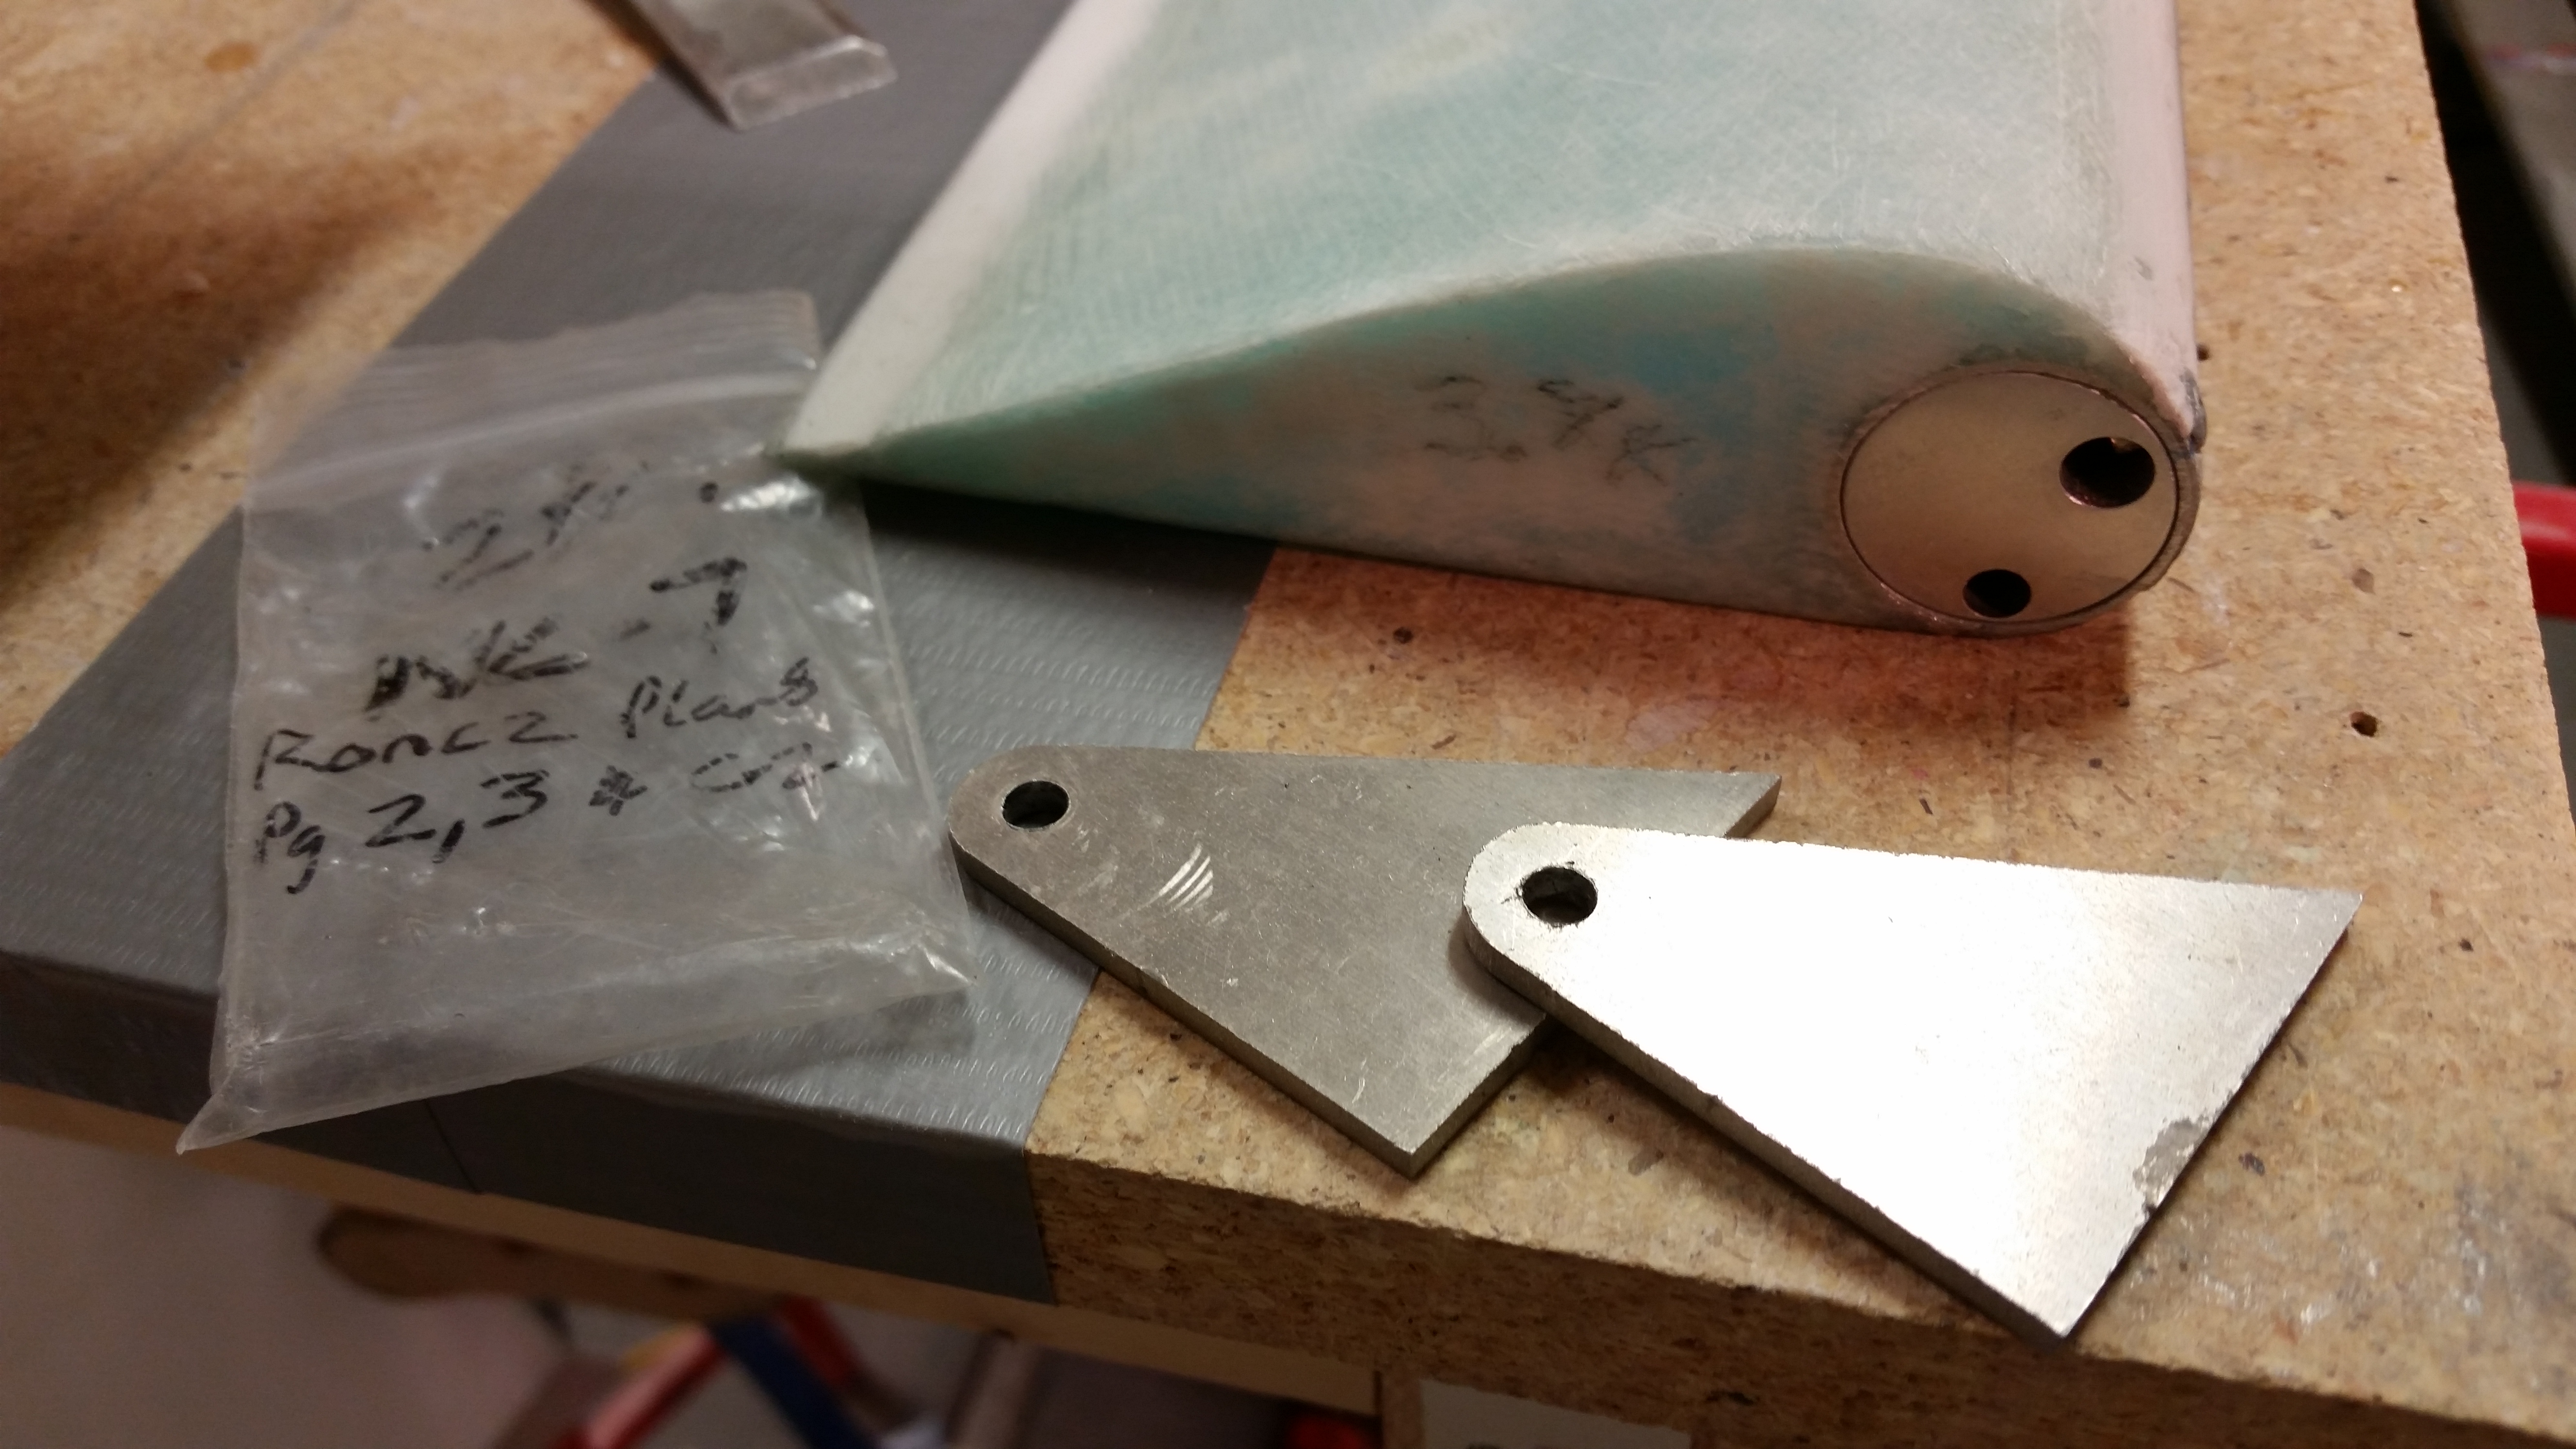
I diced up a popsicle stick to make spacers for the current NC-7 gaps to replicate this on the next elevator when the core is mounted to the tube. And yes, I’m allowing for the .020″ that comes into play for the skin thickness.
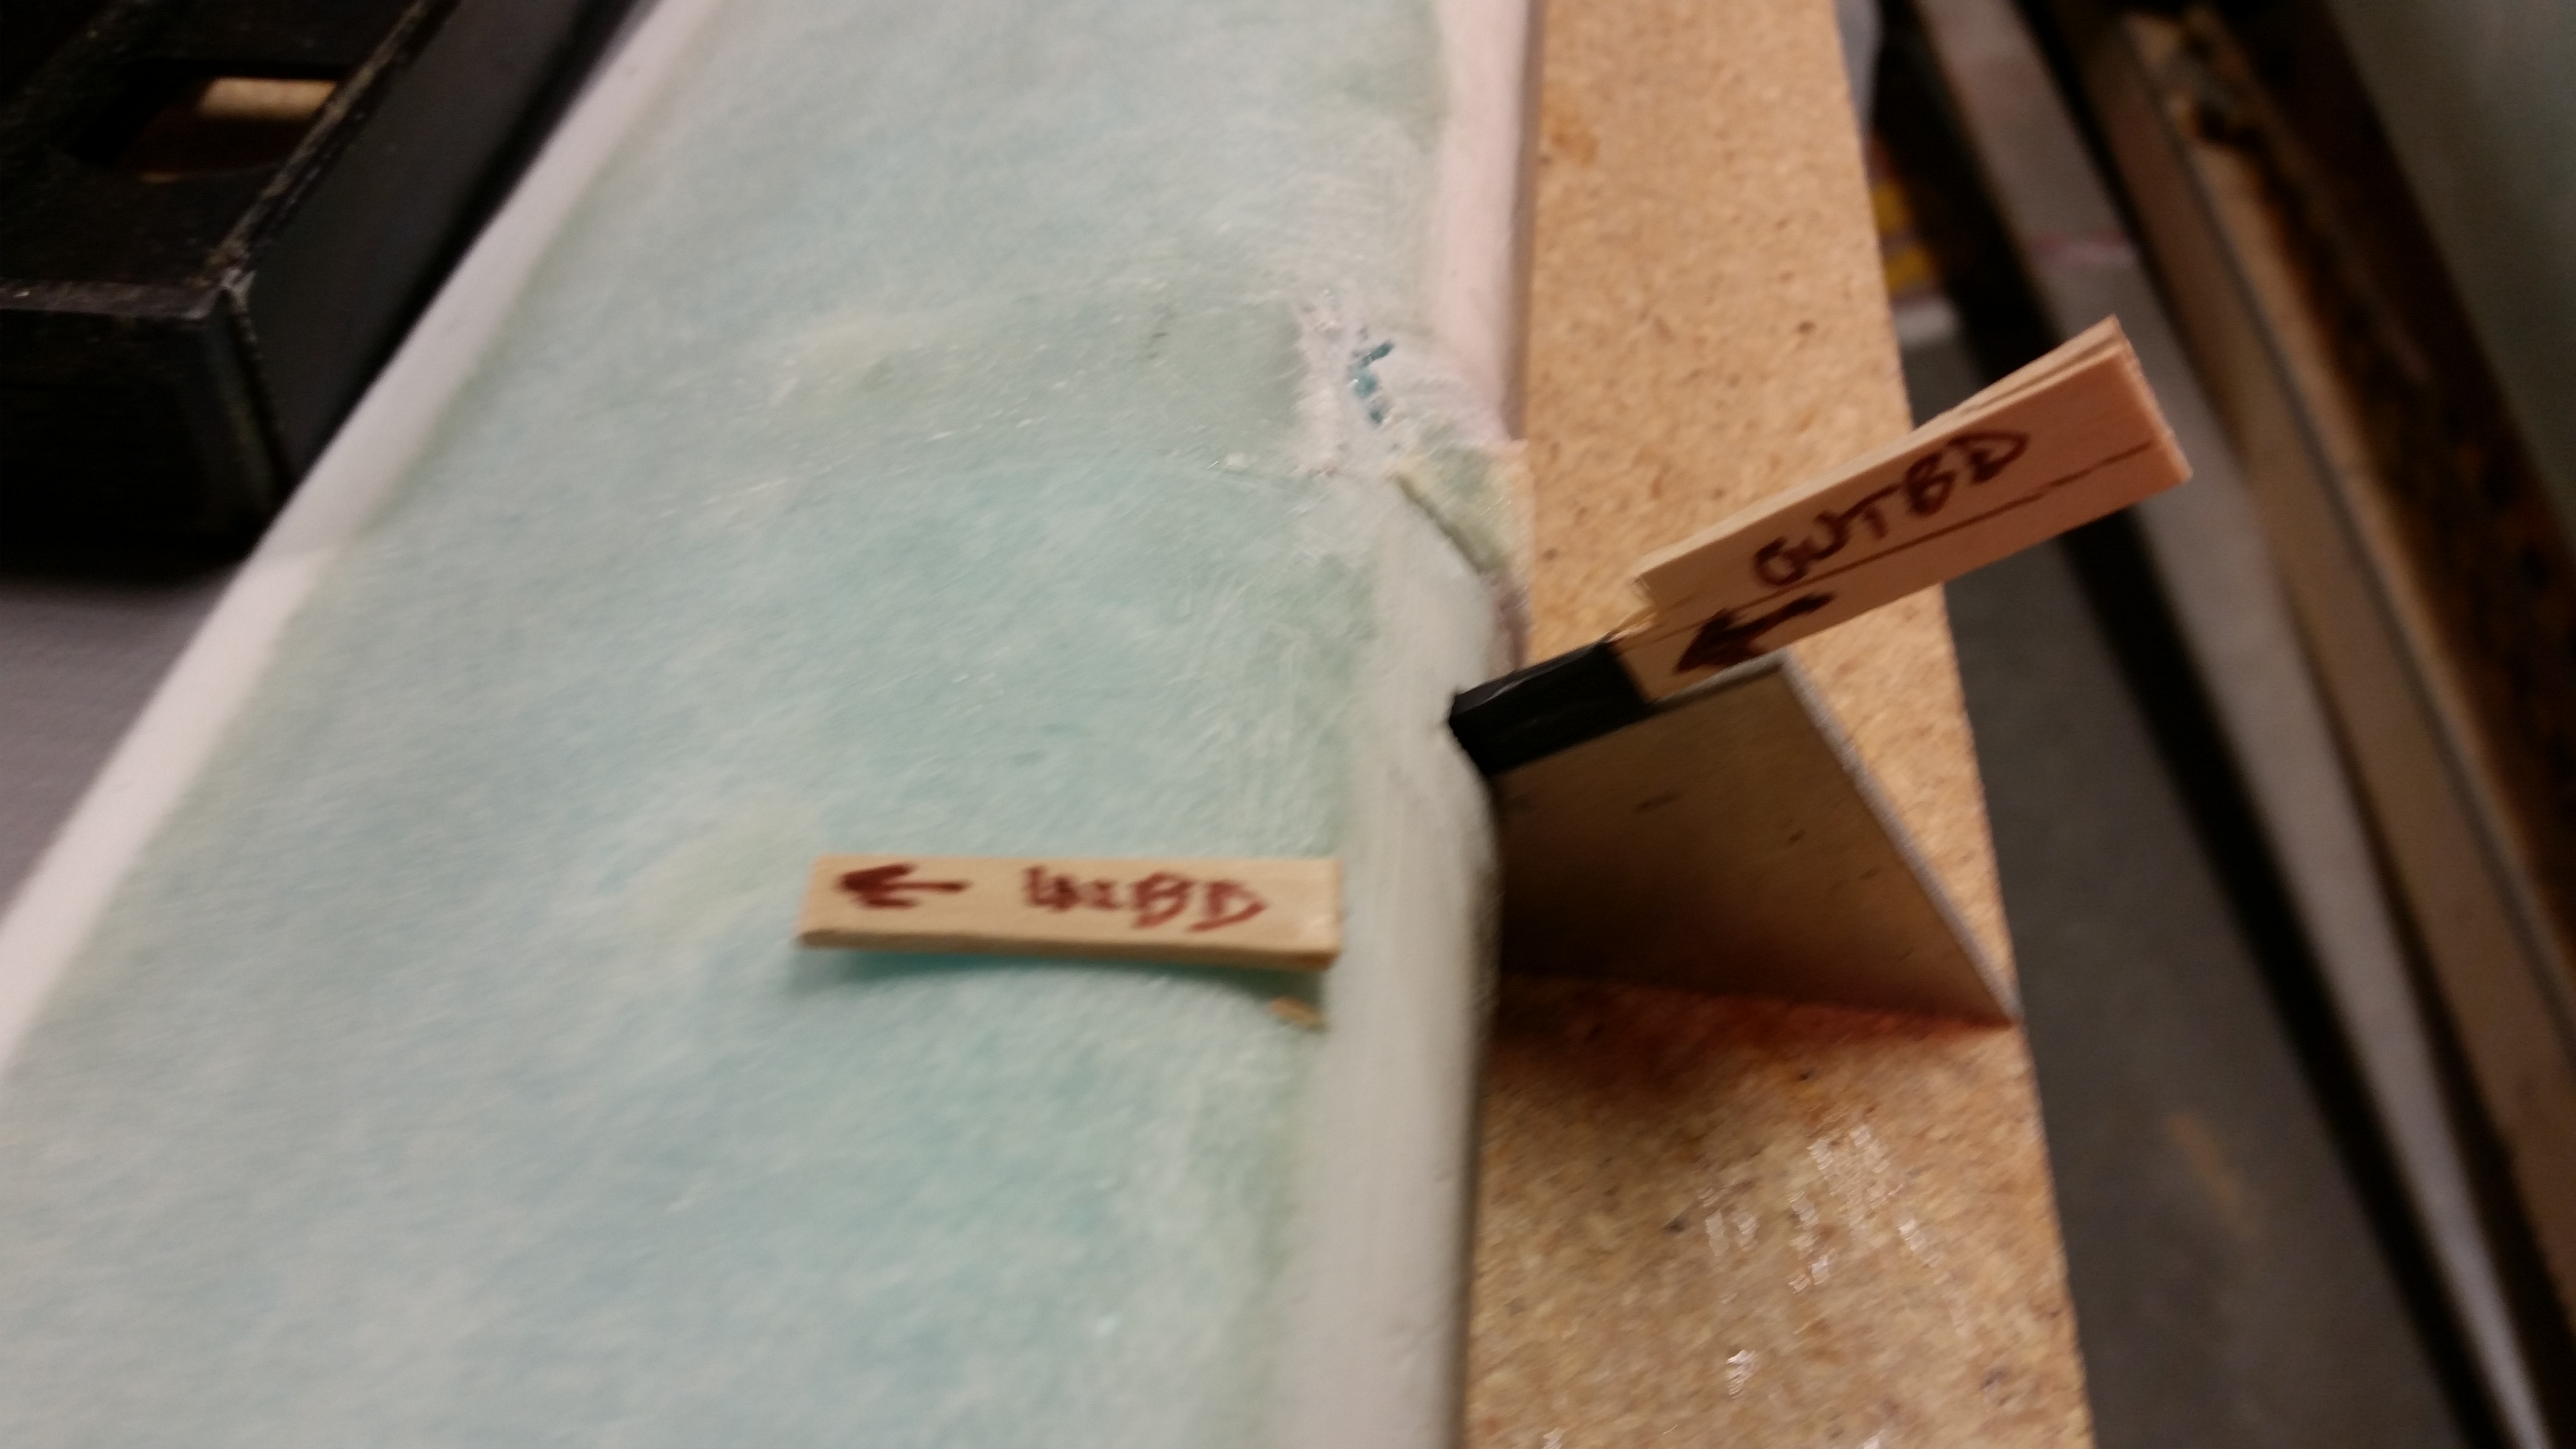
I set the current elevator in a good position for the next one as it gets constructed, and then made some alignment marks in a number of places to help ensure the elevator core gets mounted to the tube in the same configuration as the current one.
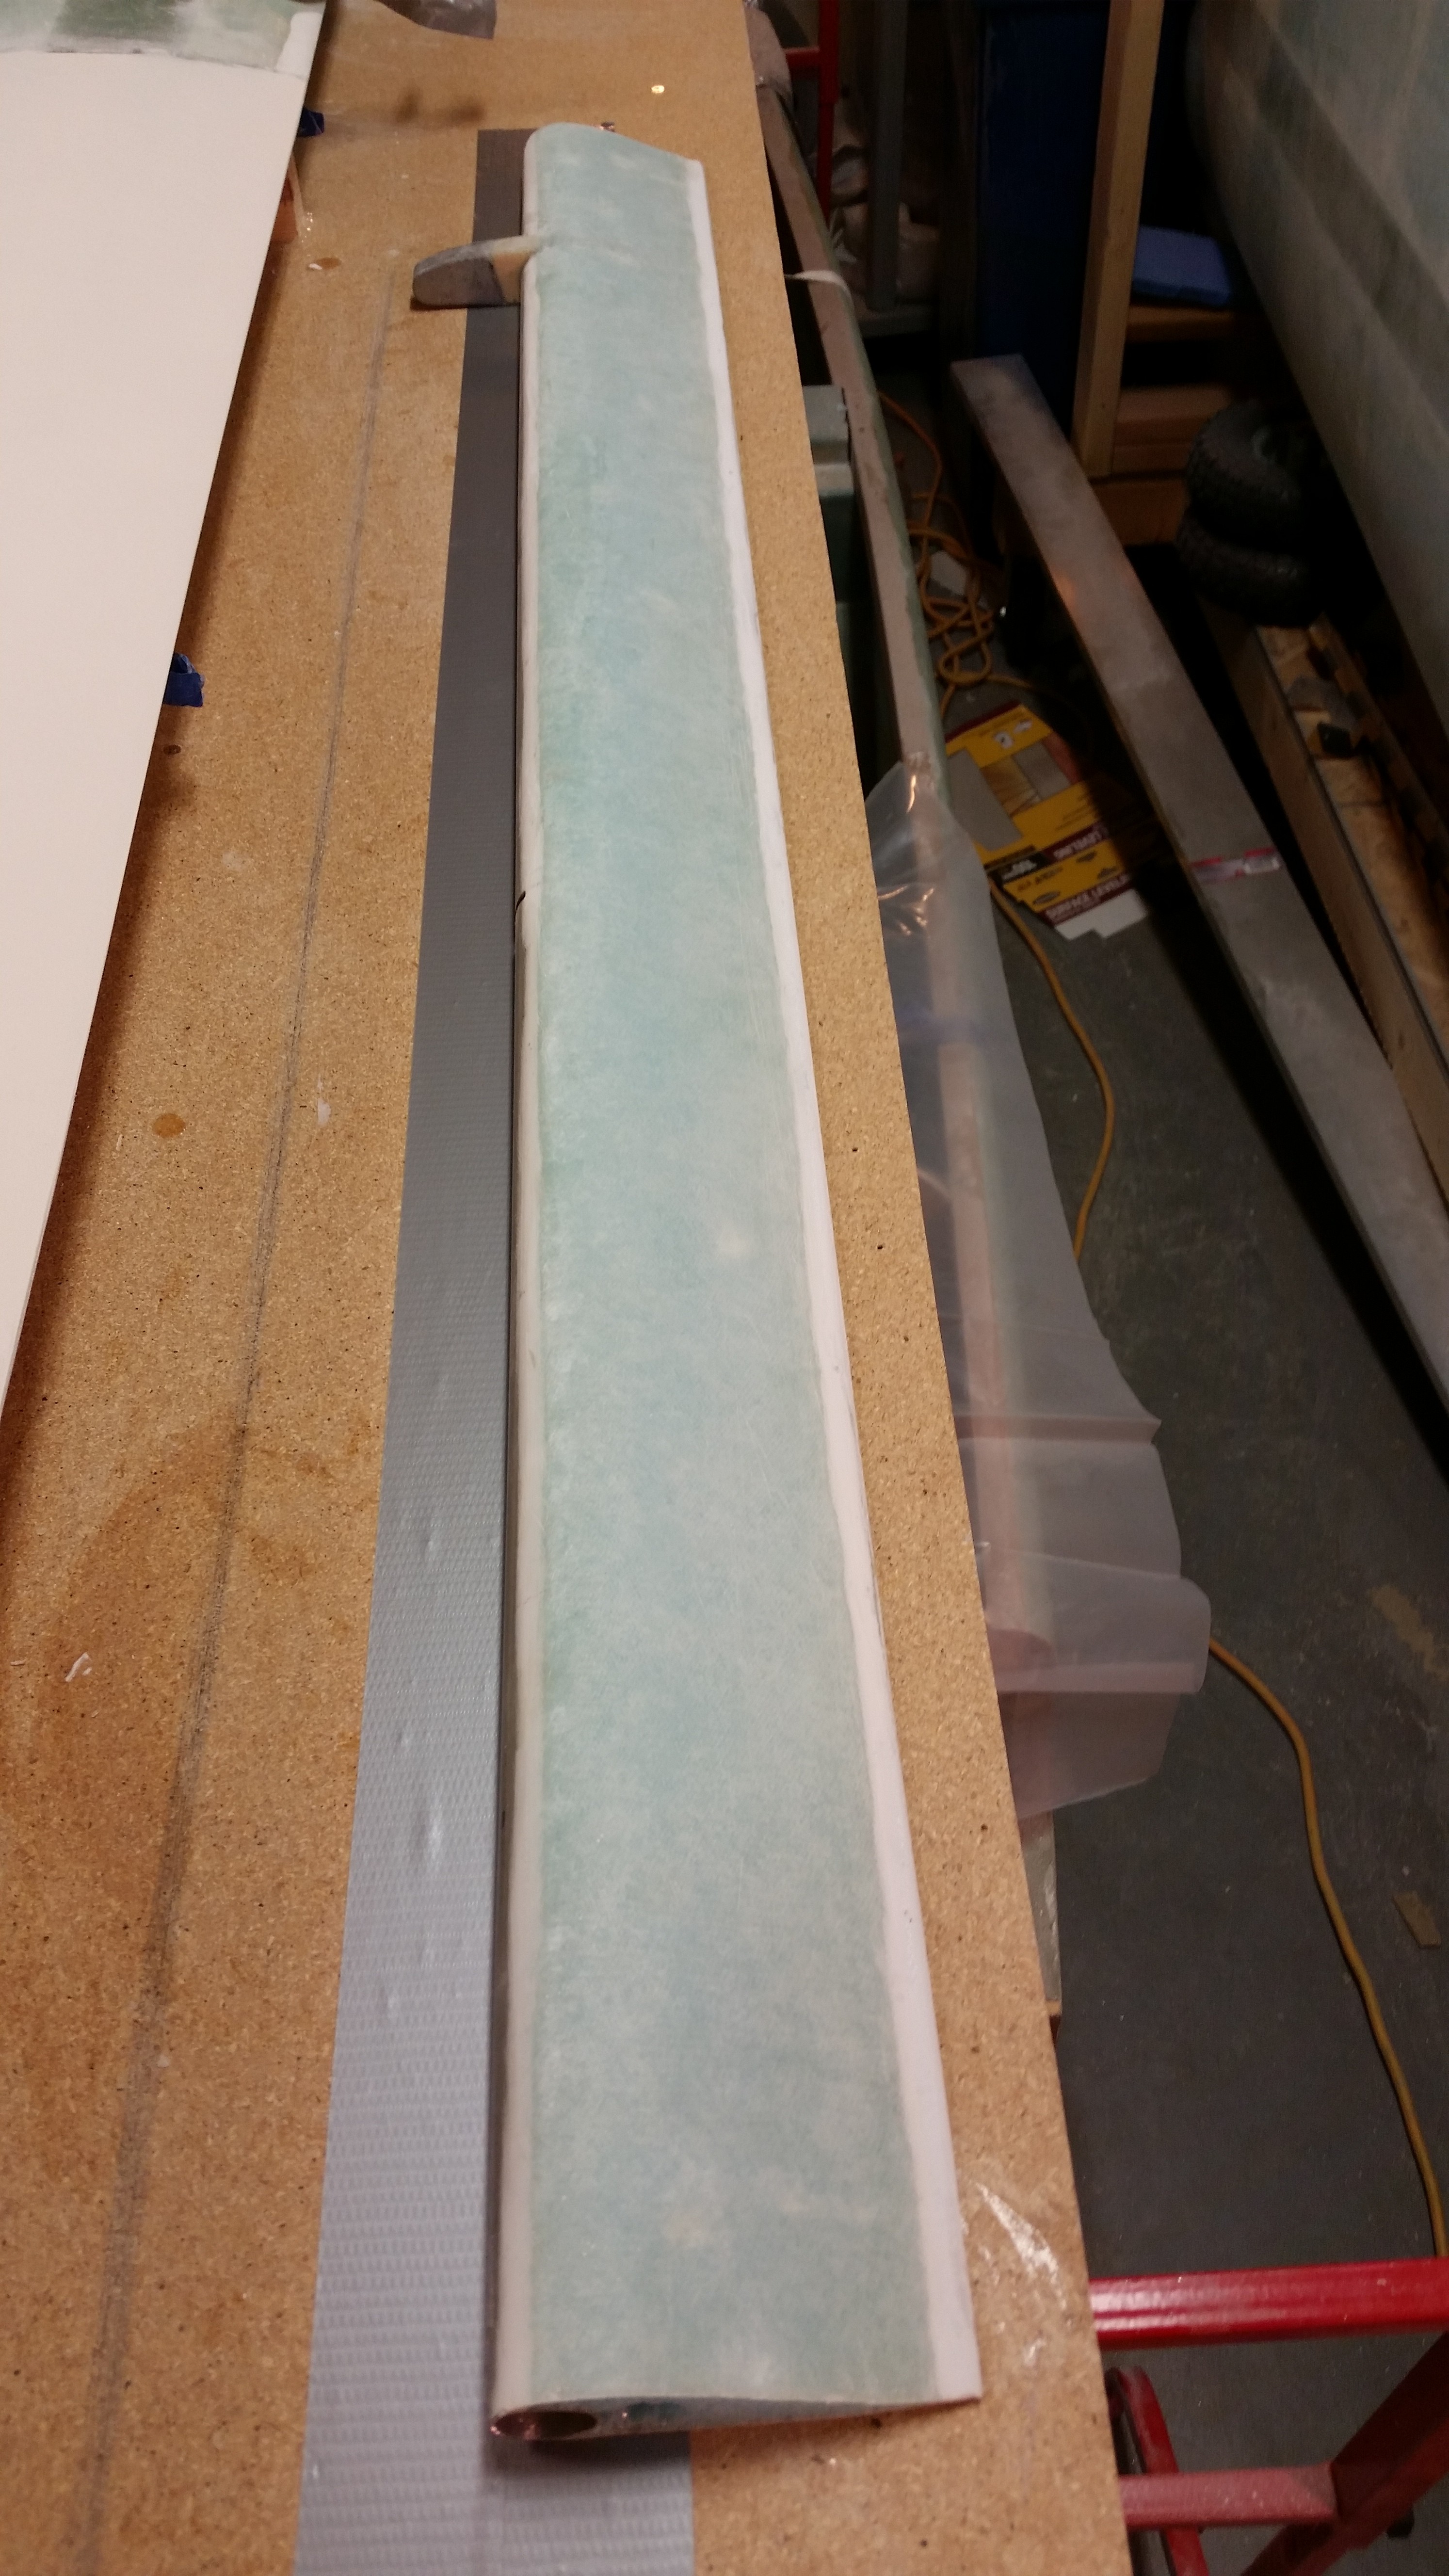
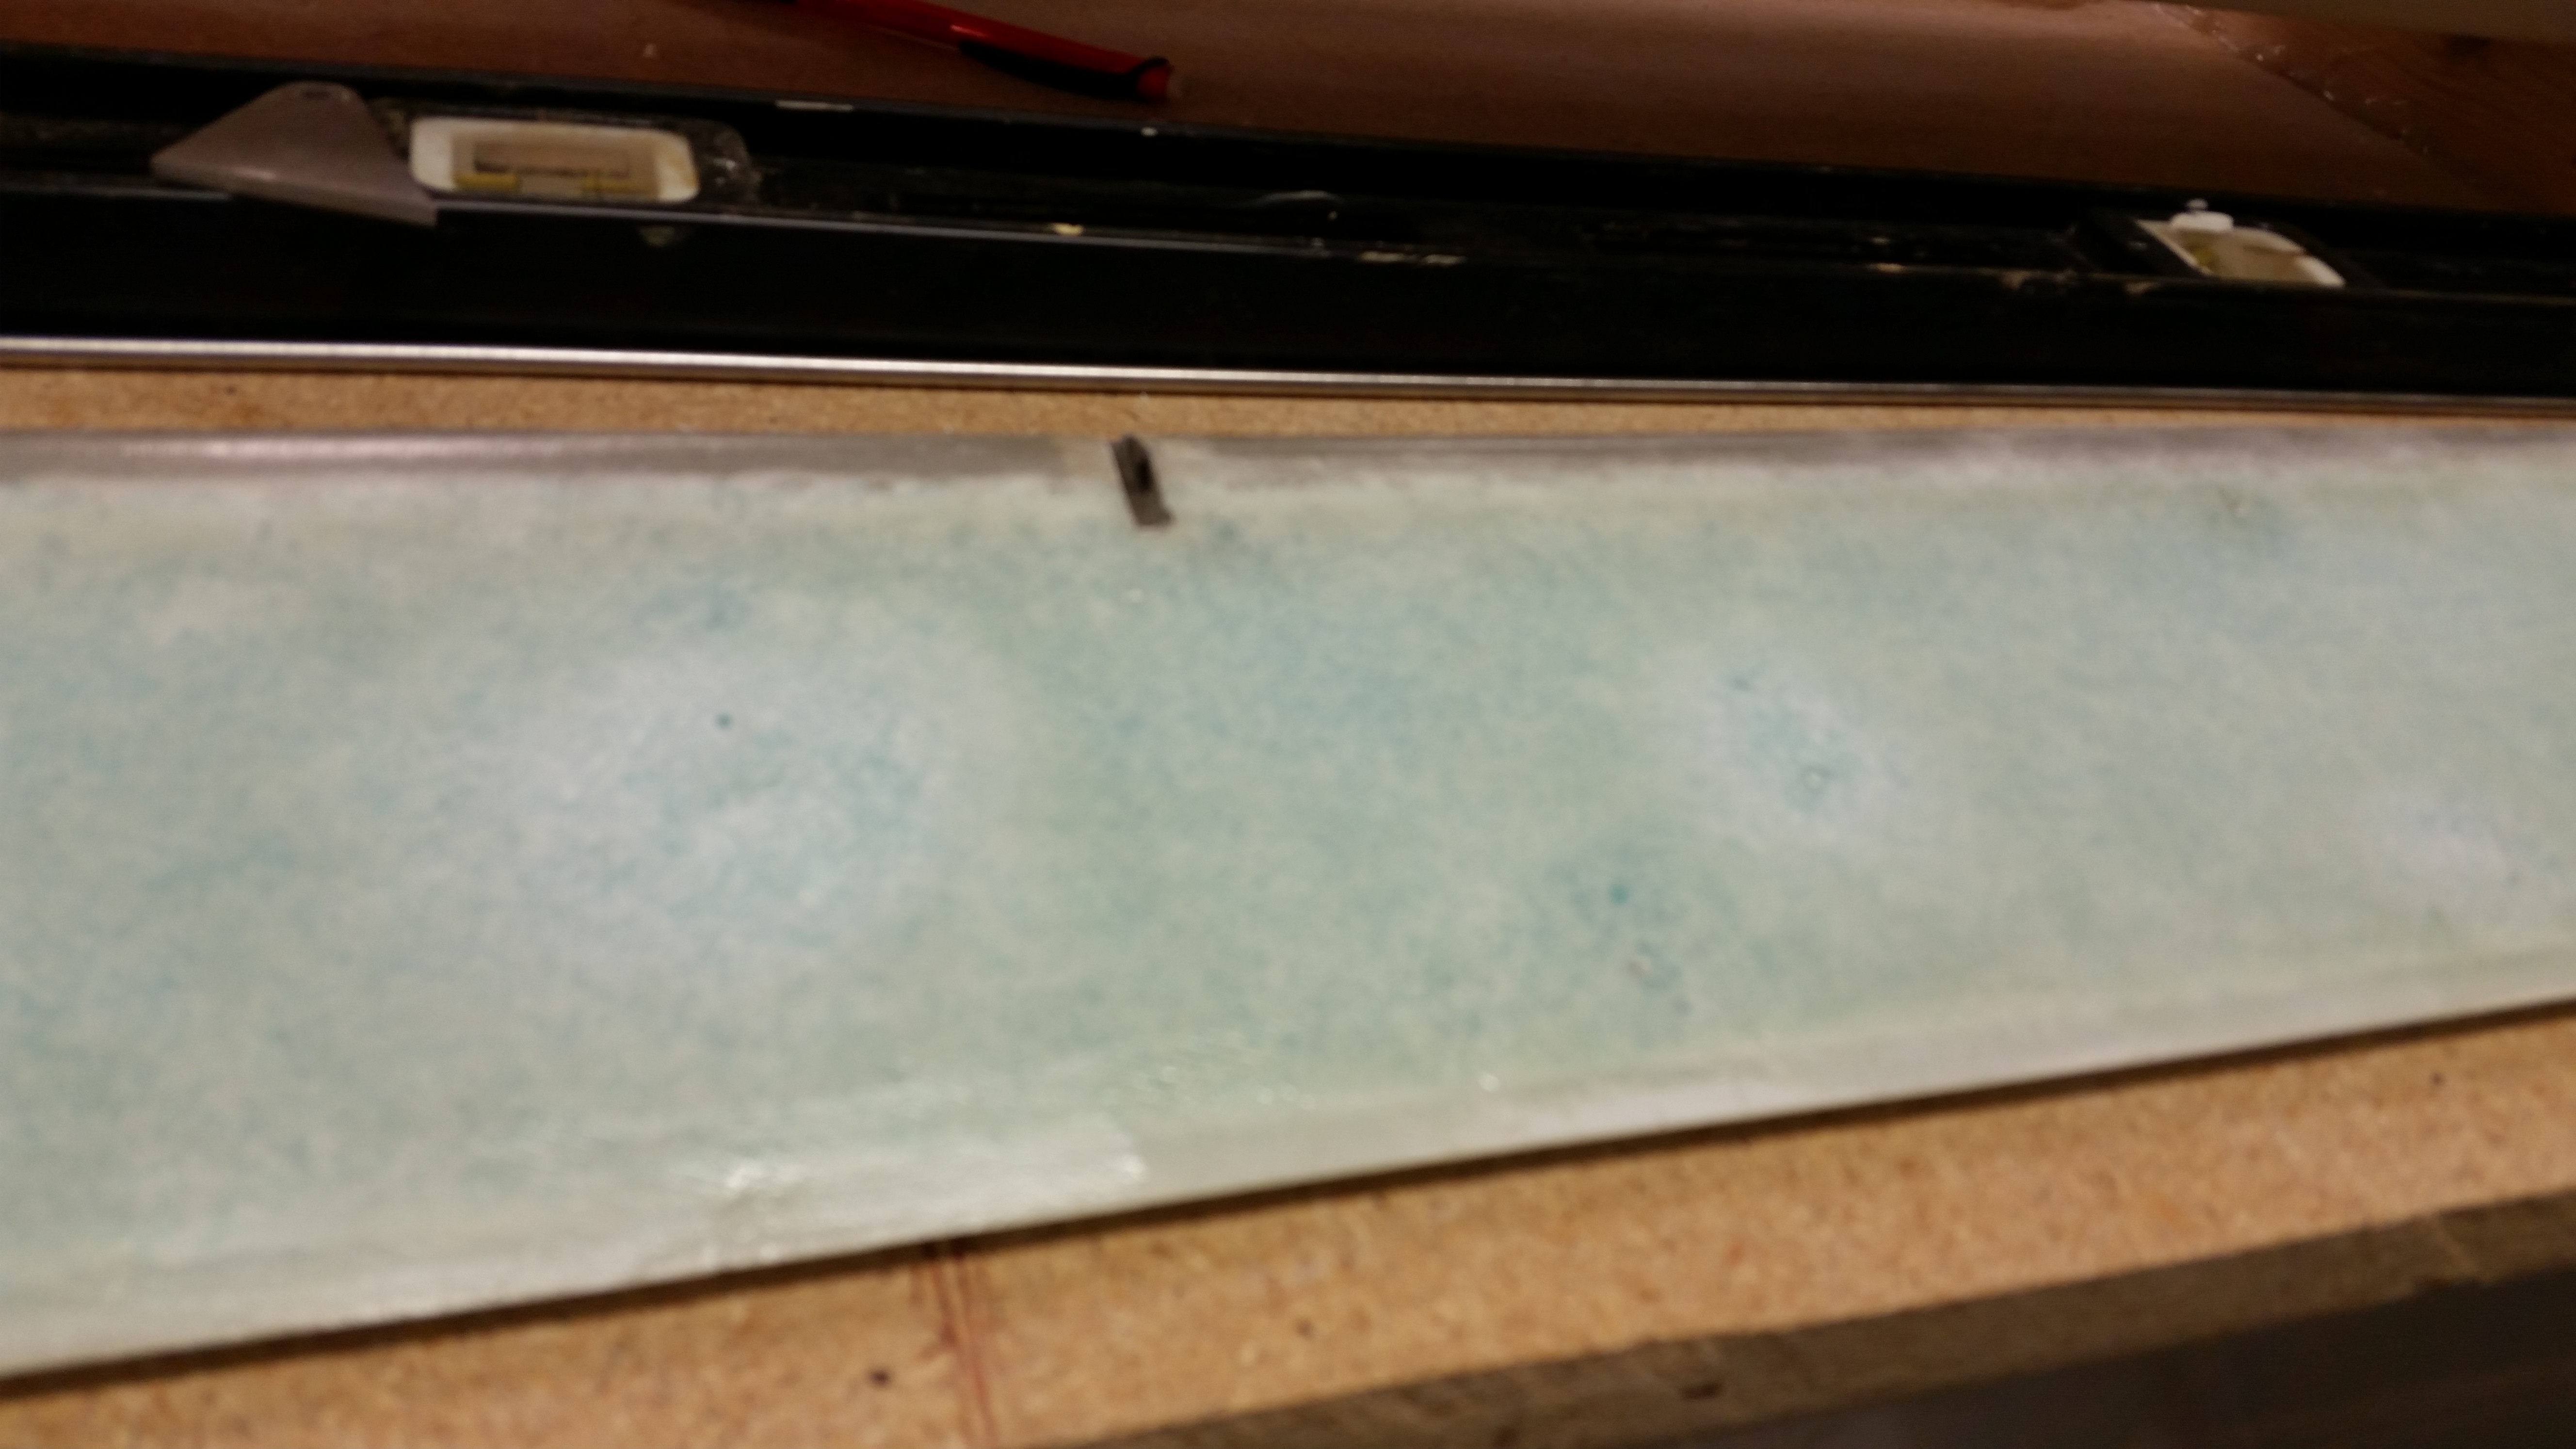
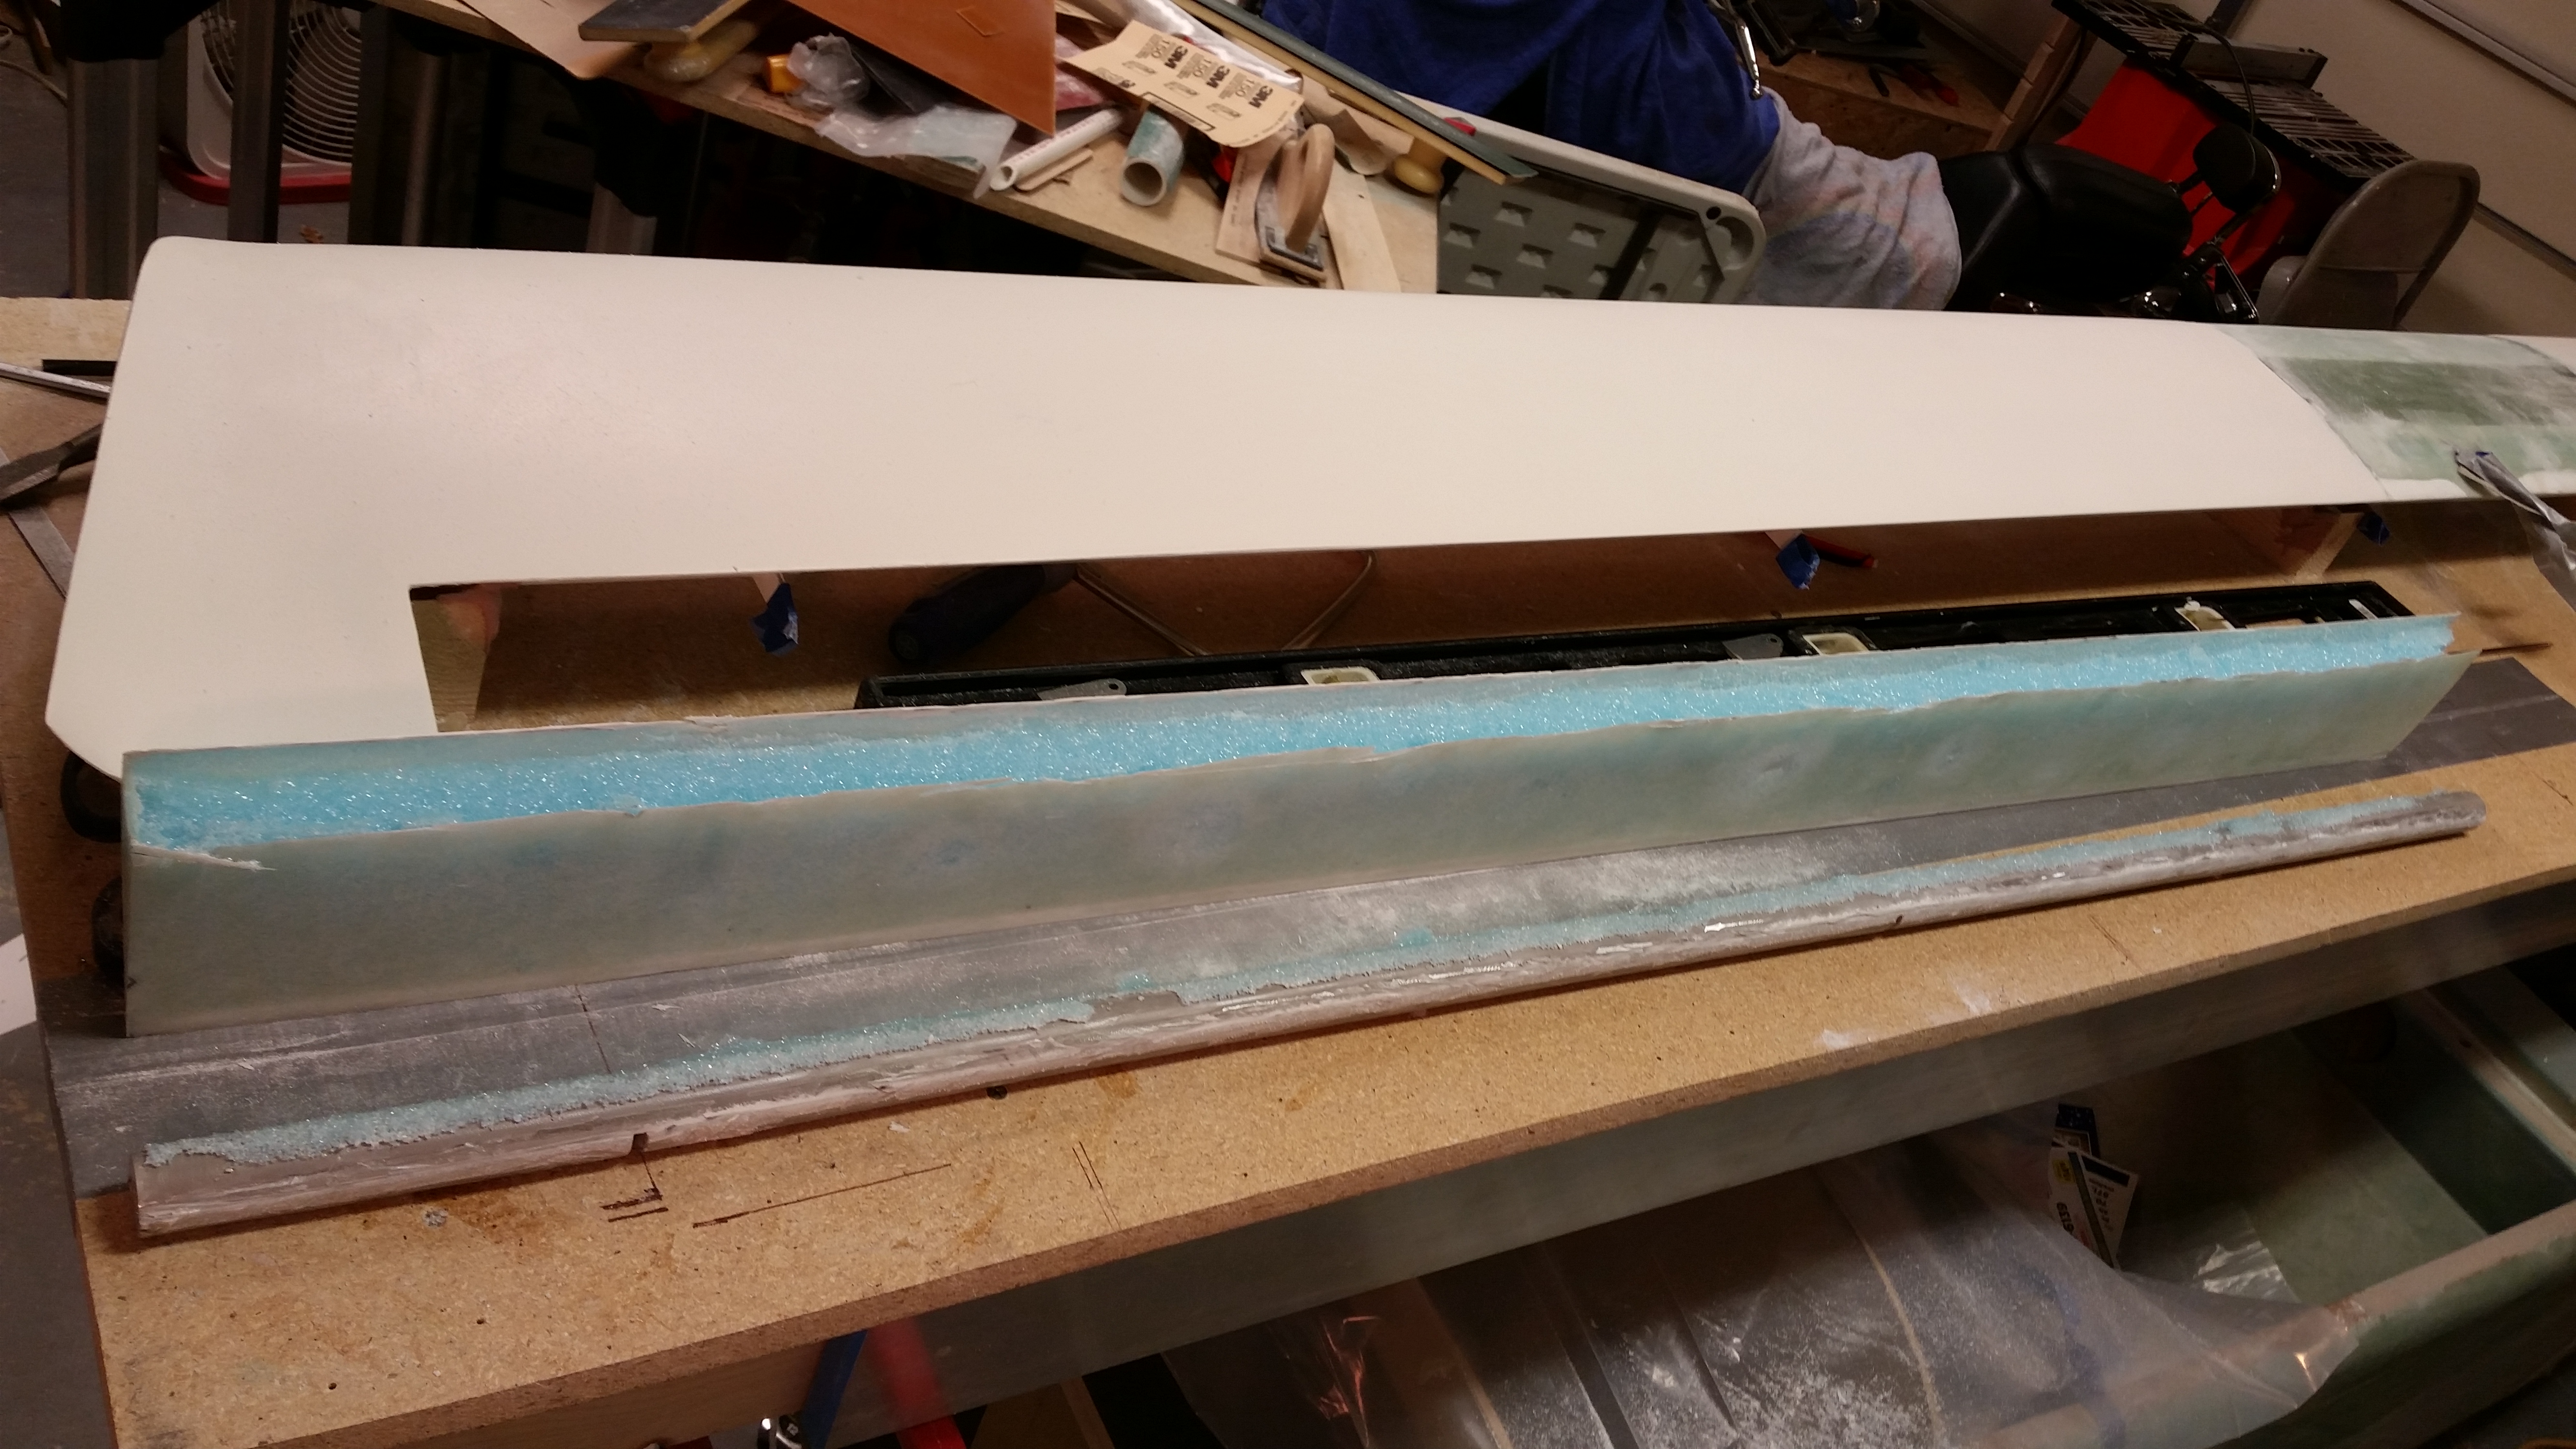
This pic may be a tad fuzzy, but here is the underside of the elevator with its significant thin areas due to intense sanding over the delams that are root cause of all the issues I’ve had with this elevator. Not good.
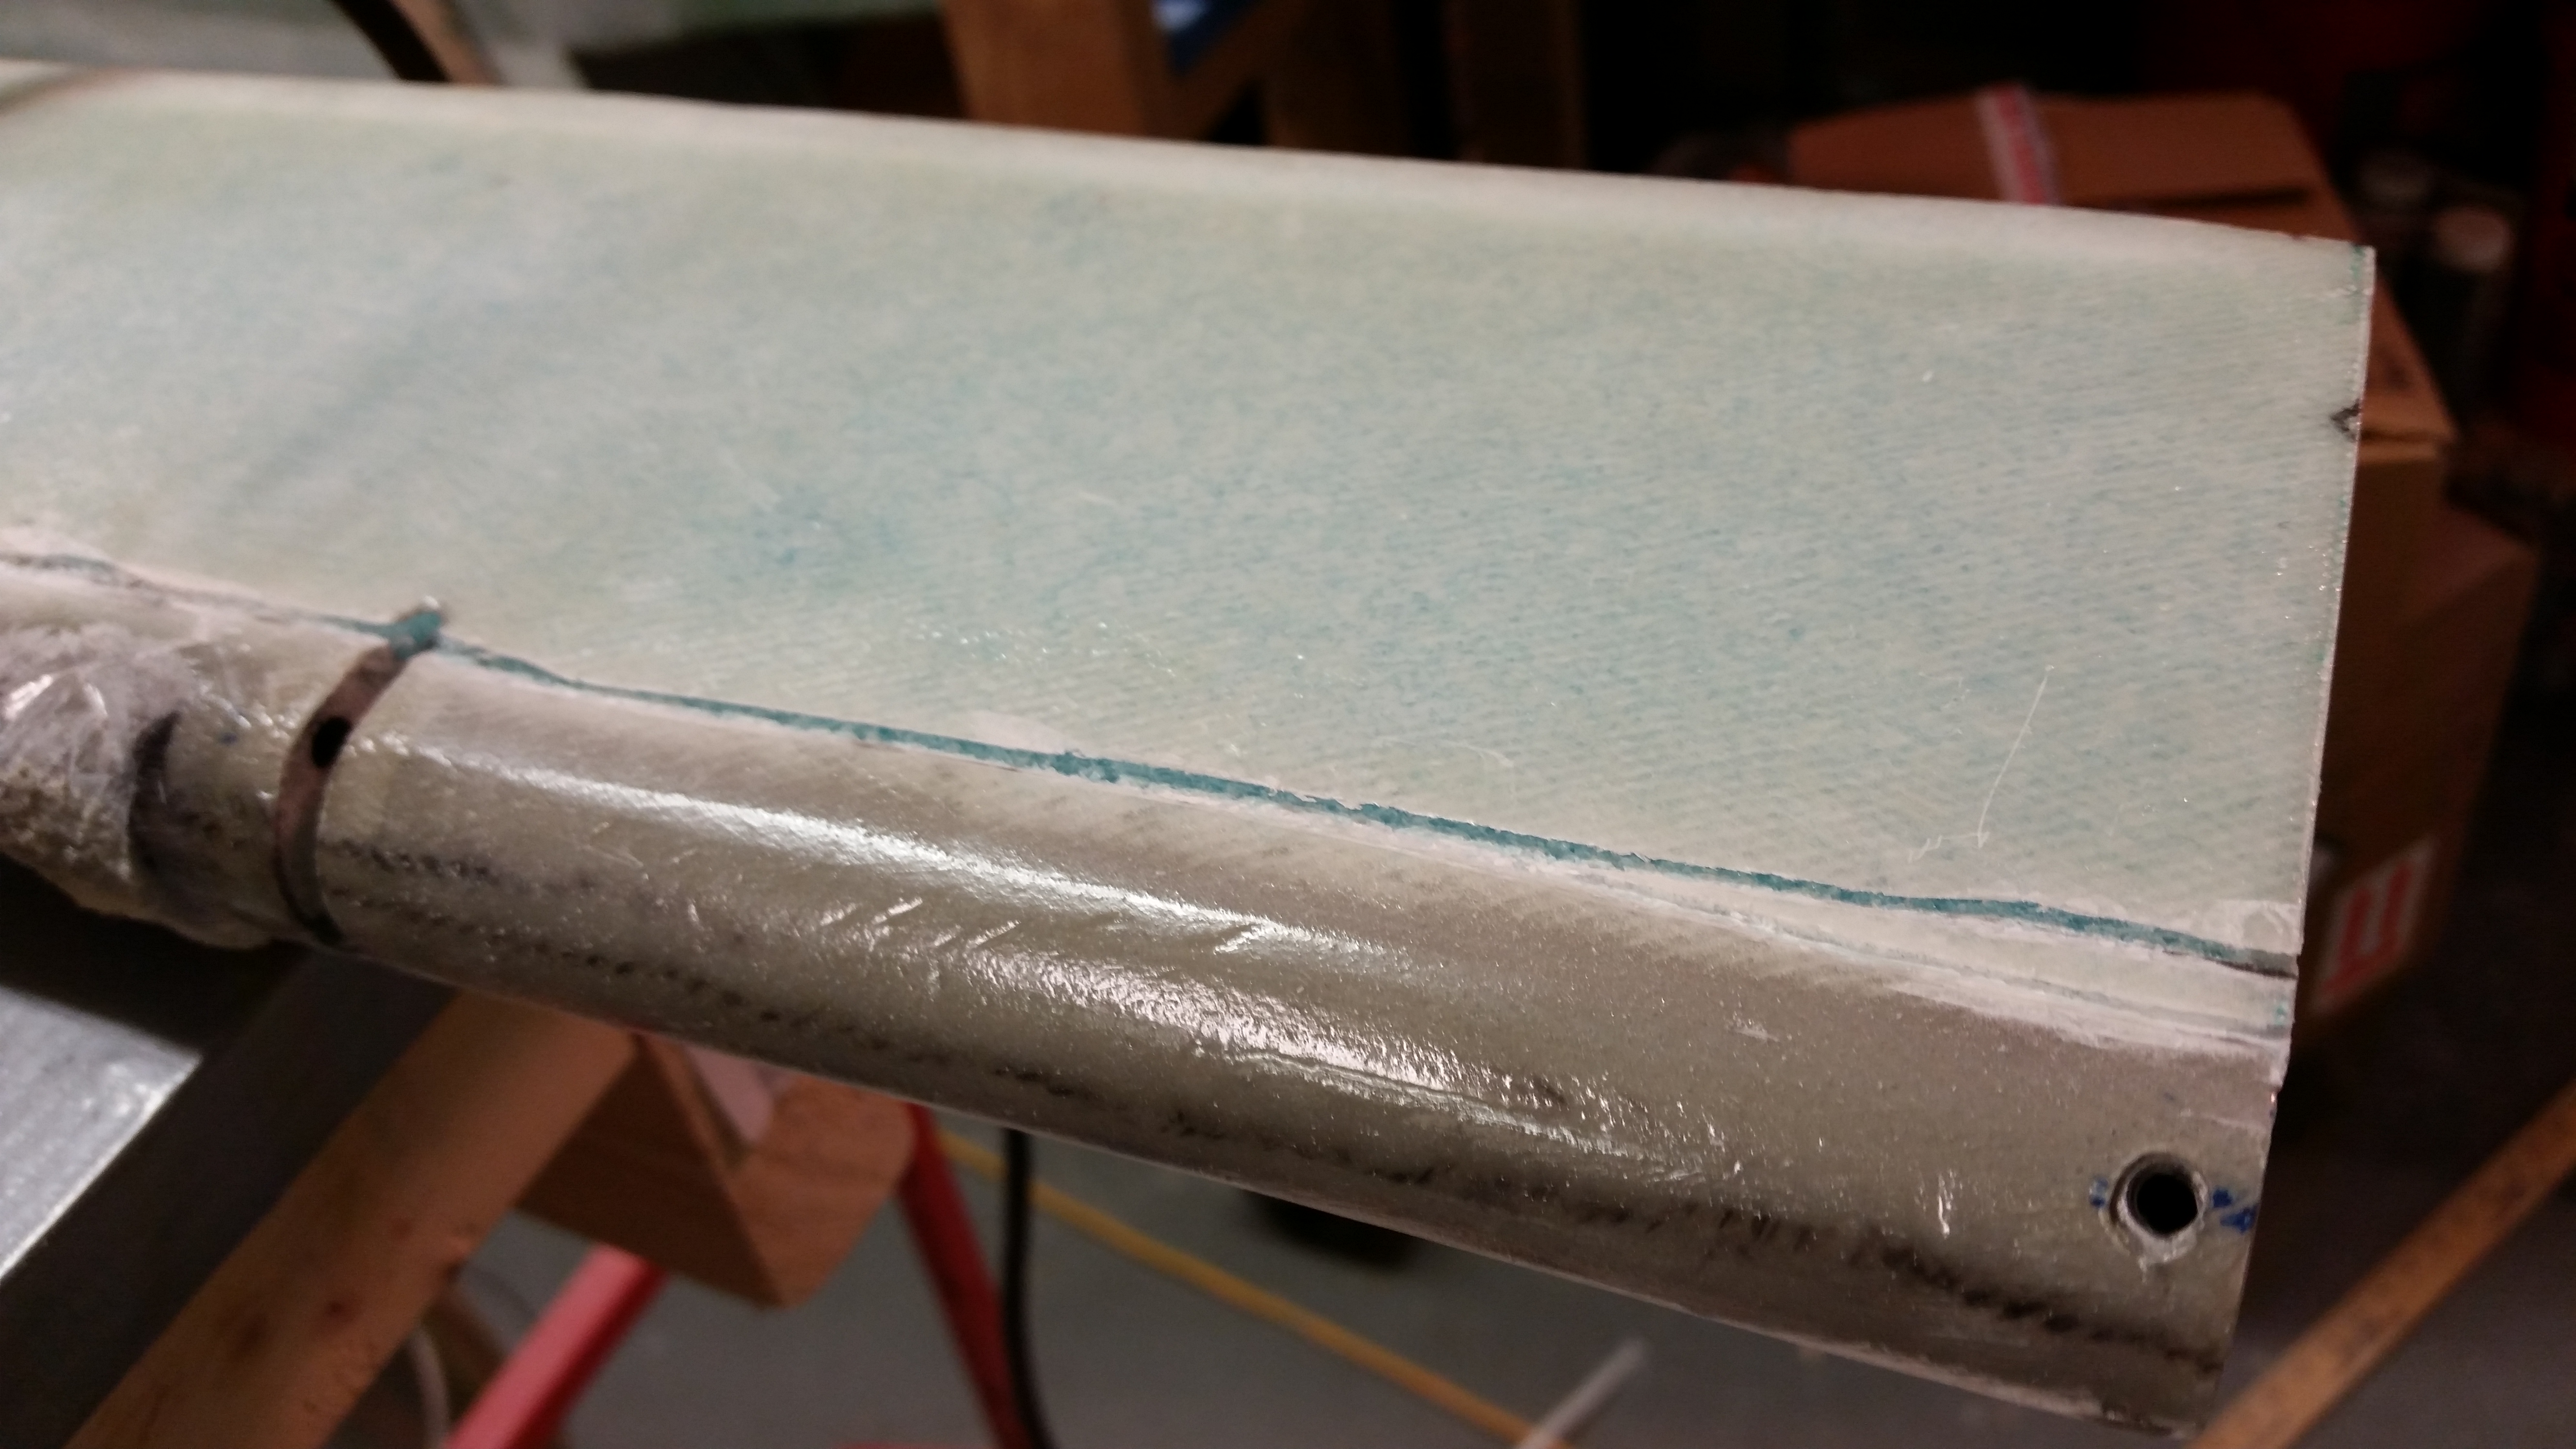
I broke out the Fein saw and started cutting right at the junction of the elevator core and the elevator tube at a very shallow angle.
I would track this cut for a bit until the blade broke through the fiberglass, then was able to move forward another few inches before having to come back to the surface and start the process again. Here is the actual cut through the skin.
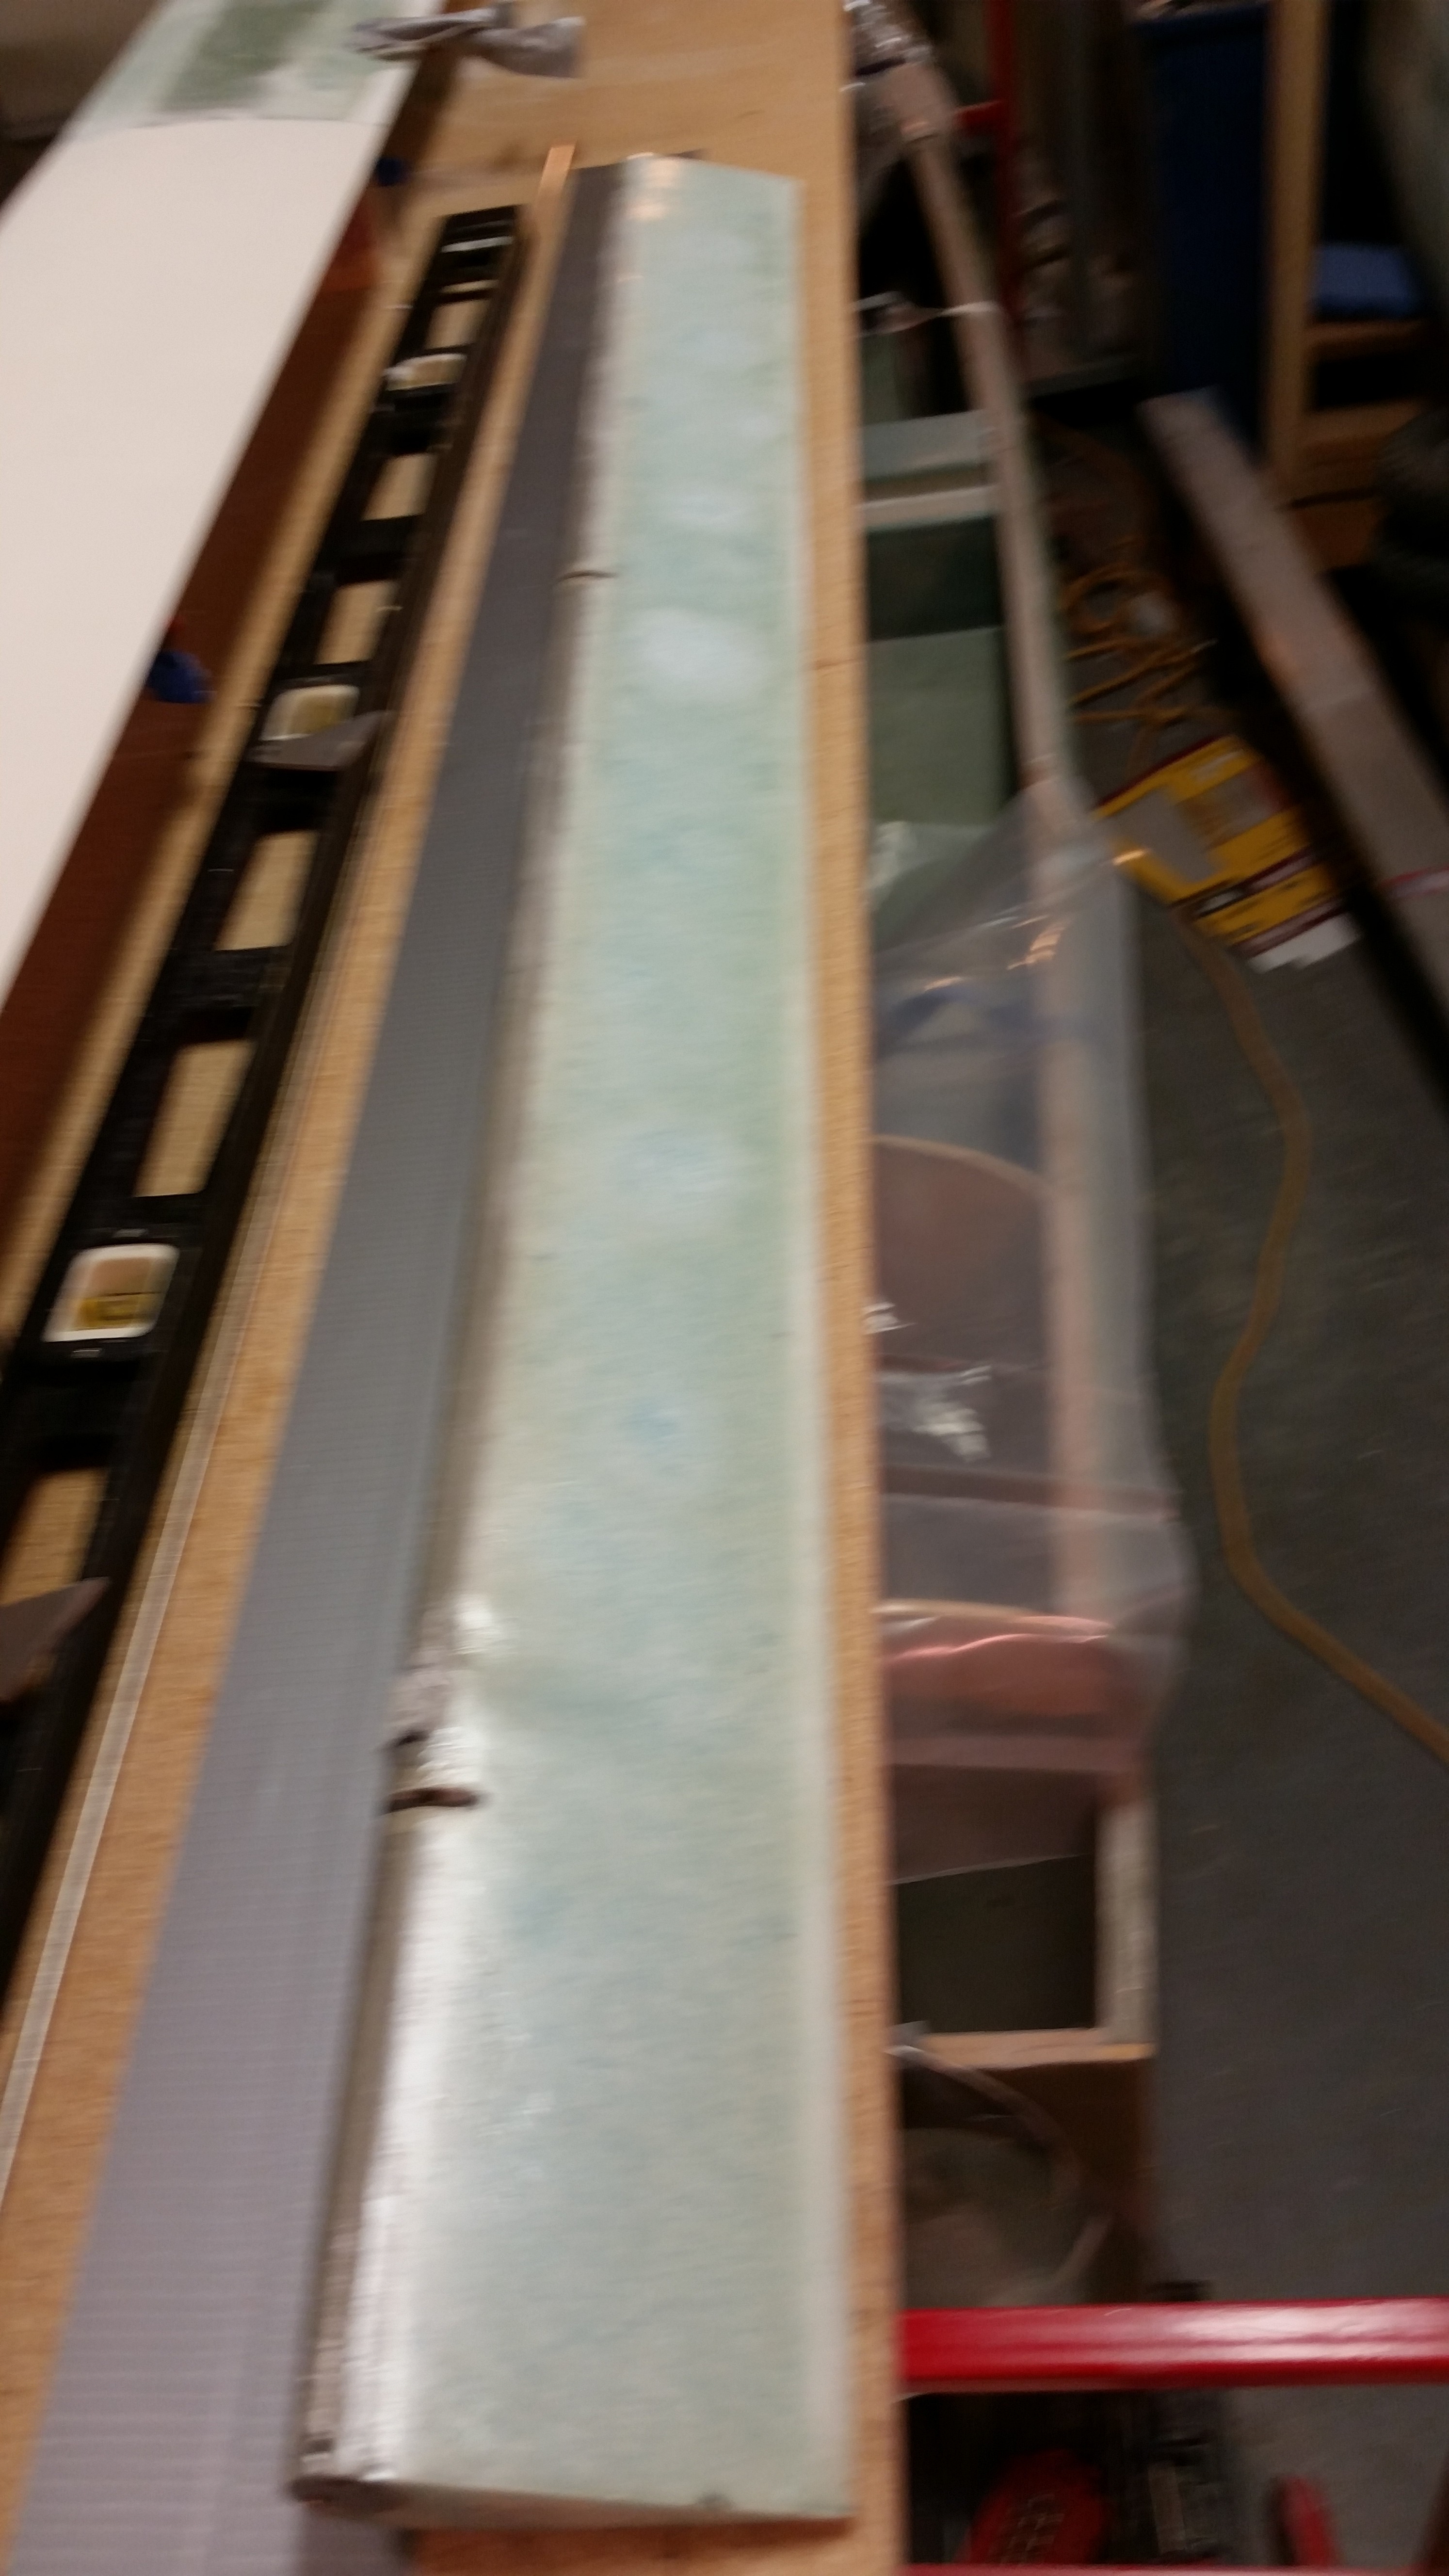
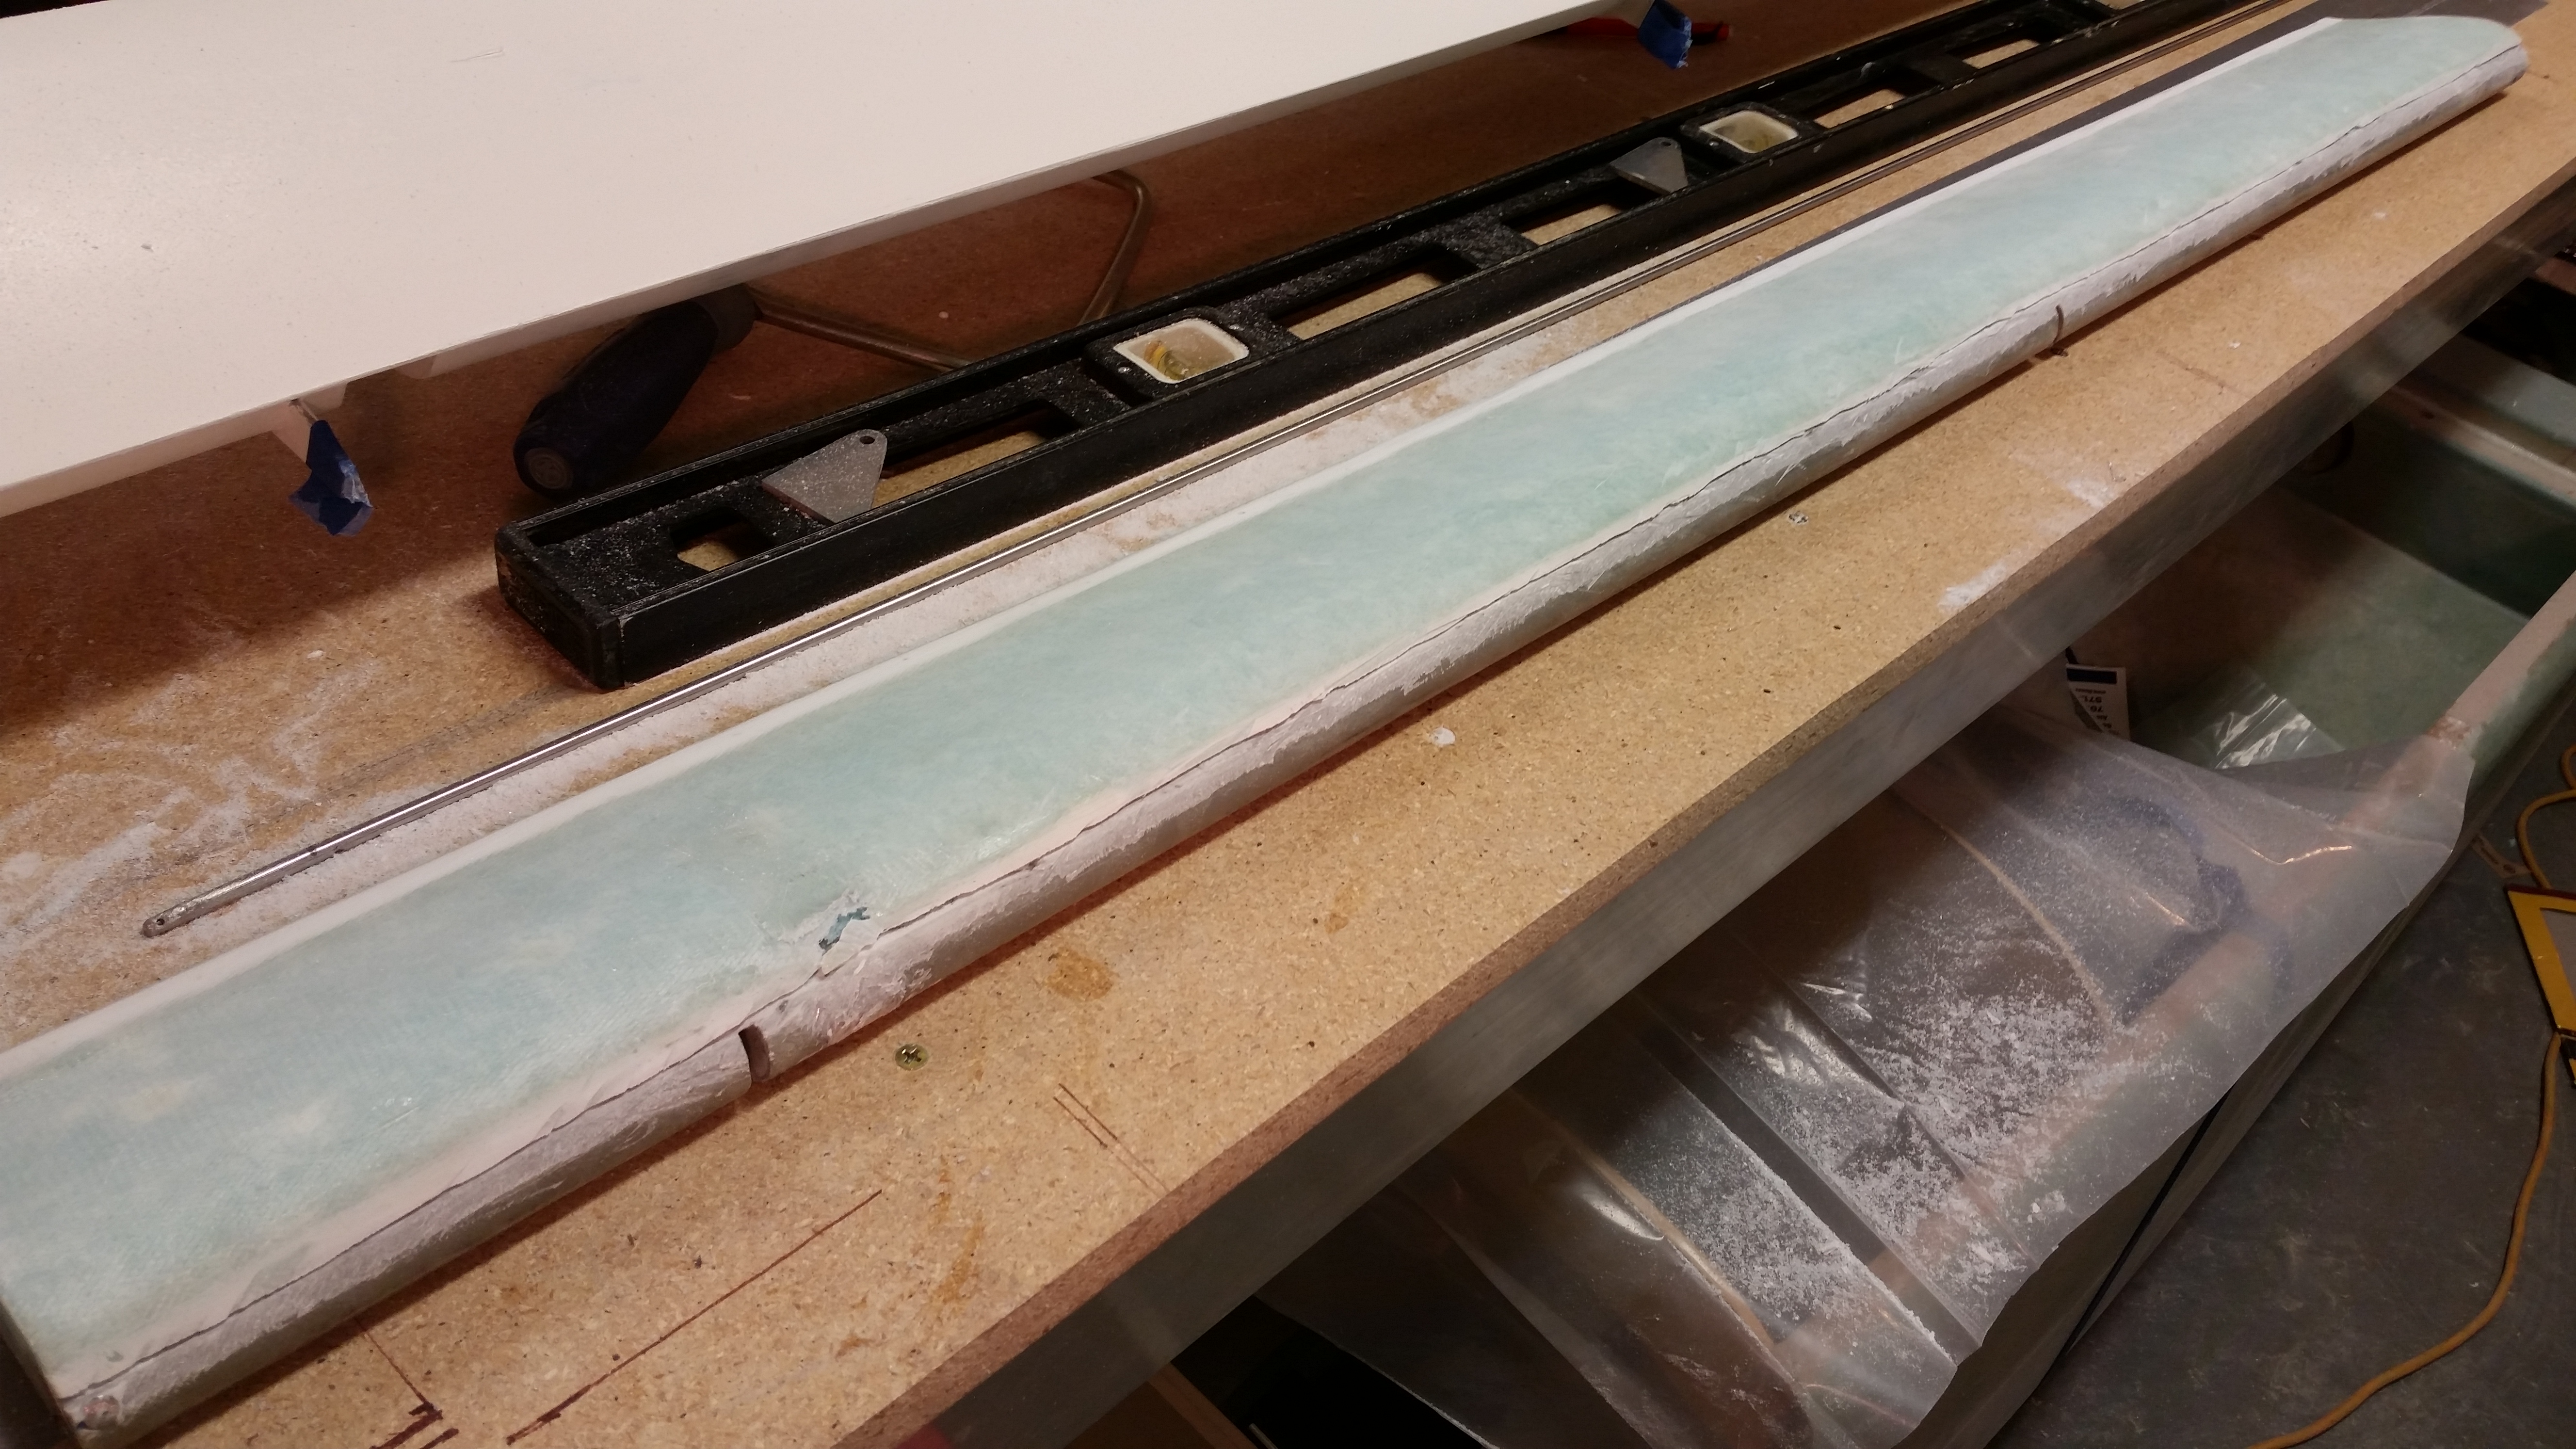
And here’s the entire bottom side of the elevator skin cut just aft of the tube.
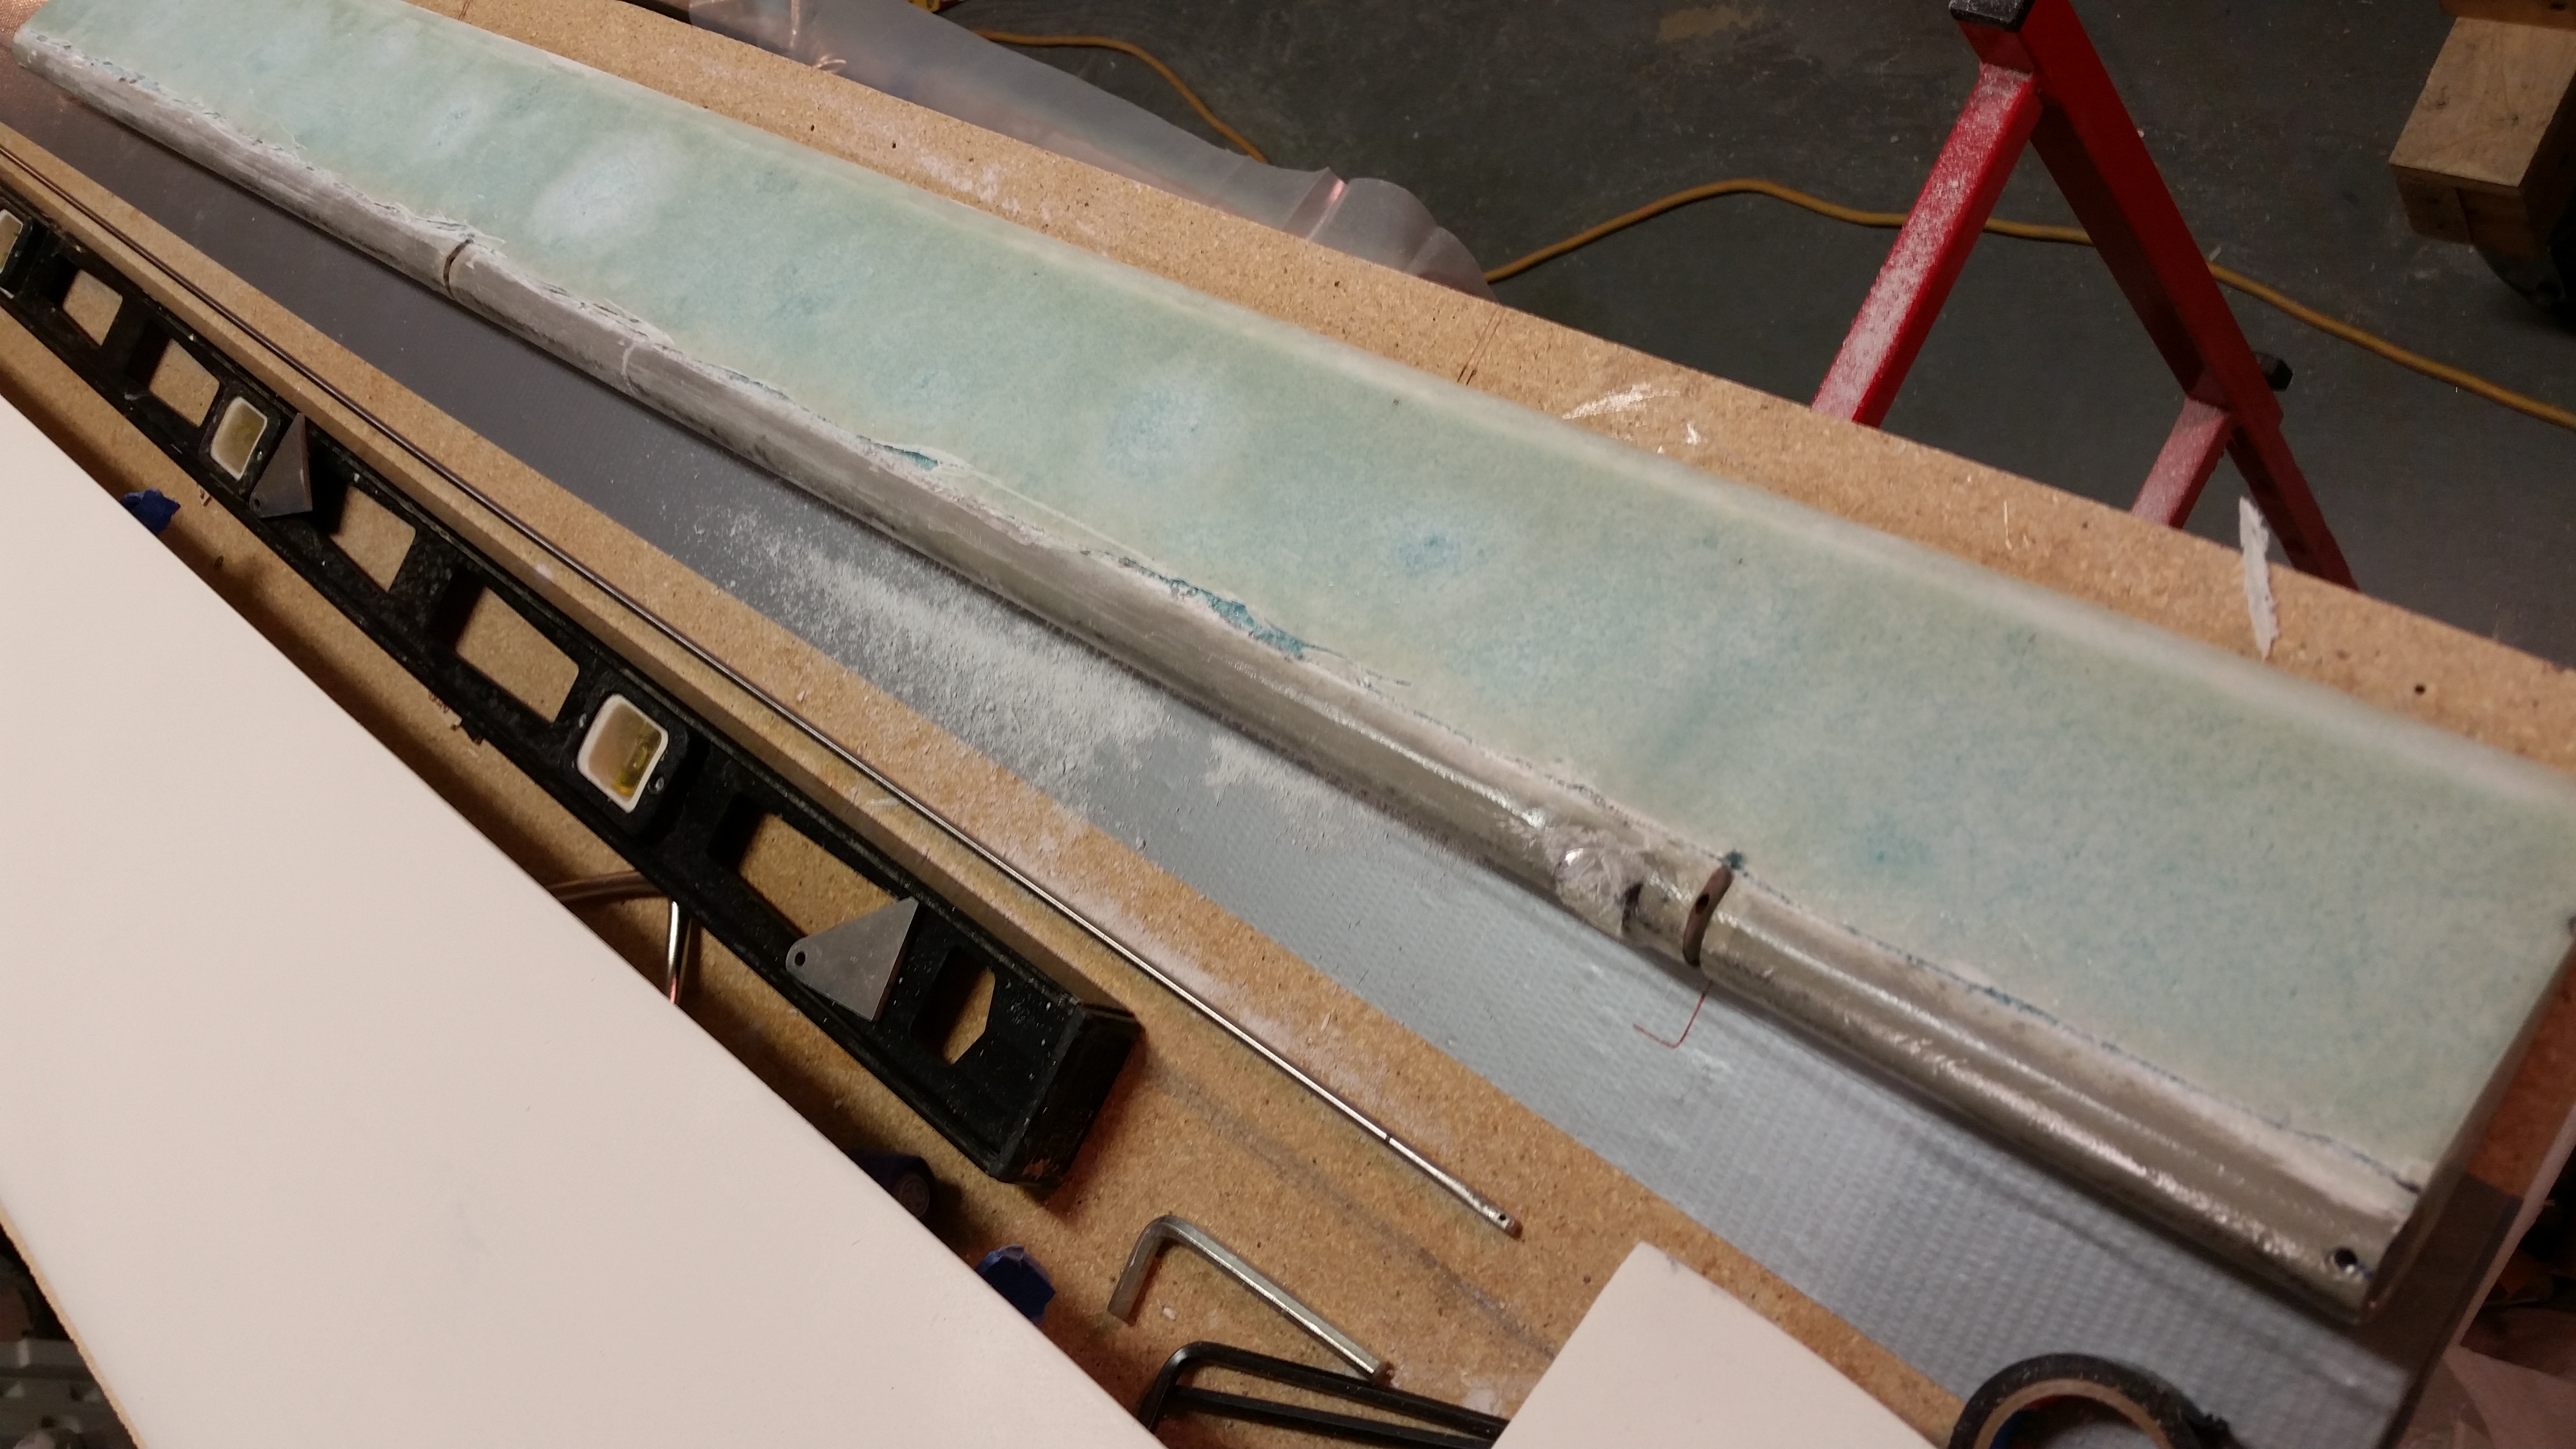
I then moved to the topside and did essentially the same thing.
I had to put a metal rod into the top of the elevator tube to pry it gently from the foam core, but it came off with a good amount of pressure.
Here’s the elevator tube after I went to town on it with the Fein saw to knock off all the leftover foam, epoxy & glass residue. I then filled up a PVC tube with white Vinegar and dunked the elevator tube into it about 3/4’s of the way up the tube (not shown). I’ll let that sit overnight and see if it softens up the goobers on the elevator tube.
Tomorrow I’ll continue my quest in finishing this new elevator, and the final sanding of the primer on the canard.