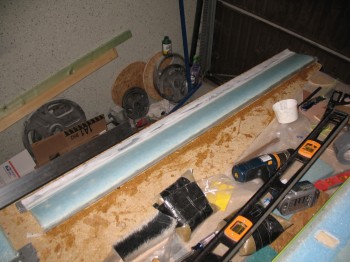
The Right elevator seemed to be curing a little bit slower than normal, so I had thrown a heater on it and that seemed to do the trick. I pried it off the table, hit the front round edge of the glass with a hard sanding block to prep a transition for the topside glass layup that would overlap onto the bottom glass for glass-to-glass continuity.
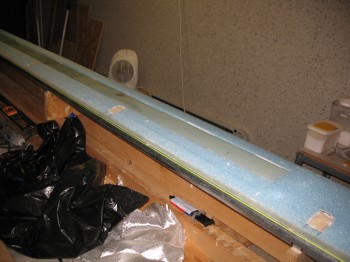
I then removed about 0.4 inches of TE foam & sanded down the newly visible glass for glass-to-glass continuity at the TE as well. I then bondo’d the Right elevator right-side up to the workbench.

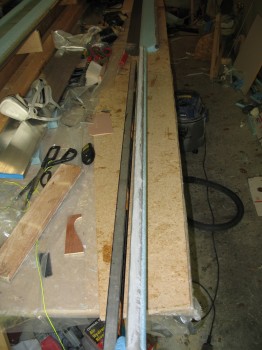
With both elevators now affixed to the workbench, I proceeded to layup the top side of the Right elevator & the bottom of the Left elevator.
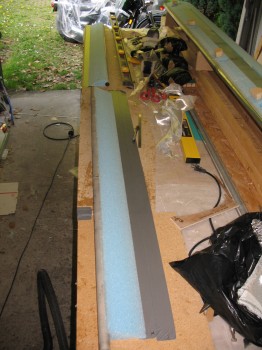
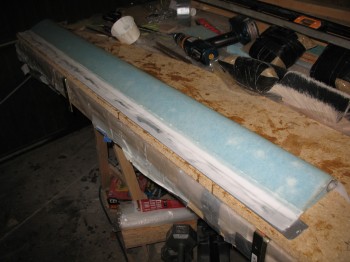
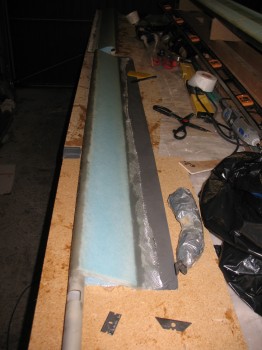
I peel plied the LE of the Right elevator, and after the epoxy had cured a bit & the glass was still tacky, I micro’d in the channel on the TE of the Right elevator & covered it with peel ply.
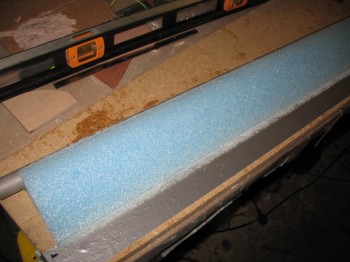
Just before I glassed the elevators, I had finished cutting all the H100 6# high density foam inserts and their respective positions in the canard (L&R of CL: 9.7″, 34.1″ & 59″).

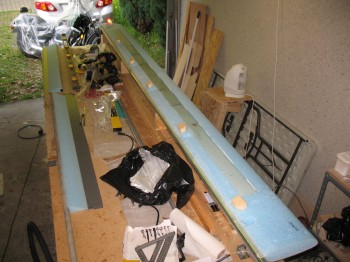
I micro’d in the high density foam pieces into place.