
. . . always seem to come back to haunt us.
I don’t have pictures of the real story here, because it involves me using both hands to check the balance of the elevators. Going back to when I built my elevators in 2013, I had Bondo’d them down to the workbench as it says to do in the plans. Because the weather was still fairly cool in Germany and the elevators are small & fairly long, I decided to give them a good post cure on the bench to lock in their straight & true lines. I didn’t want them sitting in storage, as narrow as they are, warping into some weird position. Well, I guess I should have taken my chances on the latter.
You see, when I post-cured the elevators, apparently the Bondo holding them straight & true on the table was also cooking the foam on the other side of the glass skin immediately opposite of it. Thus, every single spot that I had a blob of Bondo became a localized skin delam. To fix the issue, I shot each delam with epoxy after having weighed the elevator first. Then I compared the weights, before and after, and also to the mandatory weight specs for the elevators (3.5 lbs left & 3.25 lbs right for stock elevators). The resulting weight for each elevator was right around 1.9 lbs, with less than an ounce gained from the epoxy injections per elevator.
The issue is that both my elevators both come in under weight, but after balancing them I realized that the right elevator–the one with the most delams–is not balancing properly, even after I mounted the inboard & outboard weights. After some really heavy sanding, I was able to get it to balance by adding about .07 lbs total, half to the existing weights on each side of the elevator.
However, to ensure that my slightly jacked up elevator is within specs, I’m actually finishing it to paint to ensure that it meets specs (I’ll be finishing the other elevator too). Pictures to follow soon. If it doesn’t meet specs, I’ll rebuild it. Even if I finish painting it and I have to rebuild, I’m sure I’ll have gained valuable insight into the finishing & painting process on the elevators . . . most likely the most sensitive item on this aircraft to be completed.
With the elevator balancing drama unfolding, I haven’t cut the outboard elevator weight notch in the canard on the right side yet. But I did lay up the 1-ply BID in the left side elevator weight “pocket.”
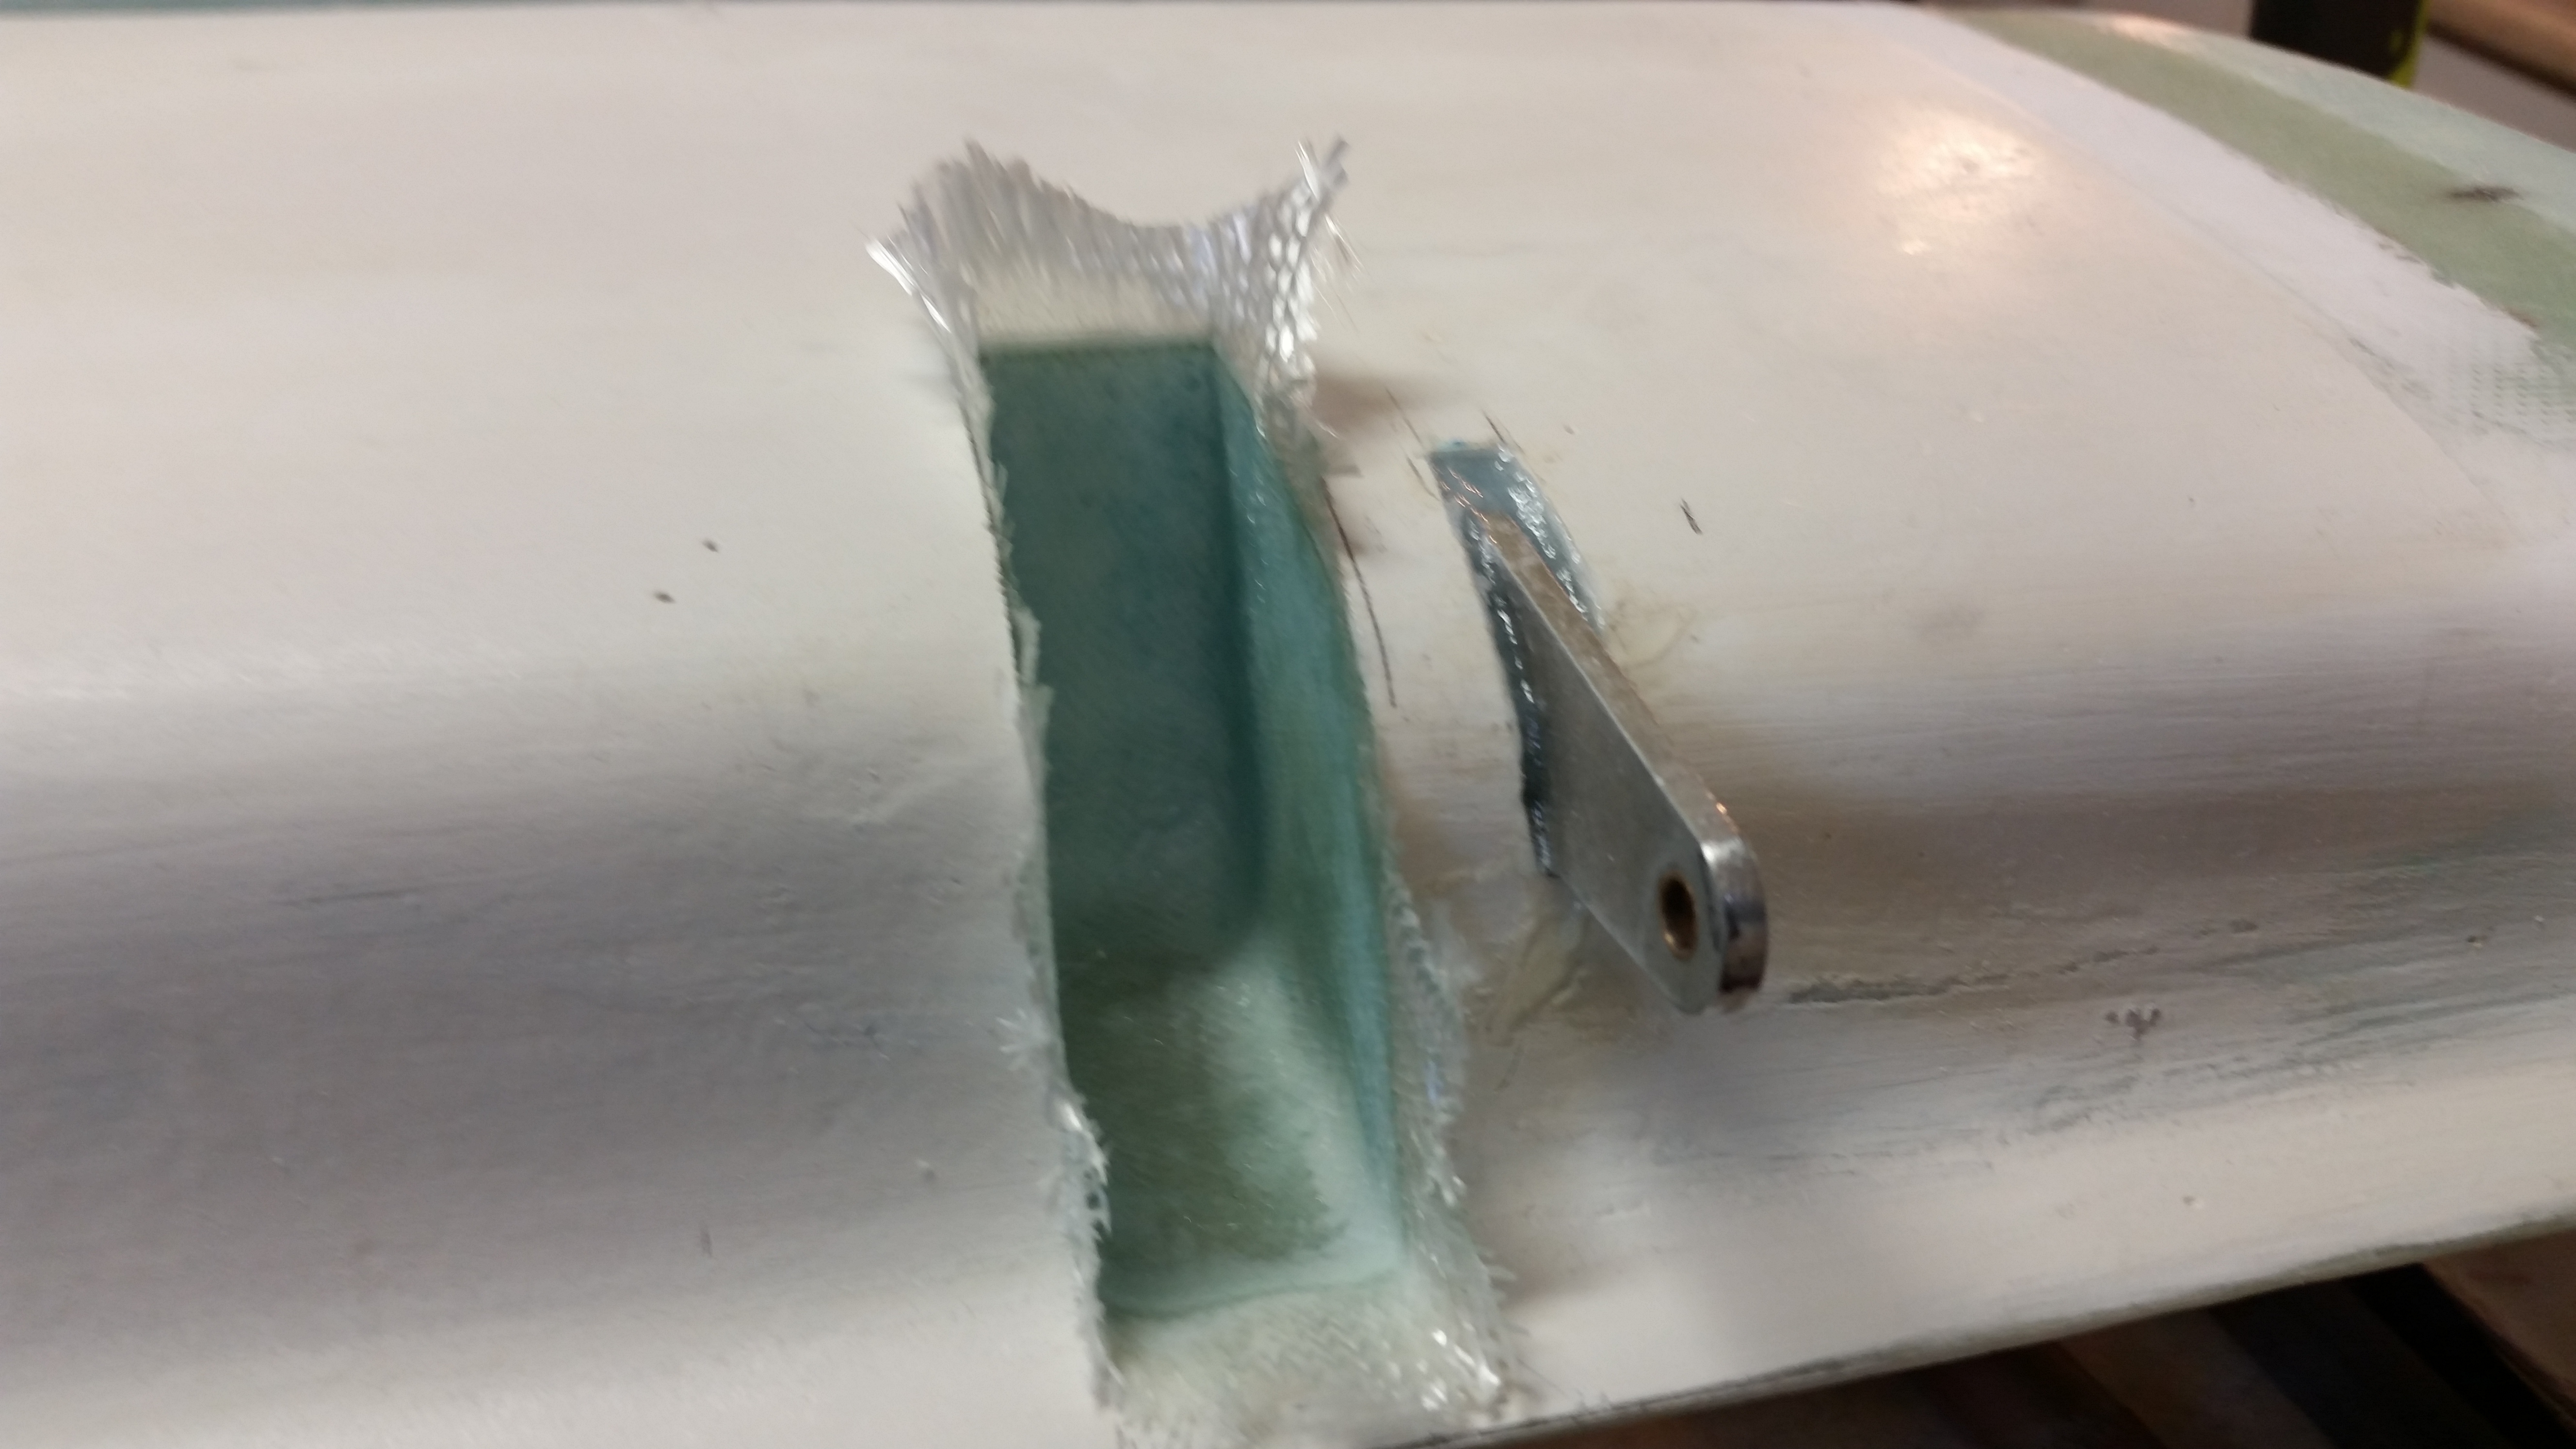
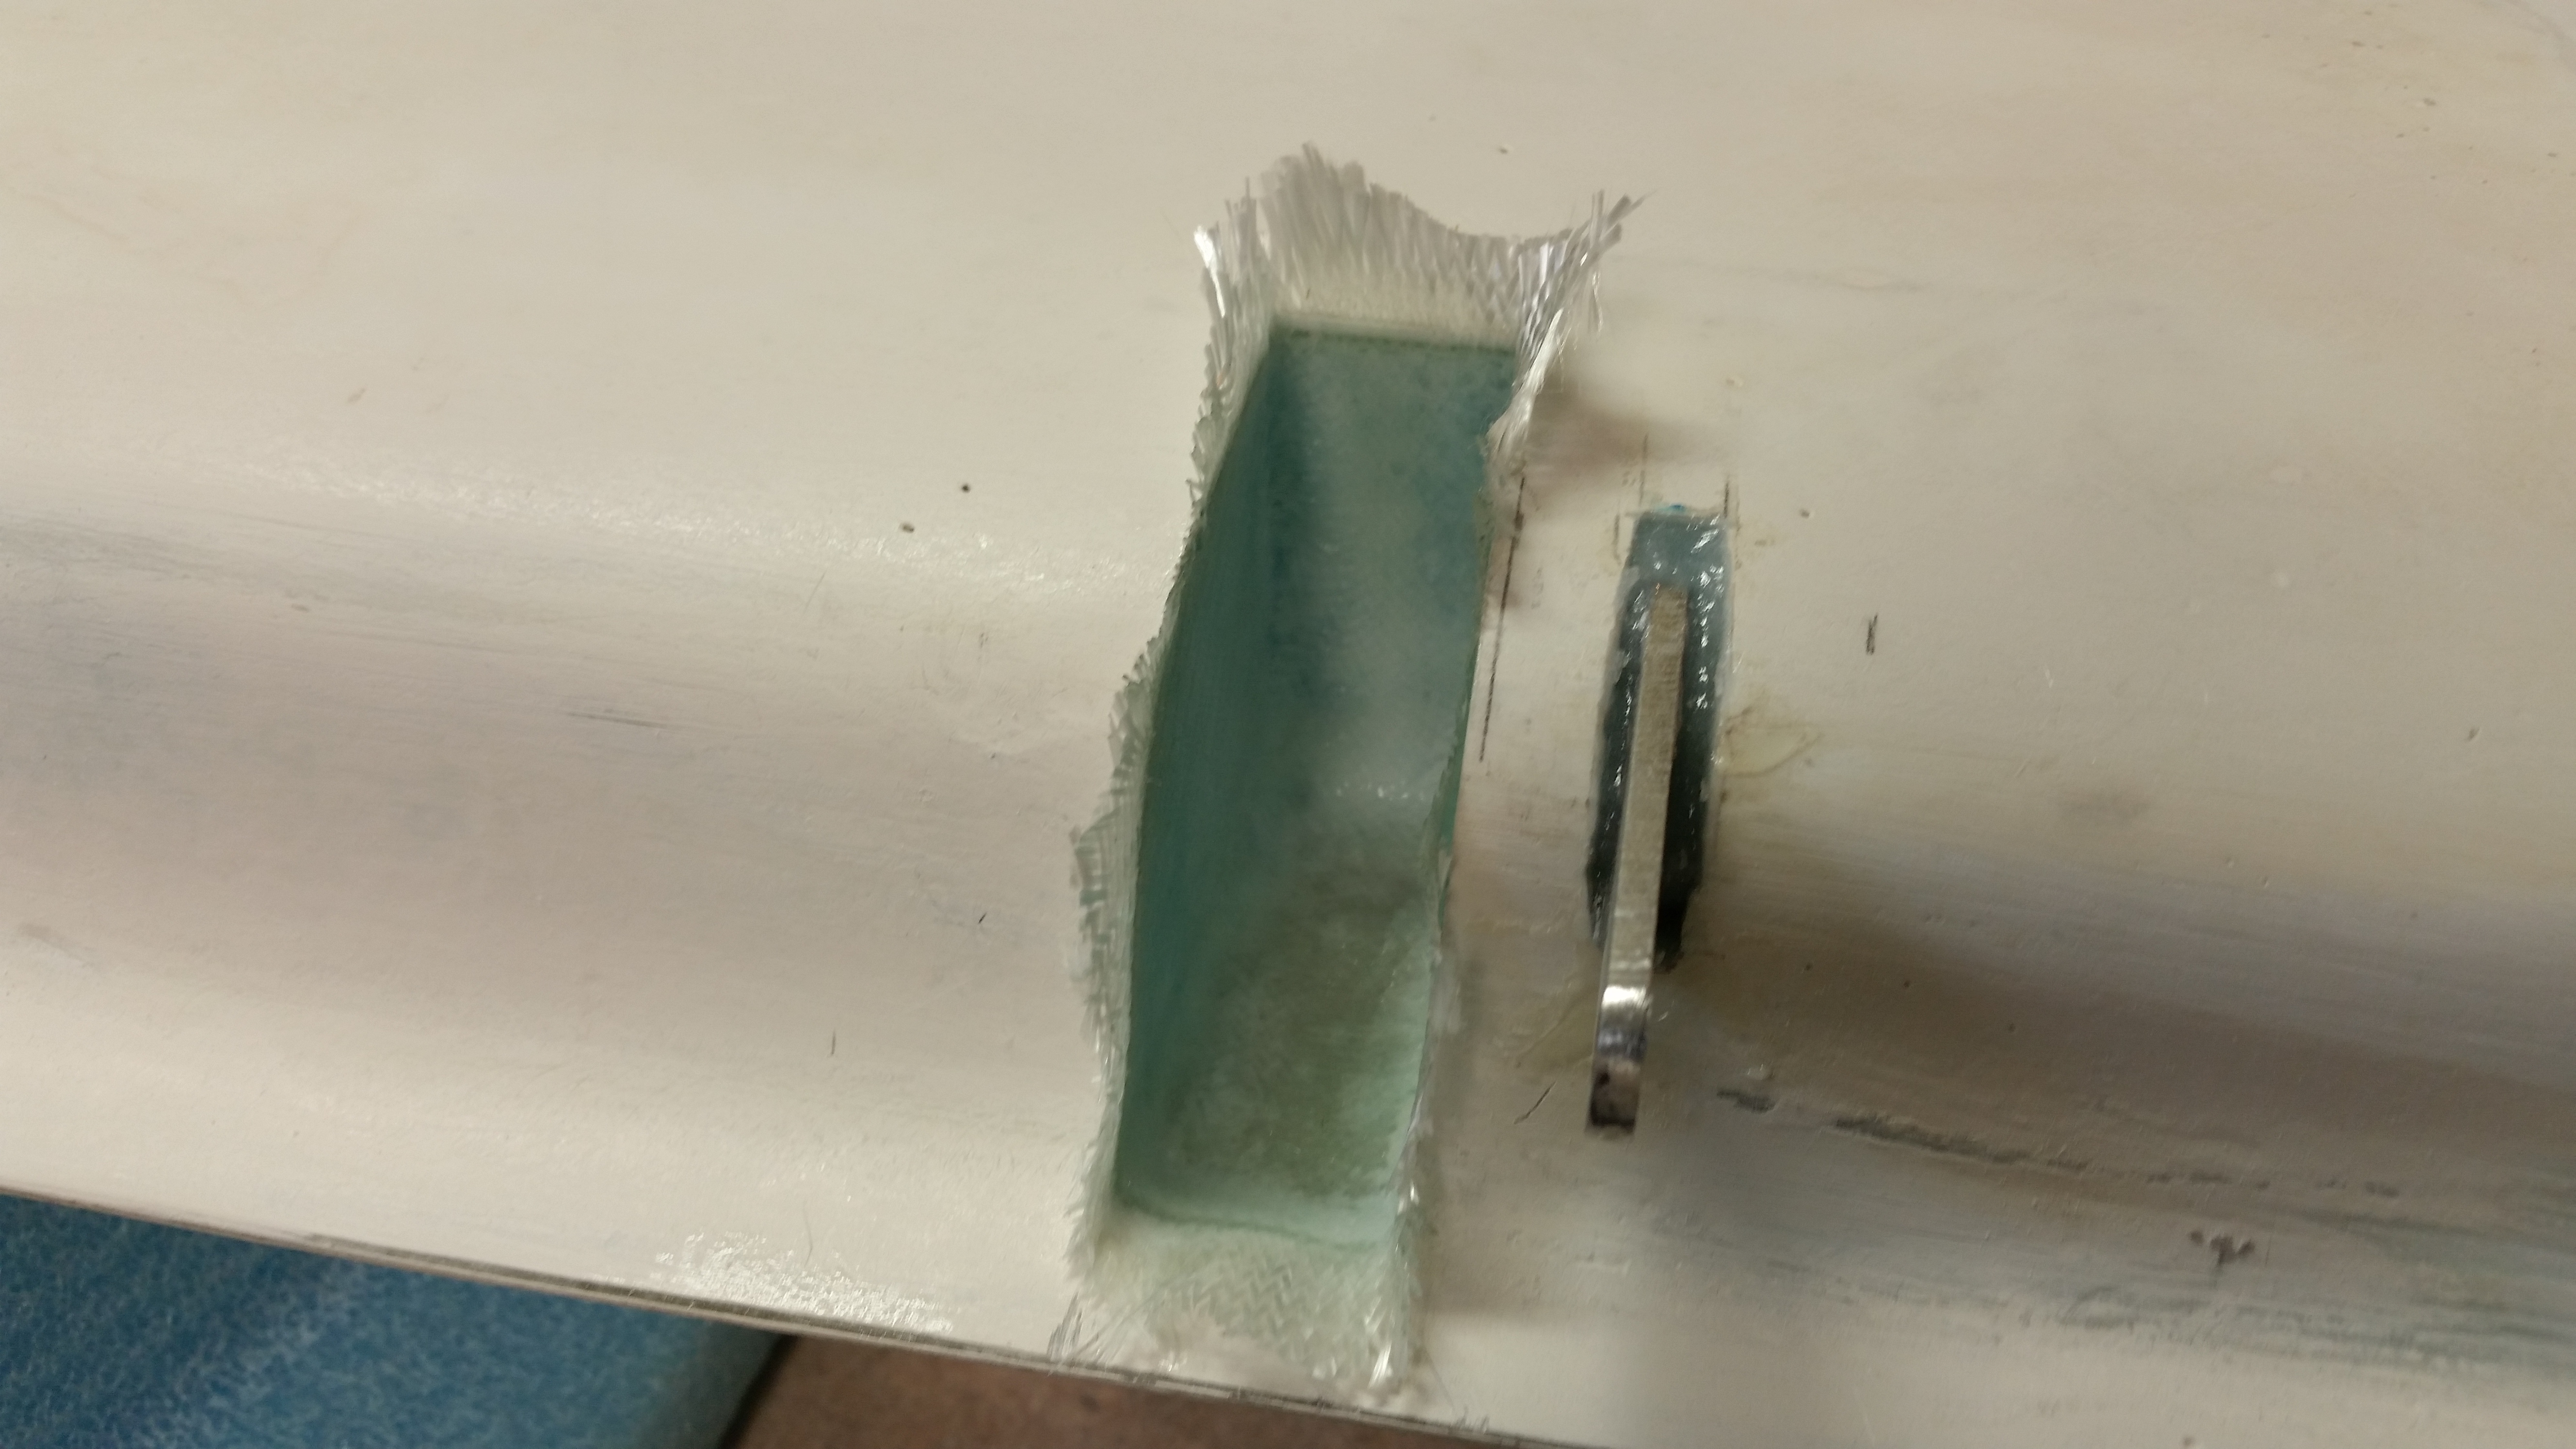
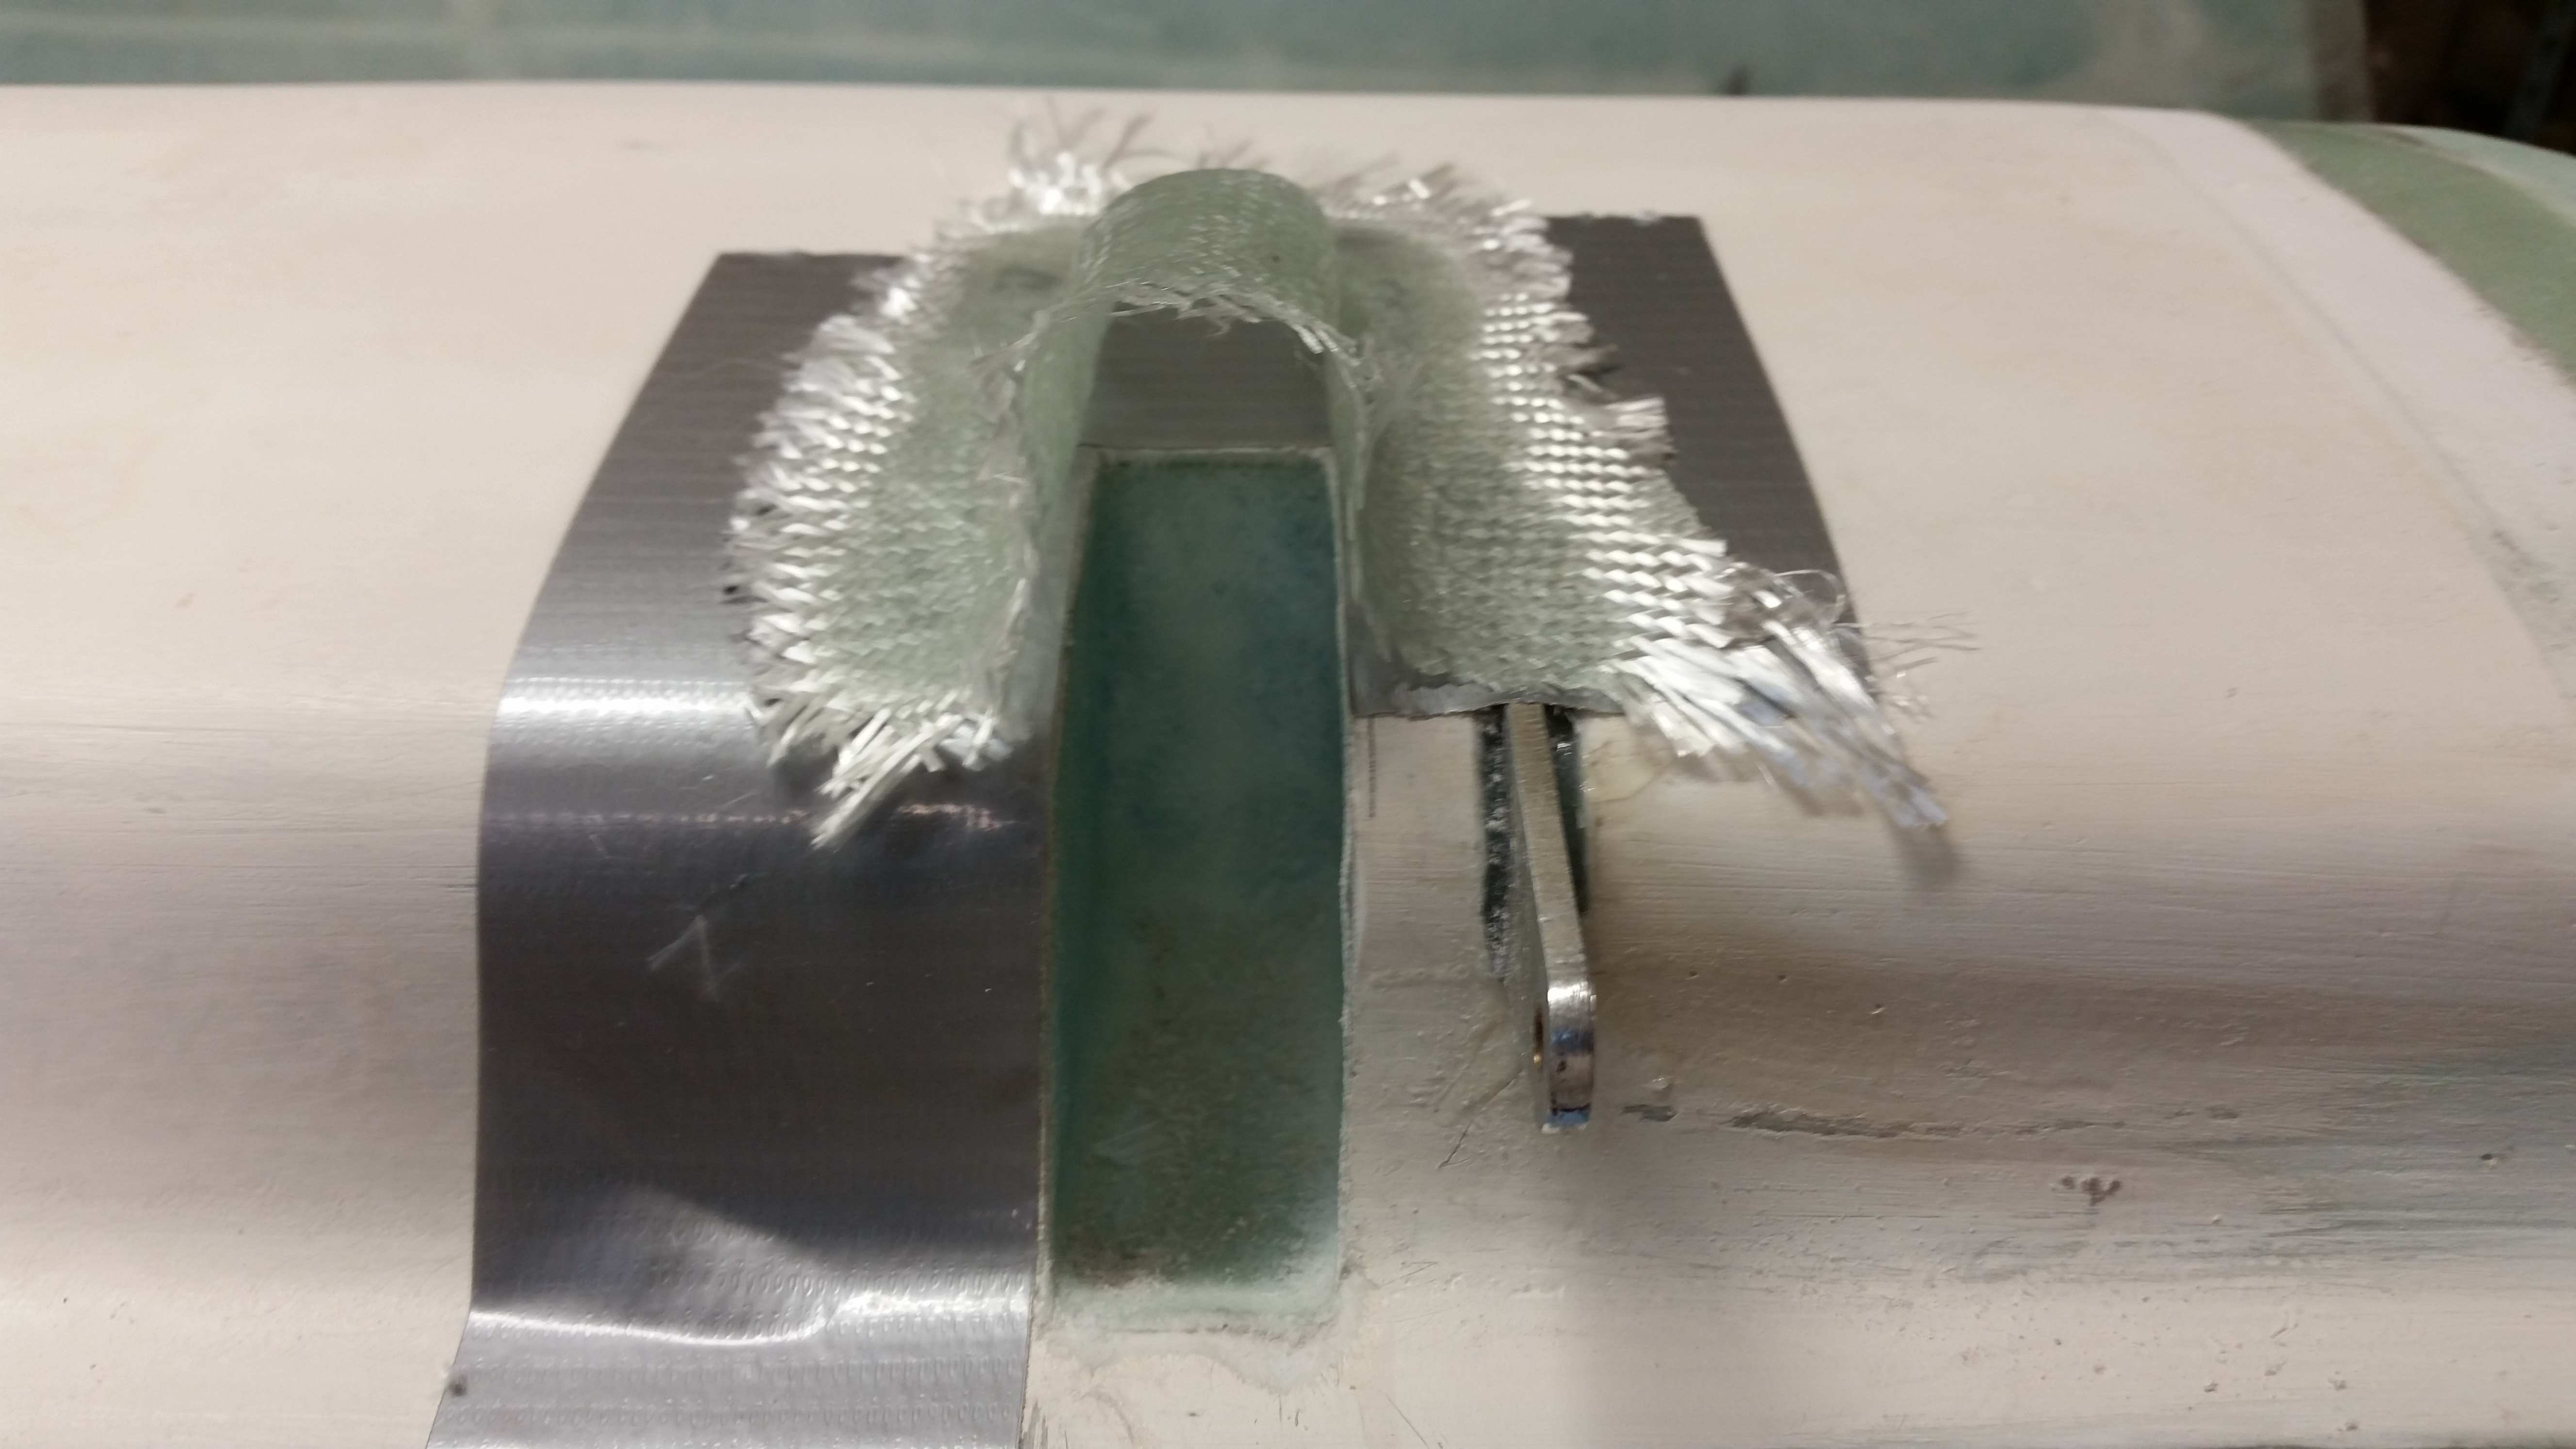
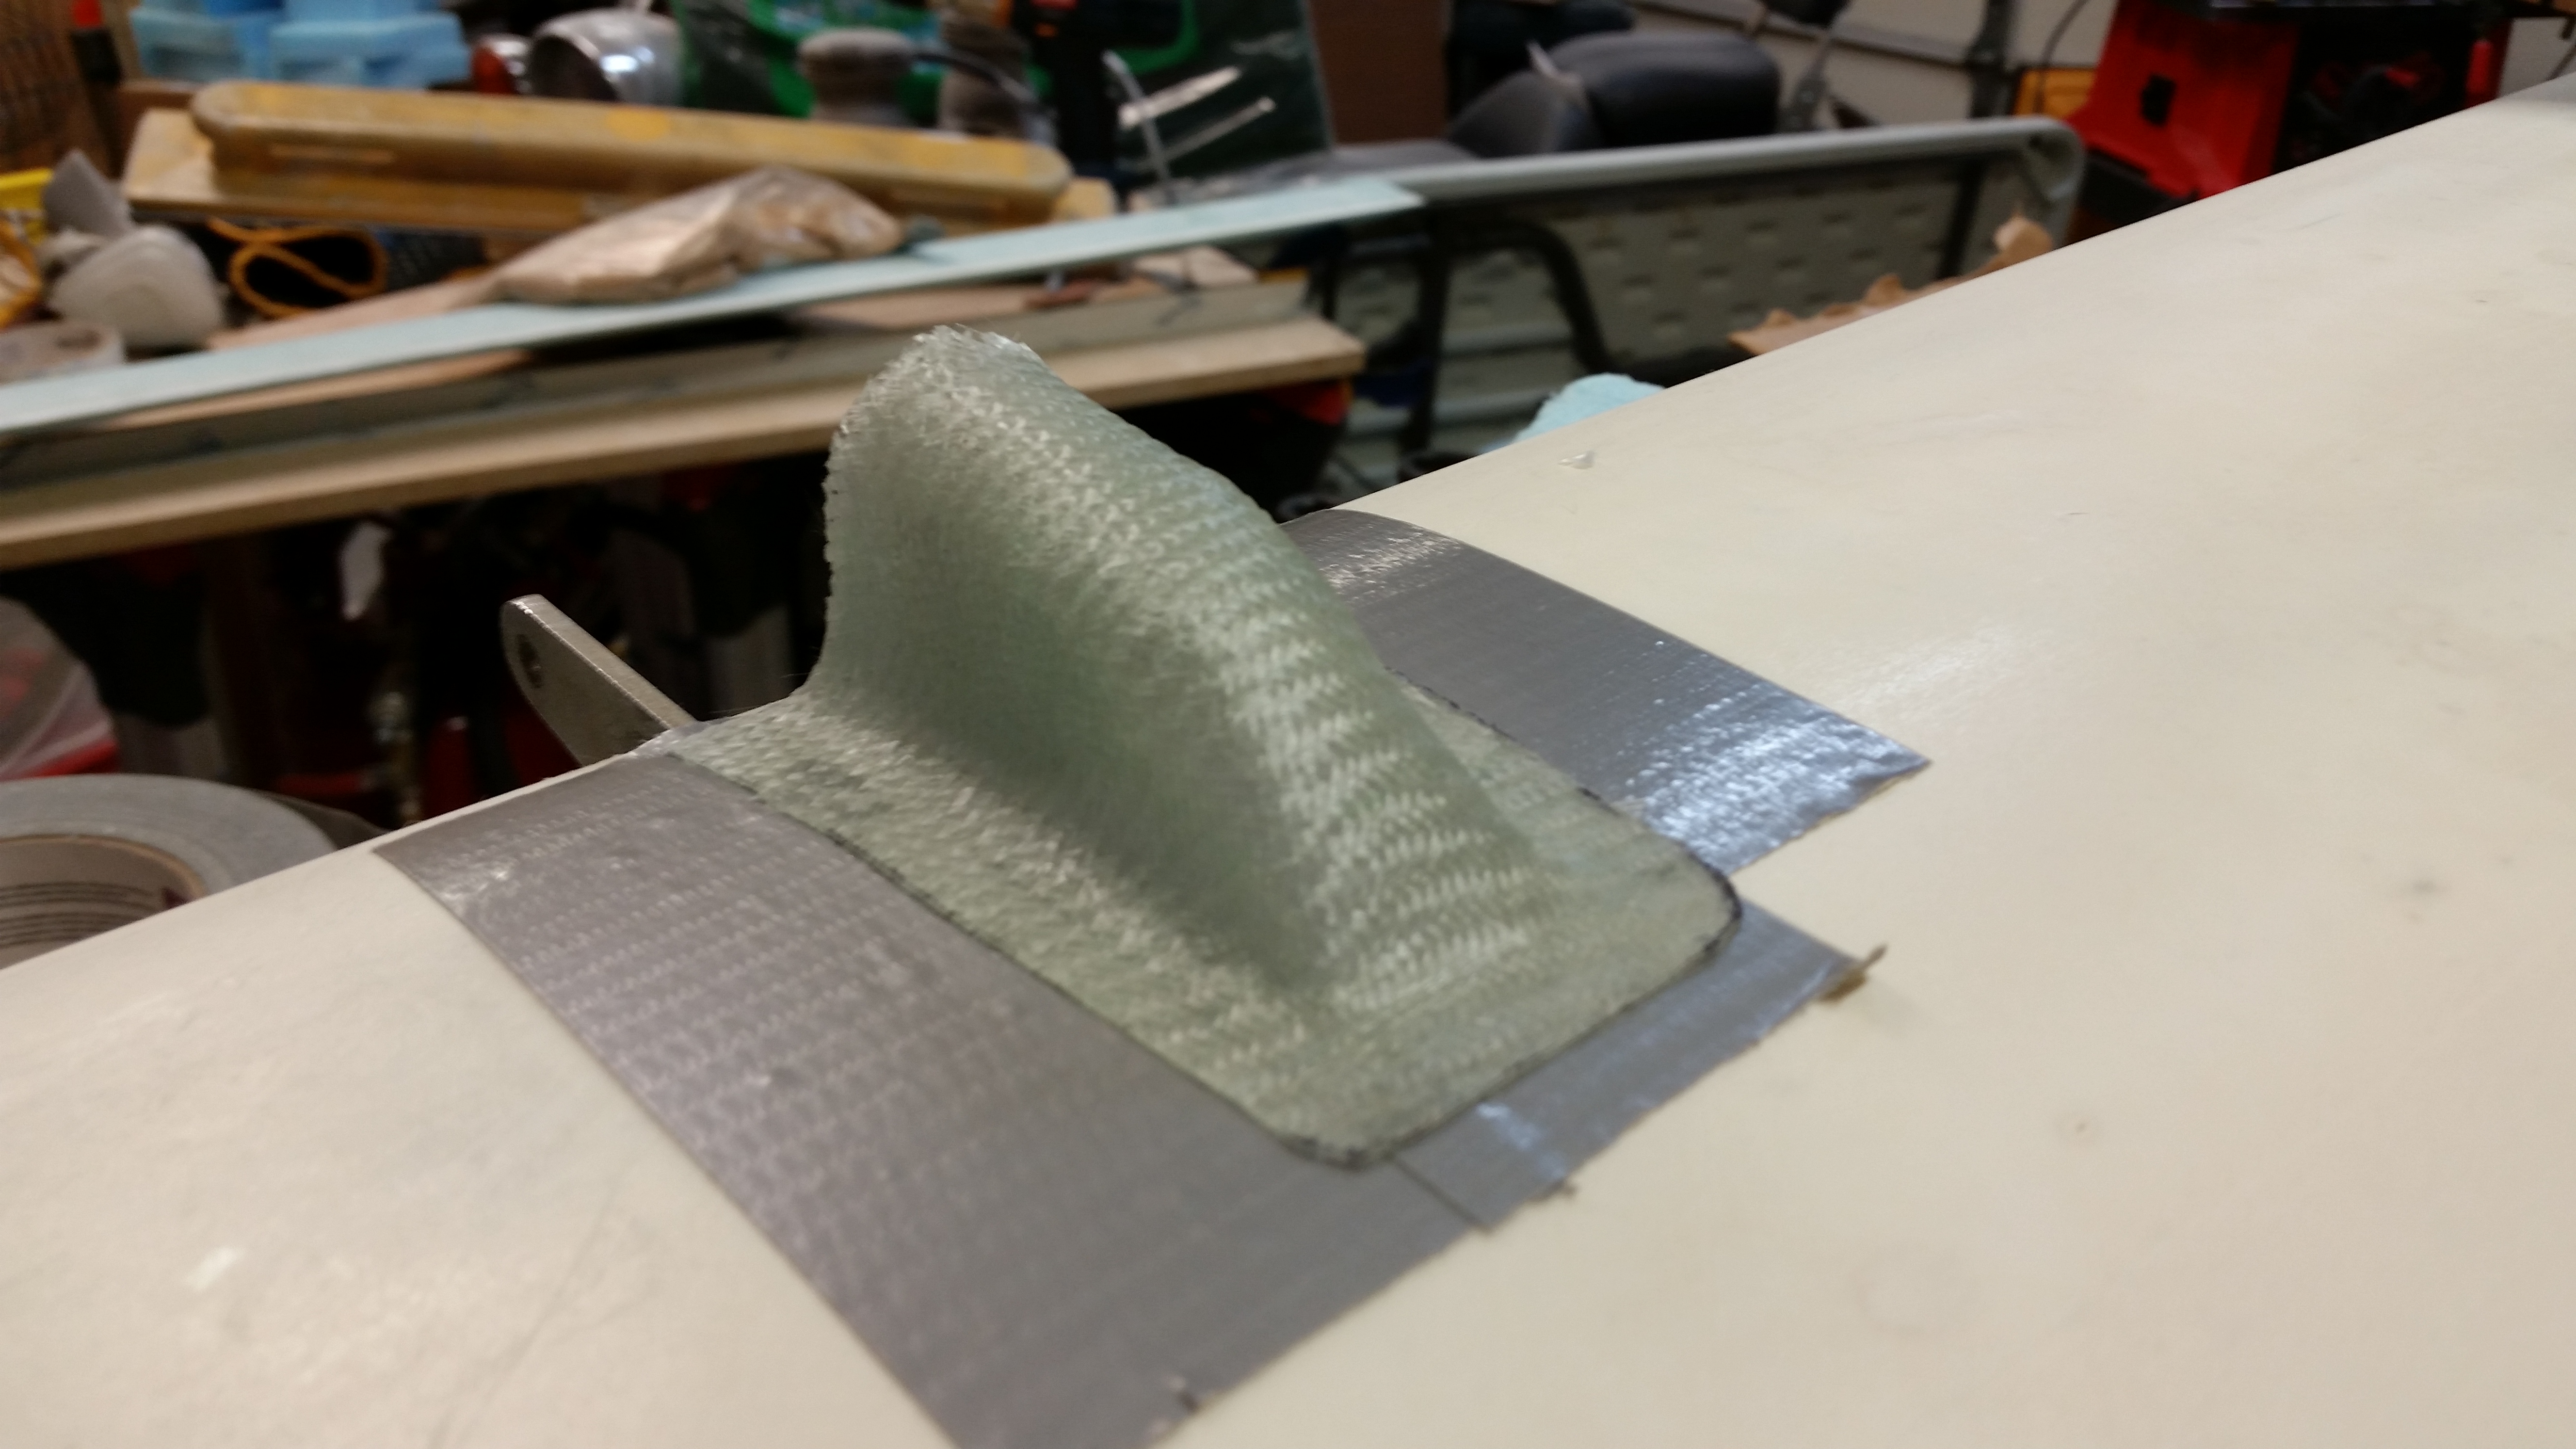
And here are the pics I promised of the left wing root rib where I re-attached the two click bonds with flox and then laid up 2-plies of BID over them. These click bonds hold the aileron bearing setup in place. I have one more pic coming showing the mounted aileron bearing.


Since I had extra epoxy left over at one point–and hate wasting it–I finished shaping a piece of polyurethane foam into a mold for the elevator weight ice shield. The pics below are immediately after I popped it off the mold and set it on the canard to see how it fit.

Here’s the same ice shield after I trimmed it. I may change the shape later on, but it was a quick kill and for now I know that I have them done and ready for use.

I’ll keep working on the elevators and will start getting some pics so I can show you all what I’m working on.
In addition to working on the elevators, I also started researching the nose & nose gear build requirements so that I’m prepared to complete Chapter 13 in the next week or so.