
Today was a culmination of a lot of effort in various build-related threads.
First off, I finally got my beloved “Bob” (3D printer) back online after a few more hours of troubleshooting effort. I got Bob started on a stress test 3D print as I got to work on the mill base (the real mill base, or other mill base… I guess I should have been calling the blue base a “pedestal”).
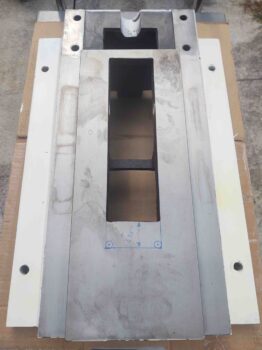
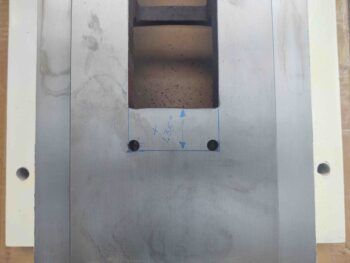
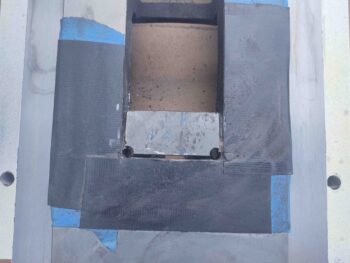
One fairly “easy” mod is to simply notch the front part of the center base channel where the saddle (riding on the ways forward-and-aft) connects to the lead screw just below the surface, again, in the channel.
By extending the channel forward, it allows room for the lead screw/saddle connector —or in the case of CNC, the ball nut connector to the ball screw— to travel further forwards, (towards the camera). The amount of extra Y-axis travel I can squeeze out in my particular configuration is 1.35″. Not bad considering the stock Y-travel is 8.75″.
I started by marking the area to be cut out.
Then used progressively larger drill bits to get through the thick steel.
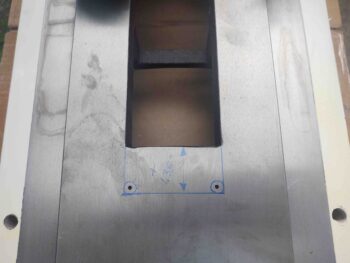
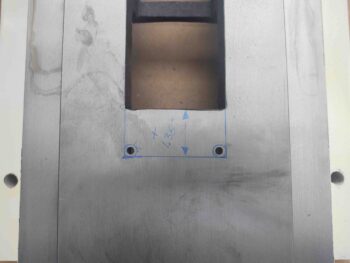
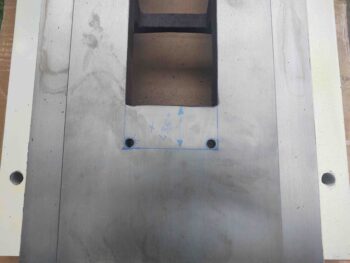
Here we have the forward corners drilled, ready for some cutting action.
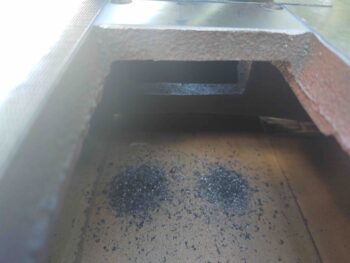
But first, I took this shot for my buddy Marco to show him the lower cross frame member on the underside of the mill frame. Luckily I don’t have to cut into this to make this mod.
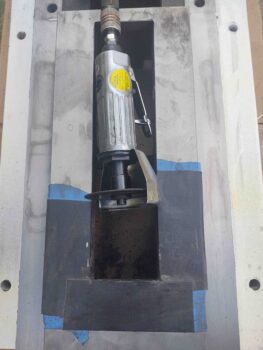
I then got to work, first with a Dremel Tool cutoff wheel, which I ground down to a nub….
before switching to a 3″ air driven cutoff wheel.
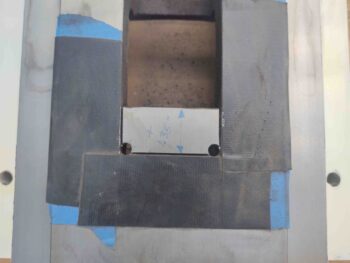
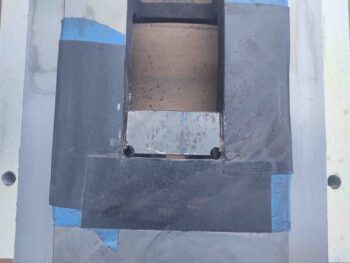
The entire opening here is pretty rough, so it makes my decent quality opening fit right in… ha!
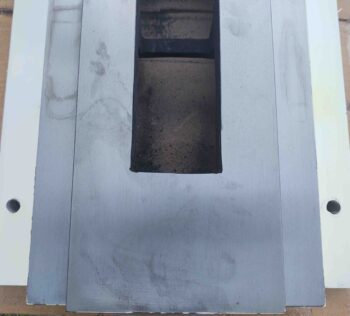
Mod 1 complete. EZ-PZ to get 10+% more Y-axis travel!
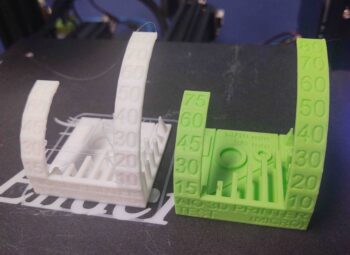
I went back to check on Bob’s progress. Not bad as well. The white print is what I just printed, but with a mystery PLA plastic that I didn’t have the heat specs on. Pretty good considering. The green I did way back.
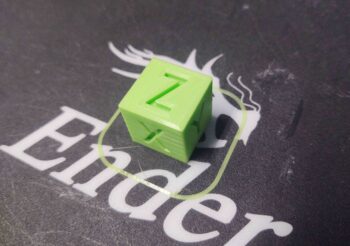
I then printed a 20mm square test cube. It also measured the same as my old test cube, both just a fraction on under 20mm each side. Again, way close enough for what I’m doing here.
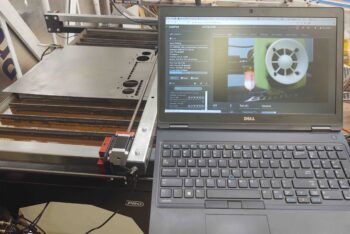
This is me out in the shop, ready to power through getting my instrument panel plasma cut (8″ cuts at a time!) before I do some straight line test cuts to obtain some troubleshooting data for Langmuir Systems.
Note that I can keep a close eye on Bob from just about anywhere, while doing something else. Pretty cool.
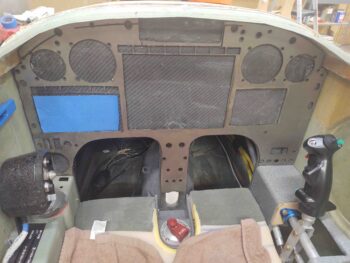
Well, my evil plan almost worked. Then at just about the last cut the plasma torch crashed into a raised part of the panel and went all askew. Being the good soldier it kept going to complete its mission, but at that point was starting in the wrong position. It made a nice little “accent” line across the top, and then just about lopped off all my Korey lights in the row above the EFIS.
Luckily this is a test panel, and it didn’t do enough damage to render it unusable.

I added some uber Gorilla duct tape to the Korey light top cross piece and proceeded to test fit the panel into the plane. VERY NOT BAD! A few round of final tweaks to be sure, but very close… I’m very pleased with the outcome.
The fillets along the composite panel edges and especially the corners are keeping it from lying flat on the original composite panel… and being able to be skewed slightly left and a little up. Again, some corner trimming will help immensely on tweaking the final fit.
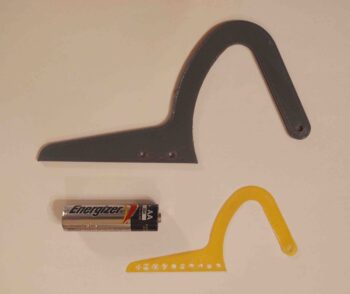
After my test 3D prints, and performing a few tests and tweaks on the extruder, I then did my first real part (for fit-testing) in PETG: the resized front nose hatch hinge. After a few slicer tweaks it turned out great. A much better size than my original smaller one (yellow). The AA battery is simply for size comparison.
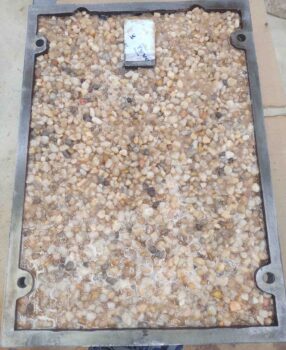
As Bob was busy printing out various 3D parts, I was in the shop cleaning the underside of the mill base in prep for filling it with epoxy granite.
I started first with a solution of White vinegar and Dawn dishwashing soap. That really got a good bunch of the surface dirt, dust and gunk off. I then did a good scrub with acetone.
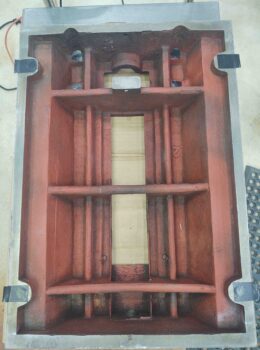
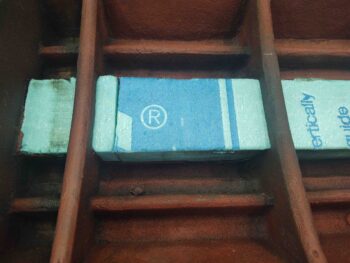
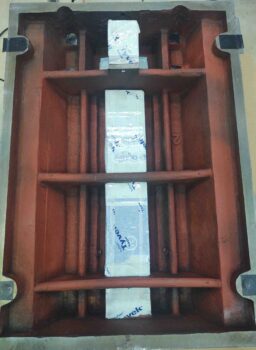
With the underside about as clean as it will get, I then grabbed some foam insulation pieces and cut them to fit down the center Y-axis lead/ball screw channel.
I then added a few pieces to the very aft of the base to make a pocket for the headstock/z-axis dampening/assist pneumatic cylinder lower attach point.
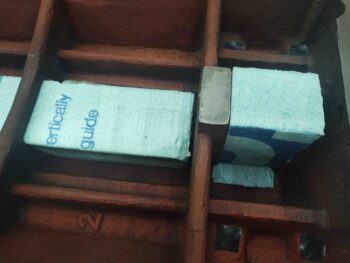
I took a bit of extra time to tape up the foam as form release to make it much easier to get the foam form out after the epoxy granite cures.
And a mere 6+ hours later (akin to a long layup) I had the entire underside of the mill base filled with epoxy granite [West epoxy + gravel + sand].
I should note I weighed the mill base pre-epoxy granite at 75.4 lbs. A few hours after I was finished, with the top seemingly cured, I weighed it with the epoxy granite at 115.4 lbs. Clearly it added exactly 40 lbs to the mill base…. a significant increase in weight, with a whole lot more vibration dampening to boot.
Needless to say, I’m very pleased with these milling machine mods so far.
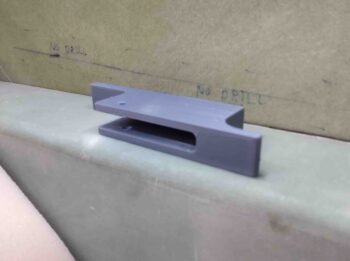
While I was working on the mill base epoxy granite Bob was busy printing out the new canopy latch handle in PETG. I used a high infill to make it strong so I can use it as an actual functioning handle to test & dial in the canopy latch configuration. I also moved the attach screw points inboard 1/8″ in Fusion 360 before re-printing the handle.

Here it is, cleaned up, in the front seat of the plane ready for installation (tomorrow).
Quite a day… and I’m off to bed.