
I started off today by adding another ply of BID to the face and underside of the block of H250 foam which makes up the sub-structure and holds the securing nutplate assemblies for the nose hatch hinge bracket. Unlike the previous 2 plies of BID that I laid up to secure the nutplate assemblies, this ply overlaps onto the underside of the hatch lip and on the underside of the H250 foam protrusion (which already had glass on the bottom side).
Since this hinge bracket sub-structure will be hidden primarily by the hinge bracket, I only peel plied the strip just under the hatch lip.
I then got to work on the canopy. I reshot a couple of coats of white and black on the aft side of the crossbar (not shown) after I plugged a myriad of pinholes with micro. I then hit the front half of the interior canopy frame with gray primer, my real target being the front lip from the seal groove forward. Since this surface contour mirrors the glare shield on the aft nose/avionics cover, I don’t want to use the nice flaw-hiding granite rock paint since the build will be too high and most likely end up transferring gray granite paint to my black glare shield. Or worse, act as a glue on a hot day and really mess things up!
After the front lip cured for a couple of hours, I went back over it with some raw epoxy in a few areas and some micro to help fill in some divots and hide some imprinting glass weave that was showing through. Tomorrow I’ll sand and hit it with another coat… but most likely pick up some darker gray primer or paint, since this is too light in color for what I want.

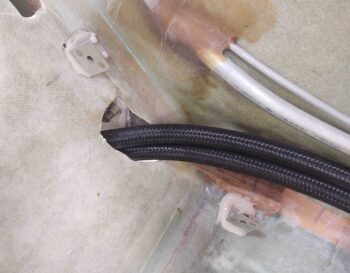
As the first rounds of canopy paint were curing I got to work on a long overdue task, and one that really needs to be completed pre-strake build. This was the impetus for my welding up the “ugly wrench” last week to remove the 1/2″ oil heat lines coming in from the Hell Hole along the left side of the GIB thigh support/fuel sump structure and terminating each into a 1/2″-to-3/8″ reducer.
Here, from bottom (aft) up (fwd) is the black 1/2″ oil line with its red & blue fitting, connected to the blue reducer (also shown lower left), with the black fitting of the 3/8″ oil hose connected to the forward side. Note the black heat exchanger in the upper right corner where the 3/8″ lines connect to.
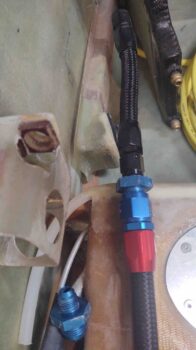
As typical, a lack of planning and a true understanding of operational impact and future maintainability bit me in the butt. At the point I created the hex-shaped pass-thrus in the GIB thigh support/fuel sump side bulkhead, I didn’t consider the left tank fuel and vent line tubing covering up these oil hoses and thus denying access to get a wrench in there to torque them to final specs… which would still have been a fairly difficult task in itself with nothing in the way.
To compound my self-inflicted difficulties, I only made the bulkhead hex pass-thrus big enough to accept the reducers’ hex nut coming in from the front of the bulkhead. The back of these holes had about a 0.2″ lip to keep the reducers from freely sliding through the bulkhead. My aim in securing them became a huge nightmare when I had to extract the 1/2″ oil line fittings in order to tighten them to spec (which they haven’t been this entire time since installed . . . years).
So I remedied that today with nearly an hour of careful (as possible) Fein saw work and manual sanding. But I eventually got the bulkhead hex passthrough lips removed so that I can preassemble the entire oil line hose assembly (as per pic above):
1/2″ hose ⇔ reducer ⇔ 3/8″ hose
all tightened to specs and then slide it through the bulkhead hex holes. I will then, as before, just use silicone to hold the reducers in place in the hex-shaped bulkhead holes.
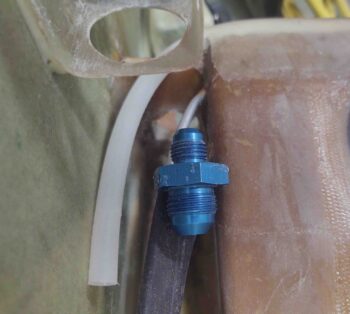
Here’s a closeup of one of the reducers.
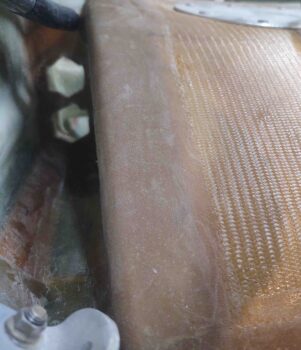
I also spent a little bit of time to knock down the thin edge that makes up the 1/2″ oil line transit hole going through the lower left GIB seat. Note the black line I marked as my target cut line.
Here I’ve cut away the seat glass edge that had the potential to gnaw into the heat oil hose. I will also add a sleeves to protect the hoses further, but this was a good start to remove any potential “knife / saw” edges.
A shot of the oil lines back in place, transiting through the GIB seatback.
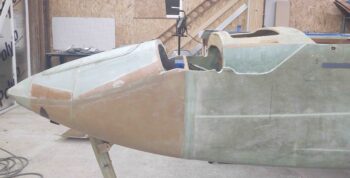
It was at this point I finally cracked open the time capsule that is the aft nose/avionics cover. It took me a good half hour of gentle prying, coaxing, coercing and pleading for this thing to come off without any major damage!
Here’s the nose side of these shenanigans. A site I haven’t seen in well over 2 years.
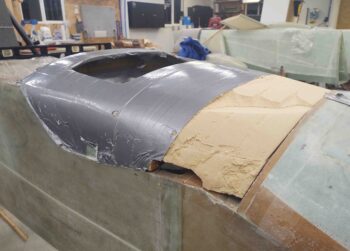
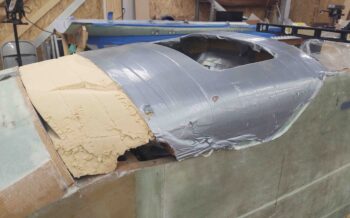
Another shot from the front.
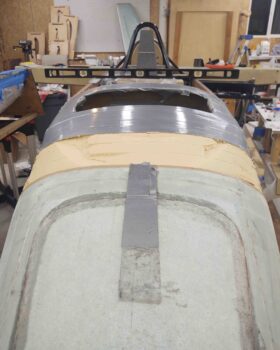
I then started the seemingly unending task of removing tape and cleaning up the structure underneath the tape. This took a couple of hours.
The protective plastic I had in place all during the glassing of the aft nose/avionics hatch sub-structure was still in place.

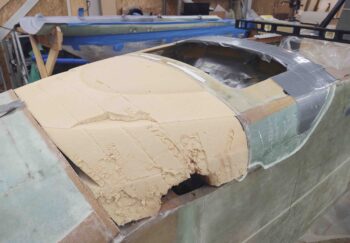
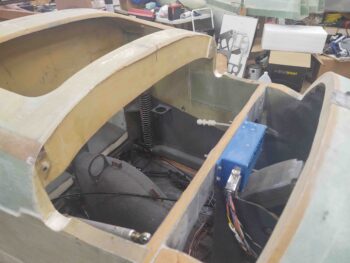
I removed the plastic and tape, and a few plies of old peel ply in the corners. I then gave the avionics bay a fairly thorough cleaning and vacuumed it out.
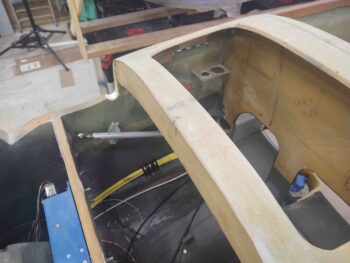
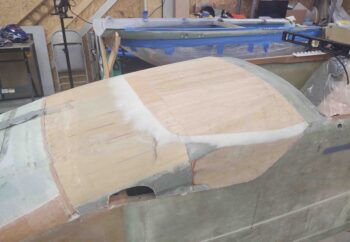
I grabbed this shot of the glare shield substructure from the top side.
And from below… not something normally visible when the nose cover & glare shield are in place.
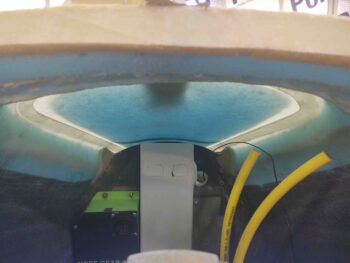
I also grabbed this side view shot showing the nose pocket where the canard will get mounted. I’ll be adding pour foam and glass in the forward lower corners of the pocket around and matching the lower forward contour of the canard.
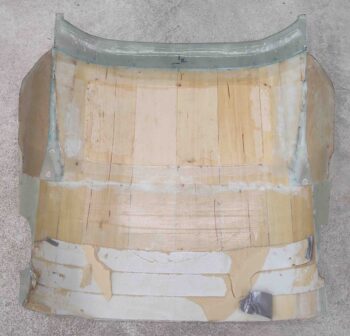
I then spent over 30 min cleaning up the underside of the aft nose/avionics cover. I cleaned off a bunch of dead glass and pulled a fair amount of peel ply. I’ll be giving it a very thorough sanding on the inside. Also, since I had to add an extra layer of wood on the top aft area of the cover for a better contour, I’ll remove a good portion of the lower (inside) layer of wood and then glass it for some weight reduction.
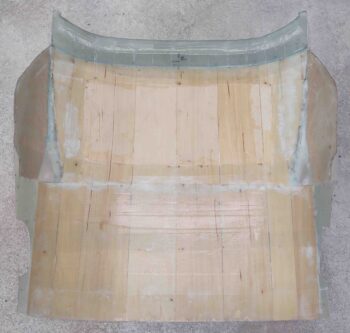
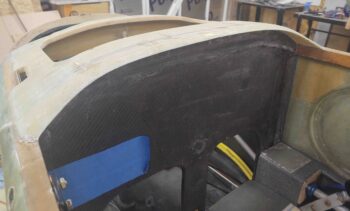
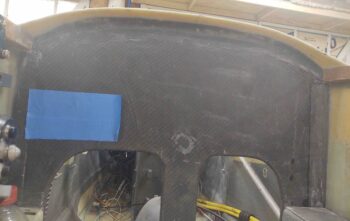
With the cover curing for over 2 years, it held its shape beautifully when I set it back in place. I’m pretty excited to see how this cover will look and function once the install is finished.
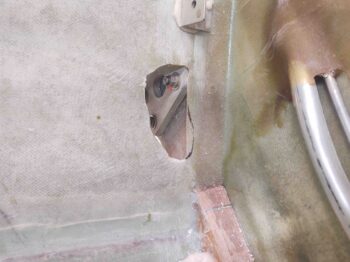
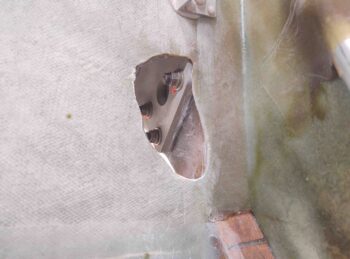
With the aft nose/avionics cover off I took this interesting shot of the forward nose hatch from inside the nose…. I think it looks pretty cool! (can you see Napster peaking out??)
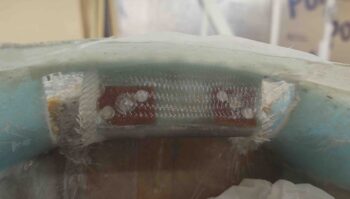
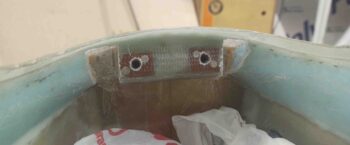
Speaking of nose hatch, here’s the cleaned up 1-ply BID layup from before. It was still just a very tad bit soft, so I’ll sand the edges tomorrow when it’s cured a good 12 hours more.
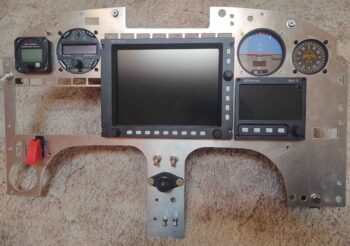
Also, I actually did a fair amount of work on the instrument panel today, a bit here and a bit there… but about an hour-and-a-half total. I had to increase the height and width of the GRT HXr EFIS opening a bit in both directions, and also work to square it up some too.
This plasma cut was an odd one since the HXr opening was one of the first cuts out of the gate, and it was a bit off as well. Not horrible, but the row of Korey indicator lights above the HXr is definitely off in relation to the EFIS, and will need a good 2-3 hours to dial in. Moreover, with these indicator lights I’ll now be relying more on the composite sub-panel structure to secure them vs this overlying metal panel.
The push continues . . .