
I had a number of other things going on today other than the build. A few errands and had to help a friend out with some stuff. I also hung out with my little buddy a bit, so I didn’t get an entire day in on the build.
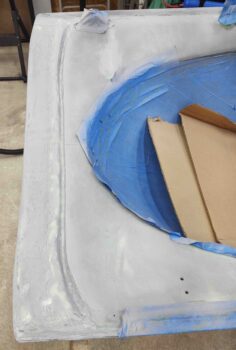
I did spend a good half hour plus sanding the front lip of the canopy to dial it in a bit more. As I mentioned in my previous blog post, since the front lip interfaces with the nose-side glare shield I won’t be using speckled granite paint on the lip (or the glare shield).
I got another few coats of primer on the lip, and for comparison’s sake jumped ahead a few hours with the pics side by side. Two points of note are that A) I will be –again– going with a much darker gray for the final color on the lip, and B) although not quite visible on camera, I still need to clean up a half dozen spots, divots, etc. and re-sand before any further coats.

I did a bit more research on my CAD options since, as I explained. my plasma table was currently out of commission with the changes AutoDesk made to the rapid movements in post processing CAD files for machining, plasma cutting, etc. I thought long and hard about this both last night and up until this afternoon, and figured I couldn’t afford to do the proverbial switching horses mid-stream, so I relented to what is in my opinion akin to extortion and purchased a 1-year license for Fusion 360 CAD. There’s simply too much I need to get done as quick as possible between plasma cutting, milling and lathing, that I simply cannot be non-operational with any of the machines I have.
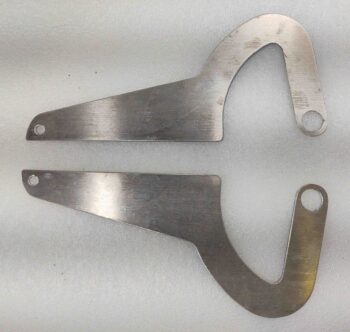
Within minutes of pulling the trigger on my new and improved Fusion 360 CAD (Wrong! I essentially bought back rapids) I was able to use my plasma cutting table again. With that, I cut my latest –and very hopefully final– set of hinges out of the same 0.090″ 6061 aluminum that the instrument panel was cut from. Thus, I’m “proud” to present to you my very costly nose hatch hinges! (yes, I’m being particularly facetious . . . ).
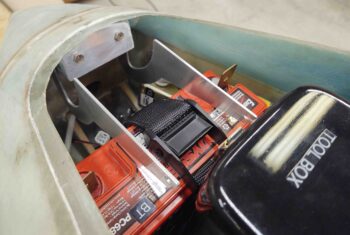
I then took about 20 minutes to clean up the welds a bit on the nose hatch hinge bracket and attached the 6061 hinges to the bracket.
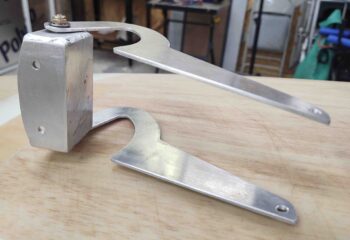
I’m cautiously optimistic and very hopeful that these guys are the ones…. they fit great and the geometry looks very good so far (again, thanks to Mike Toomey for his advice on these crazy nose hinges).
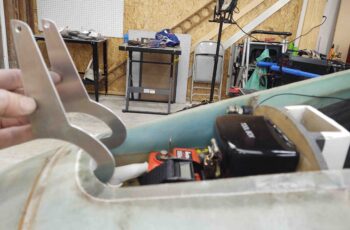
Here’s a shot of the installed nose hatch hinge bracket with the nose hatch hinges installed.
Tomorrow I plan to focus primarily on the canopy: removing scratches from the edges, doing a layup or two in a couple spots, and painting the frame (if time). So whether tomorrow, or soon, I will be working to attach the nose hatch door to these hinges!