. . . in a long, long time.
I started off today spending a good hour compiling and pulling the trigger on an order with Aircraft Spruce. I needed some CAMLOC parts for the wheel pants, hardware and other stuff.
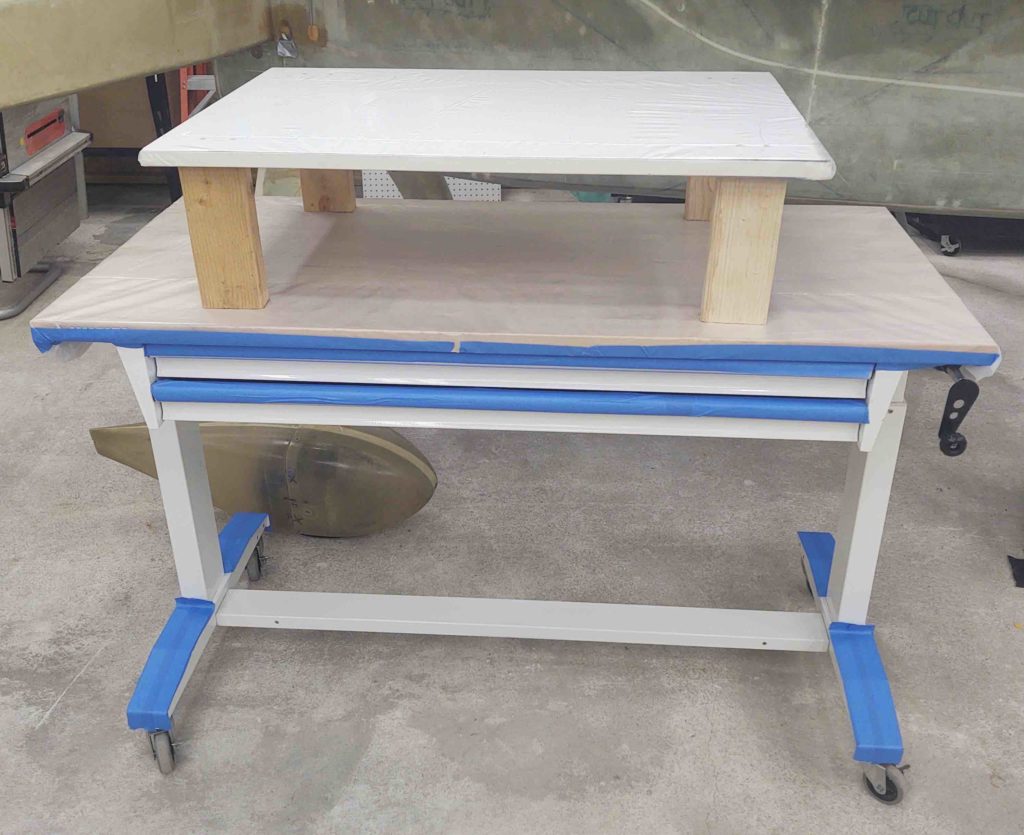
Today is the first day back for actual glassing here in NC. To do that I’d like to have a portable glassing table, which is why I bought this adjustable-height roll-around work table for the hangar.
Since I often glass components on a large board like the elevated one you see here, it often ends up sitting on top of my workbench covering whatever ends up underneath of it. So I thought starting out from the get-go I would simply put some short legs under it and make a mini-glassing table that will still provide me access to the stuff underneath.
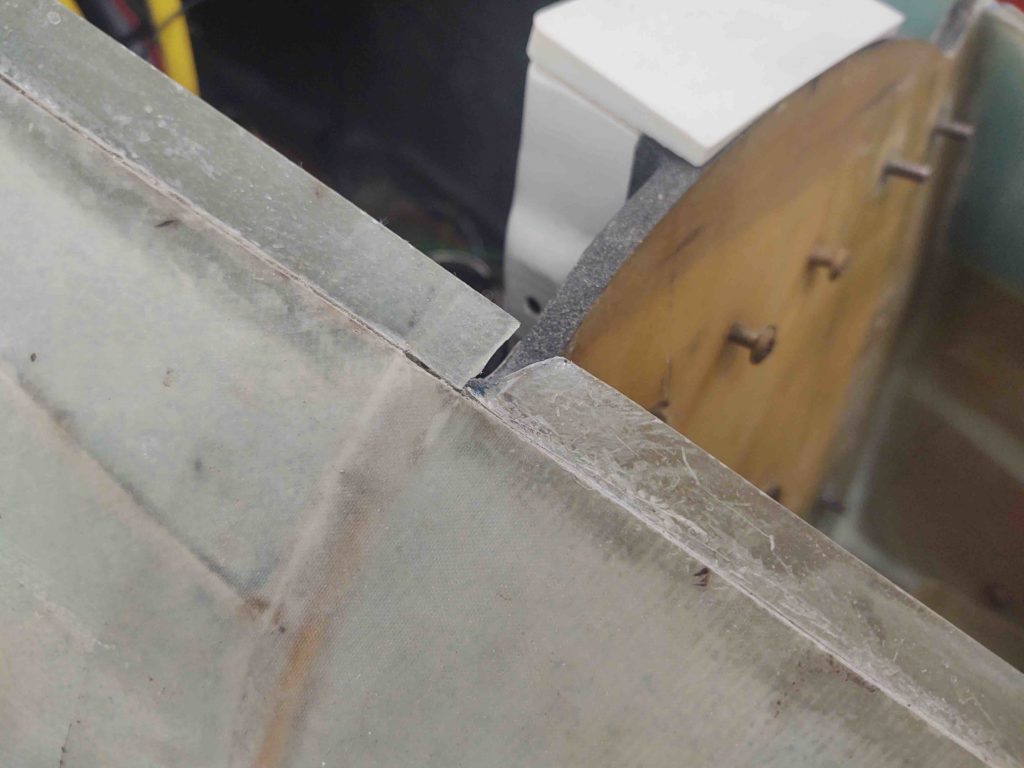
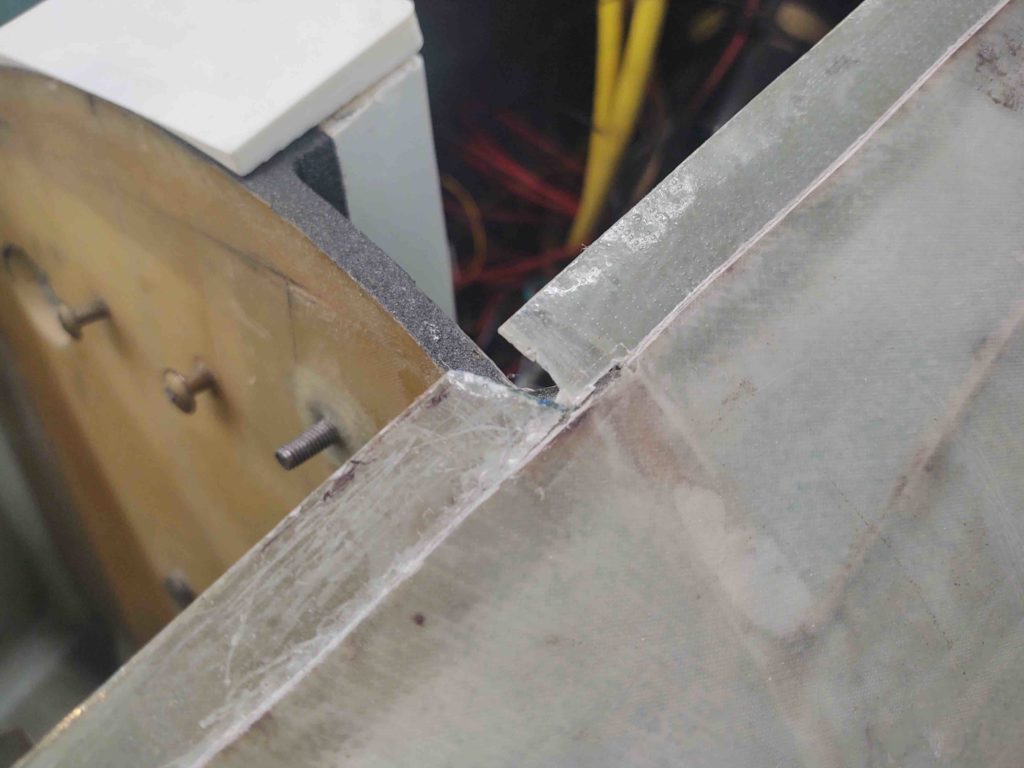
The first glassing task today was to fill in the gaps created by my wild and wonderful method <grin> of glassing the nose to give me the hatch opening I have. Since it was actually glassed in multiple steps, using Napster as the line of demarcation between front and aft sections of the nose hatch, the resulting nose hatch perimeter flange has a gap in the glass on each side.
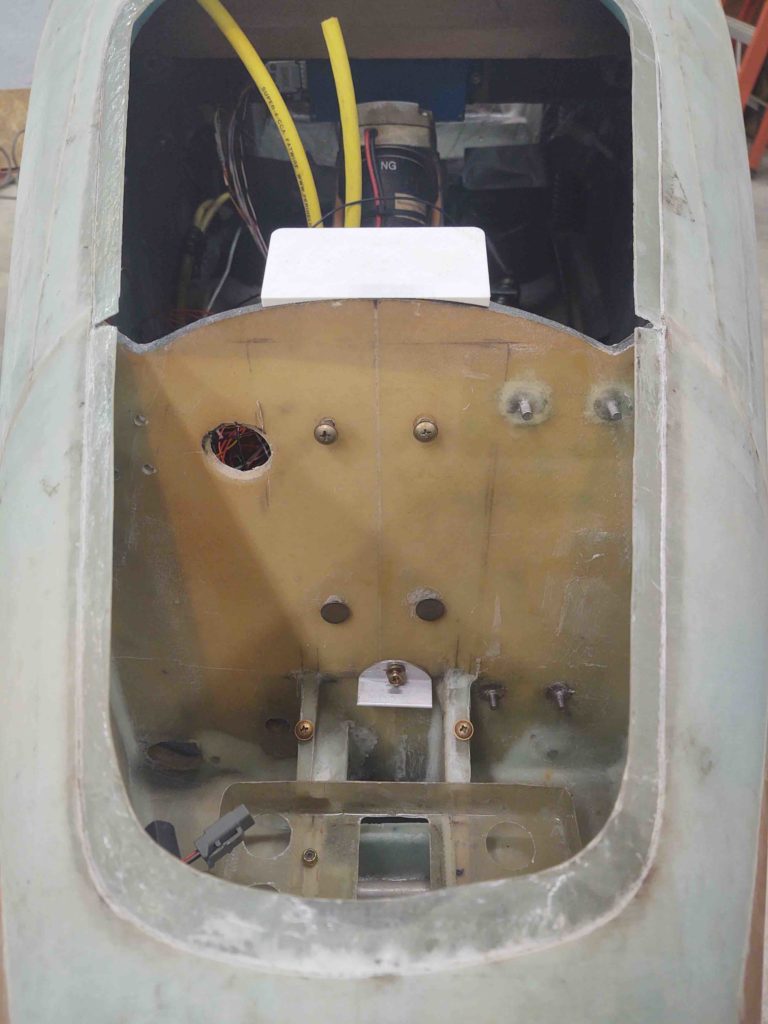
I trimmed the gnarly glass away the other day, leaving fairly level and even glass to work with on each side of the gaps. Before glassing today I of course gave it a good thorough sanding.
Here are the before close-ups of each side, right then left.
And a shot of my first glassing action in literally years.
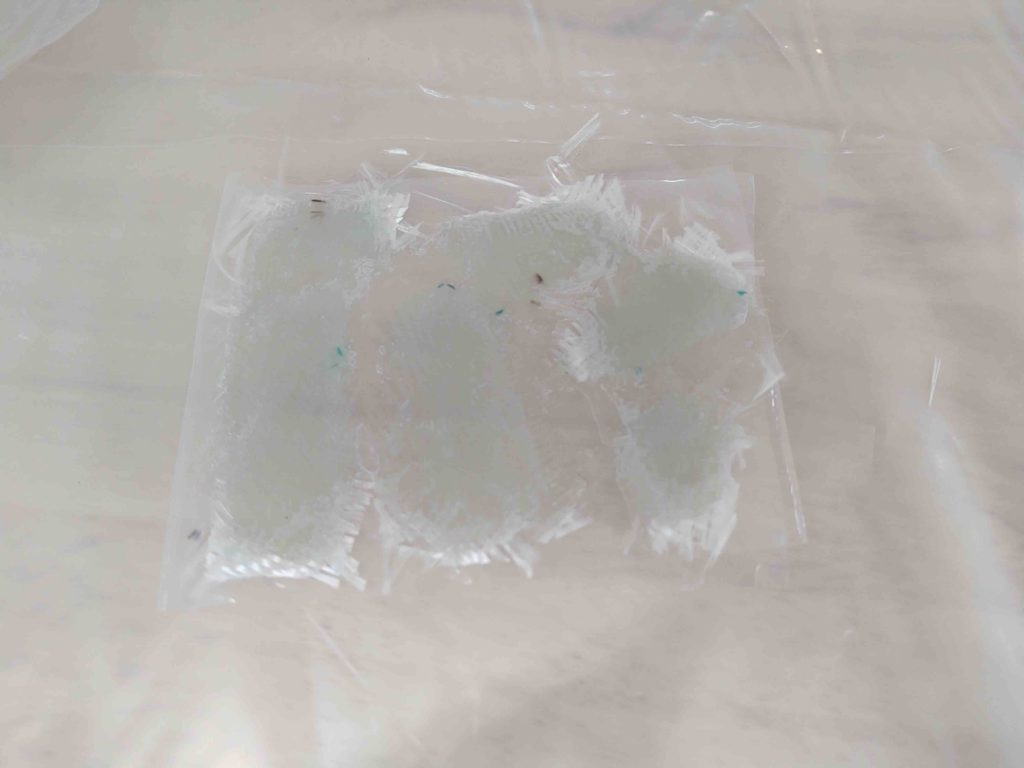
I then laid up 2 plies of BID on the underneath side of the flange, with some filling plies in the gap openings themselves.
I then peel plied the layups top and bottom.
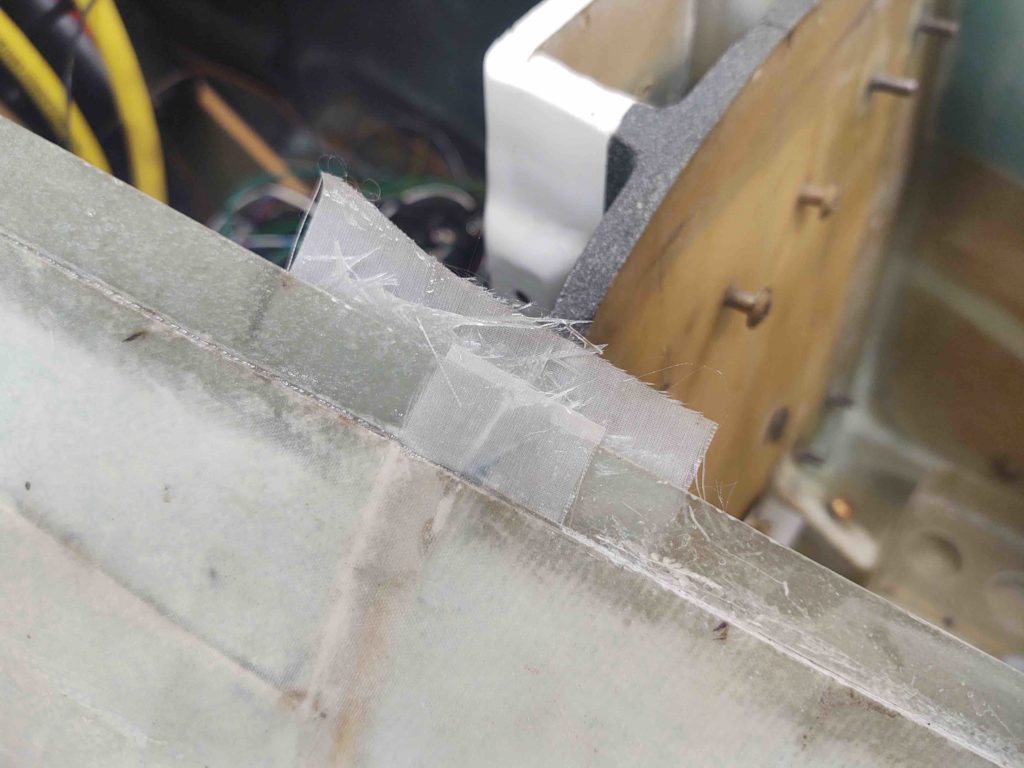
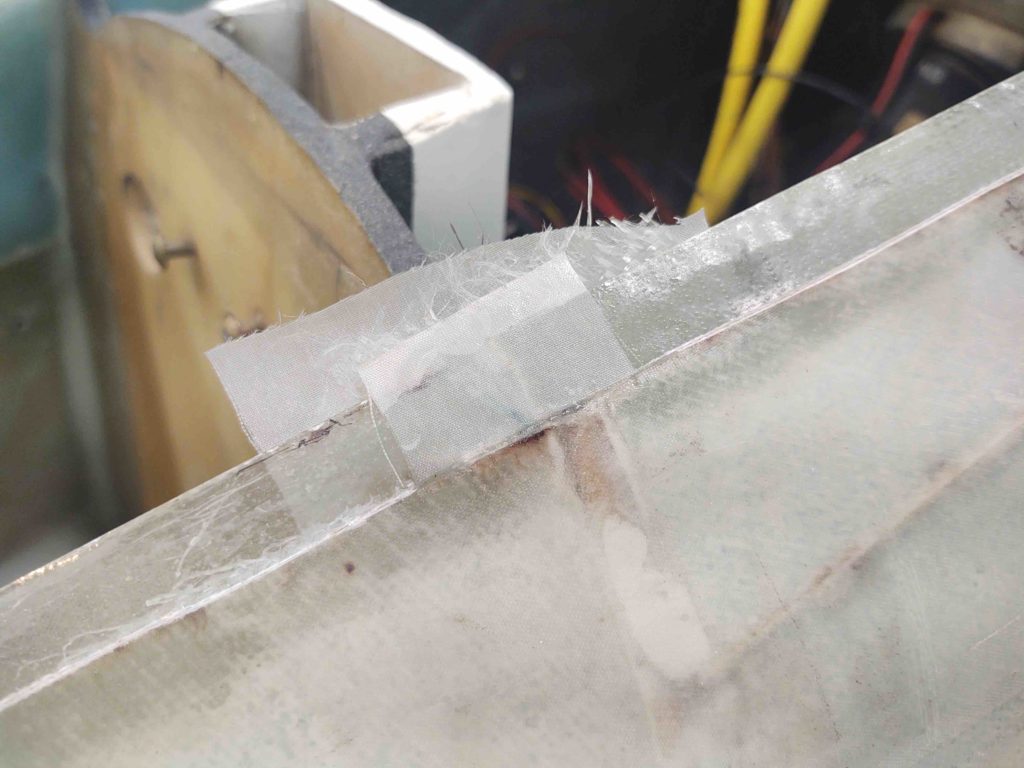
My next glassing task was the front corners of the turtle deck, where each side dives into the longeron. These layups have –of course– been long overdue.
First up however was I needed to trim the existing left side inboard glass edge {red circle} to have its profile and angle match more closely to the right side, which has the inboard edge diving more steeply towards the longeron.
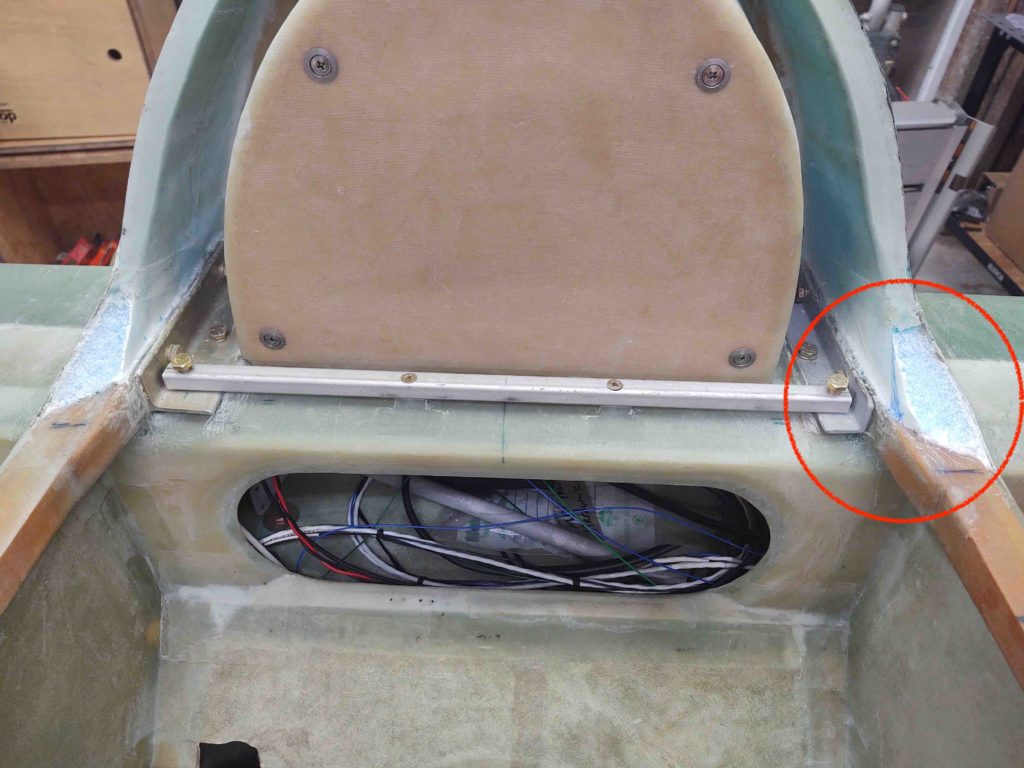
After trimming the inboard edge on the left side, I then cleaned up both sides in general.
I also dug out the sides of the foam to create flox corners since the new layups will intersect and overlap just the existing turtle deck top glass edges (narrow), but not onto the existing (vertical) faces of the glass. That said, the new glass will overlap onto the longerons and just a bit onto the edge of the turtle deck just above the bare foam.
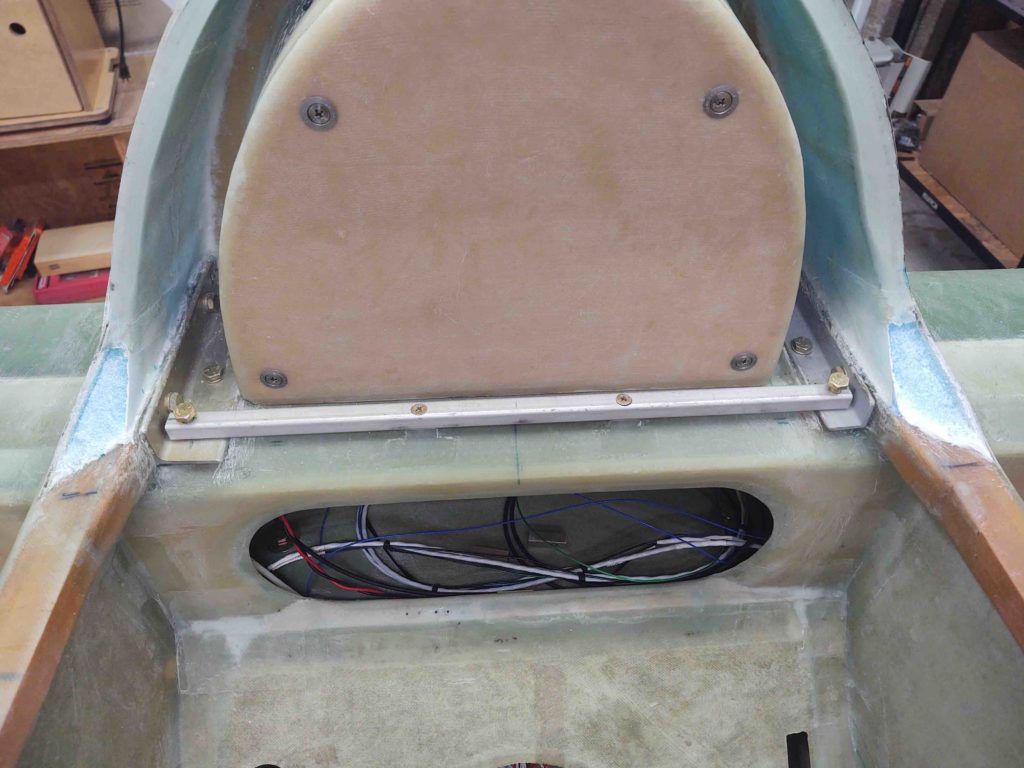
Here I’ve prepped the foam with micro and filled the foam edges with flocro… heavy on the flox.
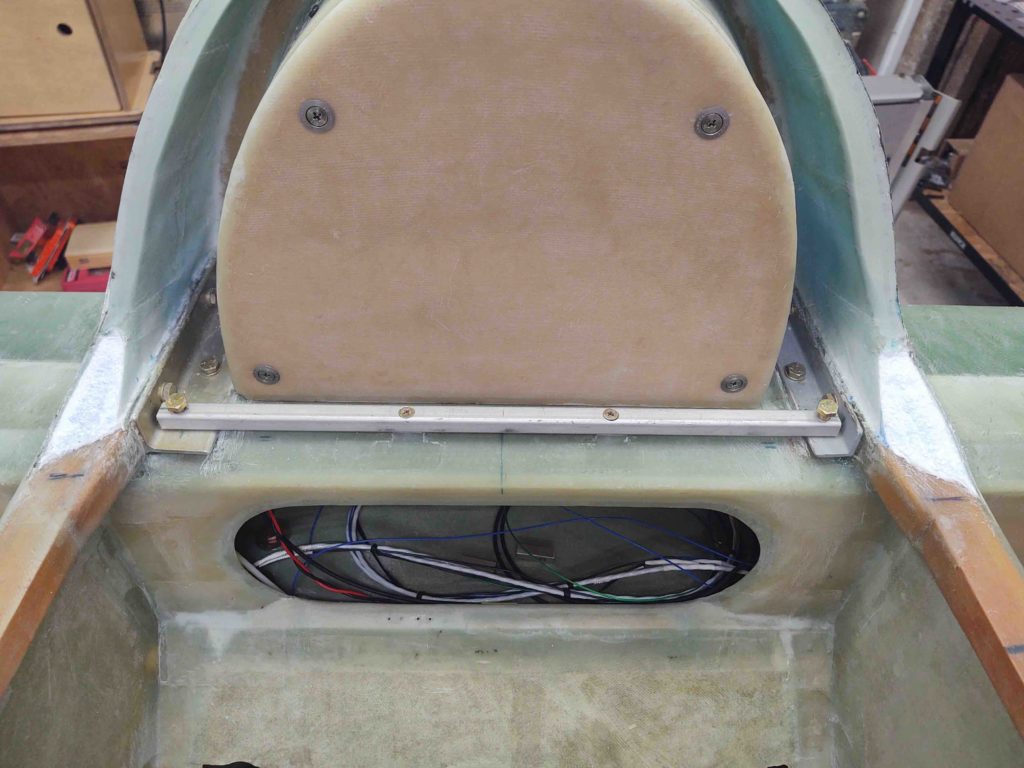
Here we have each side with its respective 2-ply BID layup. And of course peel plied.
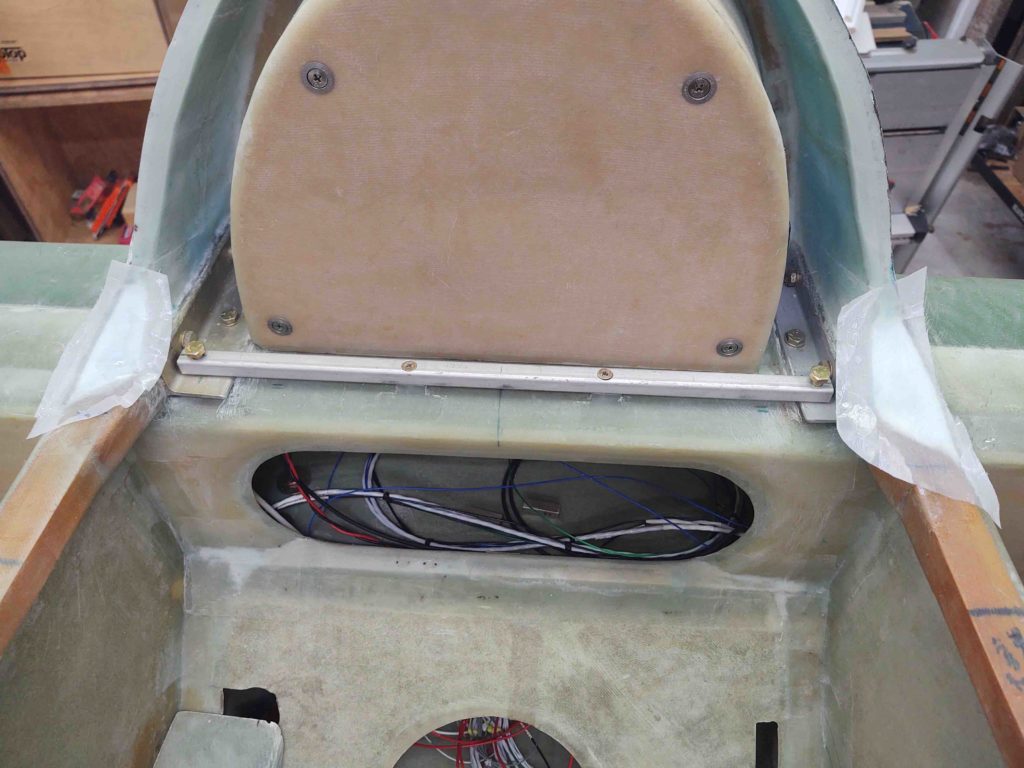
And that’s it for the evening.
It definitely feels good to get back into it and do some layups!
