
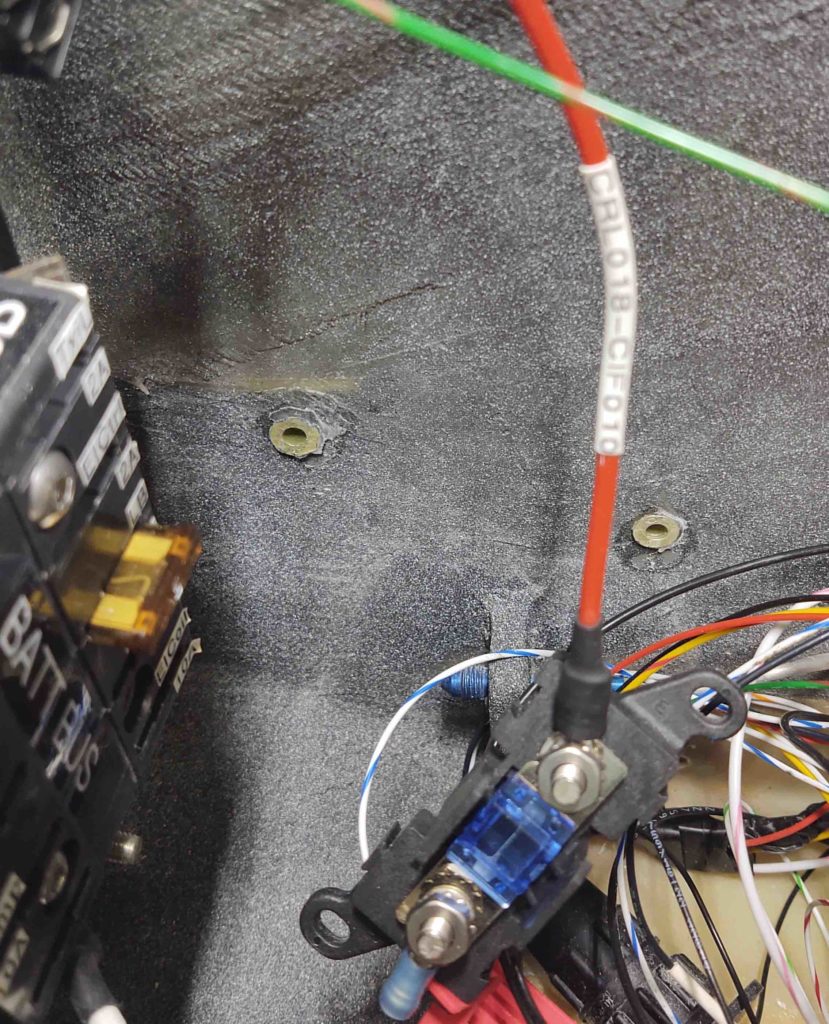
Today I started off by printing off 3 batches of electrical wire labels, which included the label for the large (12 AWG) power feed wire from the SD-8 backup alternator-to-E-Bus control relay (RL018) to the mini-ANL15 current limiter (fancy name for “fuse”, IF010).
After heat shrinking the label in place, I then re-terminated the wire with a ring connector vs the previous FastOn connector I removed.
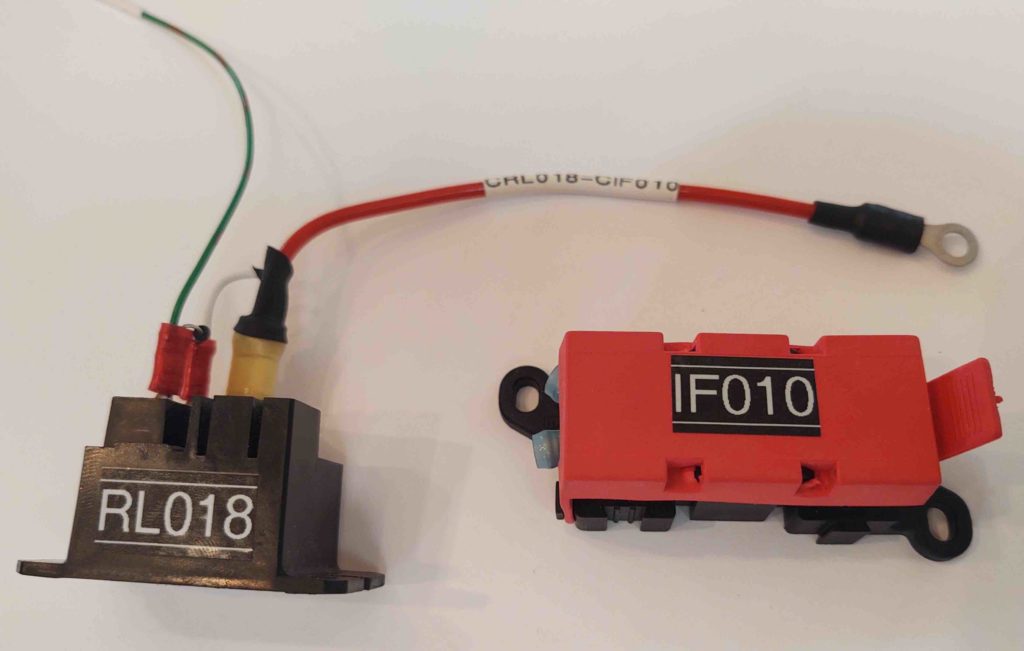
I then connected the wire to the ANL15.
I then figured out where I wanted IF010 placed on the right interior nose, and drilled two holes for the RivNuts that I’ll flox embed into the sidewall.
I then floxed the RivNuts that were temporarily attached to IF010 into the holes in the sidewall.
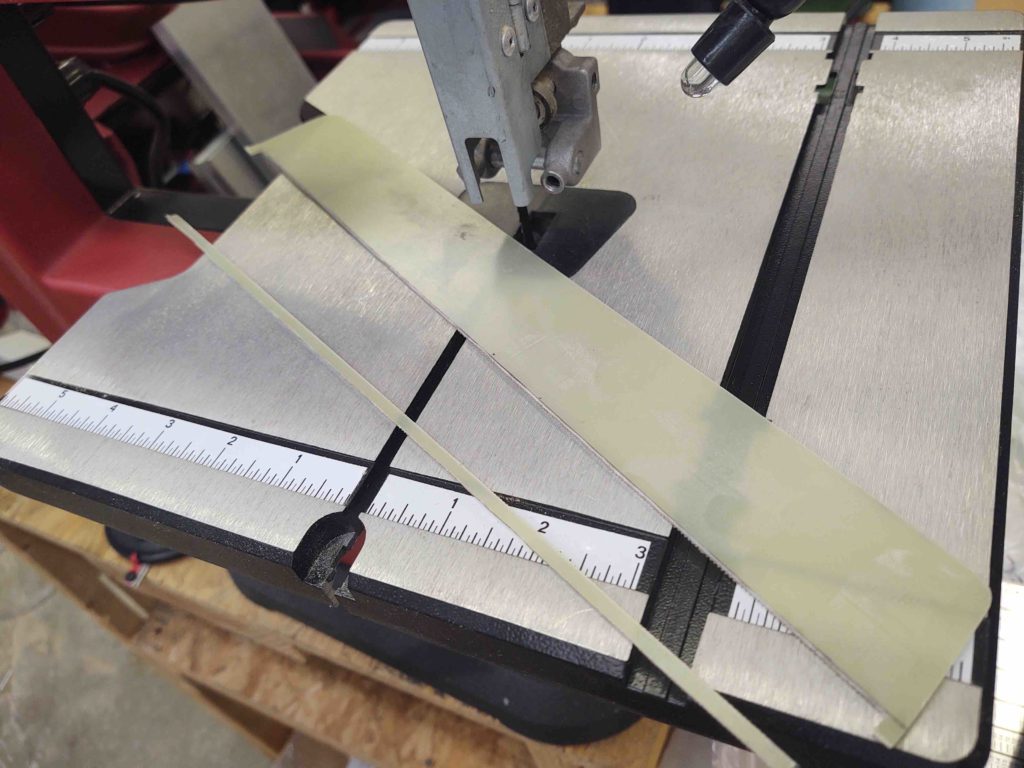
I then got to work on the GIB right armrest storage bin hinged cover.
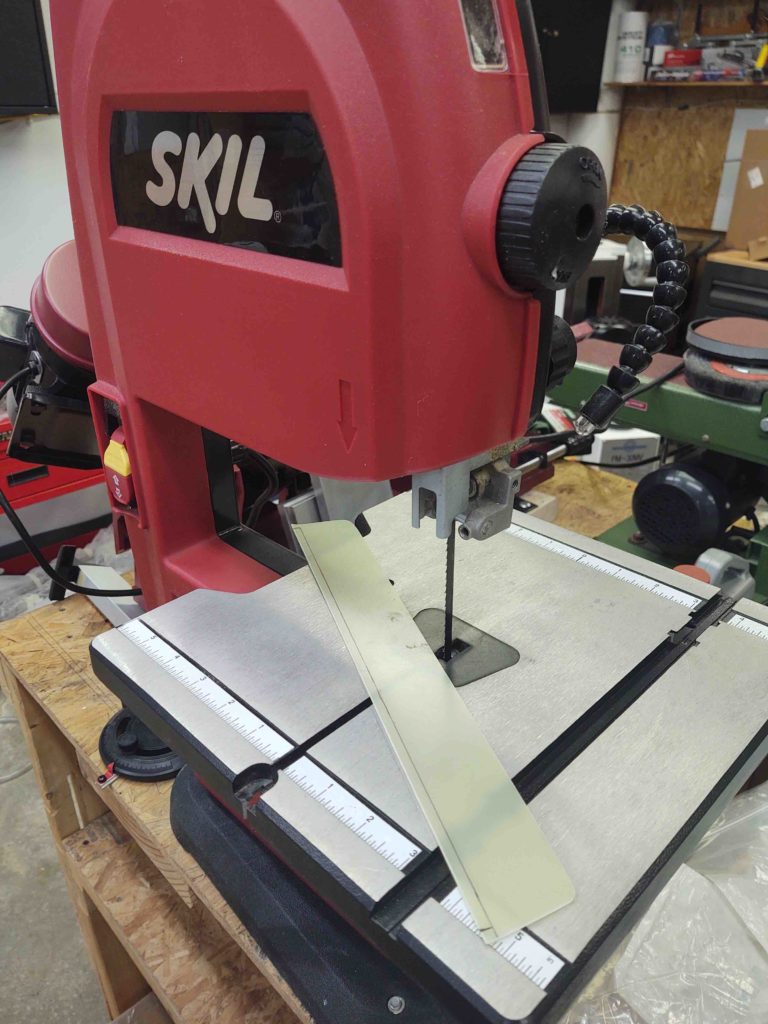
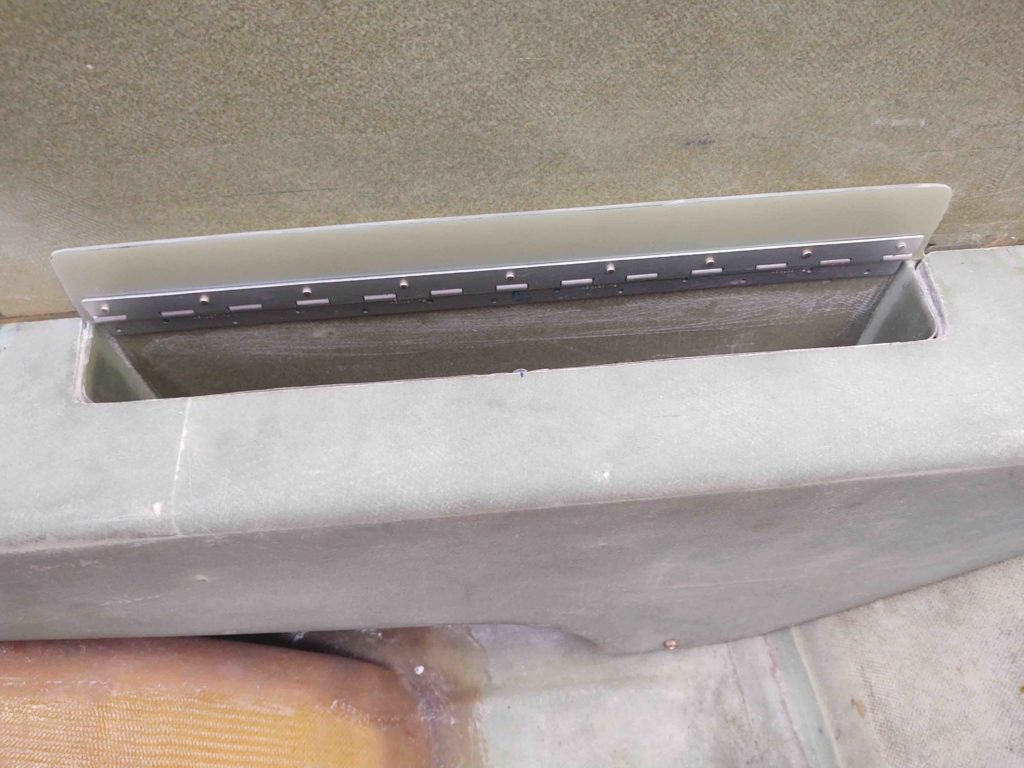
I first needed to notch the outboard edge of the cover to allow for the hinge assembly. As you can see I used my small bandsaw for this task.
And here’s the result.
After filing and sanding the above edge straight and smooth, I then drilled some flox holes into the lower hinge half, and then drilled rivet holes in the cover and upper hinge half.

I then riveted the cover to the upper hinge half.
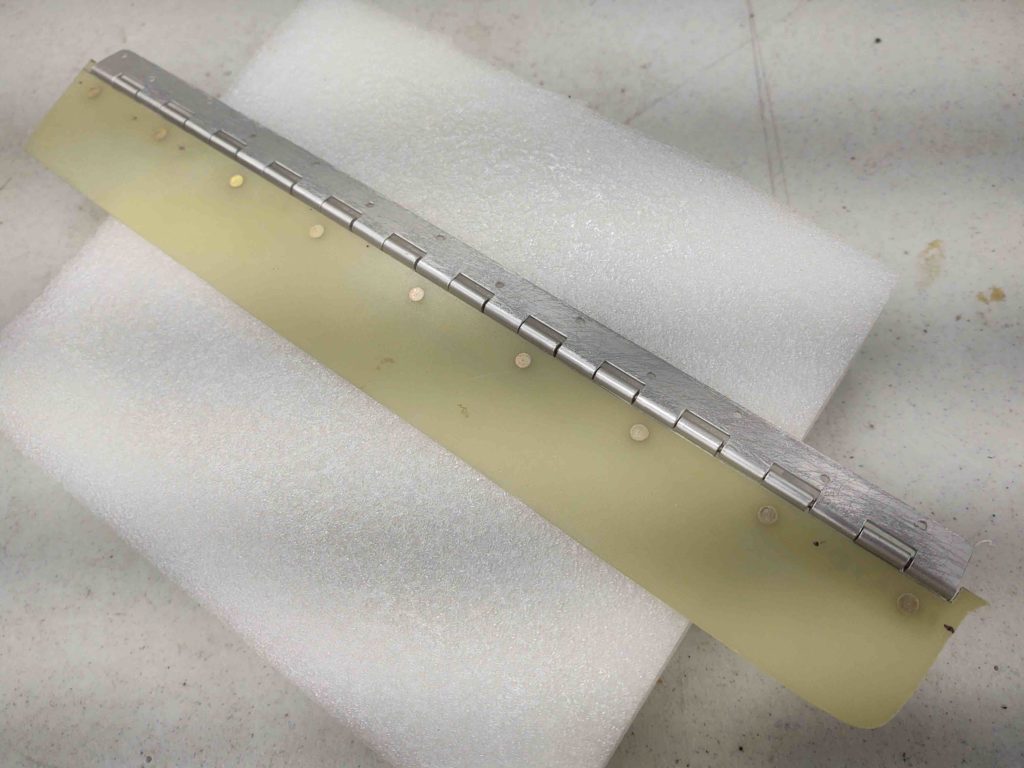
An underside view.

Then using flox and a few dabs of 5-min glue I floxed the lower hinge half onto the right fuselage sidewall.
I Gorilla-duct-taped popsicle sticks to the top of the cover overhanging onto the armrest top to create an even plane between the cover and armrest surfaces. I then weighed the edges down with my drills, etc. to ensure it all stayed flat and even.
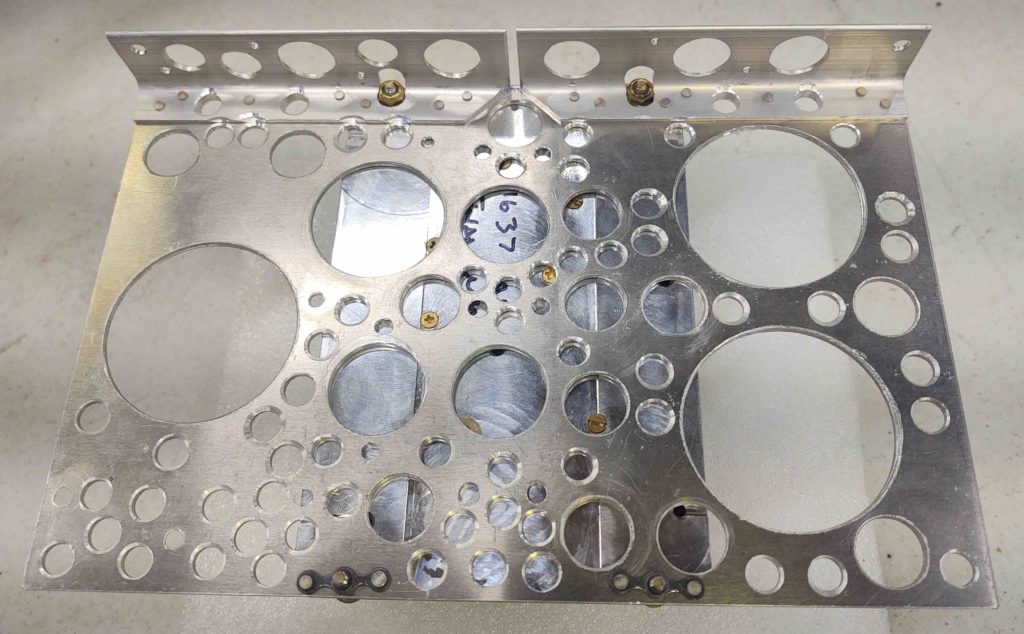
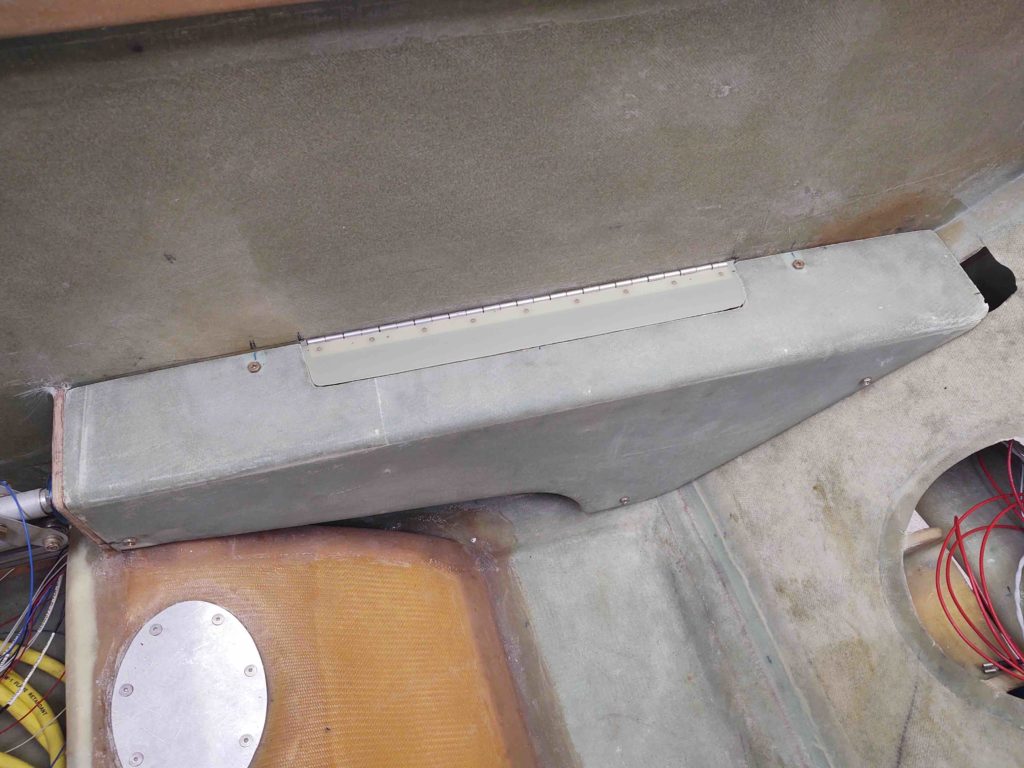
As my flox projects were curing, I then got to work mounting the GRT AHRS to the top shelf of the Triparagon. On the aft side of the shelf I used 2x #6 nutplates.
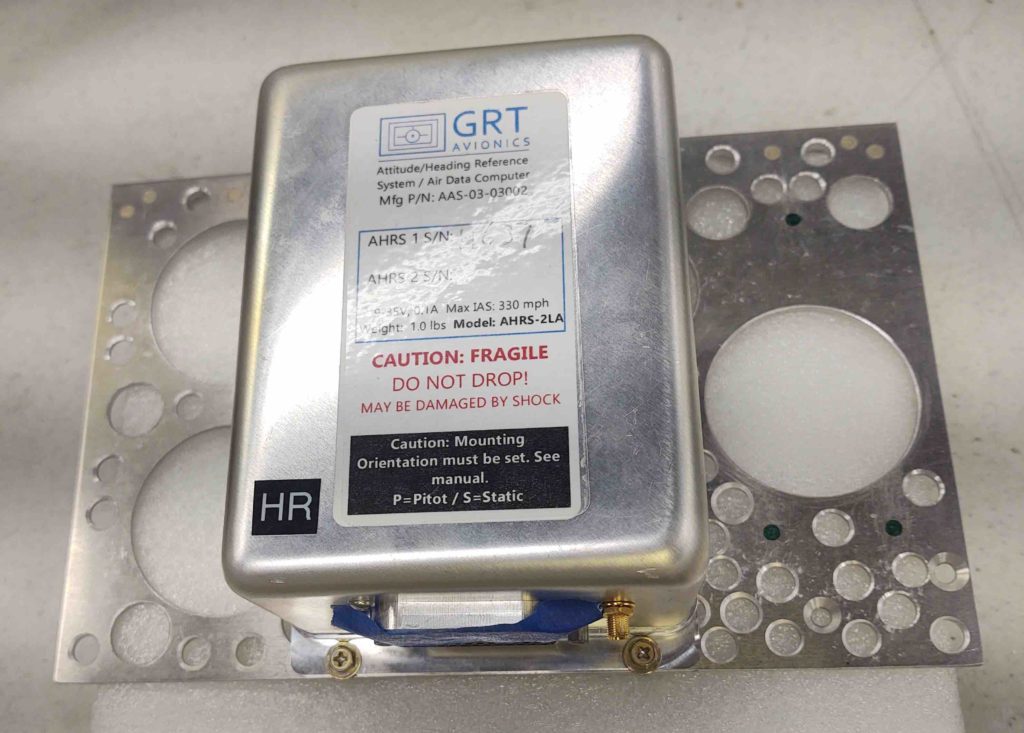
Due to the lip on the front of the shelf, I’m simply using 2x traditional nut & bolts.
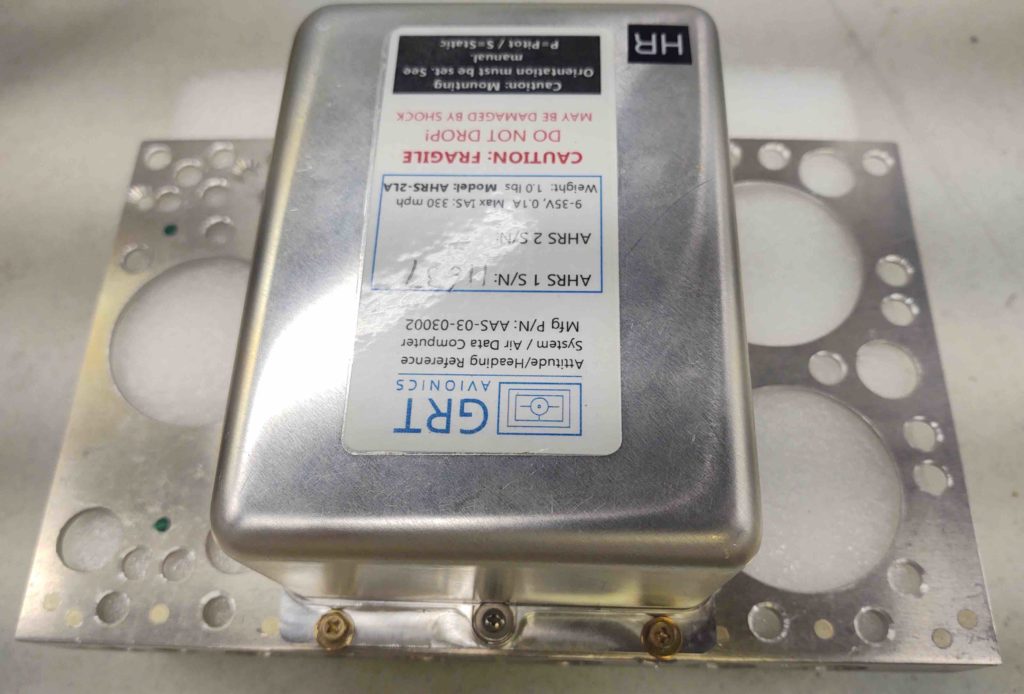
The bottom side shows all this more clearly.
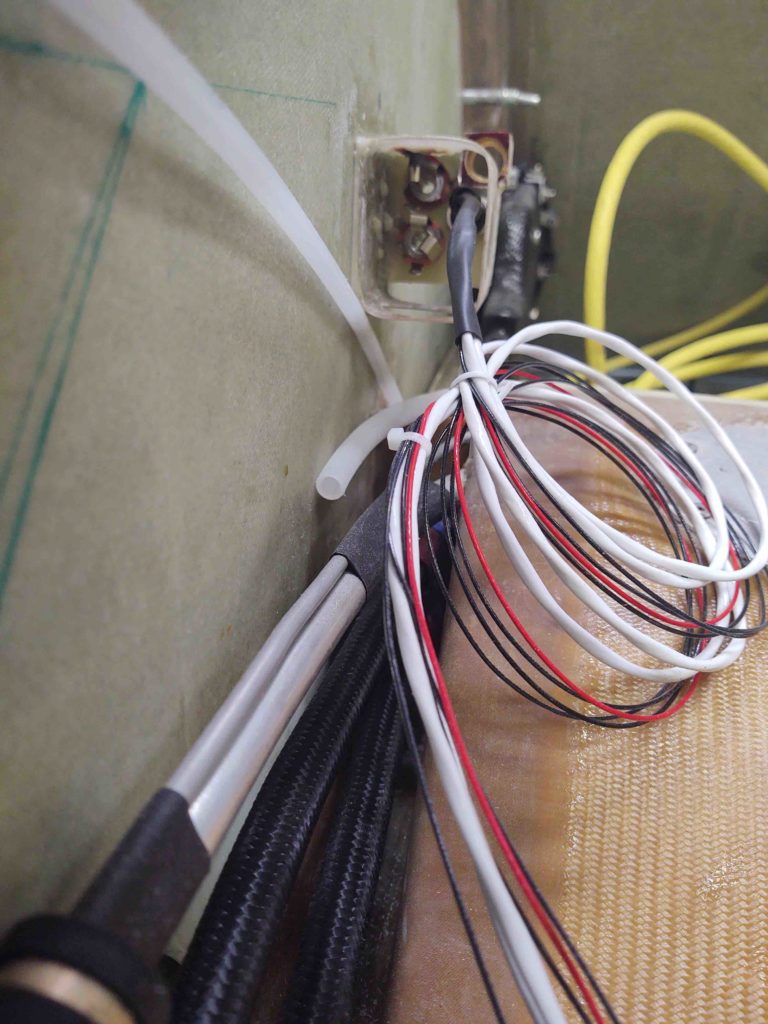
I then got to work installing a Bose headset LEMO jack for the GIB. I thought about this a bit late last year and figured if I was ever going to use a Bose headset for the back seat –which I intend to– then I should install the LEMO jack before I build the strakes… after which working in the back seat area gets infinitely more difficult.
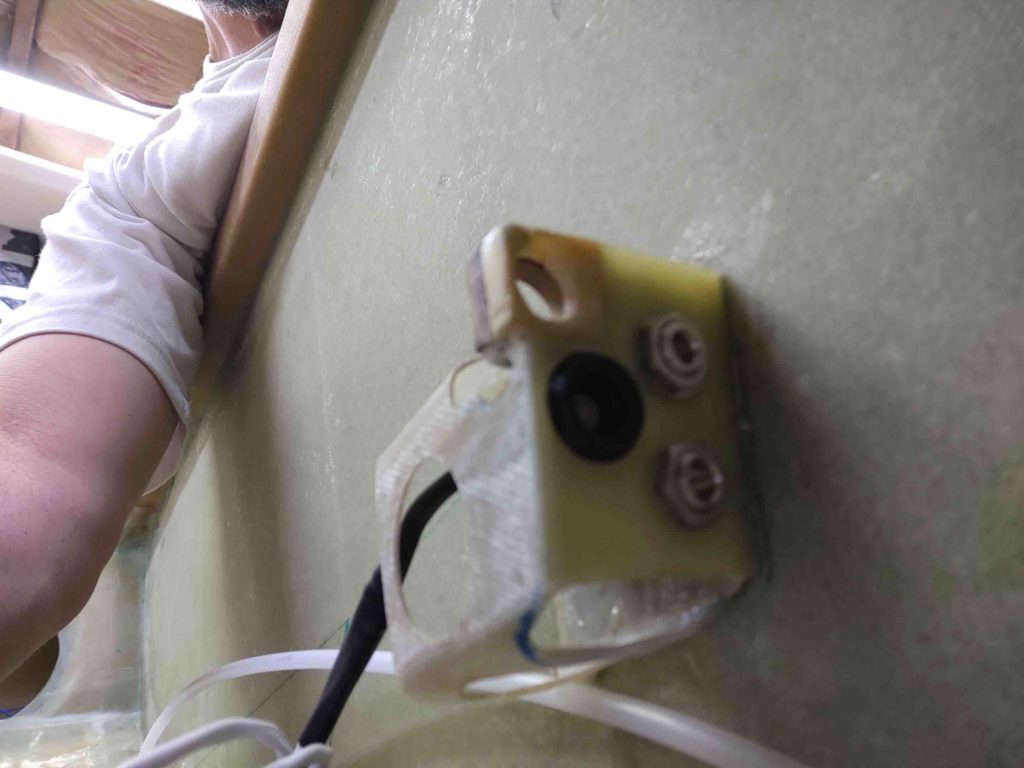
The installation hole isn’t perfect, or overly high craftsmanship, but it works and fits, and looks to be a secure installation. . . so I’m calling it a win. Especially since it just barely fit in there with the existing traditional headphone jacks.
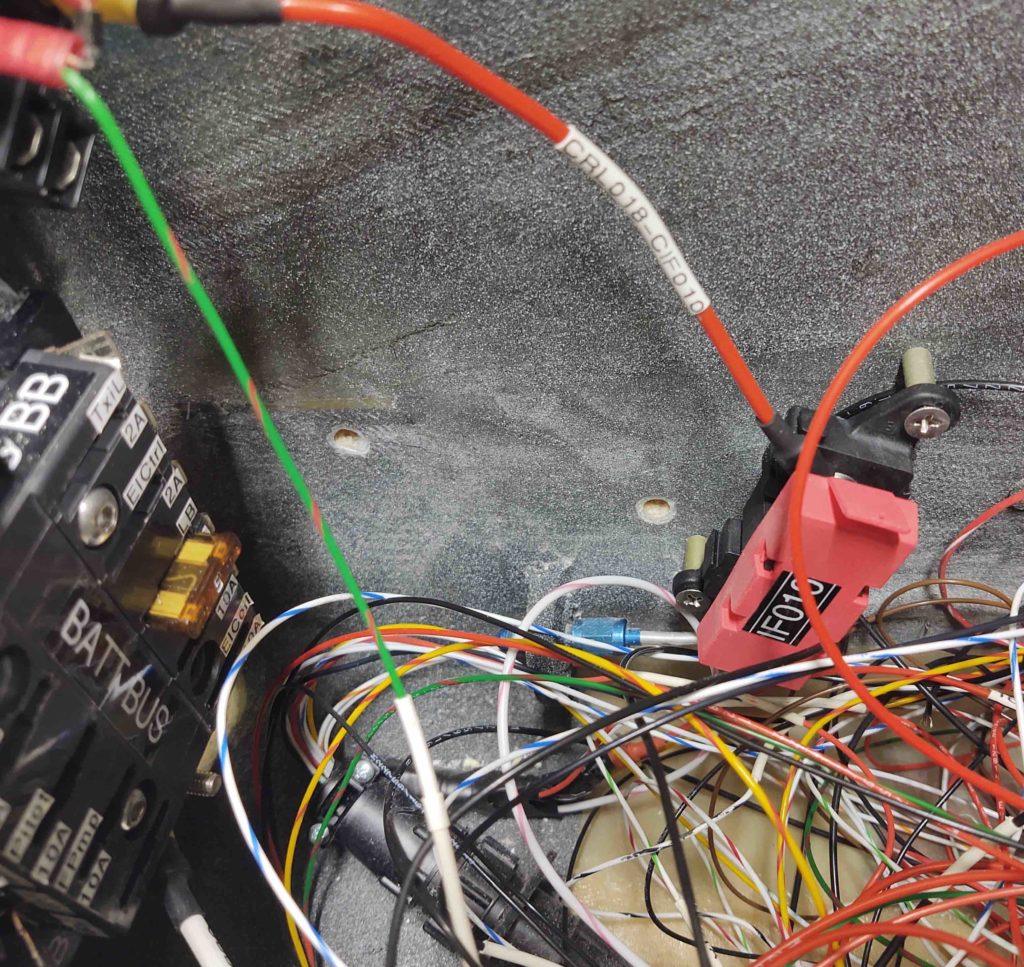
I worked on cleaning up about a third of the inside glass edge of the canopy for about 45 minutes before going back to my initial task of the day: installing the mini-ANL15 base onto the right nose sidewall. Again, just aft of the Napster bulkhead.
Here are the ANL15 base embedded RivNut hard points after I cleaned them up a bit.
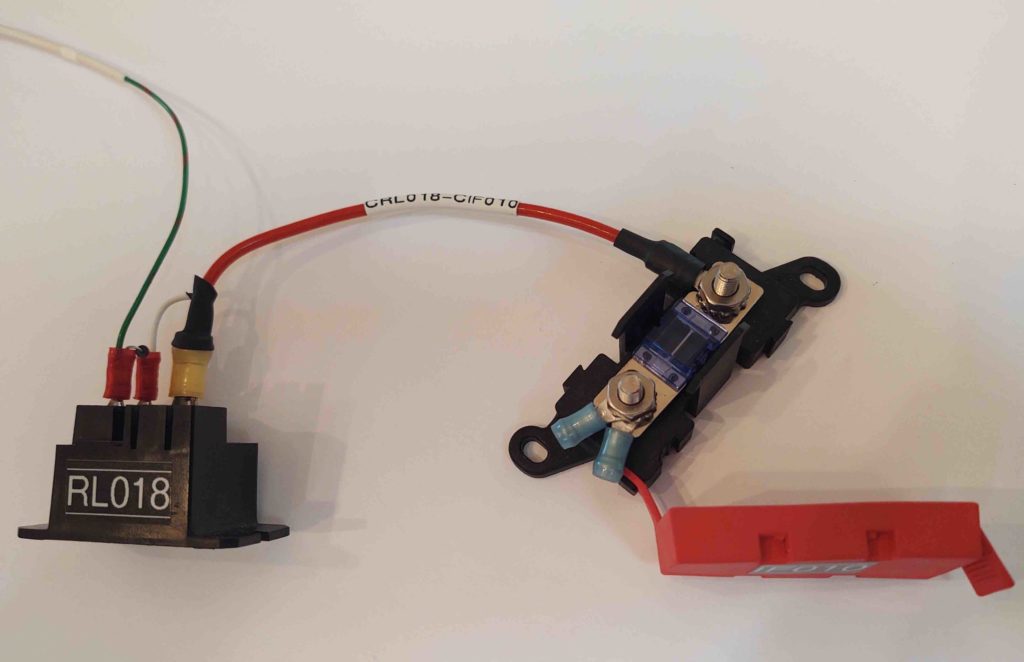
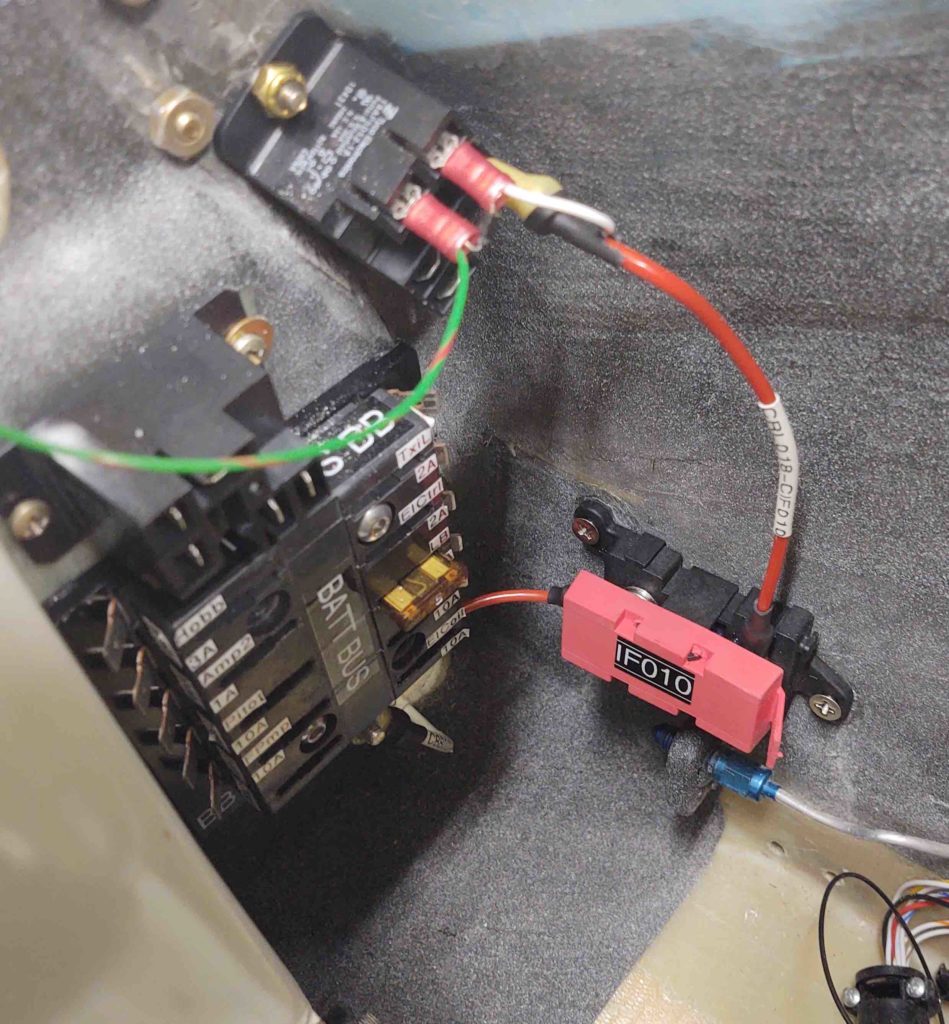
Earlier I made up a cross-connect cable between the Battery Bus post and the other post on the mini-ANL15 current limiter, which I installed at this point.
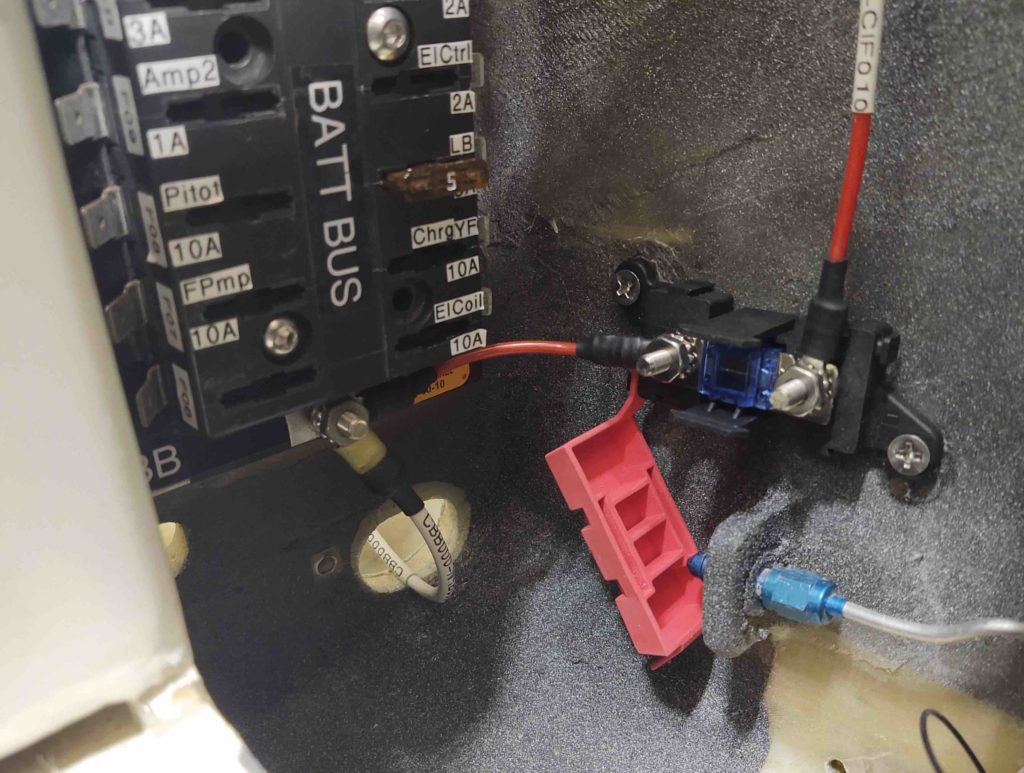
Here we have the finished install of IF010, the mini-ANL15 current limiter.
And finally, to cap off the evening I unencumbered the top of the GIB armrest storage bin cover and removed the tape to reveal how it looks. I have to say that I’m super happy with how it turned out.
And of course a shot with it open… ready for business!
I suspect I have at least another few days of getting some of this odd ‘n end stuff knocked out before I start sinking my teeth into some bigger build tasks.