
I had actually planned on getting some of today’s tasks completed yesterday after I returned home from North Carolina, but on the way back from NC I stopped off at fellow Long-EZ builder Chris Seats’ shop to check out his build, and of course didn’t end up leaving until 3 hours later!
I figured I would put in a couple of honest days to give the nose & canopy builds a solid shot in the arm since they do need to be done for the upcoming fuselage haul down to NC in about a month. After that I’ll resort to the light build schedule.
Today I started out in pretty much pure research mode since I felt that before I could glass in the interior skin of the nose hatch I needed to have a good understanding of what was getting attached to it both hinge and latch wise.
After checking out a myriad of other builders’ blogs, etc, I headed down to the shop with some ideas to test out. One idea in particular is that Nate Mullins is using a spring-loaded hinge that was designed for a cowling oil dipstick access door, but he repurposed it for the nose hatch.
I have one of those hinges that I bought for the cowling oil dipstick access door, but for the nose hatch I liked the idea of having a narrow depth on the hinge and getting it out of the way. I tested it out a bit and realized that there was just no way it was going to work since my configuration is much different at the front of the nose hatch than what Nate has…. so I went back to the traditional hatch door hinge that we tend to use a lot in the canard world. I have a template that I traced from a hinge template that Beagle sent me, that –like the nose hatch– is actually for a Berkut. This hinge design is significantly smaller than the ones the Cozy Girrrls sell, which I have BTW and will be using on the aft nose cover.
After messing around with the configuration and testing different scaled sizes of this hinge, I finally came to the conclusion that the hinge pivot point must be as far forward as I can get it in the battery compartment, and the best size is the original size that I have from the template. Moreover, with that knowledge in hand I now know that I will have to do some major rework on my interior top nose structure to get the hinges mounted in there, so I’m going to let ideas of just how to install the hinge pivot points germinate in my brain a bit.

After confirming the position of the nose hatch aft latch, I then got to work on doing a final shaping of the nose hatch interior foam.
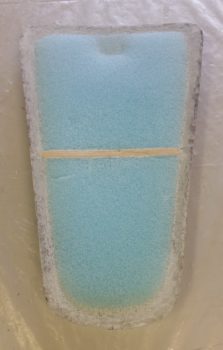
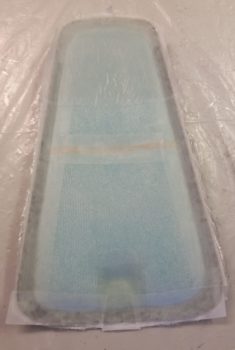
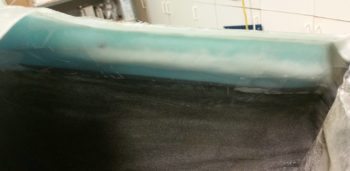
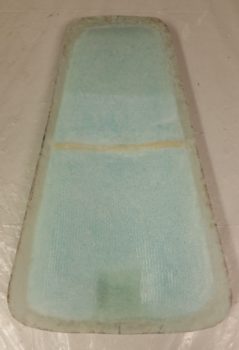
I then glassed the interior nose hatch skin.
After laying up a ply of BID in the aft latch depression and across the front for more strength for the nose hatch securing components, I then laid up a ply of UNI followed by a ply of BID.
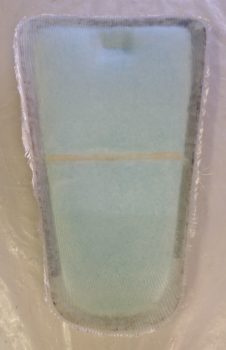
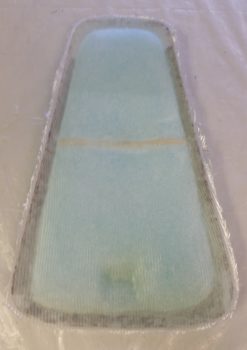
I then peel plied a good majority of the layup.
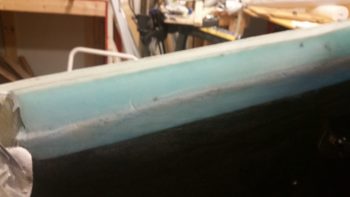
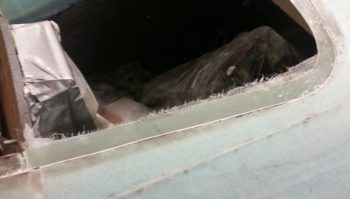
As the nose hatch cured, I then got busy on the top interior nose side walls, where the aft nose hatch perimeter flange is micro’d to the top of the side walls. The angle between the bottom existing sidewalls and the new nose hatch perimeter flange piece added in is a bit sharper than I wanted, especially on the left side.
I Dremeled away all the excess micro and then sanded the inboard protruding intersection of the nose hatch perimeter flange with the top nose sidewalls.
NOTE: I won’t be messing around with the aft flange edge of the nose hatch since I need to prep the intermediate bulkhead area for securing the aft nose cover. I’ll wait until all the urethane foam in-between F28 and the intermediate bulkhead –that I used as a mold/plug for the aft nose cover– is removed and access that area from the F22 area of the nose.
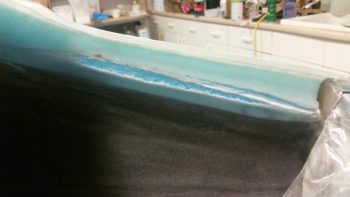
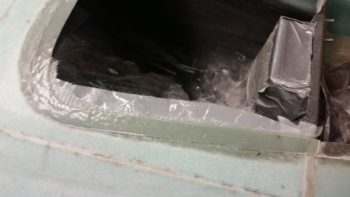
As I said before, since I broke through the glass on the right side about 4-5″ while I was extracting the aft hatch from the perimeter flange, I added a ply of BID for a total of 3 plies on the right hand side of the nose. This BID will connect the existing nose sidewall to the added perimeter flange piece, and specifically add more plies to the flange itself. On the left side I’m simply using 2 plies of BID in the BID tape. Also, as you can see I prepregged the BID.
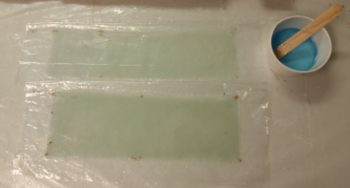
I then laid up the prepregged BID tapes on both the left and right side top nose sidewalls. I then peel plied the layups.

Here’s a shot of the glass peaking out from under the aft side nose hatch perimeter flange on both the left and right sides.
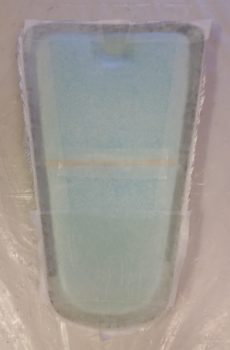
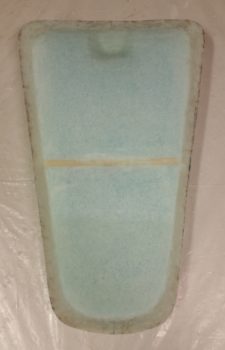
With the top interior nose wall layups completed, I then checked the nose hatch layup. The glass was cured about 80-90%, which was perfect for pulling peel ply and then razor trimming the edges of the layup.
The interior nose skin layup looked good and I didn’t see any issues with it!
Tomorrow I’ll be focusing on the canopy all day and would like to get the canopy frame to a point where I can glass it within the next day or two (I ordered 15 yards of BID that was delivered yesterday).