
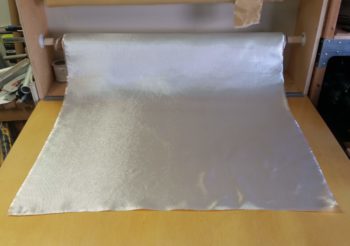
I’ll explain the “Tank-EZ” comment a bit below, I just wanted to note that it’s amazing how happy one can feel just by having the right build materials on hand, especially when that includes BID fiberglass! So nice to have it back in stock in my cutting table box!
I started off today by pulling peel ply and trimming up the overhanging glass on the top interior nose layups I did last night. These layups really helped to reinforce the nose hatch flange and made the overhanging flanges stiff & strong.
I then took a few minutes to do a quick clean up job on the nose hatch flange itself.
Although this pic is a bit out of sequence, note the glassed nose hatch still fits like a charm.
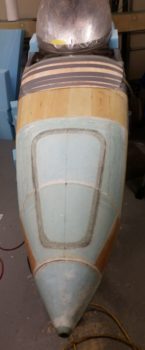
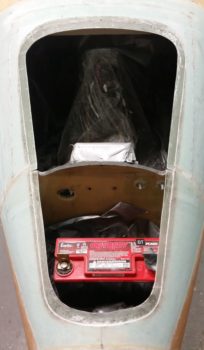
So one thing I’m not overly pleased with on the current nose shape is that the ends of the F28 bulkhead protrude at the middle of the aft nose cover. As I deduced the issue down I realized that it wasn’t that these front fuselage “corners” weren’t shaped with enough ferocity to remove a good amount of material, but rather that the aft top surface of the aft nose/avionics top deck cover was simple deflated a bit in posture and was not at the contour height that it should be.
After mulling it around in my brain these past few days, trying to decide if I was simply going to live with it (it wasn’t a show stopper to be certain) or if I was going to contend with this issue . . . but how? I contemplated using some type of foam, be it pour foam or some standard build foam, but then with no narrow stock in abundant supply, I would have to order some or do a lot of sanding. Yuk on both of these options.
Since I only needed about 1/8″ added thickness, but uniformly added across the top, I again turned to lightweight strips of wood. Only this time just about the lightest wood you can get: Balsa wood. I figured that would be close in weight to say, 1/8″ Divinycell if I had gone that route, and I simply wasn’t going to mess around with urethane foam or pour foam.
I will also point out that my decision to add some thickness and fill in the aft top section of the cover meant that the canopy build would be delayed a day or so as well as I contended with this cover addition. The delay in the canopy build is simply due to the canopy skirt in the front interfacing with the aft nose cover, which must be completed first as a prerequisite task to dealing with the canopy’s front skirt configuration.
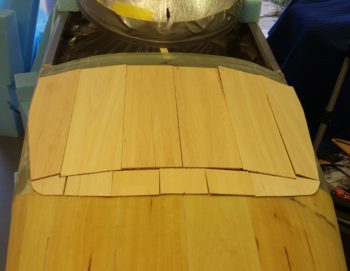
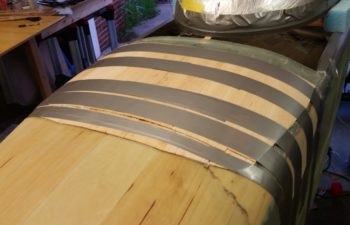
So while I was out running some errands I picked up some 1/8″ thick x 4″ wide Balsa wood strips. Upon returning back home I cut them up and set the strips in place on the top of the existing aft nose cover.
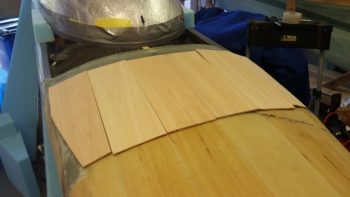
To help with the transition from the 1/8″ to the front side of the cover, I added a step using 1/16″ pieces of wood along the front edge of the 1/8″ thick strips.
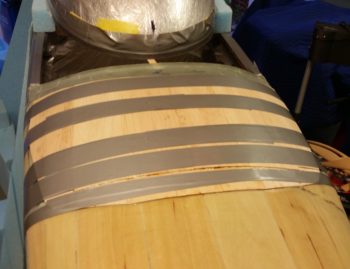
My reference to “Tank-EZ” in the blog title is just a little blip on a term I have used in joking with Marco about how his Long-EZ would turn out heavy if he added an extra ply of BID or Kevlar to his aircraft structure. I was thinking about that today, since I did add a layer of glass for these wood strips to lay upon, but as a transition piece of fresh epoxied glass, and also as form of filler to help fill in the lower point across the aft side of the cover. Regardless, it was extra glass, as will be the top piece of glass that will go over all this. Although it’s not a ton of added weight, it is some . . . so I noted to myself that perhaps my Long-EZ is at risk of becoming a Tank-EZ!
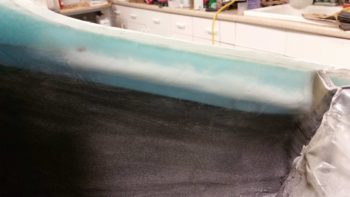
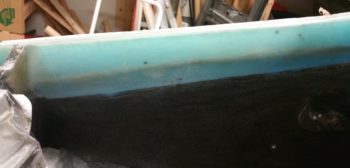
Here are a couple of shots with the new aft side wood pieces micro’d and glassed (bottom side) into place.
So I will work for a few hours tomorrow on the canopy, but it will not be an all day affair. I must transition into house prep mode, and that starts tomorrow.