
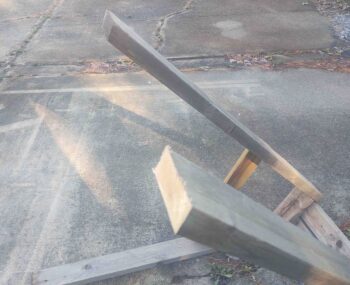
Over the last couple of days I’ve been tweaking the custom sawhorses that I built specifically for attaching the wings to the CS spar a few years ago. In this shop, on hard concrete, they needed to be a couple inches lower in height than when I originally used them.
So I measured the height of each one and cut all the bottoms of the legs off so they would be around 41″ high (after I installed the wings I of course discovered they could have been an inch or two taller, but better to shim a bit than have to drag them back outside and recut).
I then (re)installed the right wing in prep for aligning the pre-fab strake leading edge, and to test out my wing bolt mod.
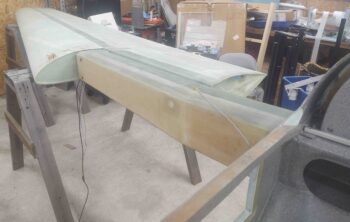
After about 10 minutes of finagling the inboard and outboard elevation of the wing I was able to cajole the wing onto the wing bolts.
I did discover that with using the washers called for in the plans that my AN8-21A outboard wing bolts are a hair short. Not to worry since I have some spare AN8-22As and AN8-23As on hand.
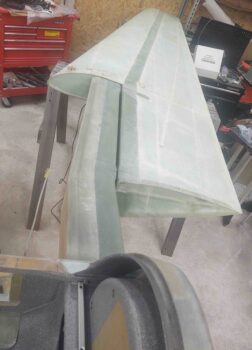
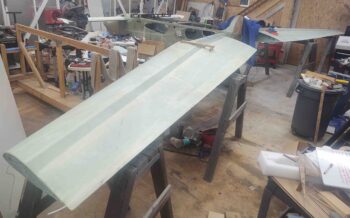
I then (re)installed the left wing and found the same issue with the outboard wing bolts: just a tad too short.
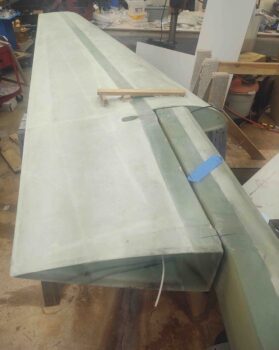
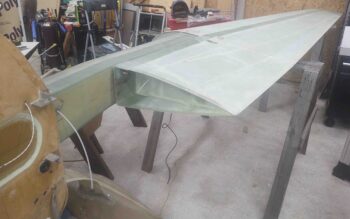
Here we have both wings (re)installed. As a point of note, this is the first time the wings have been installed since I originally installed them to the CS spar a few years ago.
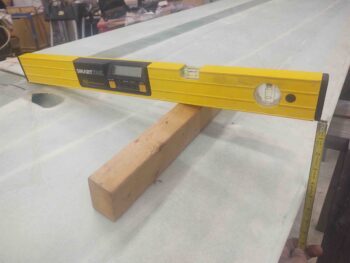
I then tried out Waiter’s (iflyez.com) trick using a level to check the incident of each wing in comparison to each other (2×4 is to get the level at level before measuring from the bottom of the level to the wing TE, same spot on each wing). I did this 3 times on each side, and the farthest off was just a hair over 0.020″… not bad. My typical measurement was 4.35″ at the top of the TE, and 4.40″ at the bottom of the TE — again, on each side.
I had to run out and do some Christmas shopping and run some errands, so on my return I decided the shop was warm enough (it’s been really cold this winter) to do some floxing.
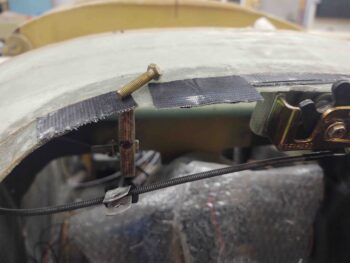
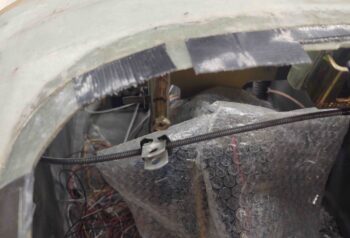
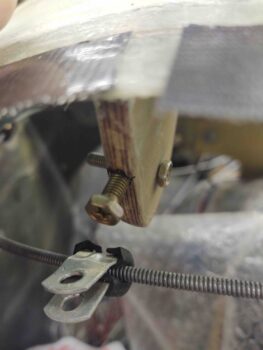
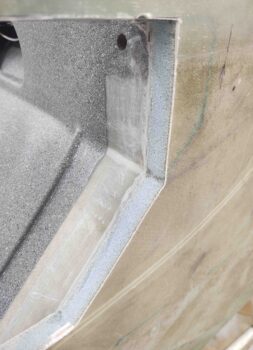
I need a threaded stud to mount the nose hatch latch cable adel clamp (my first spot torques the cable too much) and decided to use the front edge of the aft nose/ avionics cover right side hinge bracket.
I marked the stud location with a black Sharpie.
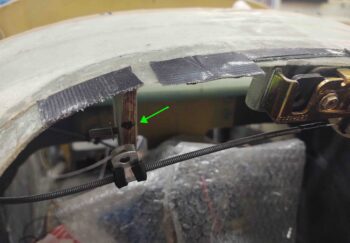
Here is the bolt I used and merely cut the head off of . . .
And used it to test the drilled hole diameter first . . .
A better shot. My apologies, but I did cut the bolt and flox it into place, but failed to get a pic of it… which I’ll do tomorrow.
My next task was to remove the raised edge on each side of the pilot seat bulkhead where I initially cut the strake opening for the baggage compartment, left over from the flox fillet and glass from the original seat bulkhead to sidewall attachment.
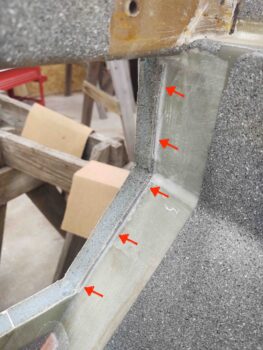
I used the Fein saw to remove the majority of the offending glass ridge, and then hand sanded the remainder… as is represented here on the left side of the seat (I did the same on the right side).
Also, I did finish sanding the front right strake opening and plan to finish the remaining fuselage strake openings tomorrow.
Not surprisingly, I’m way behind schedule on the strake build. I do plan on getting the initial layout done before I head out of town for a few days over Christmas. With the wings on and looking good I can really jump into the strake build full bore from here on out, taking into account breaks for Christmas and New Years.