
Of sorts . . .
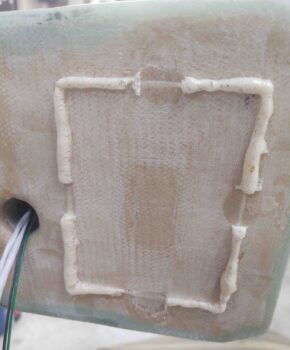
Today was all about getting the temporary access holes on each of the CS spar filled back in. If you remember, I had cut out a rectangular piece on each end of the CS spar to allow access to install the outboard wing bolt brackets. With that job complete it was now time to get the spar put back together to press on.
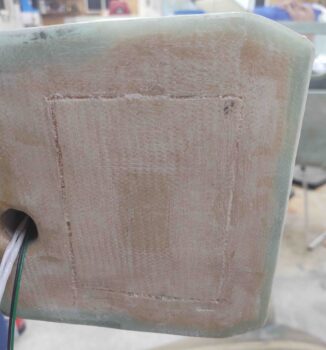
My first task was to sand around the temp access holes and then the removed rectangular pieces on each end in prep for glass.
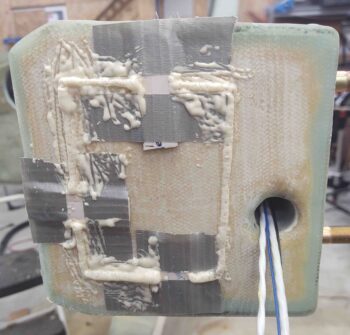
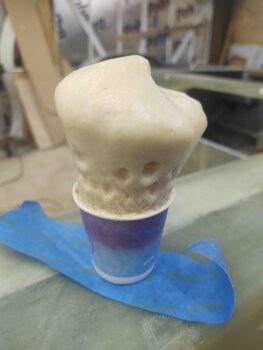
After prepping 3 taped popsicle sticks with tape to hold the access piece in place, I then whipped up a very small batch of pour foam and slathered it on the foam edges of the temp access hole. I then placed and taped the left side access piece in place.
A while later I pulled the taped popsicle sticks off.
And then cleaned off the excess foam. Since I only used 3 popsicle sticks to hold the access hole piece in place, and with only 1 piece of tape securing the sticks to the rectangular piece, it resulted in a bit of heaving action from the foam that pushed the piece outboard nearly 0.050″. I think this was exacerbated by my originally cutting out the perimeter of the piece at an angle (like the lid of Jack-o-latern).
After looking around for a good 15 minutes I found the fourth taped popsicle stick and used it on the right end of the CS spar. I also added considerably more tape to secure the popsicle sticks to the piece, which seemed to do the trick in preventing the curing foam from pushing the piece outboard away from the CS spar end plate.
After allowing the foam to cure for about 30 minutes, I then removed the taped popsicle sticks.
And did a final prep for glass.
Interestingly, I used less than 1/8″ each of part A and part B pour foam in the bottom of this cup . . . it really does seem to expand over 30 times it’s original volume!
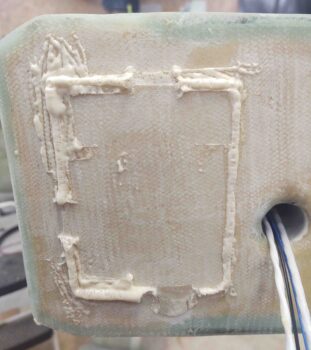
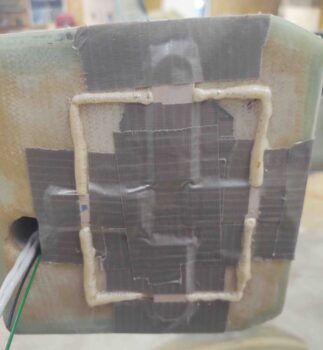
I then cut up and pre-pregged 1-ply BID tapes for the perimeter of each access piece. On the left side I added a small flox ramp around the piece edges for better glass transition.
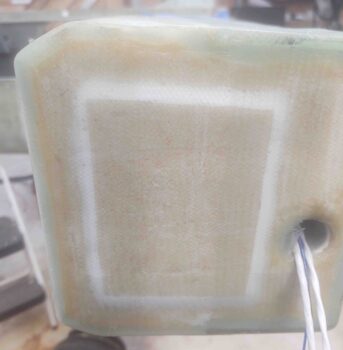
Whereas the right side was pretty straightforward with some micro applied to the small perimeter of foam first, then the 1-ply BID tapes.
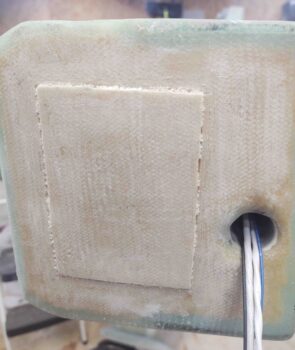
Since I didn’t originally peel ply the end plates of the CS spar I followed suit here and left the layups bare.

With the nights getting down around freezing, I did put some heat lamps on the layups a couple feet away just to keep them generally warm overnight.