
Today was all about getting the outboard wing bolts installed. Again, I’m doing the quasi-permanently mounted wing bolt mod where the wing bolts will all be facing aft and secured with brackets.
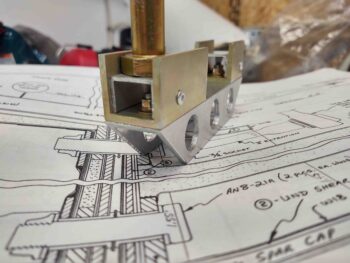
I started on the left side and set the AN8-21A outboard wing bolts in place.
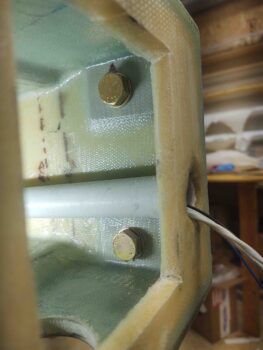
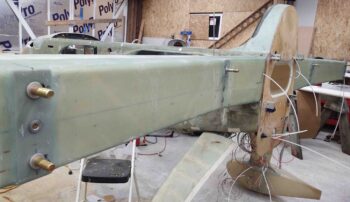
For each bolt-securing large bracket I needed to keep the 1″ depth in order to allow the bracket assembly to clear the electrical & antenna cable conduit that runs along the aft interior wall (see above and 2nd pic below).
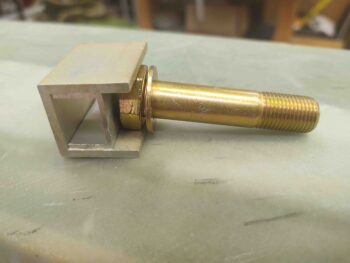
However, to keep the bolt head pressed up against the interior aft wall fairly tight, I needed an interior spacer. I test fit a smaller U-channel piece installed into the larger U-channel bracket, and it fit a treat. Notice that the smaller U-channel is somewhat press-fitted into place “backwards” to create a spacer to press against the top of the bolt head.
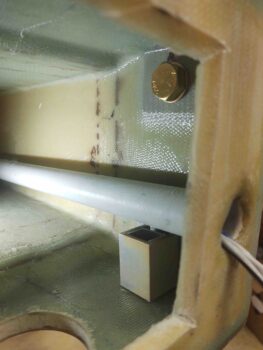
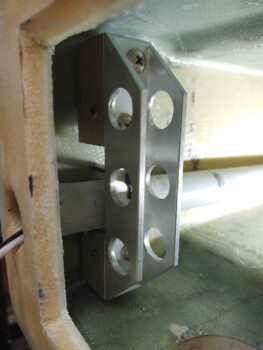
Here you can see the electrical & antenna cable conduit that runs along the aft interior wall of the CS spar, which is a non-plans mod. I set the bottom wing bolt bracket in place to check fit, and verify the offset was enough from the back wall to allow for a cross “bridge” between the upper and lower bolt brackets . . .
Which are shown here. The upper bolt bracket is on the left and is a bit longer than the lower bolt bracket.
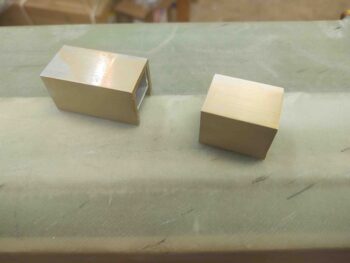
I had originally made up some 1/8″ thick flat 2024 plates to use to connect the upper and lower outboard bolt brackets, but they were a bit shorter than I wanted them to be. I couldn’t readily find any more plate stock so I just grabbed some of the extra U-channel I had and figured I would create a bridge by mounting a long length of U-channel (below) connected to the individual U-channel bolt brackets.
These look fine in the pic below, but a close inspection would not win me any beauty awards for these brackets… considering I made them in my time-honored neanderthal hand-machining method (chop saw, hole saw bit and wet sanding) since my milling machine is not operationally online yet.
Besides snazzing them up a bit, although they’ll rarely be seen, the main reason for the holes is to lighten them up.

An initial test fit with the outboard wing bolt brackets (gold) and the connecting bridge (silver).

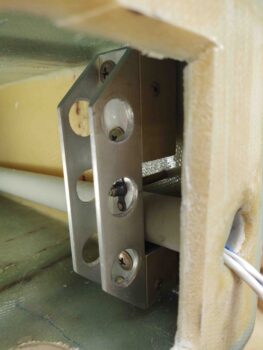
Here’s the right outboard wing bolt bracket assembly ready for install, after I put it all together. And although I’m not a fan of buttonhead screws, since I have so many of them on-hand I decided to use them to attach the bolt brackets to the bridge.

Note the interior spacers that I pop-riveted into place. There’s still just a scant bit of a gap between the bolt head and aft CS spar wall, but nothing major that will keep these from working just fine.
I then did a quick test fit to ensure I could fit the outboard wing bolt bracket assembly up through the bottom access hole on the outboard of the CS spar just in case I need to remove or replace it. My measurements were good and it fit fine.

The outboard wing bolt bracket went in nice and easy and I had it installed in less than a minute.
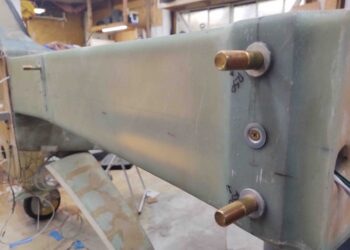
Here’s a shot from the aft outside angle showing the wing bracket assembly-securing countersunk screw equidistant between the 2 large wing bolts.
I then repeated the assembly process for the left side outboard wing bolt bracket and installed it as I did the right side.
And then grabbed a shot of all 6 installed wing bolts. The weight penalty of this mod is a little over half a pound.
The only thing left to complete my modified wing bolt install is to replace the temporary access plates that I cut out of each end of the CS spar. I’ll try to get that knocked out tomorrow.