
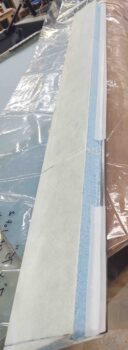
I started out today finishing up the task I began last night with marking the top front edge of the left aileron glass for trim.
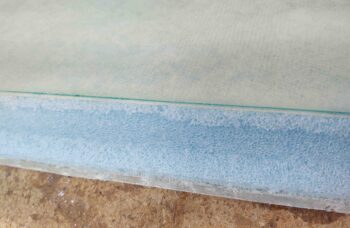
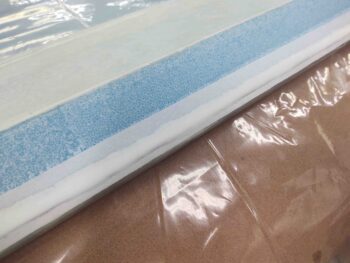
Again, on my aileron cores… when I cut at the line designated in the plans to remove the aileron from the wing, it left a very slight glass overhang over the foam core. You can see loose foam in the pic above at the edge that just peels right off when you touch it.
Obviously having a nice glass transition from foam to top aileron glass will not flow smoothly if this edge is left in place. Again, this overhanging edge is under 0.1″ wide.
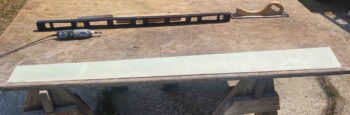
Outside I used my Dremel Tool to remove the edge down close to the marked line. Then hand sanded it after that. I taped 32 grit paper to the bottom of the level to make a longer straight temporary sanding board just for the ailerons, and used that here as well.
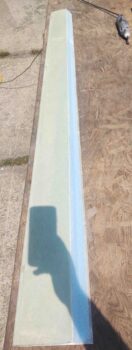
This top forward edge isn’t super visible here, but it is complete.
I then finished the prep on the left aileron by creating depressions in the foam for installing the aileron hinge plates (A2s and A5). And digging out the foam for the aileron torque tube (A10). With the aileron hardware ready to be micro’d and glassed in place, I was ready to attach the 7/16″ stainless steel rod that will serve as the aileron mass counter-balance weight.
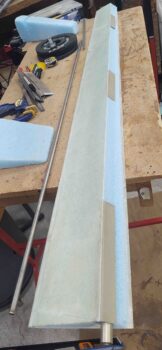
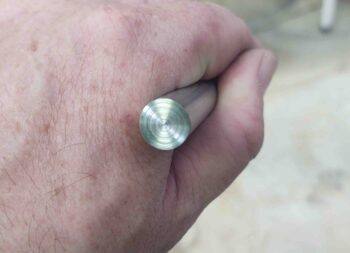
First I had to finish trimming to length and cleaning up the end of the shorter piece of 7/16″ stainless steel rod that will mate end-to-end with the longer piece. So I chucked up the rod piece in the lathe.
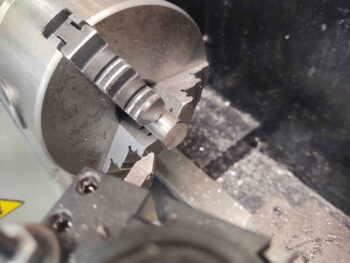
Not bad for a quick trim and cleanup job.
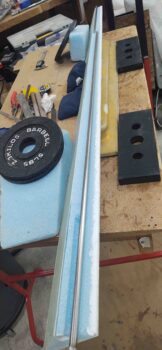
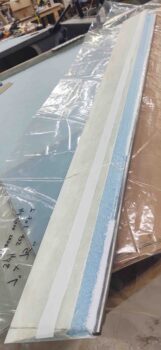
With SS rod lengths good to go, I cleaned them with some Simple Green first, to remove the major gunk. Sanded them with 150 grit sandpaper. Then did a final clean with acetone.
I then whipped up some micro and slathered it onto the left aileron lower leading edge . . .
And set the 7/16″ stainless steel rod mass counter-balance weight in place.


Not surprisingly, I check out other builder’s sites to see what they did to pick up on any tricks and tips, and moreover to ensure I don’t miss anything critical. I have to give a shout out to Dave Berenholtz and Ary Glantz for doing such a superb job in documenting their respective builds.
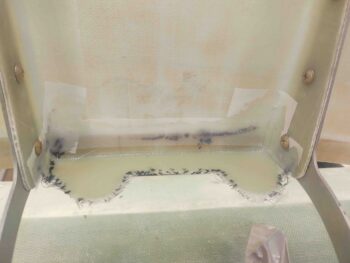
In particular, I gleaned this tidbit from Dave. He actually hard-shelled his entire foam area on his ailerons to dial them in perfectly before glassing them. I’m too lazy to go that far, but it did provide a solution to the ugly chasm that I was left with just behind the attached SS rod mass counter-balance weight on the right aileron. I decide to work this now rather than when I was glassing the aileron front edge to ensure that I get an even surface. As you know, larger areas of micro tend to get lumpy and deformed during layups and quite often don’t hold the shape or contour that we desire.
Thus, I filled the ugly area between the SS rod mass counter-balance weight and the foam surface of the right aileron’s lower leading edge with dry micro and then peel plied it.
Here’s a closer shot.
My final task of the evening was to glass 2-plies of BID onto the aft nose/avionics cover center flange AFT side, overlapping onto the two hinge tabs. I then peel plied the edges and left this to cure overnight.
Again, I’m knocking out what I have determined to be prerequisite tasks before flipping the fuselage over to shape and glass the bottom strake skins. Then I’ll knock out a bunch more as the plane is inverted for the last time (on the ground!).